
Why the French Knot Deserves a Spot in Your Styling Routine
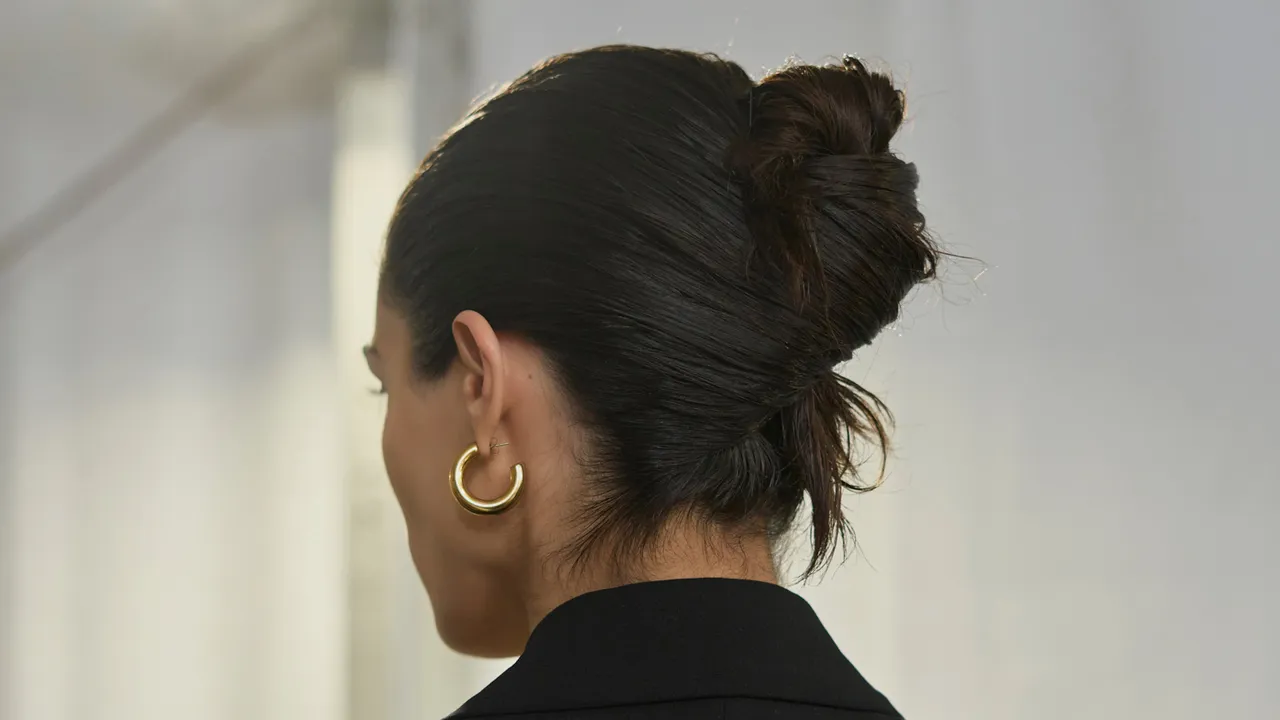
The French knot hairstyle is a classic updo created by twisting a ponytail upward, wrapping it around its base to form a compact bun-like knot, securing it with pins, and softening or smoothing the finish depending on whether you want a relaxed or formal look. This style earns its popularity because it solves a modern problem: we want hair that looks polished without looking over-styled. Instead of chasing complicated braids or gravity-defying buns, learning how to French knot gives you a reliable updo tutorial that you can adapt from office to evening in minutes. The smart move is to treat this as a core skill, like winged eyeliner or a crisp white shirt—once you master the technique, it becomes a default option you reach for whenever you need effortless structure and subtle elegance.
Prep First: The Non‑Negotiable Foundation of an Easy French Knot
If your French knot collapses or feels flimsy, the problem is almost never the pins—it’s your prep. A French knot will generally work with any hair type or texture, as long as it’s at least shoulder-length. Medium to thick textures hold particularly well, but finer hair needs deliberate building of grip and volume to behave. According to Hong, “The biggest mistake is under-prepping the hair,” especially when it’s too soft, silky, or straight, because “it becomes very difficult to mould. Always build texture before styling.” That means dry shampoo for grip, a light volumising mist for lift, and, if your hair is poker straight, adding some loose waves with a hot tool to give the strands something to hold onto. Beginners should not be shy about using a hair band at the base of the ponytail for extra stability before twisting.
Step‑by‑Step: How to French Knot Like a Professional Stylist
Done properly, the French knot is an easy hairstyle with clear, repeatable steps—not a mystery updo reserved for the salon. Start by using both hands to gather your hair and pull it back to the nape of the neck, or wherever you want the knot to sit, holding it like a ponytail without pulling too tight, so you keep natural volume. If you are new to updos, secure this ponytail with a hair band for extra hold. With your free hand, twist the length of the ponytail outward and upward, away from your face, keeping the twist tight enough that it coils neatly. Loop this twisted ponytail up and around the base to create the knot or bun shape, continuing to wrap in the same direction until you reach the ends. Tuck the ends underneath the knot, pushing the inside of the bun toward the centre and hiding any loose bits under the shape or around the hair tie for more security.
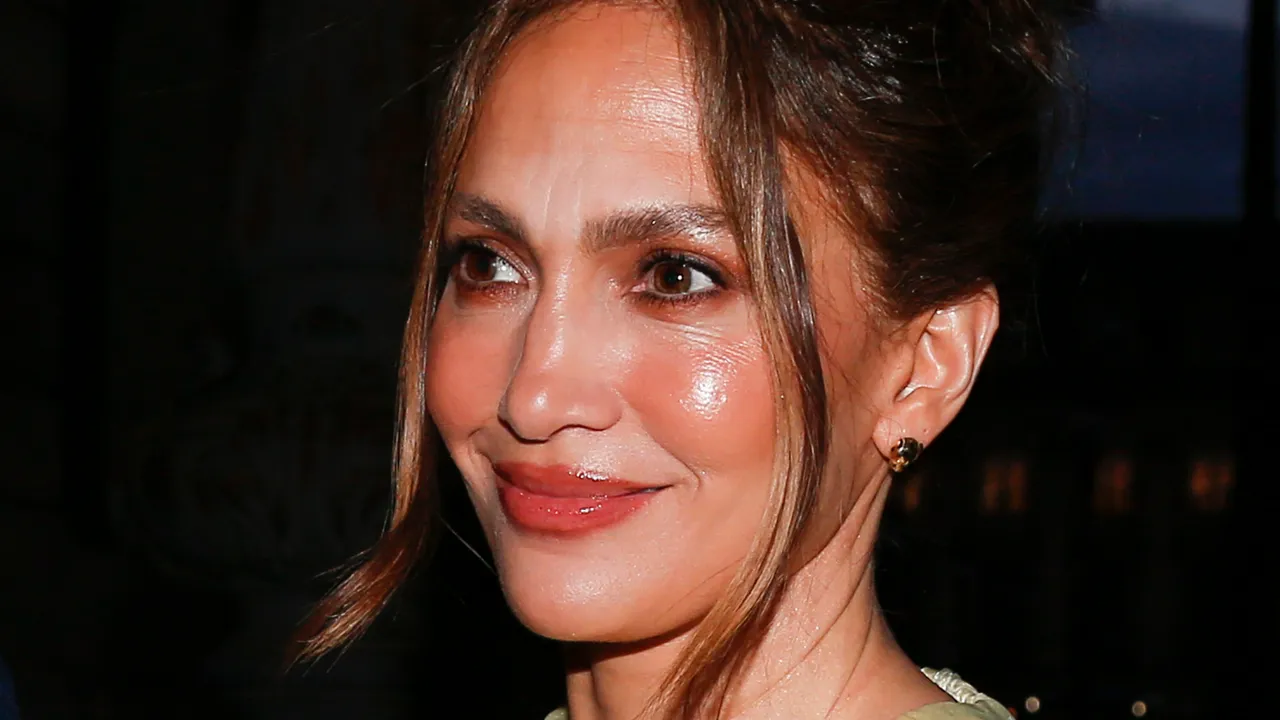
Now comes the part that separates a stylist-approved updo tutorial from a rushed bun: the pinning and refinement. Secure the knot with long bobby pins, inserting at least four—one in each quadrant—and pushing them so they cross at the base in an X shape. Add more pins wherever the knot feels loose, making sure they disappear inside the bun rather than sitting visibly on the surface. Then refine the shape. You can gently pull a few face-framing pieces or slightly loosen the knot for a softer, more relaxed finish, or, for a formal look, smooth edges with a brush to sharpen the outline. To make sure your French knot lasts, use a light mist of flexible-hold hairspray—enough to lock the shape without making it stiff or crunchy. These easy hairstyle steps give you a polished result that looks intentional, not improvised.
Adapt the French Knot for Different Hair Types and Skill Levels
A good hairstyle earns its place in your rotation when it respects your hair’s reality, not an idealised version of it. The French knot hairstyle does exactly that: Hong notes that it will generally work with any hair type or texture, provided your hair reaches at least the shoulders. Medium to thick hair tends to hold the twist and knot with less effort, but finer hair needs deliberate texture-building—dry shampoo and light teasing—to keep the shape from slipping. If your hair is naturally straight, adding simple waves with a styling tool can make forming and securing the knot noticeably easier. For beginners, the hair band under the knot and extra pins offer a safety net; more confident stylists can skip the tie for a cleaner, more fluid finish. The point is not to copy a single version of the updo, but to learn the structure and then tweak it to suit your hair and your patience level.
Make Your French Knot Last All Day—Without Looking Stiff
A French knot that droops by lunchtime defeats the purpose of an effortless updo. Longevity is less about brute-force hairspray and more about thoughtful build-up of support. If you are struggling to form your French knot in a way that feels secure, Hong recommends adding more dry shampoo and lightly teasing the hair to give the pins something to anchor into. Under-prepping is the main culprit behind knots that unravel—it leaves hair too smooth and slippery to hold a structured shape. Once the knot is pinned, a light mist of flexible-hold hairspray is enough to set the style while keeping it touchable, rather than turning it into a helmet. From there, you have creative control: pull out soft pieces around the face for an everyday look or keep everything sleek and brushed for weddings and formal events. The French knot is at its best when it looks effortless but is secretly engineered to stay put.