
What Celebrity Concealer Techniques Really Do
A celebrity concealer technique for dark circles is a specific under-eye brightening method that layers concealer shades in targeted areas to create smooth, dimensional skin that looks lifted, rested, and highlighted without appearing cakey or heavy.
If you have dark circles, mild puffiness, or tired-looking eyes, the right dark circles makeup trick can do more than any single expensive product. Celebrity tutorials show the same pattern again and again: smart placement and gentle blending matter more than piling on coverage. One viral example is a two-concealer routine that combines a skin-tone shade with a lighter highlighting shade to brighten the inner corners and subtly lift the face. The aim is not to erase every shadow, but to redirect light so your under-eyes appear smoother and more awake. Before you copy anything you see backstage or on social feeds, though, it helps to know which tricks are grounded in technique and which are outdated myths.
The Two-Concealer Celebrity Under-Eye Brightening Method
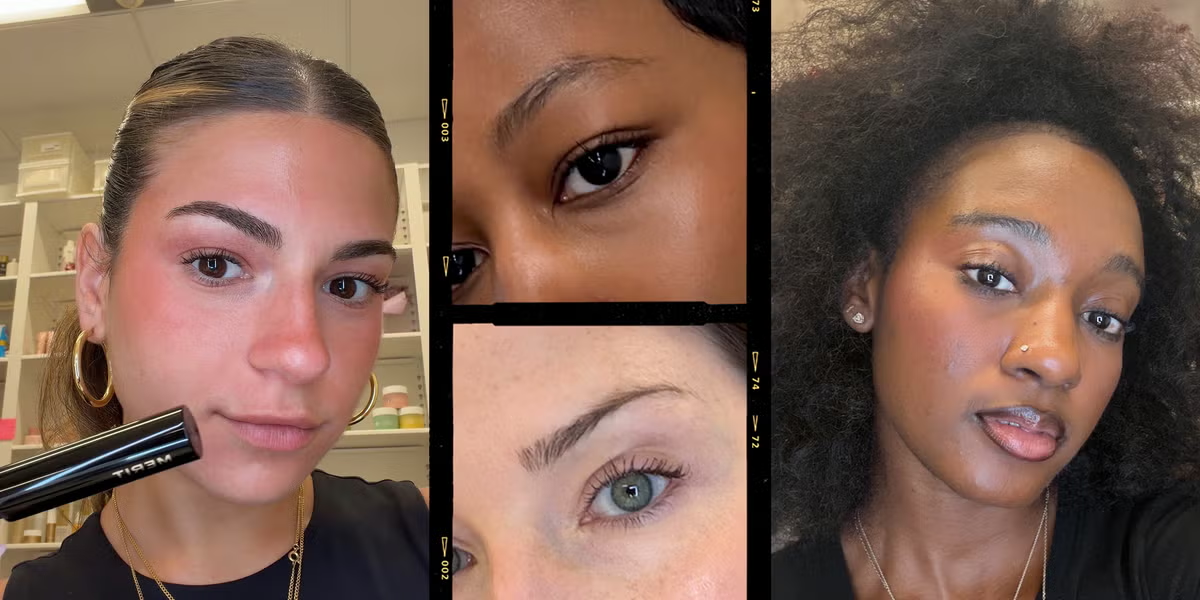
One of the most talked-about celebrity concealer techniques right now comes from a double-concealer routine that delivers smooth, bright under-eyes without a heavy base. The routine uses two different formulas: a multitasking under-eye concealer close to skin tone, and a second, lighter concealer with a natural-looking finish that adds brightness. According to a beauty editor who broke down the look, pairing these formulas creates "smooth, dimensional skin that highlights the under-eyes without going cakey." This method proves that layering and strategic highlighting create the illusion of lifted, well-rested eyes when you let light shades do the work instead of stacking thick layers everywhere. The secret is restraint: small amounts in smart spots give you that rested effect, while still letting your real skin show through.
- Prep your face with hydrating skincare, then let each layer settle so your base feels slightly tacky but not wet.
- Apply a multitasking under-eye concealer in a shade close to your skin tone to your under-eyes, forehead, chin, and the sides of your nose and lips directly from the tube.
- Blend this first concealer with a small, tapered brush, smoothing it into the skin so the coverage looks even and seamless.
- Place a tiny dot of a second concealer that is a few shades lighter than your skin tone near the inner corner of each eye.
- Tap the lighter concealer in with your finger until it melts into the first layer, brightening the under-eyes and making them look more well-rested without a cakey finish.
Follow the order of these steps as closely as you can. The first layer evens out tone across the face, while the second acts as a targeted highlight rather than an all-over mask. When you keep the lighter shade near the inner corners and blend it softly into the main concealer, you get a lifted, dimensional effect where the center of the face feels brighter and more awake. Overworking this second layer or spreading it too far can flatten that highlight and turn luminous texture into obvious makeup. The payoff, when done patiently, is under-eyes that look instantly brighter and better rested, without adding weight or creasing into fine lines.
Why Placement and Highlighting Beat Heavy Coverage
In this celebrity concealer technique, the magic is less about the formula name and more about where the product sits on the face. The first concealer, close to your natural tone, acts like a subtle canvas, quietly evening out discoloration around the eyes, nose, chin, and forehead. The second, lighter concealer near the inner corners behaves like a spotlight, adding depth and dimension when it is a few shades lighter than your skin tone. This is what turns plain coverage into an under-eye brightening method that mimics the effect of lifted eyes. Because the lighter shade is confined to that shadowy inner area, it targets where darkness usually pools and lets the rest of your base stay thin. The result is smooth, dimensional skin that highlights the under-eyes and makes them look more refreshed and awake.
Think of this as sculpting with light rather than hiding everything under opaque pigment. The dark circles makeup trick here is not about piling on concealer from lash line to cheekbone; it is about placing a small amount of brightness exactly where it counteracts shadow. When you tap with your fingertip instead of dragging a brush, you warm the product and press it into the first layer instead of scraping it off. This keeps texture smoother and avoids the cakey look that often comes from overworking the area. Because the technique relies on coordination between two shades, blending becomes as important as the products themselves. Take your time to tap and blur edges so the lighter highlight fades seamlessly into the main concealer—this soft transition is what keeps the effect natural rather than obvious.
The Hemorrhoid Cream Myth—and Safer Brightening Alternatives
Backstage lore includes a very different dark circles hack: using hemorrhoid cream on under-eye bags. Models like Anok Yai have described how this was once shared as a way to "snatch" puffiness before a show. The trick originally relied on a live yeast-cell derivative that was used in older formulas, but that ingredient was pulled in the 1990s, and dermatologists have since reversed their position on the practice. Current formulas use phenylephrine, a vasoconstrictor that narrows blood vessels, which may slightly improve swelling but does nothing for dark circles caused by pigmentation or fat displacement. Dermatologists have advised against applying these creams to the thin under-eye area for years because of risks of irritation, thinner and more fragile skin, redness, and even rebound swelling with long-term use.
Safer options focus on simple cooling and gentle active ingredients. Experts recommend things like a cold compress, chilled caffeinated tea bags, and skincare with caffeine or retinoids to help with puffiness and discoloration. Green tea, for example, has antiangiogenic properties that can reduce the formation of new blood vessels and help limit puffiness and blue-red darkening under the eyes. Lifestyle changes such as adequate sleep, slightly raising the head while resting, limiting salt, and using sunscreen also show up repeatedly in medical advice for under-eye concerns. Unlike the hemorrhoid cream trend, these approaches try to address the causes of swelling and color rather than risking irritation near the eyes. When you combine these habits with thoughtful concealer application tips, you get both healthier skin and a more convincing brightening effect.
Putting It All Together for Lifted, Rested Eyes
When you zoom out, the celebrity under-eye brightening method looks simple: one skin-tone concealer to even things out, one lighter shade to spotlight the inner corner, and careful blending so the layers fuse rather than stack. That combination creates the illusion of lifted, well-rested eyes without heavy makeup or risky hacks. The expected result when you follow these steps is smooth, dimensional skin that highlights the under-eyes so they look brighter and more awake instead of flat or chalky. The key is to stay patient and precise. Keep the lighter concealer targeted, tap rather than drag, and let your skincare and lifestyle habits support the makeup instead of fighting it. It is worth the small effort: the right technique gives your face that rested, subtly sculpted look while keeping your under-eye area comfortable and safe.