
What Self-Tanner Does (and Who It’s For)
Self-tanning is the process of applying dihydroxyacetone-based products to the outer layer of skin so that it reacts with surface proteins and amino acids to create a temporary, sunless bronze color without ultraviolet exposure.
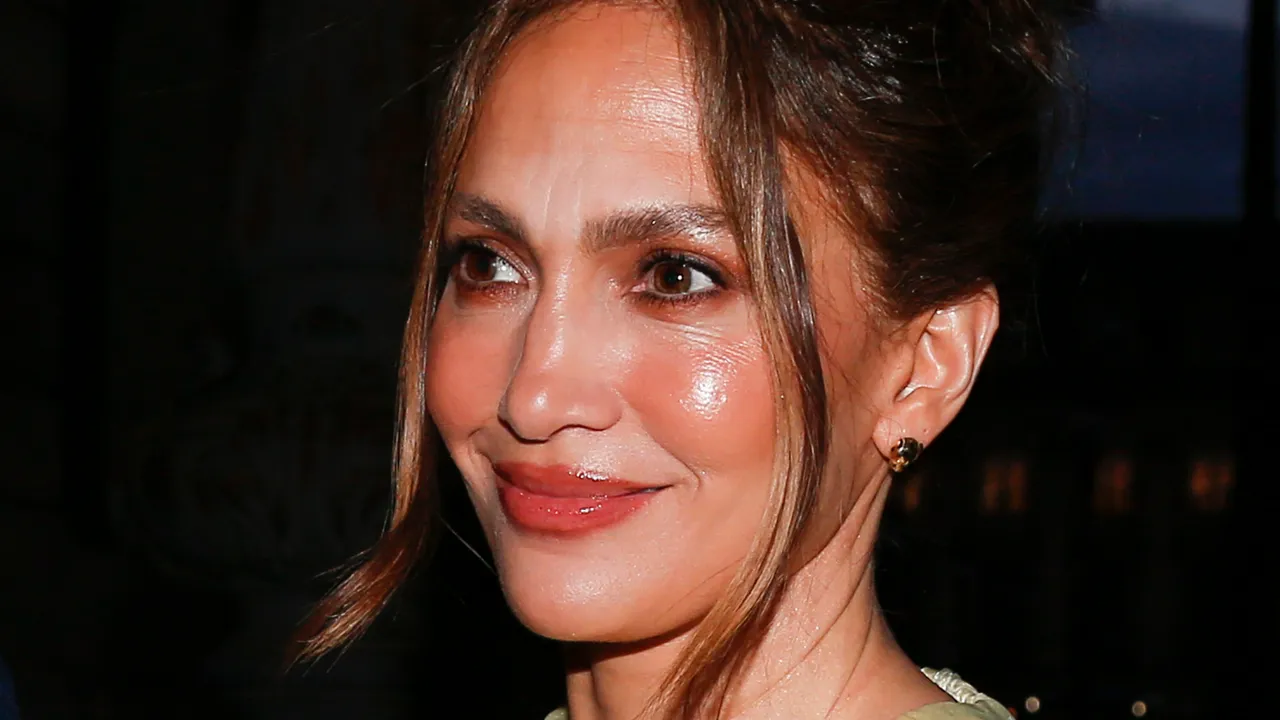
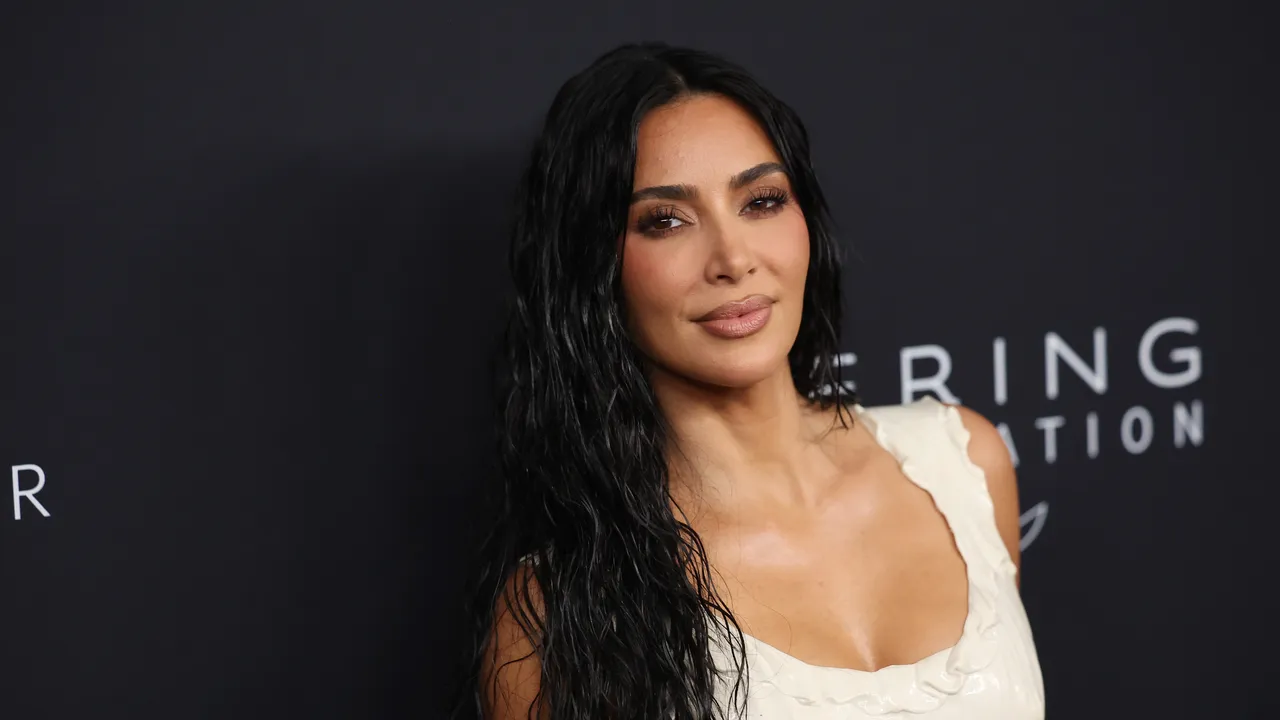
If you want a believable glow without frying in the sun, self-tanner is the celebrity secret you can use at home too. The good news: everyone can wear self-tanner—pale, medium, and deep skin tones were all included in product testing so results work across the range. On lighter skin, the effect looks like a traditional tan; on deeper skin, the focus is more on evening tone and adding a subtle radiance rather than going several shades darker. Think of it as a temporary filter that lasts about five to seven days when done well. The only real prerequisite is healthy, non-irritated skin and a little patience; rushing is what creates streaks, patches, and that dreaded orange finish.

How Self-Tanners Work (and Why They Can Turn Orange)
The active ingredient in most self-tanners is DHA, or dihydroxyacetone, a plant-derived sugar that reacts with proteins in the outermost layer of your skin. Chemically, this is a Maillard reaction—the same browning reaction that happens when you roast chicken or toast bread—only here it is happening on dead skin cells at the surface. That reaction is what gives you a bronzed look without any UV damage.
Because DHA sits on the surface, it works best on clean, balanced skin free of heavy soap or body wash residue that can block absorption and cause streaks. Leaving a traditional tanner on far past its recommended development time is the fast track to looking unnaturally orange, since overdeveloped DHA continues to darken beyond a believable shade. Celebrity spray-tan artists treat development times as strict, not flexible: they respect the clock so the color stays in that sweet, natural-looking range instead of veering into traffic-cone territory.
Match Your Fake Tan to Your Skin Tone (Not the Bottle)
Choosing the right fake tan for your skin tone is less about matching your current color and more about deciding how deep you want the result to be. Many products are labeled light, medium, or deep, and that scale refers to the intensity of the tan, not the person’s starting skin tone. A deep, rich brown-skinned person can still reach for a lighter formula if they want a subtle glow and more even tone instead of a strong color shift.
If you have fair skin and pick a formula with very high DHA, you are far more likely to end up looking orange than sun-kissed. Gradual tanners—with lower DHA in a lotion texture—are the most forgiving because you build color over several consecutive days and have more control over how deep you go. That slower build also helps medium to deeper tones see a difference without harsh lines, although it can take up to about six days for the color to show clearly on darker skin. When in doubt, start lighter and layer; you can always deepen a tan, but fixing overdone color is much harder.
Celebrity-Style Self-Tanner Routine: Step-by-Step
Here is how celebrity spray-tan experts break a self-tan into manageable stages so you avoid streaks, splotches, and giveaway areas like wrists and hands. The gotcha: almost every bad tan comes from rushing prep, choosing the wrong day to shave, or ignoring development times.
- Patch-test your product in the crook of your elbow, letting it develop, rinsing, and then watching for about 72 hours for any reaction before using it all over.
- The day before tanning, shave or exfoliate; according to dermatologist-informed advice, shaving on the application day is the number one cause of streaks because it exposes fresh skin that absorbs more self-tanner.
- On tanning day, take a short shower with minimal, non-heavy soaps so there is no residue that can interfere with even DHA absorption and lead to streaking.
- On completely dry, bare skin, apply your chosen tanner in thin, even layers, using much less product on dry areas like elbows, knees, hands, and feet—or skipping those spots during the initial pass so they do not turn darker than the rest of your body.
- For hands, use spray tan techniques: mist in circular motions while holding your fingers slightly spread in a “bear claw” shape so the color does not pool on palms or between knuckles, two classic signs of a fake tan.
- Let your self-tanner sit for its directed development time—around eight hours for many foams, and up to about ten hours on deeper skin tones—before rinsing off the temporary guide color in the shower until the water runs clear.
- Over the next 24 hours, allow the DHA already absorbed into the top layer of your skin to continue browning; during this time, avoid heavy scrubs, and do not shave again until at least day three so the tan does not fade faster.
When you follow these steps, you can expect the tan to last about five to seven days before it fades with normal cell turnover. The first time you do this at home, give yourself an unhurried evening; getting dressed too soon, sitting on light fabrics, or washing your hands aggressively during development are the small things that sabotage an otherwise professional-looking result.
Care, Longevity, and Mistakes to Avoid
Once your tan develops, think like a celebrity between red carpets: the job now is maintenance. Hydration is the big factor; to extend the life of a faux tan, celebrity tanners recommend moisturizing once or twice a day, drinking plenty of water, and avoiding harsh scrubs that strip color. Keeping your skin barrier calm also helps DHA sit evenly so the fade looks soft rather than patchy. On deeper skin, the payoff is an even, glowy tone; on lighter skin, it looks like a believable holiday bronze.
The common mistakes are straightforward. Shaving on application day or within the first couple of days after will cause streaks and a faster fade. Using heavy soaps before tanning or during your first rinse can interfere with absorption and lead to uneven patches. Leaving tanner on for far longer than recommended is what pushes color from warm bronze into obvious orange. Wrists and inner arms should stay slightly lighter, mimicking how a real tan behaves when you lie in the sun with your arms relaxed, so go light-handed there and skip underarms altogether for a natural-looking self-tanning result. Done with care, the glow is worth the effort—you get that celebrity-level warmth without a minute of UV damage.