
Why Your Makeup Won’t Apply Smoothly
Uneven makeup application is the result of how prepared your skin is and how you apply each product layer, not only which products you use, because texture, timing, and formula compatibility decide whether your base looks smooth or patchy from the first swipe.
If your foundation clings to dry patches, concealer creases before you leave the house, or your base peels into little balls, it can feel like bad luck. In reality, when makeup won’t apply smoothly, the surface underneath and your makeup application technique are almost always to blame, not the brand of foundation. Professionals treat skin the way a decorator treats a wall: if the surface is rough, bumpy, or flaking, the “paint” will look terrible no matter how expensive it is.
This is for anyone who wants their everyday or bridal makeup to look soft and polished in real life and in photos, without buying a whole new kit. The one prerequisite: you need a few minutes to prep your skin and the patience to let each step settle. According to celebrity makeup artist Wendy Rowe, “if you get these basics right, your make-up will look like a professional did it”.
Skin Prep for Makeup: The Step Most People Skip
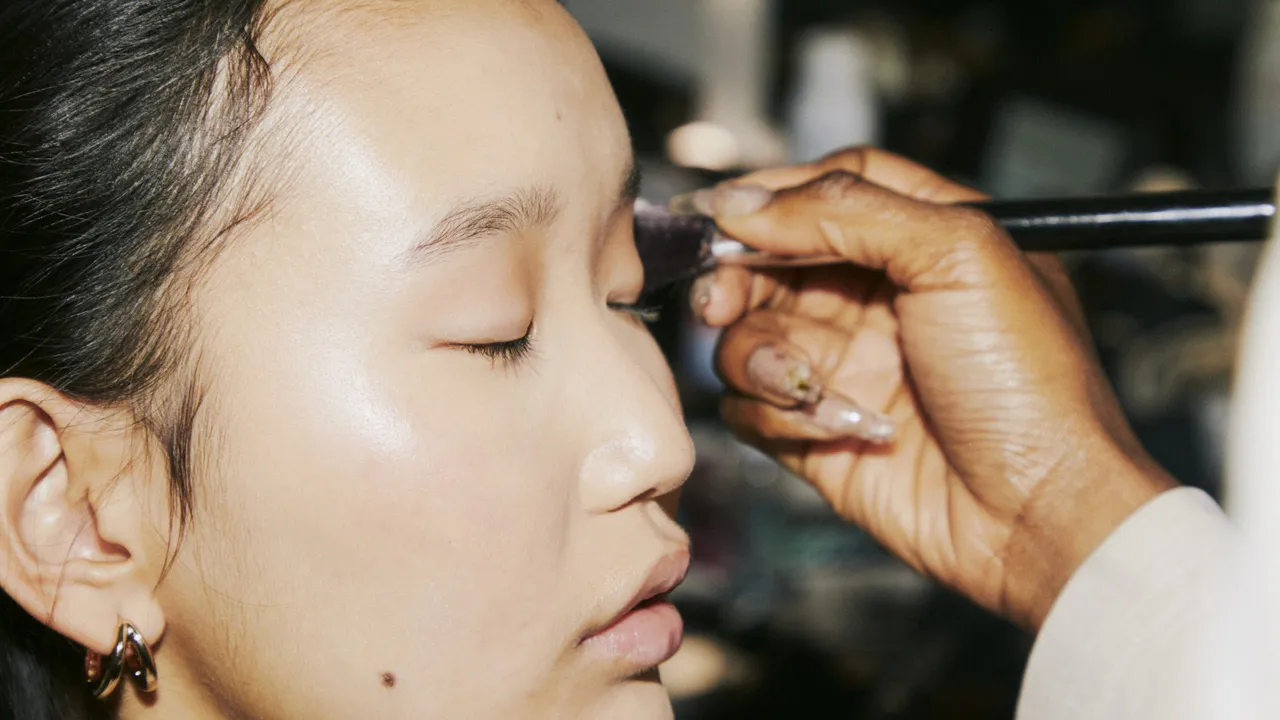
Professional makeup tips always start with skin prep, because the best base begins long before you reach for your foundation brush. When people complain their makeup won’t apply smoothly, it is often because they have done skincare and makeup in a rush, or layered products that fight each other. Think of dead skin, heavy creams, and thick SPF as tiny obstacles that prevent foundation from gripping evenly to the face.
Pros cleanse, remove dry surface flakes, hydrate with targeted products, and choose moisturisers that are nourishing but not too oily or thick—then give them time to absorb. If your moisturiser has not soaked in, your base can start to peel because it has nothing to grab onto. Over-applying SPF can also cause peeling and separation, and using facial oils right before a water-based foundation is like mixing oil and water—they do not blend and will break apart on your skin.
Exfoliating regularly removes the layer of dead cells that creates a bumpy, uneven base and makes everything look patchy. The gotcha: more layers are not better. Too many skincare and primer layers mean products cannot sit properly, and everything starts moving around your face instead of setting into a smooth canvas.
The Pro Makeup Application Technique: Step-by-Step
Once your skin is prepared, technique is what separates a flawless application from a mediocre one. You can have the best products and still ruin the result with rushed blending, mismatched formulas, or the wrong tools. Professionals use methods that work with skin texture, not against it: pressing, layering, and matching formulas so they reinforce each other. Follow this sequence and resist the urge to pile on product quickly.
- Cleanse and lightly exfoliate any flaky areas so foundation is not sitting on dead skin that will shed through the day.
- Apply a non-greasy moisturiser and a sensible amount of SPF, then wait 5–10 minutes for everything to sink in before makeup.
- Choose matching formulas—pair water-based with water-based or silicone-based with silicone-based—to avoid pilling and rolling.
- Dampen your beauty sponge so it is bouncy, not dripping; this helps blend products smoothly without lifting the layers underneath.
- Use underpainting: apply cream contour, bronzer, and blush before foundation to create soft structure that shows through the base.
- Press (do not rub) foundation over the underpainting with a buffing brush or damp sponge for an even, skin-like finish.
- Let cream products dry down, then apply powder only where you get oily (usually the T-zone) to avoid a heavy, muddy look.
- If your makeup starts pilling, stop blending, gently pick up the rolled bits with a damp sponge, wait 2–3 minutes, then reapply by pressing and dabbing instead of rubbing.
The biggest gotcha here is impatience: skipping the 5–10 minute wait after skincare or rushing from cream to powder almost guarantees patchiness and pilling. Another common mistake is over-powdering; pros target shine-prone areas instead of mattifying the whole face so skin still looks alive. Keep your brushes and sponges clean, or you will press old, crusty product and bacteria back into your fresh base.
Underpainting and Cream Products: How Pros Make Skin Look Sculpted, Not Cakey
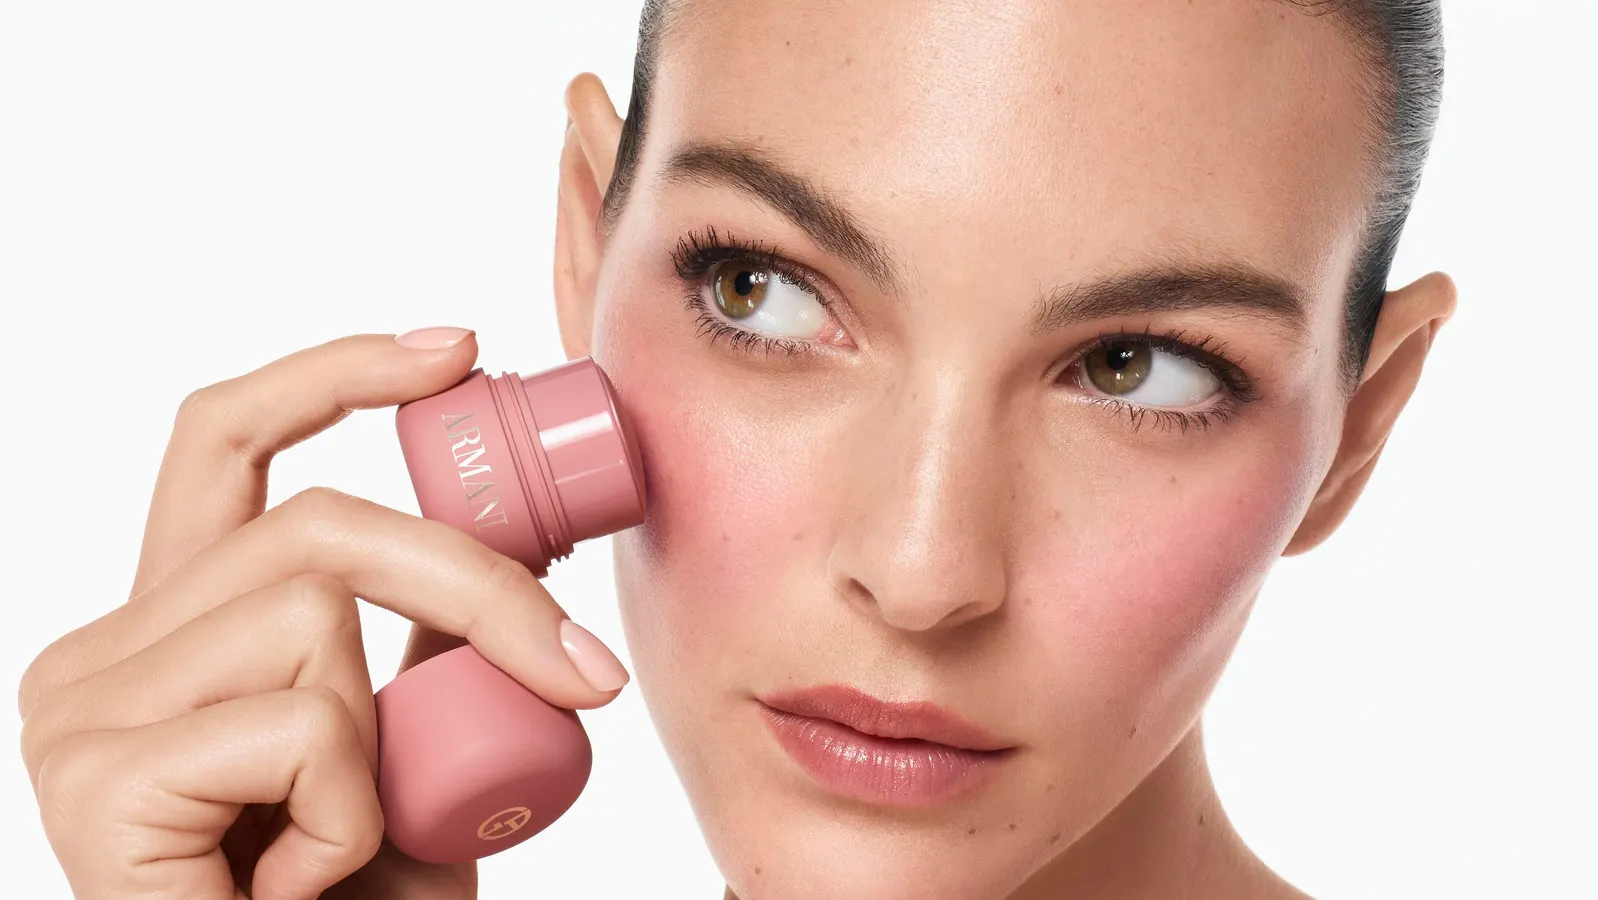
If you have ever wondered why professional makeup looks sculpted yet undetectable, a big part of the secret is underpainting with cream products. One artist explains that using cream-based makeup and underpainting techniques creates a naturally sculpted and radiant complexion that looks beautiful in person and in photographs. Instead of stacking bronzer, blush, and contour on top of a heavy base, pros lay down those tones first, then veil them with foundation.
In practice, that means applying cream contour, bronzer, and blush on bare, prepped skin, then lightly blending a buildable foundation over those layers using a beauty sponge and buffing brush. This allows colour to softly blend through the complexion, lifting and defining the face without harsh lines or obvious stripes. A cream blush applied before foundation gives a soft, seamless flush rather than a powdery patch sitting on top of your base.
When you follow this kind of makeup application technique, the result is a soft glam look that enhances natural features with effortless elegance—radiant, refined, and designed to last throughout the day. The catch: you must control how much product you use. Start with less and build coverage gradually; you can always add more where needed, but removing excess without disturbing underpainting is difficult.
Putting It All Together: Is It Worth the Effort?
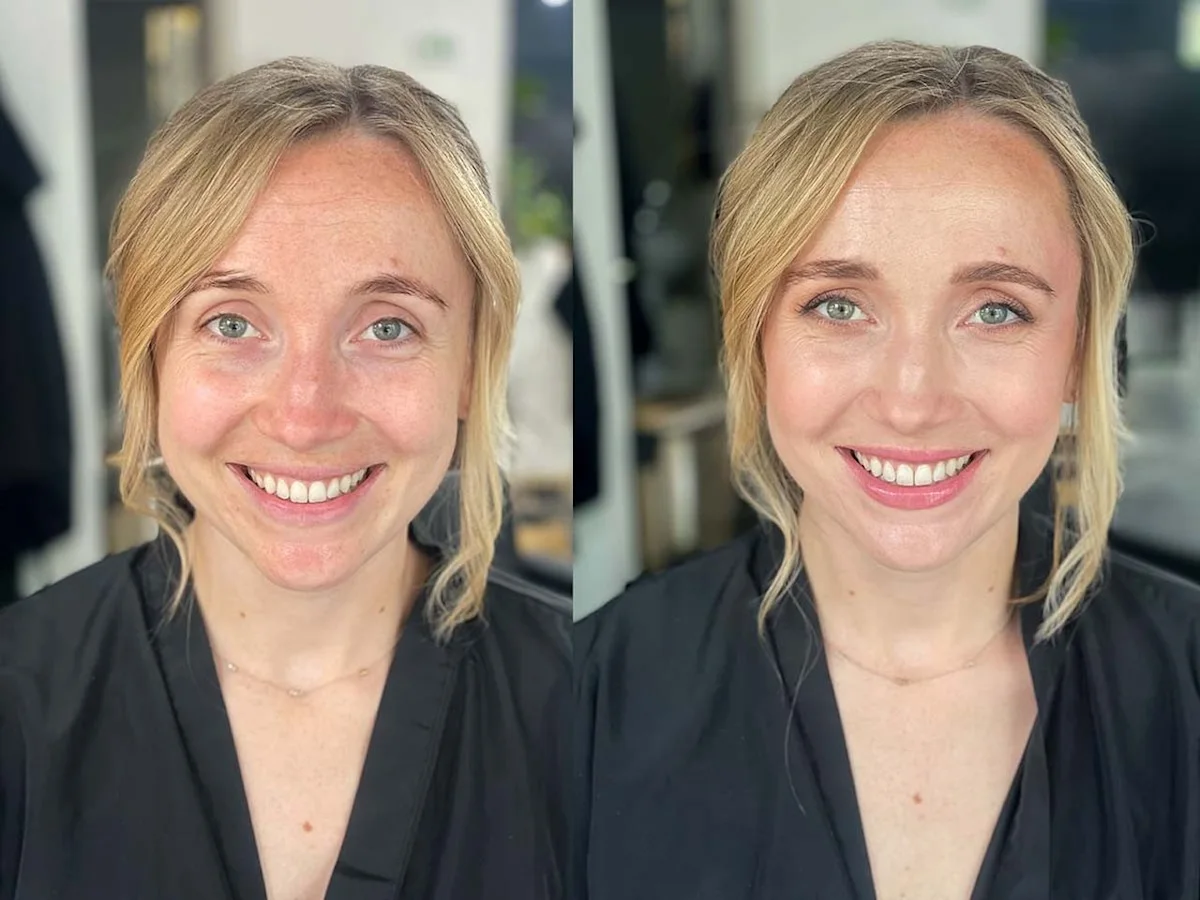
Learning proper skin prep for makeup and slowing down your technique is worth it if you want that “my skin but better” finish that lasts. When you cleanse, exfoliate sensibly, let moisturiser and SPF absorb, and avoid clashing formulas, you remove most of the reasons makeup will not apply smoothly. When you press instead of rub, use a damp sponge, and resist over-powdering, your base stops fighting your texture and begins to look like real skin.
Professional makeup artists are not relying on magic products; they are consistent about preparation and detail. They match formulas, choose techniques that work with facial contours, and use cream-based underpainting for soft dimension that photographs well. If you remember one thing, let it be this: the way you apply products matters as much as what you buy—“you can have the best products in the world and still mess it up with bad technique”.