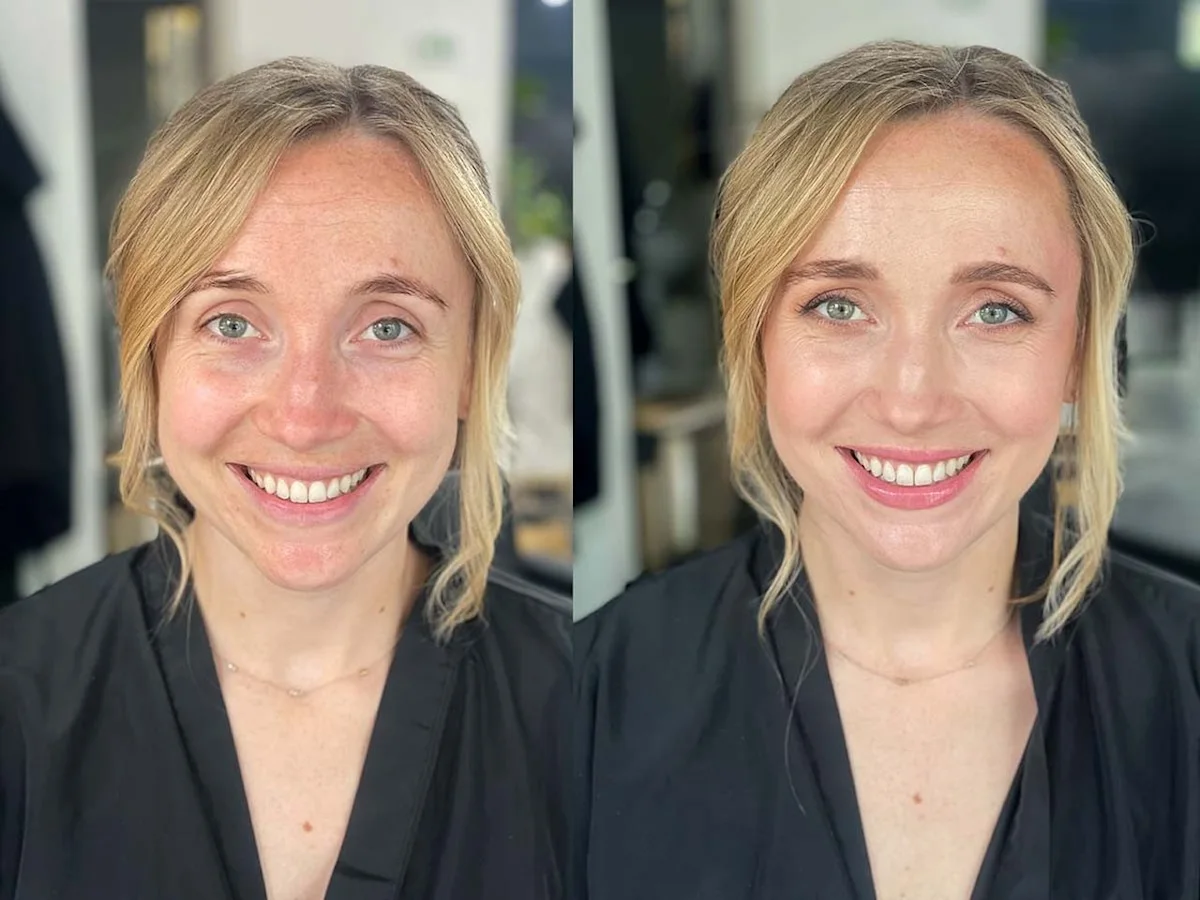

What Skin Prep for Makeup Really Means (And Why Yours Isn’t Working)
Skin prep for makeup is the intentional process of cleansing, smoothing, hydrating, and product-matching your face before foundation so that every layer grips, blends, and wears evenly instead of pilling, patching, creasing, or sliding off during the day. If your makeup won’t apply smoothly, it’s almost never “bad foundation”; it’s what’s sitting underneath it and how you’re putting it on. Think of your face like a wall: if the surface is rough, bumpy, or flaking, the paint will look terrible no matter how expensive it is. Professional makeup artists start their looks long before they reach for a brush, taking time to assess skin type, texture, and sensitivity, then choosing skincare and base products that work together instead of fighting each other. That prep is what separates a flawless application from a mediocre one.
How Pros Prep Skin: Ingredients, Compatibility and Real Gotchas
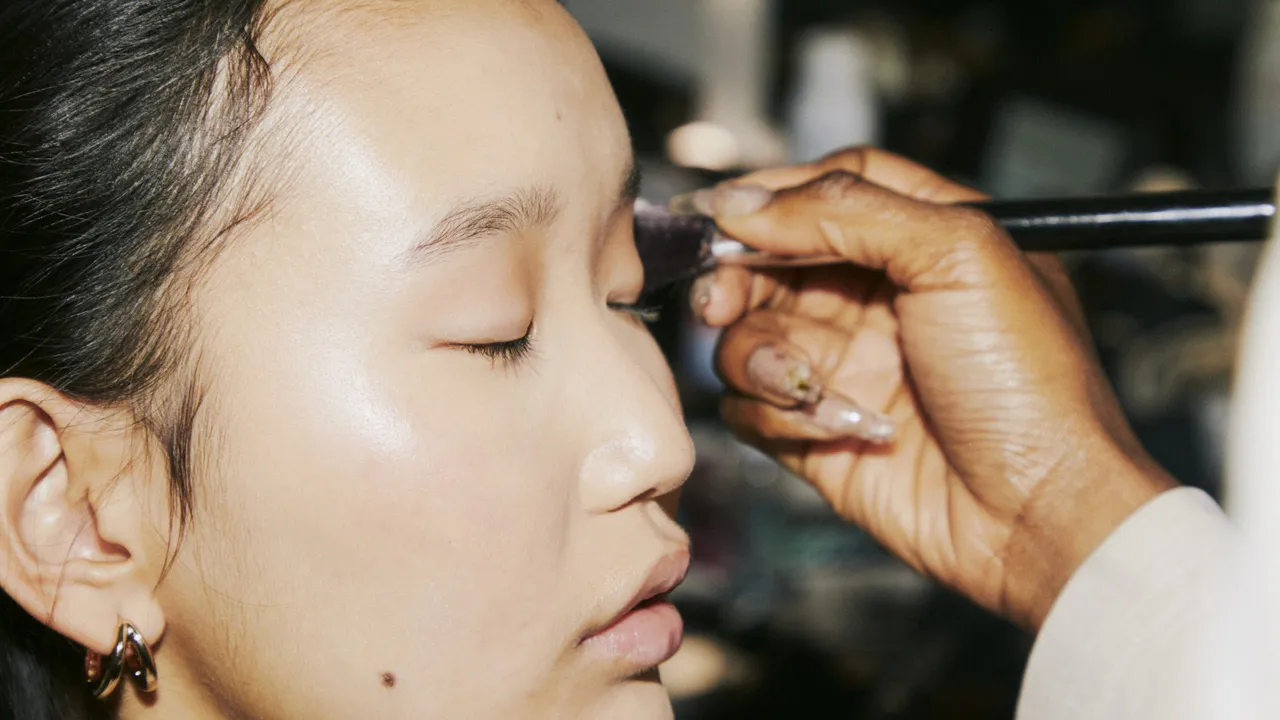
Behind the scenes, a professional makeup artist will always prep the skin before thinking about contour or foundation. They cleanse, remove any dry surface skin, hydrate with targeted masks, and use moisturisers that are hydrating but not too oily or thick, because heavy products make makeup slide or pill. Then comes the ingredient check. Many cases of pilling or patchiness come from mismatched formulas, not poor-quality makeup. Oil-based skincare layered under a water-based foundation repels and forms little balls of product, the same way oil and water don’t mix. Silicone-heavy primers mixed with non-silicone formulas can do the same. The rule pros follow is to match your formulas across skincare, primer and foundation so each layer can grab onto the next instead of rolling away. This is where most people go wrong: too many layers, too many textures, and no pause to let anything absorb.
Step-by-Step: A Pro MUA Skin Prep Routine Before Makeup
Here’s how an experienced artist would walk you through skin prep for makeup, whether you’re after everyday polish or bridal-level glam. We’ll focus on real-world gotchas: overloading product, rushing, and using the wrong tools.
- Cleanse and gently exfoliate any visible dry patches so you’re not laying foundation over dead skin that will make everything look bumpy and patchy.
- Apply hydrating skincare suited to your skin type, then wait 5–10 minutes so moisturiser fully absorbs and gives makeup something to grip instead of peeling off.
- Add a thin layer of compatible SPF if you need it, go easy on the amount, and give it time to settle so it doesn’t peel, roll, or separate under foundation.
- Choose primer only if your skin needs it, matching texture and base (water-, silicone-, or oil-based), and use a light hand so you don’t cause products to move around.
- Match your foundation finish to your skin type—matte for oilier areas, more hydrating formulas for drier ones—so you avoid flaky, cakey patches or a base that slides off.
- Dampen your beauty sponge and clean your brushes, then press foundation onto the skin rather than rubbing, which pushes product against texture and facial hair.
- Build coverage slowly, allowing a couple of minutes between cream layers, and wait for them to set before adding powder so you don’t create a muddy mess.
- Use powder only where you tend to get oily, like the T‑zone, so your base stays skin-like instead of flat and heavy, then finish with setting spray and gentle pressing motions.
The temptation is to fix problems by adding more products, but that’s one of the biggest mistakes: when you layer too many textures, they can’t all sit properly and everything starts moving around. If your makeup starts pilling, stop blending, lift the pilled bits with a damp sponge, wait a few minutes, then continue by pressing and dabbing rather than rubbing. According to Wendy Rowe, “the secret to professional-looking make-up isn’t buying the most expensive products or learning complicated techniques – it’s being patient, prepping your skin properly and understanding which products work together.”
Why Underpainting and Layering Need Perfectly Prepped Skin
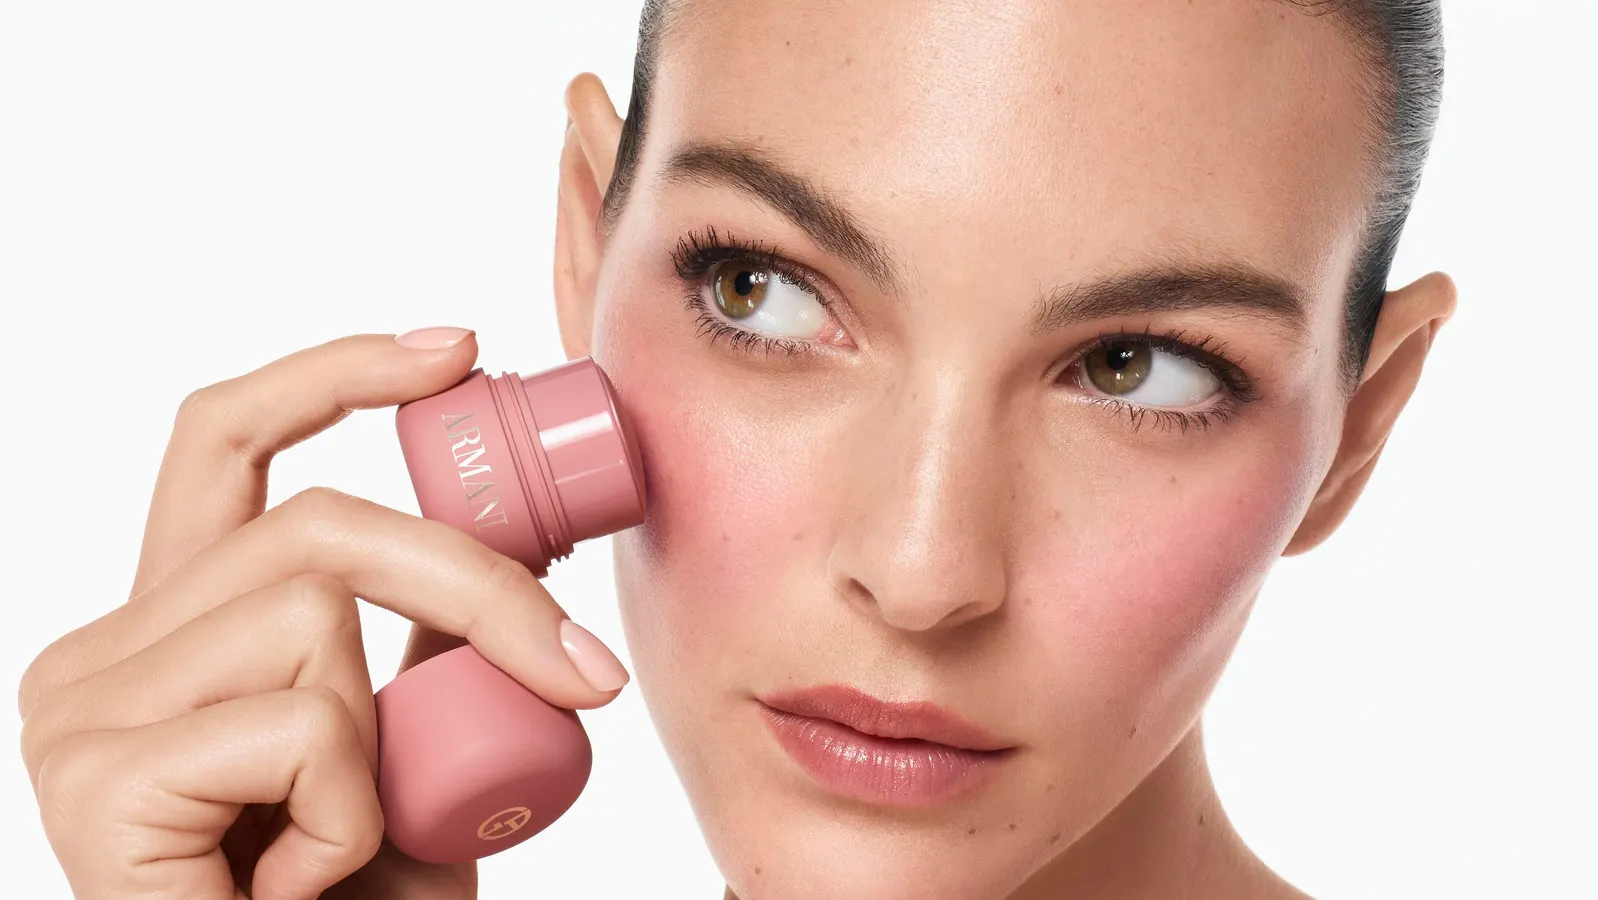
Celebrity makeup artists rely on underpainting and thoughtful layering to create that sculpted-but-natural complexion you see in close-up photos. Underpainting means applying contour, bronzer and blush before foundation, so colour softly blends through the complexion and gives a lifted effect without harsh lines or heavy makeup. This technique uses cream-based products layered beneath a buildable foundation, often blended with a damp sponge and buffing brush to maintain a natural, skin-like finish rather than a thick mask. But this only works if the skin underneath is smooth, hydrated, and balanced—otherwise contour will catch on dry patches, blush will turn streaky, and foundation will cling or pill. When skin prep is done well, the result can be a soft glam look that enhances natural beauty with effortless elegance and is designed to last throughout the day.
Takeaway: Is All This Prep Worth It?
If your makeup won’t apply smoothly—foundation clinging to dry spots, concealer creasing before you leave the house, or base peeling into little balls—it’s almost always a prep and technique issue, not the product itself. Investing time in skin prep means cleansing, light exfoliation, tailored hydration, and matching formulas, plus clean tools and a damp sponge. It’s a few extra minutes that radically change how your makeup sits and how long it lasts. When you give each step time to work, keep layers light, and press instead of rub, your base starts to look more like professional work and less like a struggle. The main things to watch for are over-applying SPF and moisturiser, mixing incompatible textures, and rushing straight from skincare into foundation. Skip those mistakes, and the payoff is skin that holds underpainting, contour and every layer with far less effort.