
Audio Is Your Stream’s First Filter
A streaming audio setup is the full chain of gear, room sound, and software settings that shapes how your voice reaches viewers, and building it wisely matters more than chasing ultra-sharp video because audiences abandon streams with harsh, muddy, or distracting sound far faster than they quit over a soft-focus camera. Viewers will tolerate a slightly crunchy webcam, a dim room, or your cat walking across the keyboard mid-boss fight, but bad audio is where the tab gets closed. Video gets people curious; audio keeps them there. If your voice is muffled, peaking, or drowned in keyboard clacks, no amount of crisp 4K will save you. The goal is not studio perfection; it is clear, stable, low‑effort listening so people can stay for hours without fatigue. That demands smart priorities, not an endless pile of audio equipment streamers barely understand.

Start With the Mic You Use, Not the Camera You Show
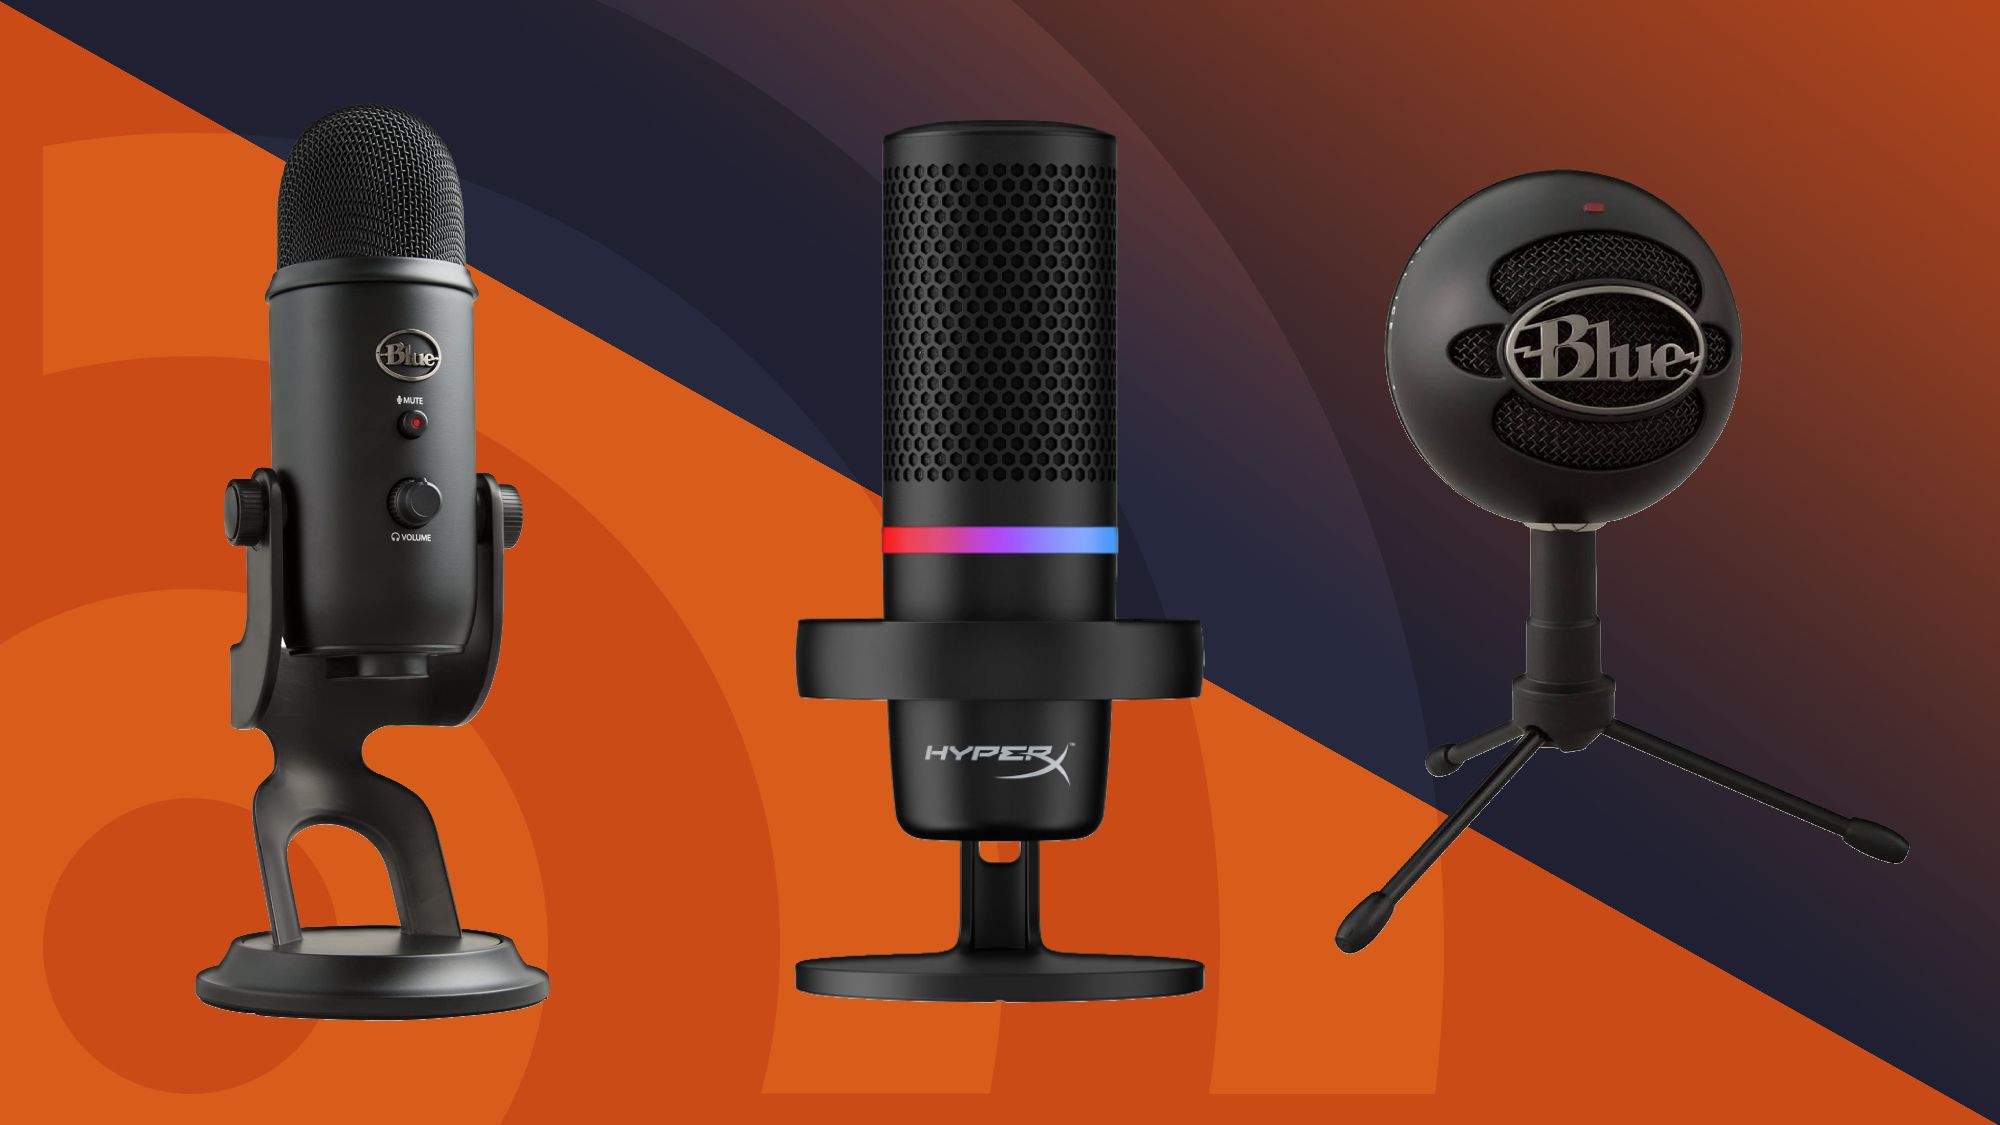
Headset mics are the starter sword of streaming: convenient, but they sound small, thin, and compressed over long sessions. A dedicated microphone built for streaming and gaming gives your voice more body and clarity, which lowers listening friction and helps improve stream quality immediately by making speech easier to follow. One of the best microphones for streaming can be a fantastic purchase if you want to level up your streaming setup, but you do not need to jump straight into a premium broadcast mic. A solid USB model is a massive upgrade coming from a headset. Dynamic mics are especially friendly for noisy rooms because they reject more keyboard, fan, and roommate noise than sensitive condensers. The most expensive option is not the best microphone for streaming if it does not fit your voice, your room, and your noise level—gear that matches your environment always wins.
According to one microphone buyer’s guide, the best overall mic for streaming is picked not only for performance, but also for simple setup and reliable value for newcomers. That is the mindset you want: look for clean sound, easy use, and a reasonable path to upgrade later, not status gear chosen because a bigger channel uses it. Do you need an audio interface and XLR mic? Not always. If your USB mic sounds good and your audience is happy, keep gaming instead of overcomplicating your streaming audio setup with gear that will not fix basic technique issues.
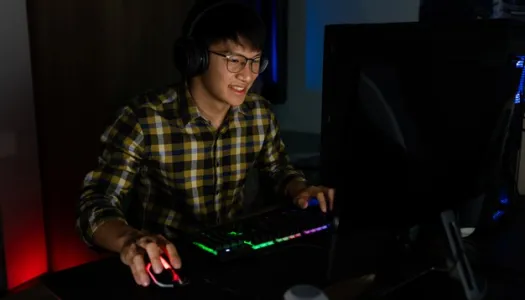
Mic Position, Gain, and Noise Control: Free or Cheap Wins
The most common mistake streamers make is treating the microphone like a desk ornament. Where you put the mic matters as much as which mic you buy; a great mic placed three feet away will sound worse than a budget mic placed properly. Your mic should be close to your mouth, slightly off to the side, and angled so breath does not hit it directly—aim for roughly 4 to 8 inches away as a starting point. If your mic sits under your monitor, it hears everything: keyboard, mouse, desk bumps, controller taps, and the hum of your PC. Get it off the desk with a boom arm so you can stay close without eating camera space. Then set gain so you are not clipping, and if the mic picks up too much room, move closer and lower the gain—that single change can replace half the acoustic treatment people buy.
A noise gate is another overlooked, high‑impact tool for a clean streaming audio setup. Used well, it keeps your mic quiet when you are not talking, cutting down background hum and keyboard chatter between sentences. Used badly, it chops off the start and end of your words and makes you sound like you are speaking through a damaged sci‑fi comms unit. The rule: subtlety beats complexity. Start with the basics—set mic gain so you are not clipping, add light noise control only if needed, use a compressor gently, and keep a limiter as a safety net. More processing does not equal better. Each change should make your voice easier to listen to, not more processed.
Your Room Is Part of the Mic, Whether You Like It or Not
Another big misconception: you can buy your way out of bad room sound with premium audio equipment streamers rave about. An interface or high‑end mic will not fix bad mic technique, a noisy room, or a microphone parked next to a mechanical keyboard that sounds like a skeleton tap‑dancing. Your room affects your sound; hard surfaces throw reflections back into the mic and create that echoing “broadcasting from a dungeon” tone viewers hate. Soft materials—rugs, curtains, couch, even filled bookshelves—do more work than decorative foam squares slapped on one wall. Practical ROI: move the mic closer, face a soft surface instead of a bare wall, and treat the first big reflection points behind and beside you. Upgrading from a headset to a proper mic and adding these basic room tweaks will often improve stream quality more than jumping to a high‑sensitivity condenser that picks up every flaw.
Not every microphone suits every room. Highly sensitive mics, including some of the best premium options, can pick up keyboard sounds and background noise if you are in a loud environment, especially without careful configuration. Dynamic mics shine where you cannot control fan noise, roommates, or traffic, while a sensitive condenser can be great in a quiet, treated space. Think of acoustics as part of your budget: if you will not or cannot treat the room much, prioritize gear that rejects noise, position it well, and keep processing light. Fancy specs are wasted if your audience hears echo and clatter more than your commentary.
The Upgrade Path With Real ROI: Iterate, Don’t Collect Gear
If you are deciding where to spend money first, follow a practical order instead of chasing hype. Step one: get the mic close to your mouth. Step two: move it off the desk with a boom arm. Step three: upgrade from a headset mic to a real mic. Step four: add basic noise control and light processing. Step five: improve the room with soft materials. Step six: consider an interface if you need better control. An interface is the translator between your mic and your computer, giving you cleaner gain and access to XLR microphones, but it is a later‑stage purchase, not a magic fix. Packed bundles that include a tabletop shock mount and boom arm mean you are buying an entire setup rather than a lone microphone, cutting down on other accessory costs.
The real secret to a strong streaming audio setup is testing and restraint. Record a test and listen back with headphones, not for five seconds but as if you were a viewer. Is your voice clear and natural? Would you watch two hours of it? If the answer is “mostly yes,” stop tweaking and go live. Upgrade only when you can describe a specific problem you want to solve—too much room echo, inconsistent volume, audible hum—not because a new toy appeared on your feed. One of the best microphones for streaming is the one your audience can listen to for hours without thinking about it; that comes from smart choices, honest listening, and steady iteration more than from an endless pile of expensive gear.