
Default is fine—but it is quietly wasting your Pixel
Pixel camera settings are the configurable options and hidden camera tweaks inside the Pixel Camera app that control focus behavior, composition guides, resolution modes, color profiles, and quick-access controls to noticeably improve photo quality without heavy editing or extra gear.
Most Pixel owners trust the default camera and stop there, because you can point, shoot, and walk away with consistently good photos. The problem is that “good” is the ceiling only if you refuse to touch the settings. After shooting over 1,000 images, one reviewer found that a handful of under-the-hood tweaks delivered more compelling photos and squeezed more out of the hardware. That is the core misconception: people think any change is risky or for experts, when in reality these options are built for smartphone photography optimization. Another tester noted that none of their changes added new features, yet they changed daily shooting enough that most photos looked right straight out of the camera. If you care about image quality, leaving everything on auto is no longer a neutral choice—it is holding your Pixel back.
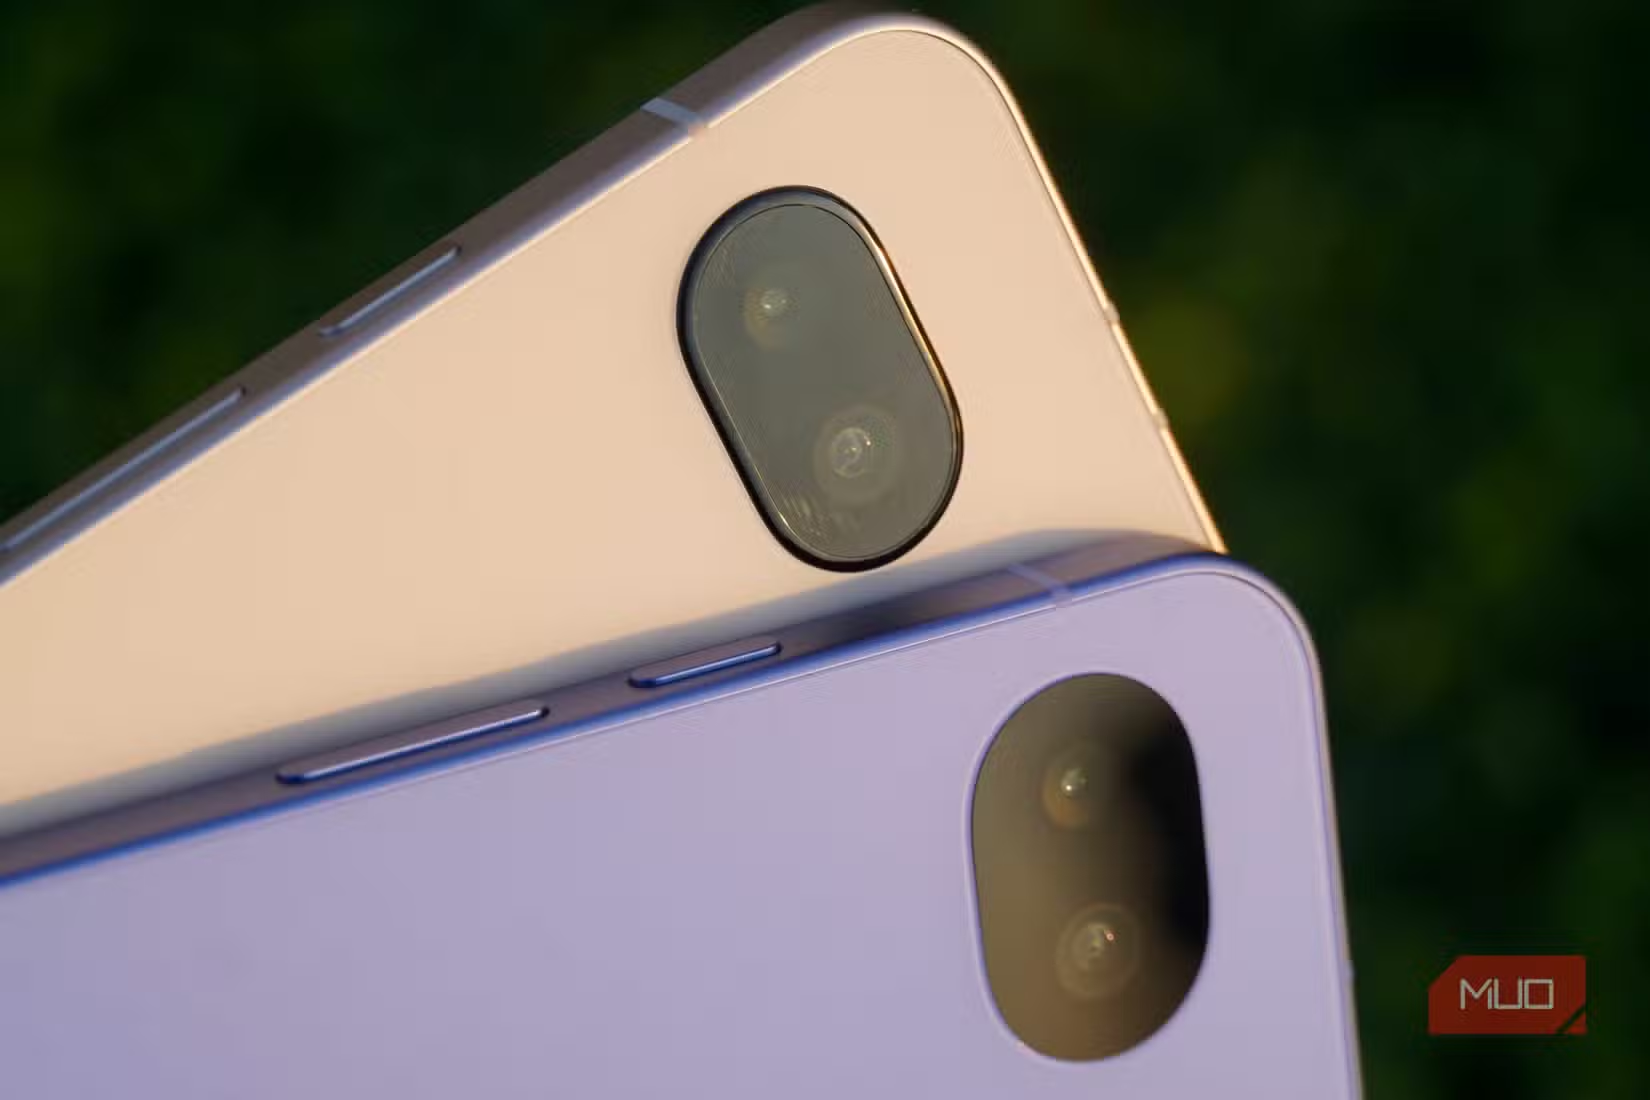
1. Treat zoom like a lens, not a slider
The first hidden win is to respect zoom as if you were swapping lenses on a dedicated camera. That means slowing down and letting the Pixel do its work before you hit the shutter. After daily use of the telephoto lenses, one photographer noticed a clear pattern: snapping the photo the instant they switched from 1x to 5x almost always produced a soft subject, because the software was still hunting for focus. Waiting that split second—and tapping the subject in the viewfinder to enforce focus—locks in the crispness, especially for portraits where sharp eyes make or break the shot.
The second zoom rule is to avoid fractional values like 4.5x or 4.9x. While the slider allows 0.1 increments, hovering right below the next optical level means you are cropping the primary sensor instead of engaging the telephoto lens. In other words, you trade true detail for digital zoom. Stick to whole-number steps—1x, 2x, 5x—whenever possible. Use this approach for travel, architecture, and portraits; pixel-peepers will see real gains, while casual snapshots can stay on auto without stress.
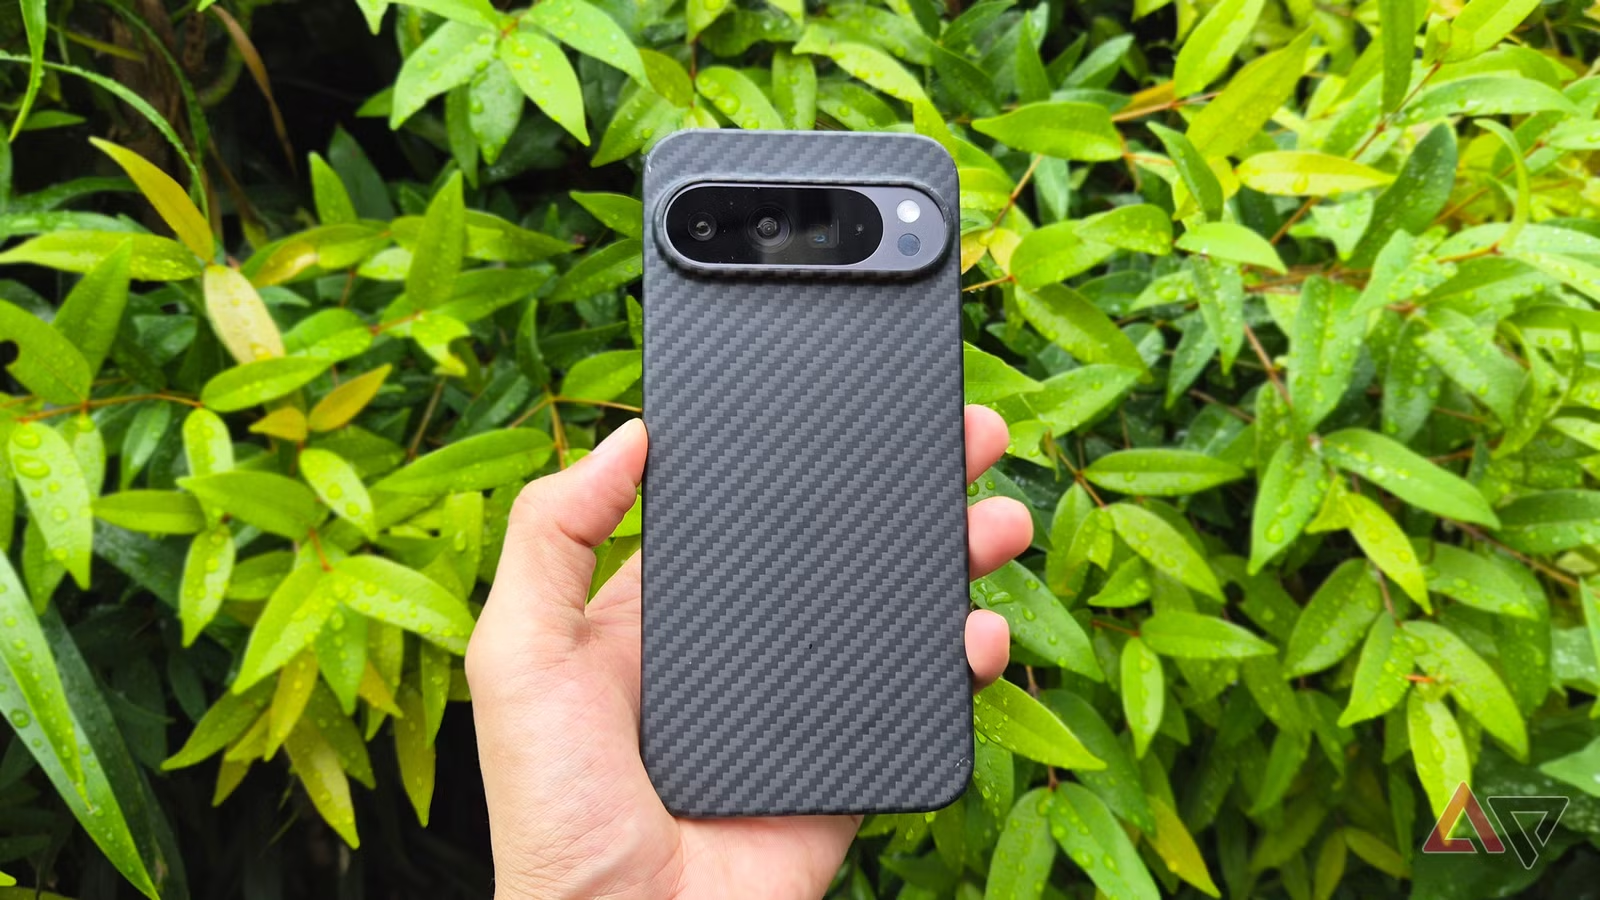
2. Switch your grid to Golden ratio for cleaner framing
Sharpness is useless if your framing is off. One of the simplest yet most overlooked Pixel camera settings is the grid overlay, especially the Golden ratio option. Instead of a basic 3x3 or 4x4 grid, the Golden ratio divides the frame into nine uneven rectangles so you can place horizons, faces, or key objects where the eye naturally lands. A tester who kept misjudging center found that switching to this grid solved their alignment problems and became their single biggest upgrade to everyday photography.
To enable it, open the camera, tap the gear icon, head into Camera settings, and then choose Grid type under Photo settings. Start with the default options, evaluate how your photos look, then move to the Golden ratio once you are comfortable experimenting. Use it for landscapes, street scenes, and portraits where you want balanced negative space. It is less vital for quick snapshots of documents or receipts, where speed matters more than composition.
3. Shoot high-res in portraits only when detail matters
If you care about subject detail—texture in hair, eyelashes, fabric—your next hidden camera tweak is high-resolution capture. On Pixels with 50MP sensors, enabling high-res files for portrait shots yields noticeably better detail and more room to crop later, compared with standard 12MP photos. The tradeoff is speed: processing takes longer, so this is not the setting for rapid-fire bursts. But for deliberate portraits or key moments, that extra resolution turns your phone into something much closer to a dedicated camera.
There is a catch: high-res photos consume more storage space, so they are not a “set and forget” option. Use them deliberately—for portraits, product shots, or any scene you plan to crop. If you intend to reframe heavily, consider opting for optical zoom or physically moving closer instead of depending on digital cropping alone. For casual social snapshots, standard resolution remains fine; your gallery stays lighter, and the Pixel’s default pipeline is more than capable of delivering good results without tweaks.

4. Turn on Rich color and Quick access for edit-free photos
If you find yourself constantly bumping saturation or tweaking temperature in an editor, you are fighting problems the Pixel can solve at the capture stage. Hidden inside the camera settings is a toggle called Rich color in photos, which moves from standard sRGB to a wider color gamut and boosts vibrancy in your images. According to one reviewer, after enabling this and adopting a few other tweaks, they noticed that many photos were finally compelling straight from the camera without extra work.
To turn Rich color on, tap the settings gear in the viewfinder, go to More settings, scroll to the Photo section, and toggle Rich color in photos. Pair this with Quick access controls, which surface sliders for brightness and white balance when you tap the on-screen circle, so you can fine-tune exposure on the fly instead of digging through menus. This combination is ideal for travel, family events, and food photography—contexts where you want natural, detailed images and minimal time spent editing later. For flat product shots or work documentation, standard color may remain more predictable.