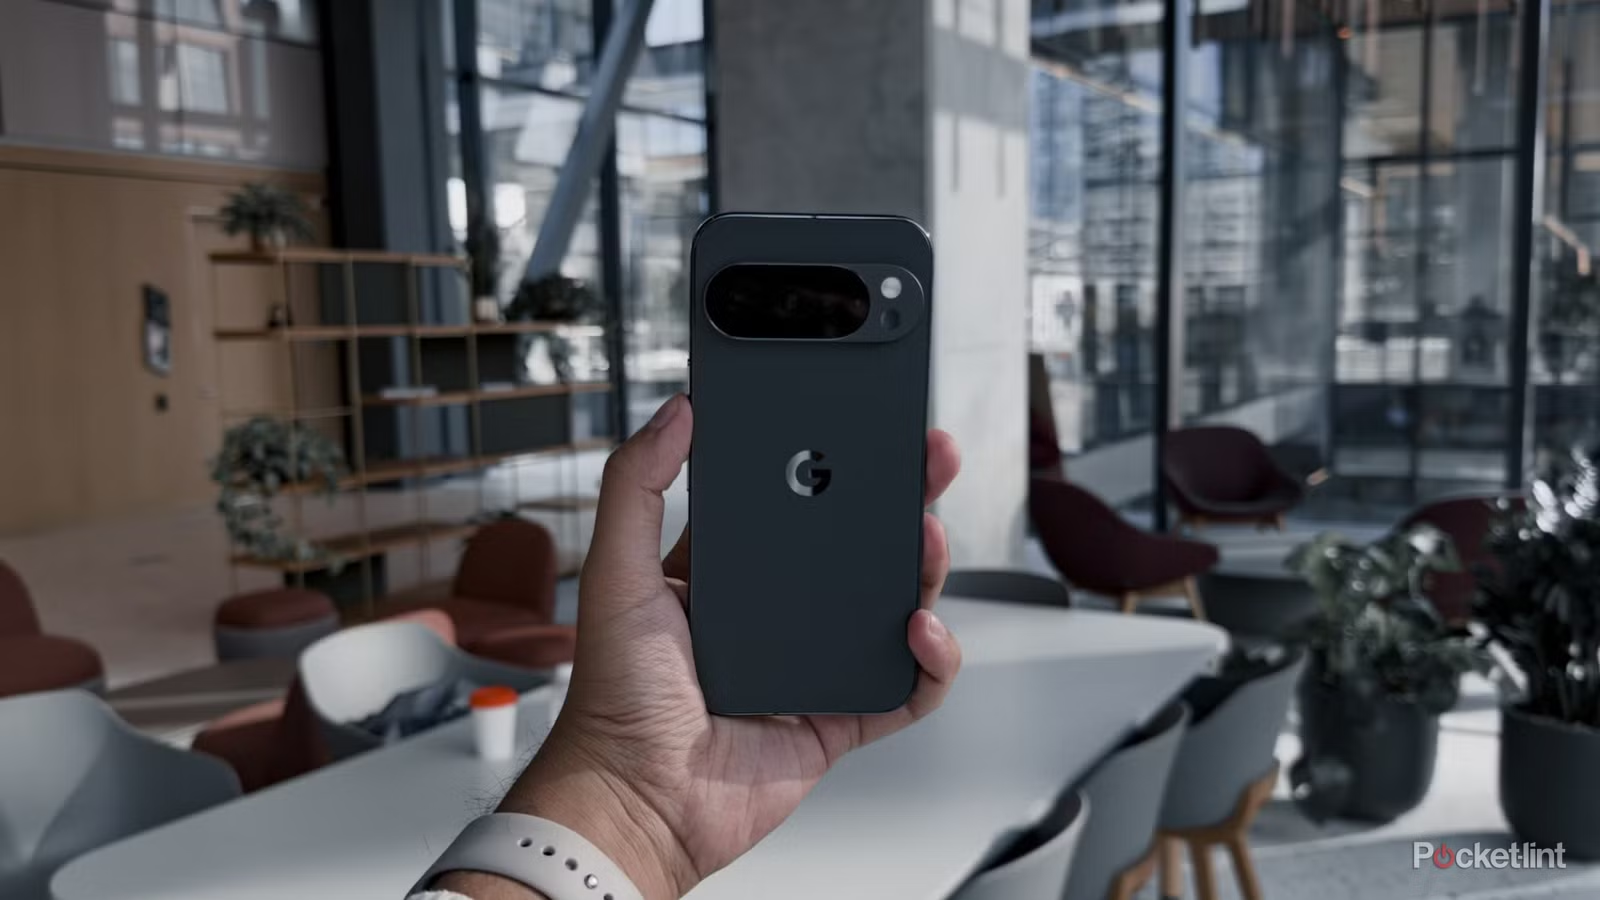

Why these Pixel camera settings matter before you press the shutter
Pixel camera settings are built to balance ease of use with computational photography, and learning a few specific tweaks lets you turn reliable point-and-shoot results into sharper low-light images and more flattering, accurate portraits without needing heavy editing or professional experience. Even if you are a casual user, small changes in your Pixel camera settings can noticeably improve detail, focus, framing, and overall image quality, especially once you know what the default modes are trying to do for general shooting situations.
If you own a recent Google Pixel phone and mostly leave the camera on default, this guide is for you. You already have one of the best smartphone photography tools in your pocket; now you’re going to tune it like someone who has spent time testing it in the real world. After shooting over 1,000 photos, careful adjustments under the hood showed that default settings, while reliable, leave some image quality unused. The good news: everything here is reversible, and you can always go back to how things were if you do not like the changes.
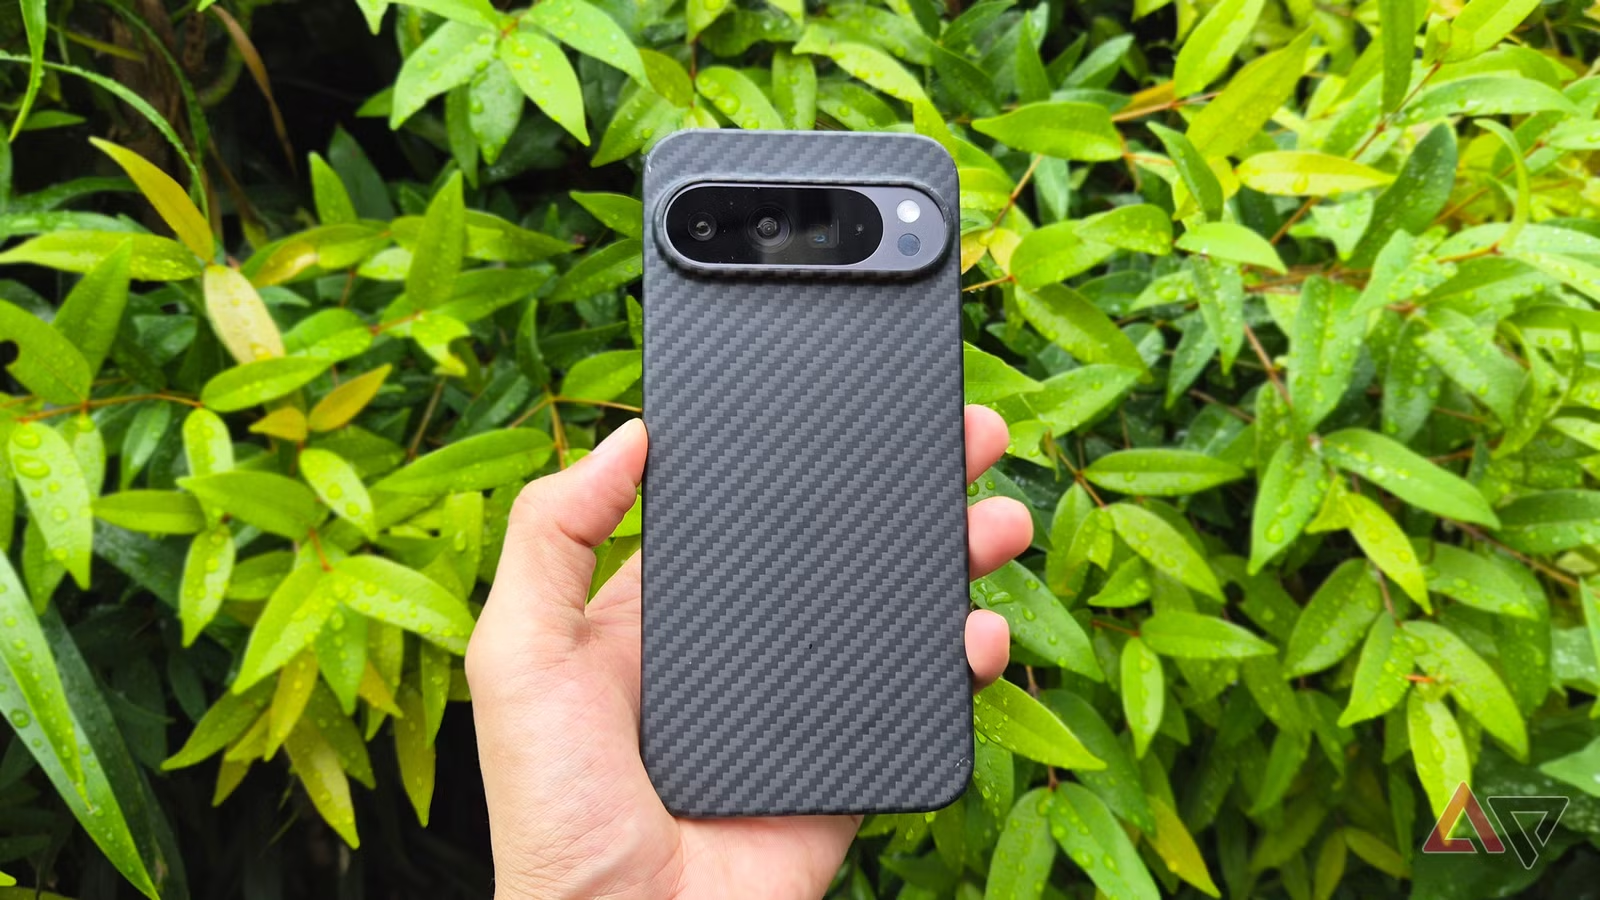
The four hidden settings that level up Pixel photos
Before we walk through the exact steps, it helps to understand what you are changing. These four settings do not turn your Pixel into a different camera; they help the phone’s computational photography do a better job of reading the scene. Two of them control how the camera thinks about composition and exposure, and two focus on getting cleaner detail and more consistent color from the sensor. Together, they cut down on the amount of fixing you need to do in editing apps, because the photo is closer to “done” the moment you capture it.
- Rich color in photos (for stronger, more consistent color rendering in stills)
- Golden ratio grid type (for precise composition and centered subjects)
- On-screen sliders for brightness, white balance, and shadows (for in-camera exposure control)
- 50 MP capture with deliberate focus taps (for detailed portraits with cropping headroom)
According to one long-term Pixel user who daily-drove a Pixel 9 Pro XL and shot over 1,000 images, "following a few practices and tweaking some parameters under the hood delivers more compelling photos." Another Pixel owner reported "an instant improvement" in pictures after changing grid type to Golden ratio and using framing hints. Those are the kinds of gains you are aiming for: noticeably better sharpness, cleaner framing, and more natural portraits, without changing phones or learning complicated editing software.

Step-by-step: tweak your Pixel camera for sharper portraits and fewer edits
Work through these steps in order once, and then you can forget the menus and focus on shooting. Think of it as setting up the camera so future photos automatically look closer to how you imagine them. The only real prerequisite is that you can open your Pixel’s camera app and access the settings via the small gear icon; everything else is a few taps. The only caveat: higher-resolution and more aggressive processing can be slower, so you’ll trade a tiny bit of speed for quality in some cases.
- Open the Camera app and tap the settings gear icon in the viewfinder, then tap More settings (three dots) and toggle on “Rich color in photos” under the Photo section to improve color depth and consistency in your images.
- In the same Camera settings area, find “Grid type” and change it to Golden ratio so your viewfinder shows a non-uniform 3x3 grid that makes it easier to place subjects at the true center or along pleasing lines.
- On the page that includes framing hints and grid ratio, enable the setting that adds on-screen sliders when you tap the circle in the center of the screen, giving you live controls for brightness, white balance, and shadows before you take the shot.
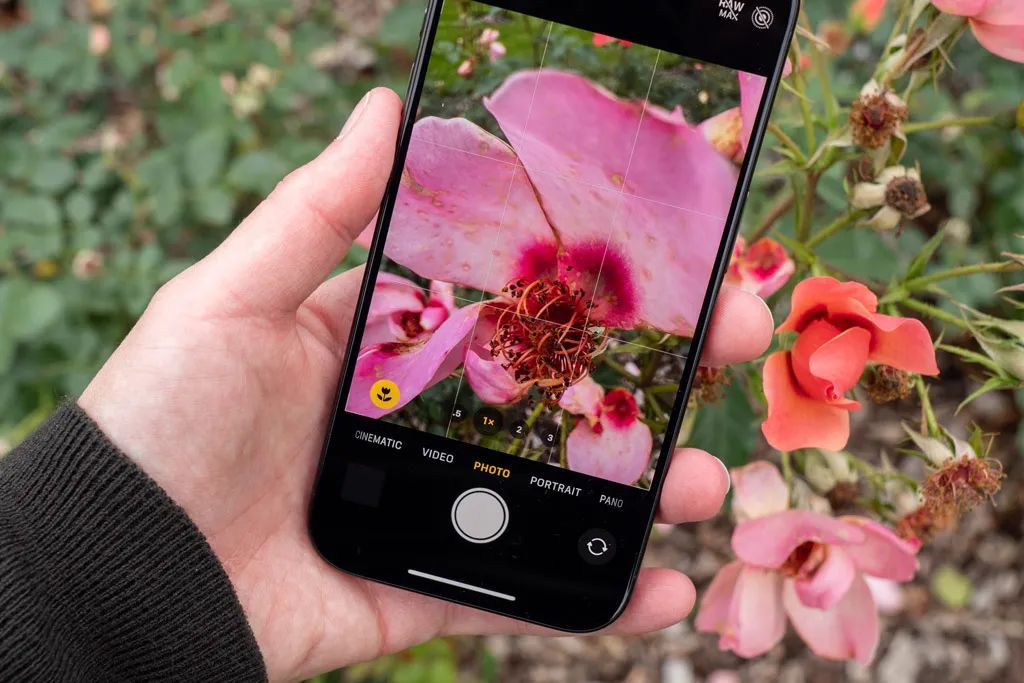
- When shooting portraits or detailed scenes, switch your main camera to 50 MP mode for higher resolution, wait a brief moment after changing zoom or lens so the autofocus can settle, and then tap directly on your subject in the viewfinder to lock focus and get sharper, more crop-friendly results.
One major gotcha people run into is treating zoom like a simple slider. If you jump from 1x to a telephoto lens and hit the shutter immediately, the software may still be hunting for focus, leaving you with a soft subject. The fix is simple: give the viewfinder a split second to settle and tap on the person’s face to enforce the focal point. Another hidden mistake is using fractional zoom values near a lens’s native focal length, like 4.5x instead of 5x; this pushes the camera into digital zoom, adding grain and losing fine detail, especially in low light. Stick to the whole-number zoom stops to preserve optical quality whenever possible.
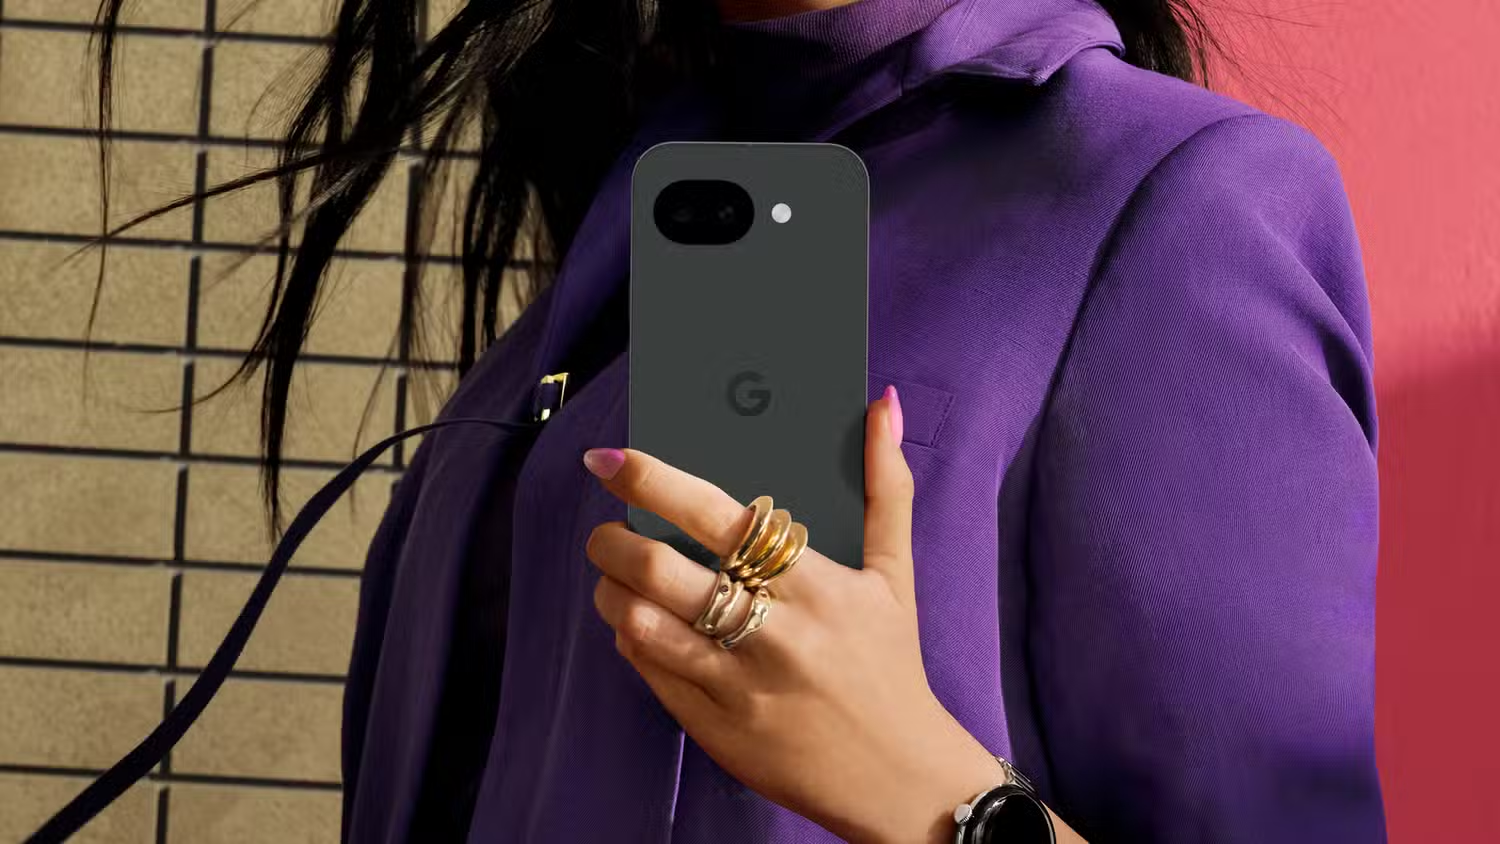
Portrait mode tweaks and everyday smartphone photography tips
For portraits, the 50 MP setting on the main camera is slower to process but offers noticeably better detail and room for cropping later, especially when lighting is good. Combine that with a quick tap on the subject’s face to lock focus, and you reduce the risk of blurry eyes or a soft subject. That kind of deliberate focus is a quiet portrait mode tweak that makes your Pixel behave more like a dedicated camera in terms of subject sharpness, while still using computational photography to handle background blur and exposure.
On the composition side, switching to a Golden ratio grid helps you stop guessing whether something is centered or placed well in the frame; many people discover they were slightly off-center more often than they thought. Turning on framing hints, especially the level indicator, keeps horizons straight so you do not have to fix tilts later in editing apps. When you add the on-screen sliders for brightness, white balance, and shadows, you can see how tweaks affect the scene in real time and spend more of your shooting time getting an image you like in-camera, instead of opening a separate editor afterwards.
Is it worth changing your Pixel settings?
Default Pixel camera settings are reliable for everyday use, but small adjustments like rich color, Golden ratio grids, live exposure sliders, and high-resolution portrait capture make your photos look more deliberate and polished. Once you have done this short setup, you will notice an instant improvement in framing and color, and over time your portraits will hold up better when you crop or view them on larger screens. Watch for the two main pitfalls: shooting the moment you switch lenses, and leaning on fractional zoom values instead of the camera’s native optical stops. Avoid those, and you will get the benefit of more detailed, well-composed shots with less time spent fixing things later—while still having the option to fall back to defaults if these changes ever stop matching your style.