
Know what Wi‑Fi dead zones are and what you already have
A Wi‑Fi dead zone fix is any change to your existing network layout, antenna orientation, or access point placement that restores wireless coverage in areas where devices previously could not reliably connect. If parts of your home are online while others drop calls or time out, this is for you. The main prerequisite is that you already have a router—and maybe a spare one—plus basic access to power outlets and a bit of patience. Many dead zone issues come from layout and physics, not from weak hardware, so the caveat is that you must be willing to move things around before you spend money.
Before touching anything, walk around your home with a phone or laptop and note where the signal drops or streaming stalls. Pay attention to walls, floors, and big obstacles like appliances or a detached garage. One case study describes a two‑story house with an entire second, empty house between the main home and the backyard, which completely blocked the backyard signal. That story shows why understanding your home layout is step one: every house is different, and guessing without a mental map usually means you just move the dead zone from one place to another.
Use antenna and router placement to squeeze more coverage
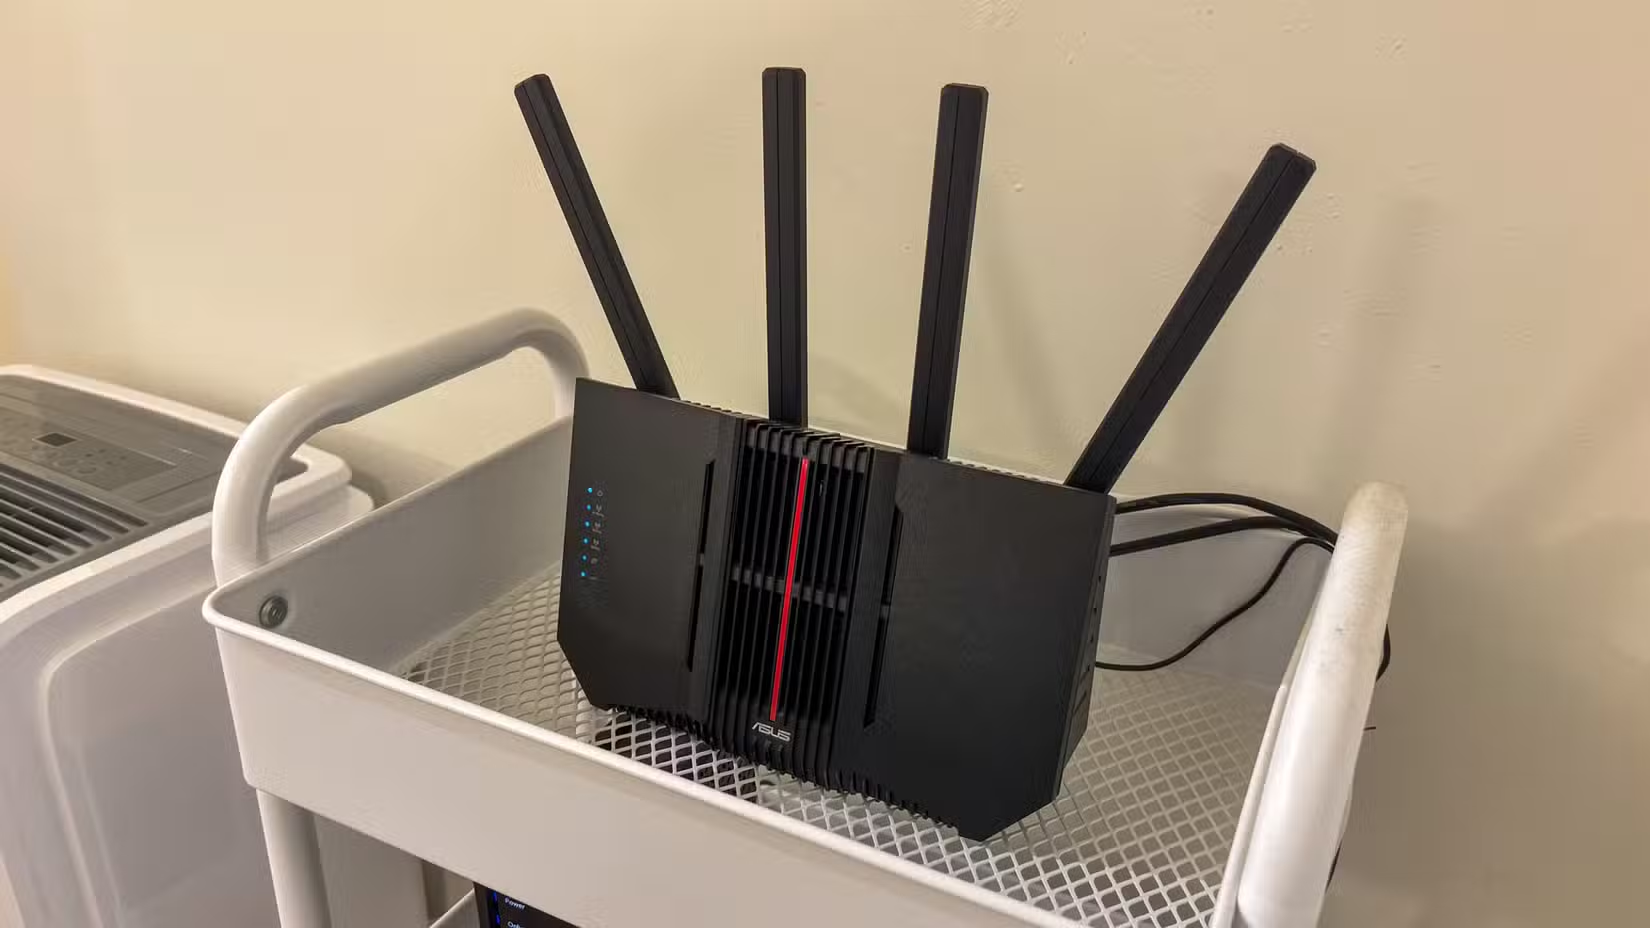
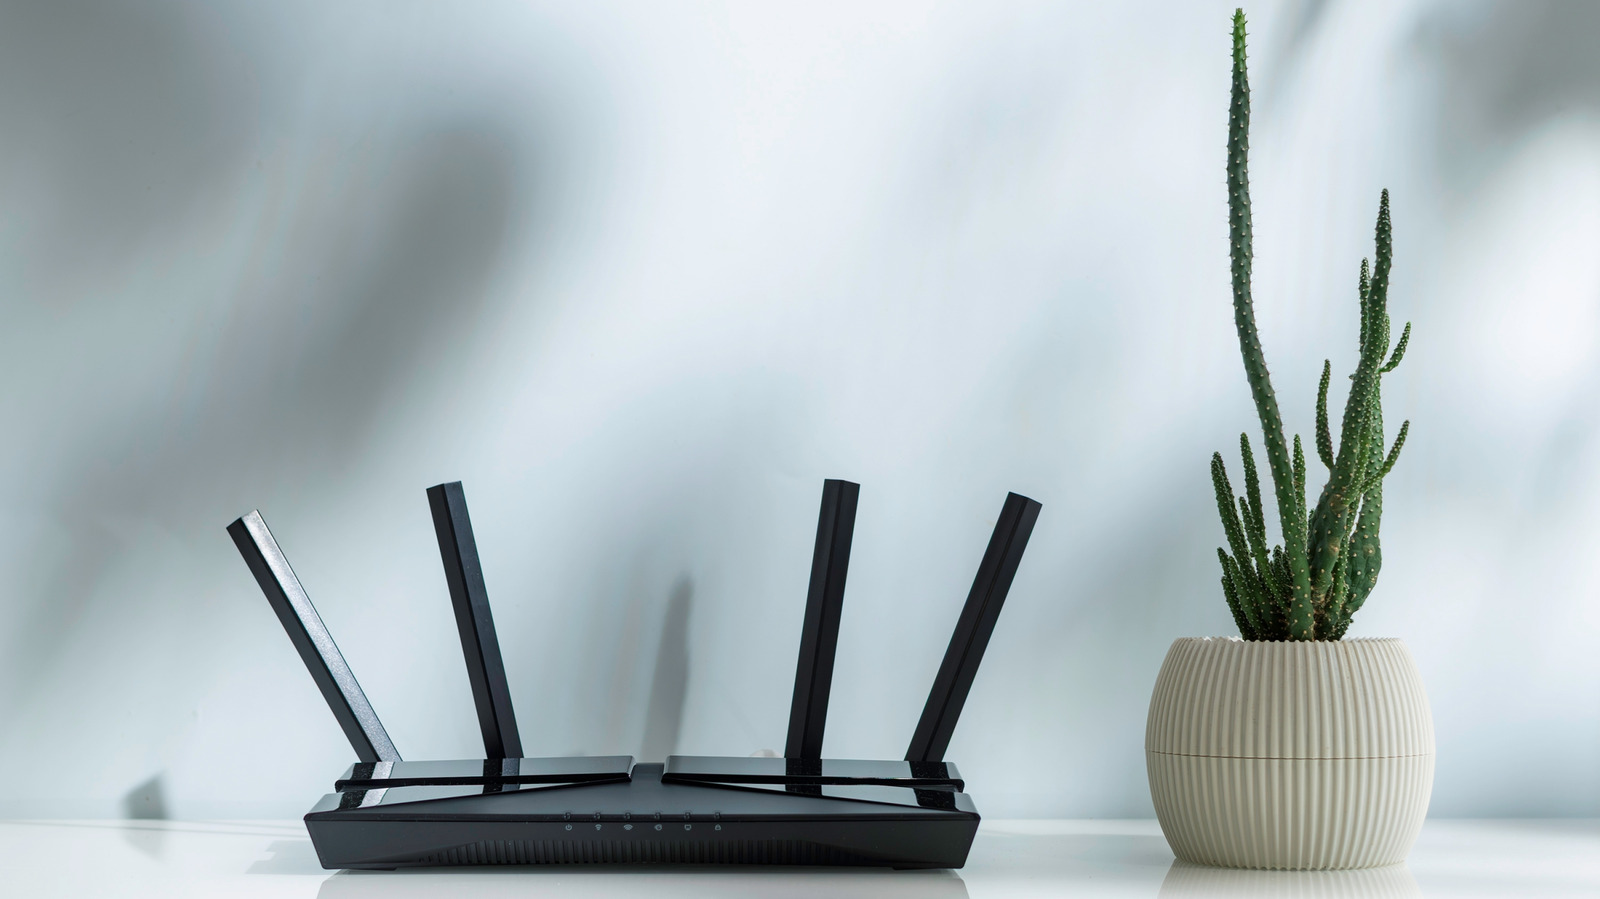
Before running cables or adding access points, see how far you can go by improving router antenna positioning and placement. Most router antennas are omnidirectional, and the signal is strongest perpendicular to the antenna, not along it. A vertical antenna radiates signal horizontally, which is ideal for covering the floor it sits on, while a horizontal antenna pushes signal up and down between floors. That means you can choose orientation based on whether you care more about the same floor or multiple levels.
Place the router as centrally as possible in the area that needs coverage, elevated on a shelf, and away from large metal objects. In one real‑world example, moving a router toward the backyard on a high shelf improved coverage outside but made downstairs coverage worse, effectively trading one dead zone for another. A common mistake is thinking that pointing antennas toward the problem room will beam signal like a flashlight. One person tried angling antennas toward a backyard and even built a foil reflector, only to see no improvement. The takeaway: aim for height and centrality, not “pointing” antennas at a room.
Modern routers also broadcast on multiple bands. The 2.4 GHz band travels farther and goes through walls more easily, while 5 GHz (and 6 GHz on newer gear) offers faster speeds but less range and more sensitivity to obstacles. If your dead zone is far away or behind many walls, expect 2.4 GHz to be the band that reaches there at all; chasing perfect 5 GHz speeds in a distant room is often unrealistic without adding a closer access point.
Move mesh nodes and avoid the most common placement mistakes
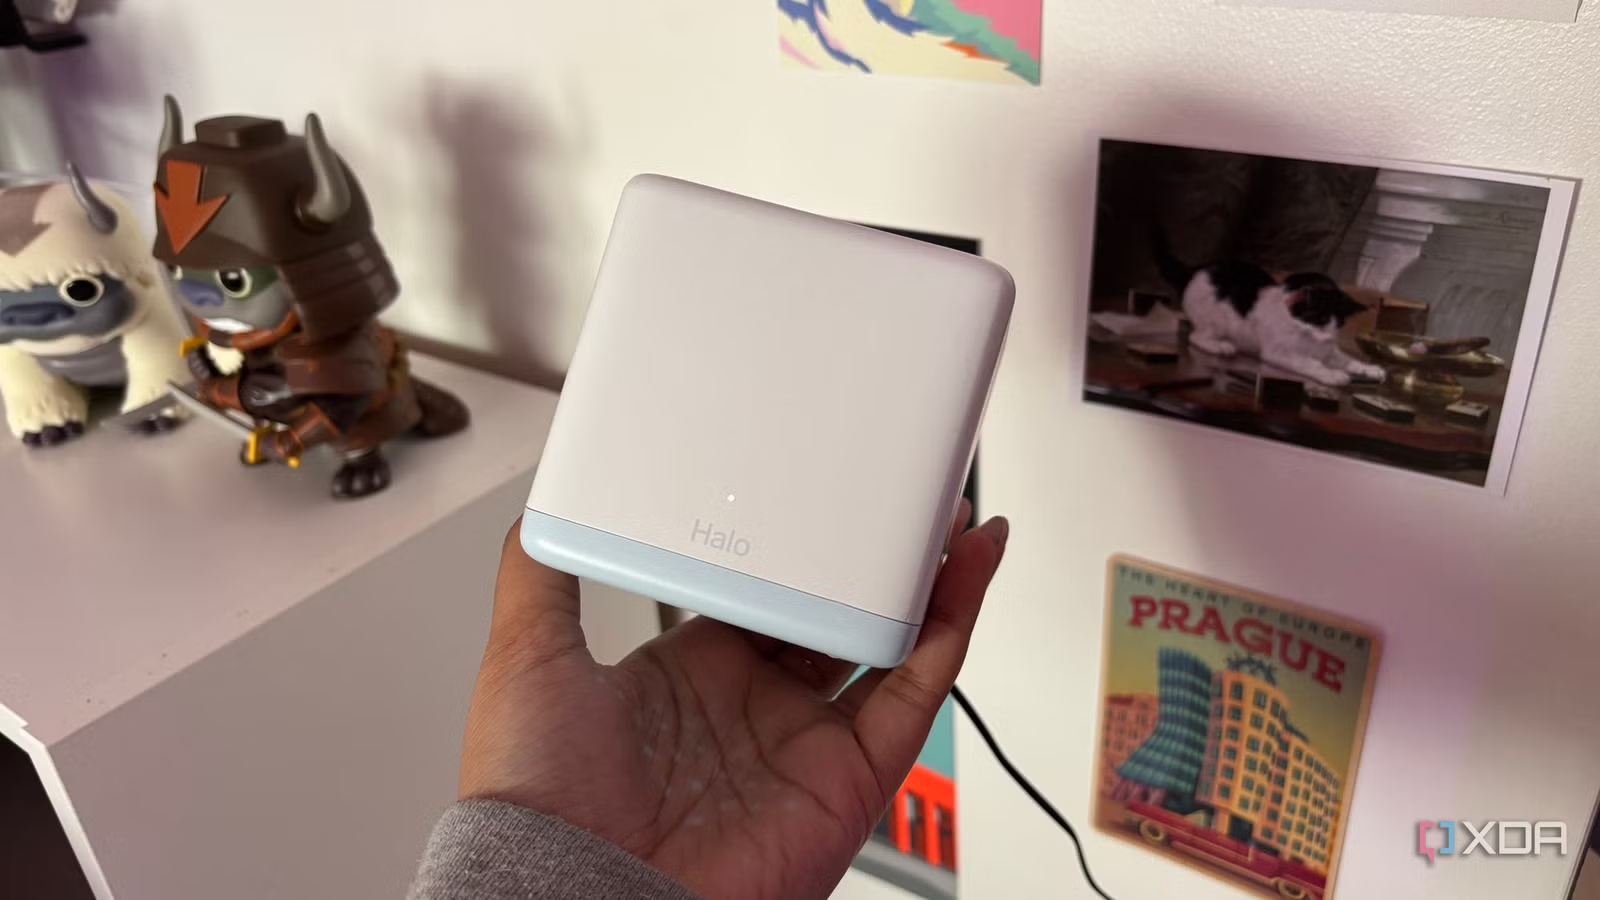
If you already own a Wi‑Fi mesh system, treat node placement as your main tuning knob, not something you set once and forget. One user’s first reaction to stuttering pages and loading spinners was to assume their nearly new mesh system was broken or obsolete, but repositioning mesh nodes alone solved their dead zones and lag. According to one report, “by moving existing nodes just a few feet or removing an excess node entirely, you can achieve an astronomical performance jump without spending any money”.
Here’s the big gotcha: more overlap does not mean better coverage. Putting multiple nodes close together so their signals “stack” can cause oversaturation and co‑channel interference, where access points scream over one another and force constant retransmissions. Another common mistake is placing a mesh satellite directly inside the dead zone. If that room gets almost no signal from the main node, the satellite there also cannot get a clean backhaul, so it cannot revive the room. Instead, position nodes where they still see a strong signal from the previous node—often halfway between the main router and the dead zone—then test again.
Also be careful about assuming new hardware is the answer. It is easy to think that unboxing a brand‑new multi‑node kit and plugging satellites directly where Wi‑Fi is failing will fix everything, but you can still see speeds tank if geometry and placement are poor. Not every networking problem is a hardware deficit that needs a bigger retail box or higher specifications; the true bottleneck is often your home’s shape and materials.

Reuse old hardware and a cheap cable for a second access point
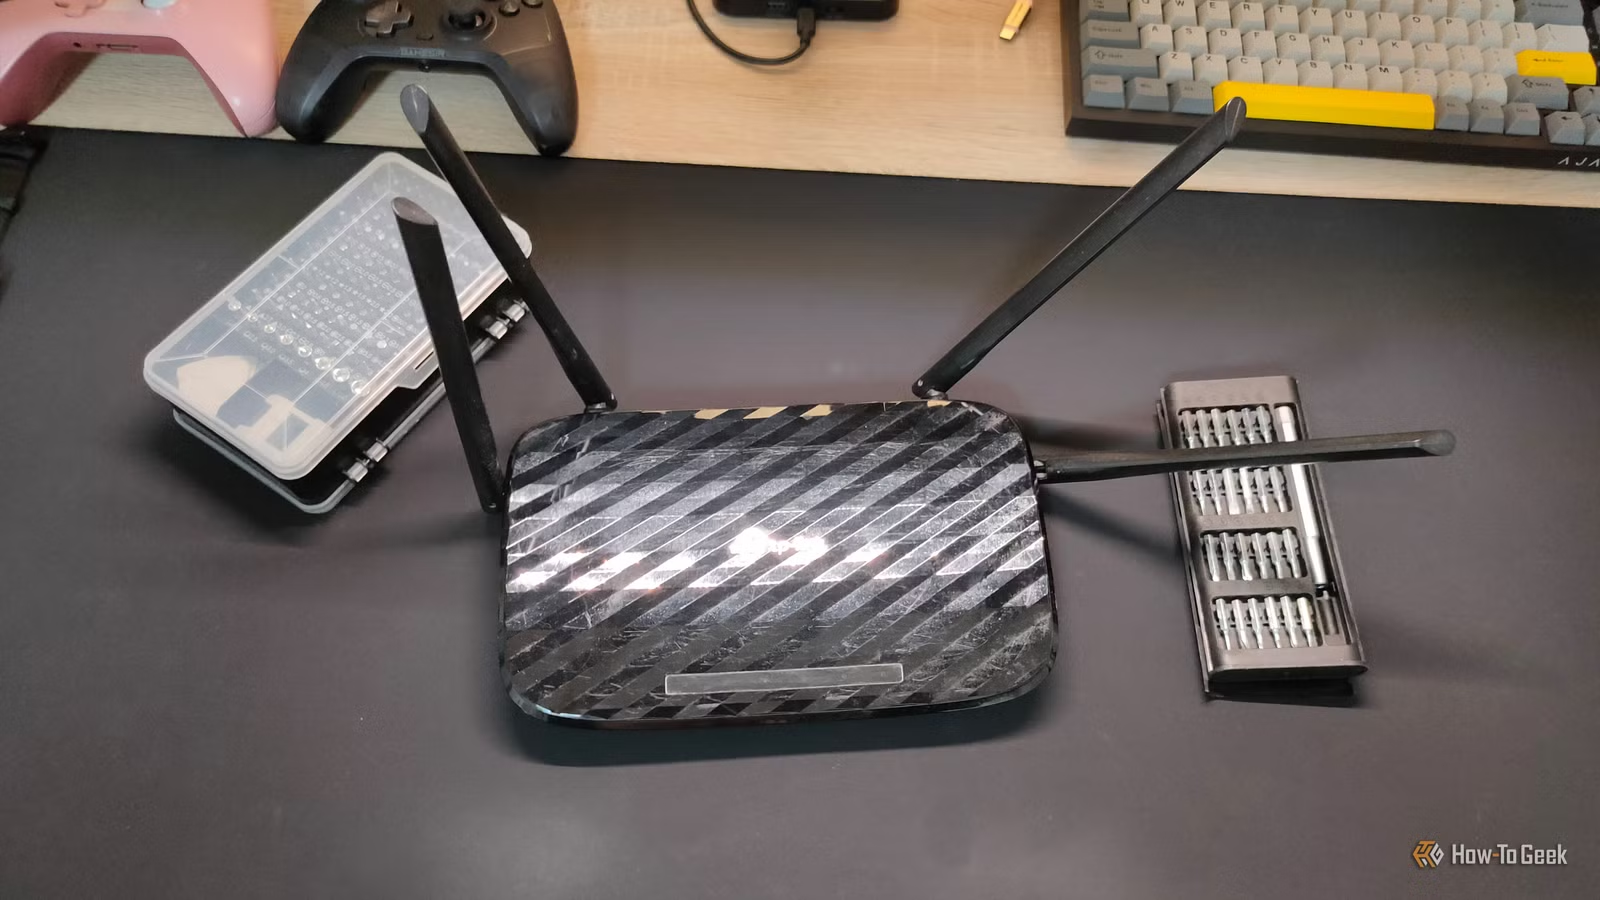
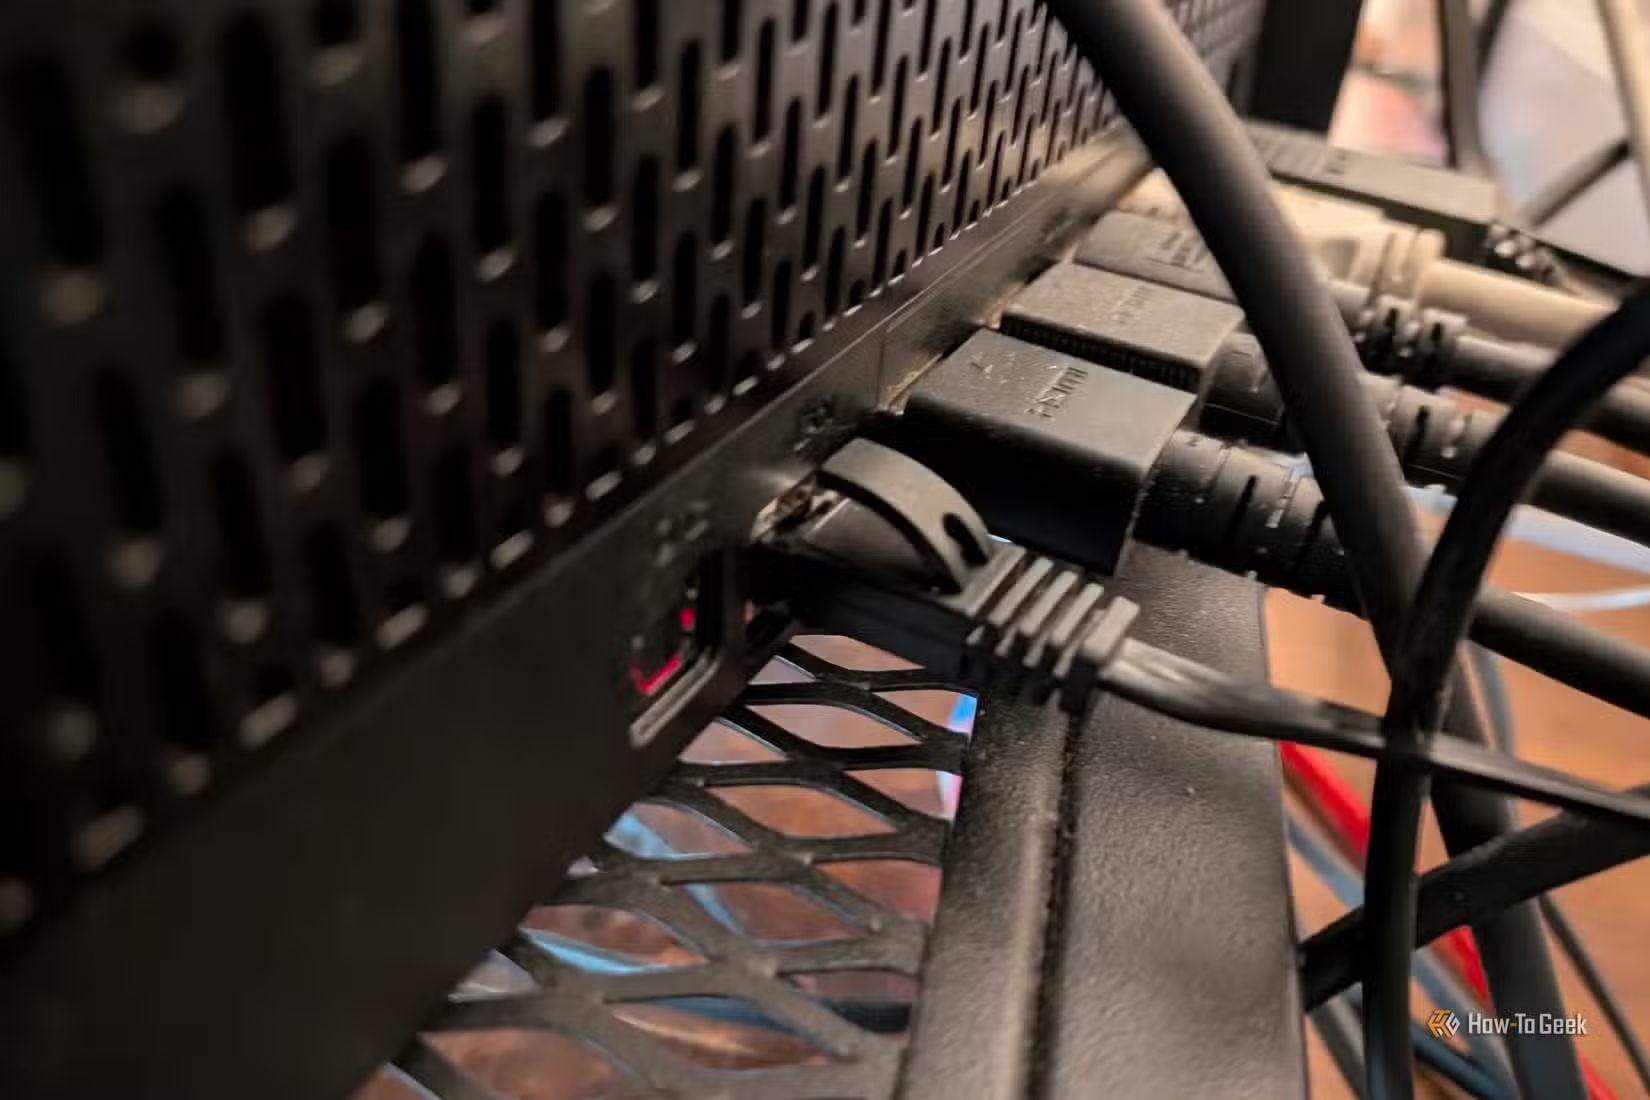
If careful placement still leaves a stubborn dead zone, the next low‑cost move is to add a wired second access point using what you already own. One practical example involved asking if an old ISP‑provided router was still around so it could be turned into a secondary access point—and it was. After a quick trip to buy the cheapest 100 ft Ethernet cable they could find, they had everything needed for a simple cable run and a new wireless access point with wired backhaul.
- Map your layout and pick a spot near the dead zone where you can place a spare router or access point with power available.
- Run an Ethernet cable from a LAN port on your main router toward that spot, using existing holes or paths through walls when possible.
- Connect the other end to the spare router, place it as close as possible to the side of the wall or building facing the dead zone, and configure it as an access point.
- Test Wi‑Fi in the target area; if the signal is strong, fine‑tune placement by moving the access point slightly until speed and stability are acceptable.
In the layout with the extra house blocking the backyard, they plugged one end of the cable into the main router, routed it through an existing wall hole to the second house, and put the old router near the backyard‑facing wall. The result: the backyard gained a strong and reliable signal suitable for calls and even streaming, with only occasional buffering. The key is that the wired backhaul bypasses walls or entire buildings that radio waves struggle to cross.
What to skip, and when optimization is enough
As you experiment, it helps to know which tweaks rarely move the needle. One person tried manually adjusting wireless channels to dodge neighbor interference, but found it did nothing, because modern routers are already good at picking the best channel on their own. Another example showed that moving the main router to one edge of the house to favor the backyard only shifted the dead zone indoors, making downstairs coverage significantly worse.
Budget‑friendly fixes often beat expensive upgrades. In the backyard example, a single budget router was never going to cover the whole property, and a full mesh system would have been ideal but out of budget. Instead of spending hundreds on new hardware, a spare router plus a cheap Ethernet cable provided a practical Wi‑Fi dead zones fix. Sometimes, a cheap Ethernet cable and an old router you already have lying around are enough to improve Wi‑Fi coverage. Not every problem needs new gear; changing placement is free, and the geometry of your home is often the real constraint.
The takeaway: learn your home’s layout, optimize router antenna positioning, move mesh nodes to where they still have a strong upstream link, and only then consider adding a wired second access point. If you do those things, many dead zones will disappear without buying a new router or an expensive mesh upgrade.