
What Router Antenna Placement Really Does for Your Wi‑Fi
Router antenna placement is the practice of orienting and positioning your router’s antennas and body so their radio waves spread efficiently through your home, reducing Wi‑Fi dead zones, improving speeds in problem rooms, and avoiding wasted signal trapped in walls, floors, or furniture; it matters for both single routers and mesh systems because Wi‑Fi behaves more like light or sound than a liquid that automatically fills every corner of your space.
If you’re tired of watching loading spinners or losing video calls in certain rooms, this is where you should start. Before you think about the latest multi‑band Wi‑Fi standard or a bigger mesh kit, remember that most home networking problems come from bad geometry, not weak hardware. Wireless gear tends to fail when it fights the physical laws that govern radio waves, not because its chips are underpowered.
The big caveat: you need a working router or mesh system. This guide won’t fix a faulty modem or a broken access point, but it can turn a mediocre‑feeling network into a solid one, using the equipment you already own. The payoff, when you get it right, can feel astronomical compared with the effort.
Understand How Antennas Broadcast so You Can Target Dead Zones
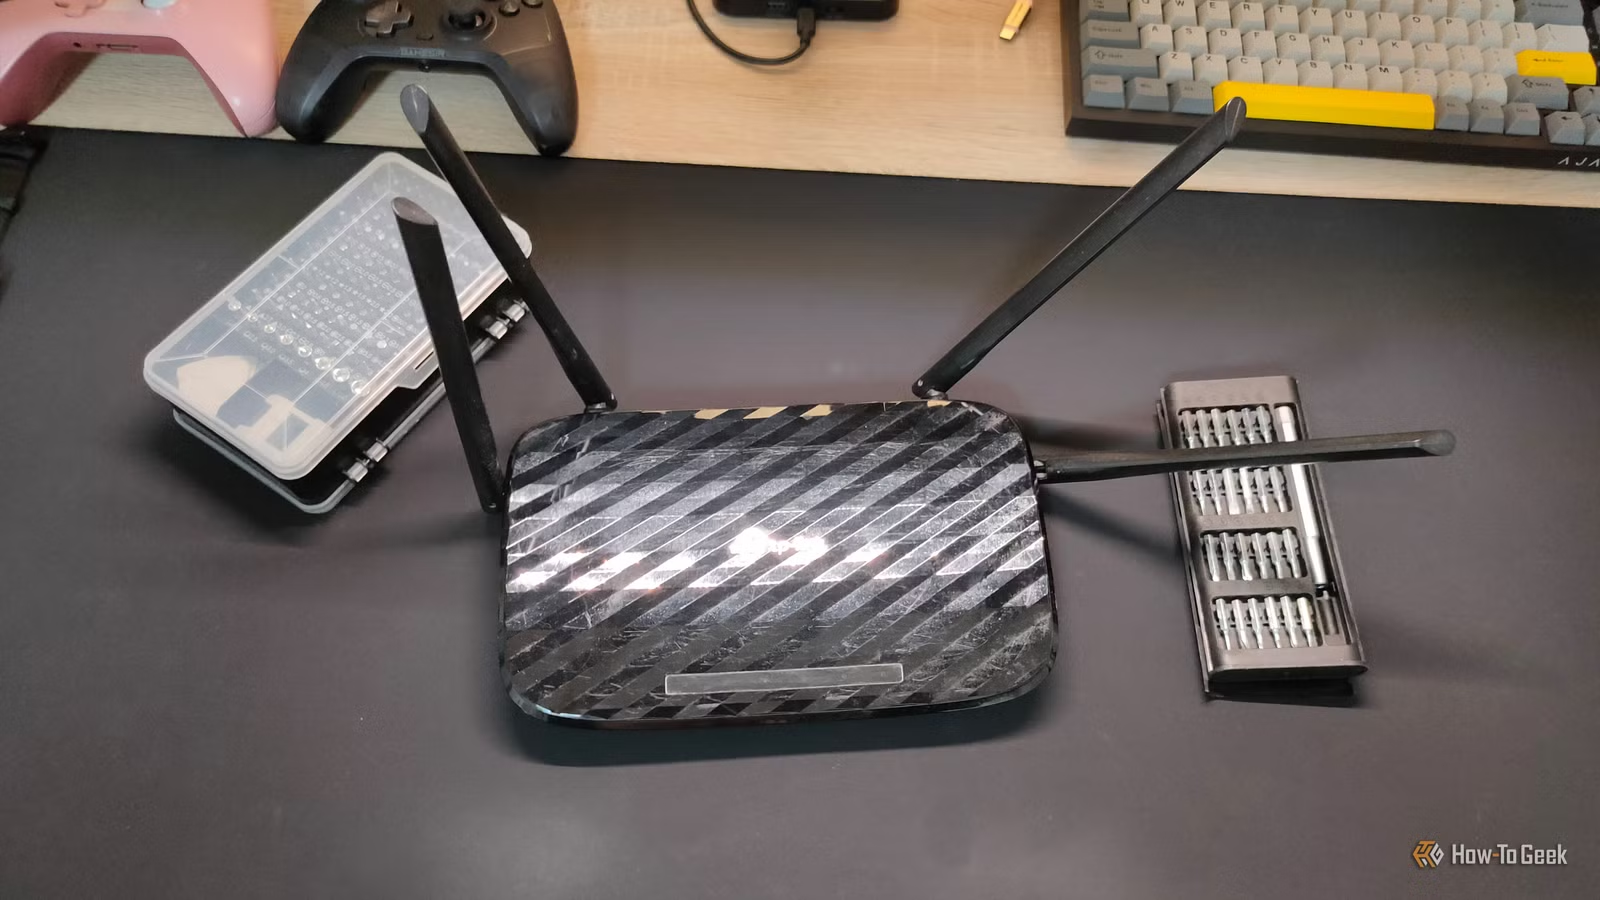
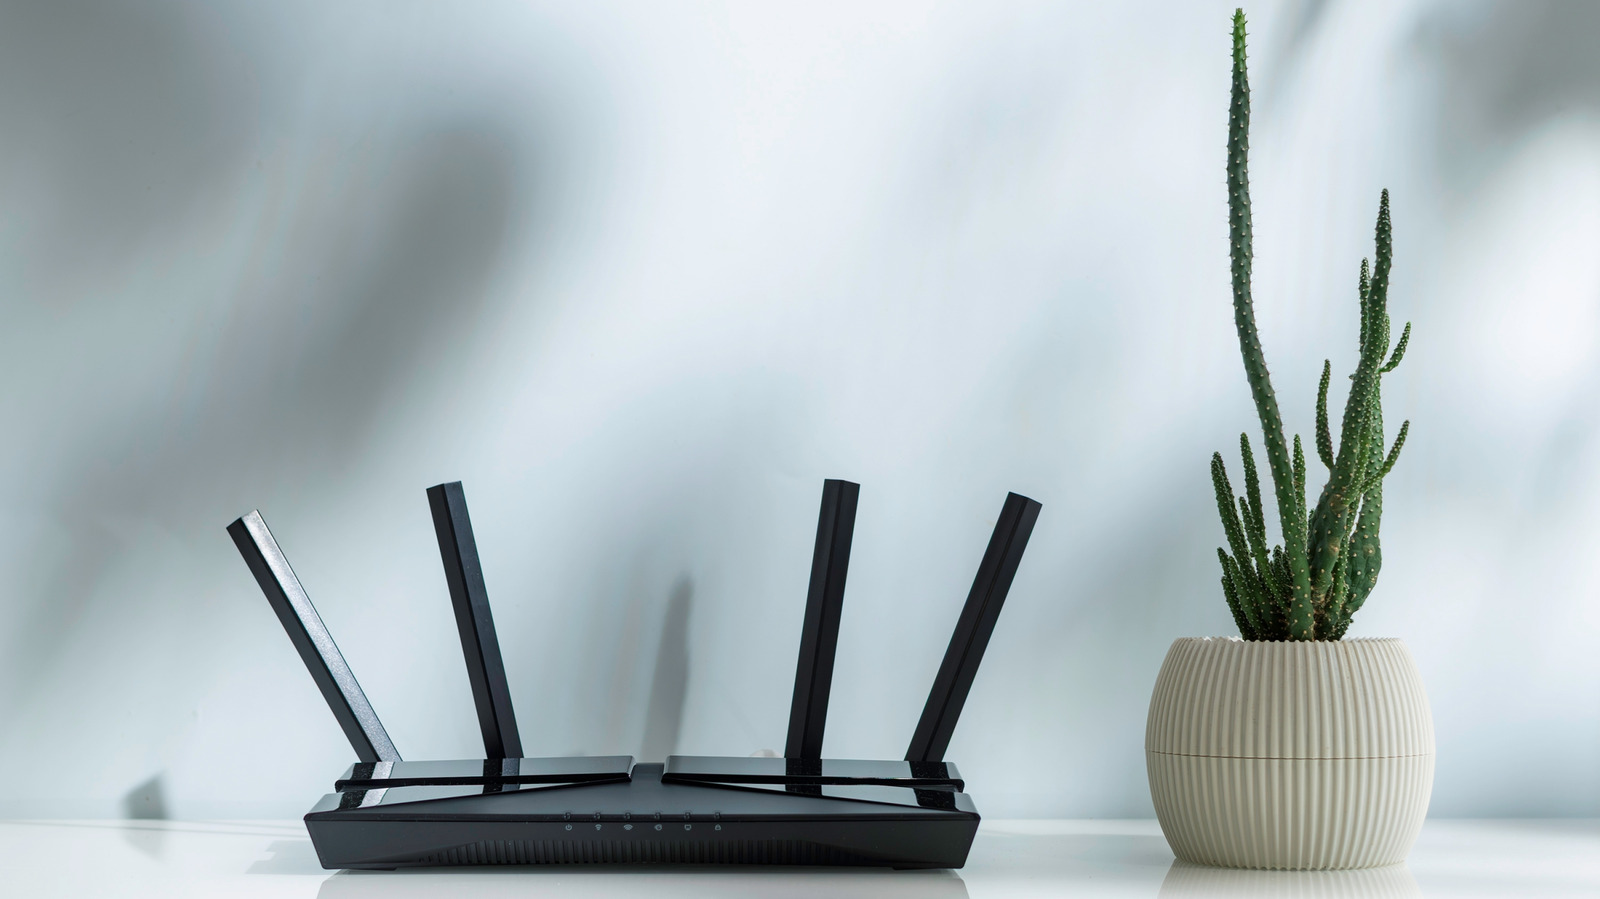
Most router antennas are omnidirectional, meaning they broadcast in all directions at the same time, with the signal strongest perpendicular to the antenna rather than along it. Think of the signal pattern as a doughnut around the antenna, not a laser beam shooting from the tip. This is why antenna orientation significantly impacts signal strength and the coverage pattern across your home.
When an antenna points straight up, the Wi‑Fi energy spreads mostly outward horizontally, which is ideal for covering the floor the router sits on. If you rotate it so it’s horizontal, that pattern flips and pushes more of the signal up and down, which can help devices on different floors in multi‑level homes. Understanding this lets you use antenna positioning as a tool: tilt for upstairs coverage, keep vertical for wide same‑floor coverage.
Modern routers often use 2.4 GHz for longer range and better wall penetration, while 5 GHz offers higher speeds but loses more energy to physical obstacles; newer tri‑band models add 6 GHz, which brings a big speed boost with near‑zero interference but shorter reach and more trouble with solid walls. In practice, you’re aiming your antennas so each band has the best chance to reach the rooms you care about, rather than blasting equally into spaces where no one uses Wi‑Fi.
Step‑by‑Step: Optimize Router Coverage and Mesh Node Placement
Think of this as rearranging light sources in your home. You’re not changing the bulb; you’re putting it where it can shine. The main mistakes people make are hiding routers behind electronics and pushing mesh nodes right into dead zones or clustering them so signals overlap too much. Those choices lead to blocked waves, oversaturation, and unstable roaming instead of the Wi‑Fi dead zones fix they hoped for.
- Map your problem areas. Walk through your home with a phone or laptop and note where Wi‑Fi drops or feels sluggish; you’re building a quick mental heat map.
- Move the main router toward the center of your living space. Avoid far corners chosen only because that’s where the ISP jack is, as diagonal travel through multiple walls mimics a thicker barrier and weakens the signal.
- Elevate the router. Place it on a shelf or stand, not on the floor, so its radiation pattern, which spreads outwards and slightly downwards, can reach the room instead of being absorbed by the foundation.
- Adjust antenna orientation. Set antennas vertical to improve horizontal coverage on the same floor, and tilt one or more horizontally if you need better upward and downward coverage for different levels.
- Check for obstacles. Avoid hiding the router or mesh nodes inside cabinets or directly behind big electronics, like televisions that behave like solid sheets of copper and shielding and block high‑frequency 5 GHz and 6 GHz signals.
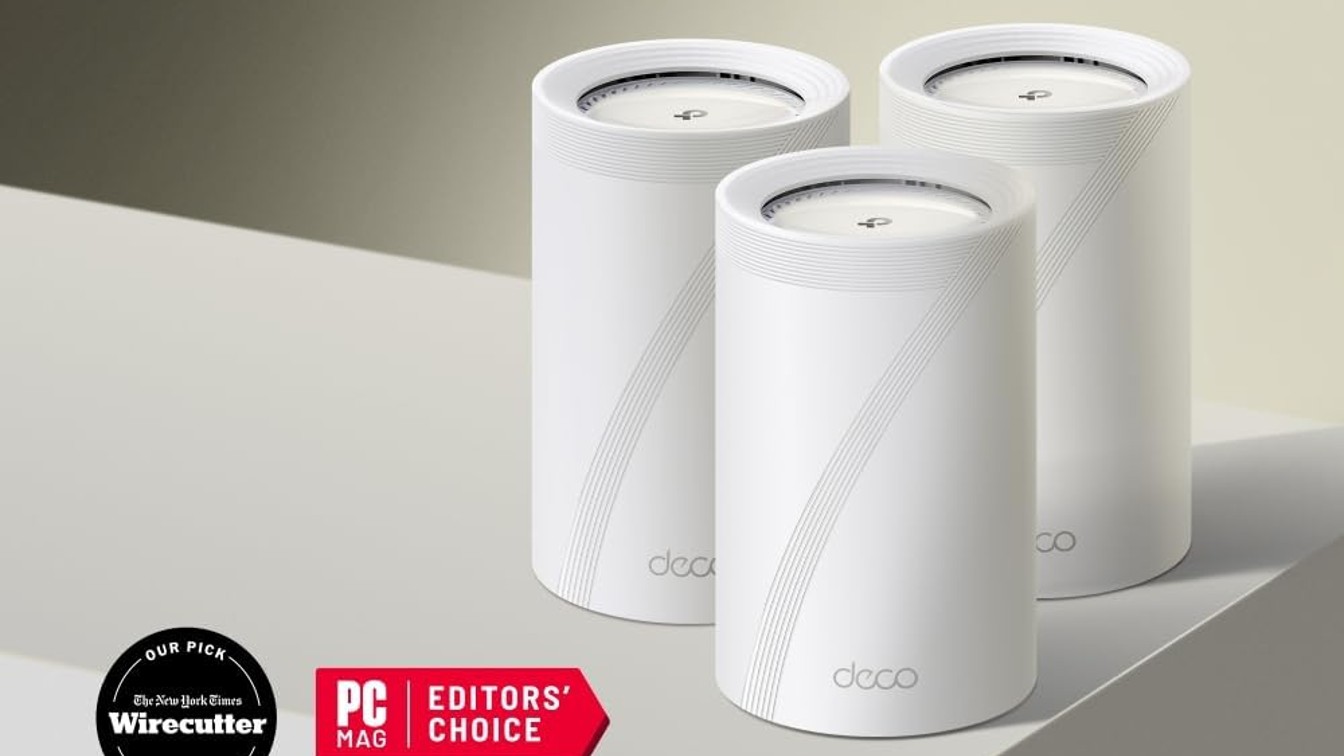
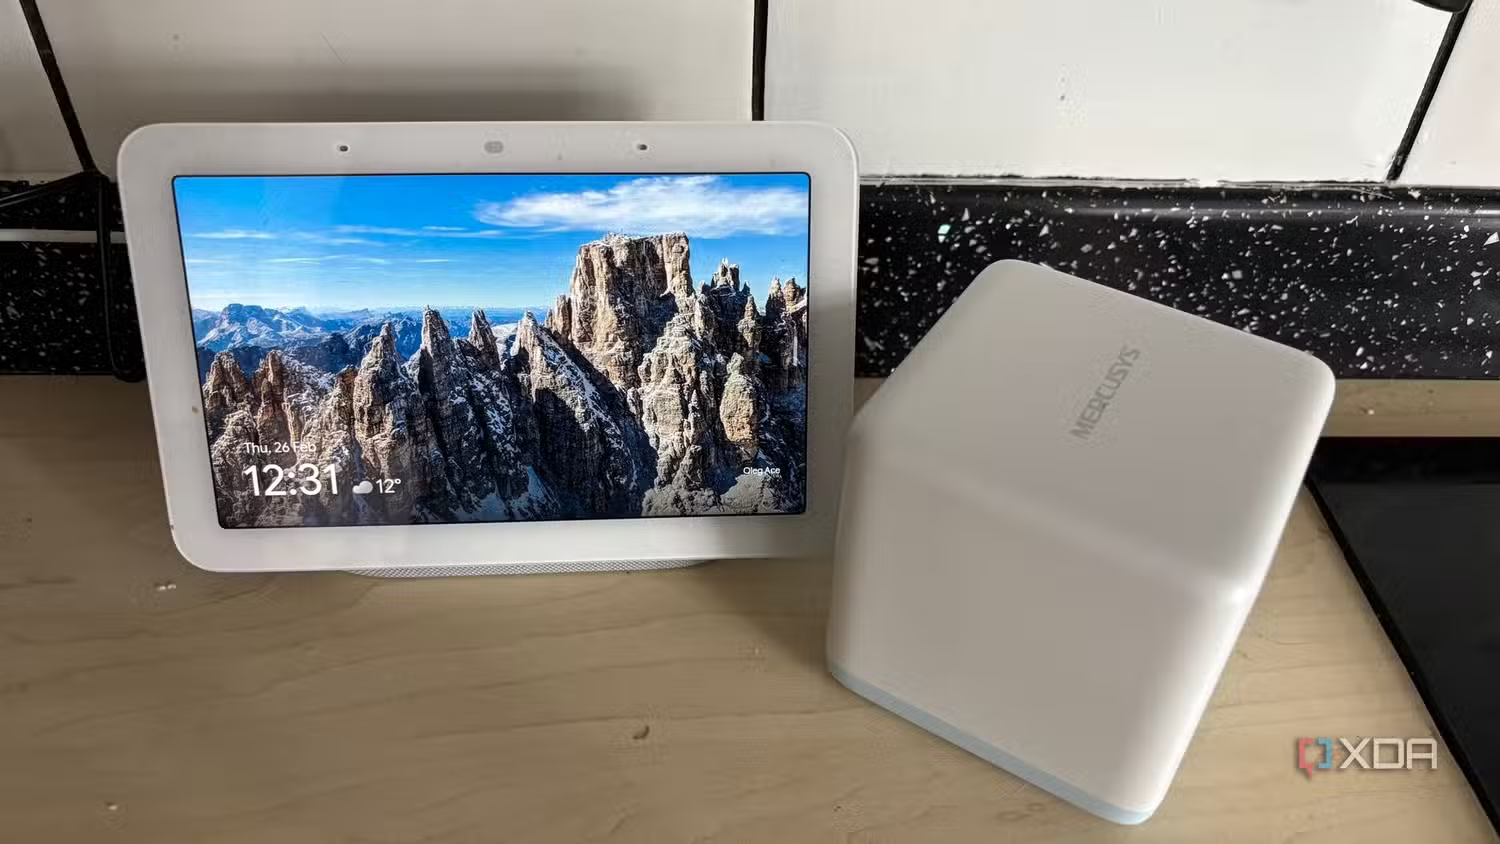
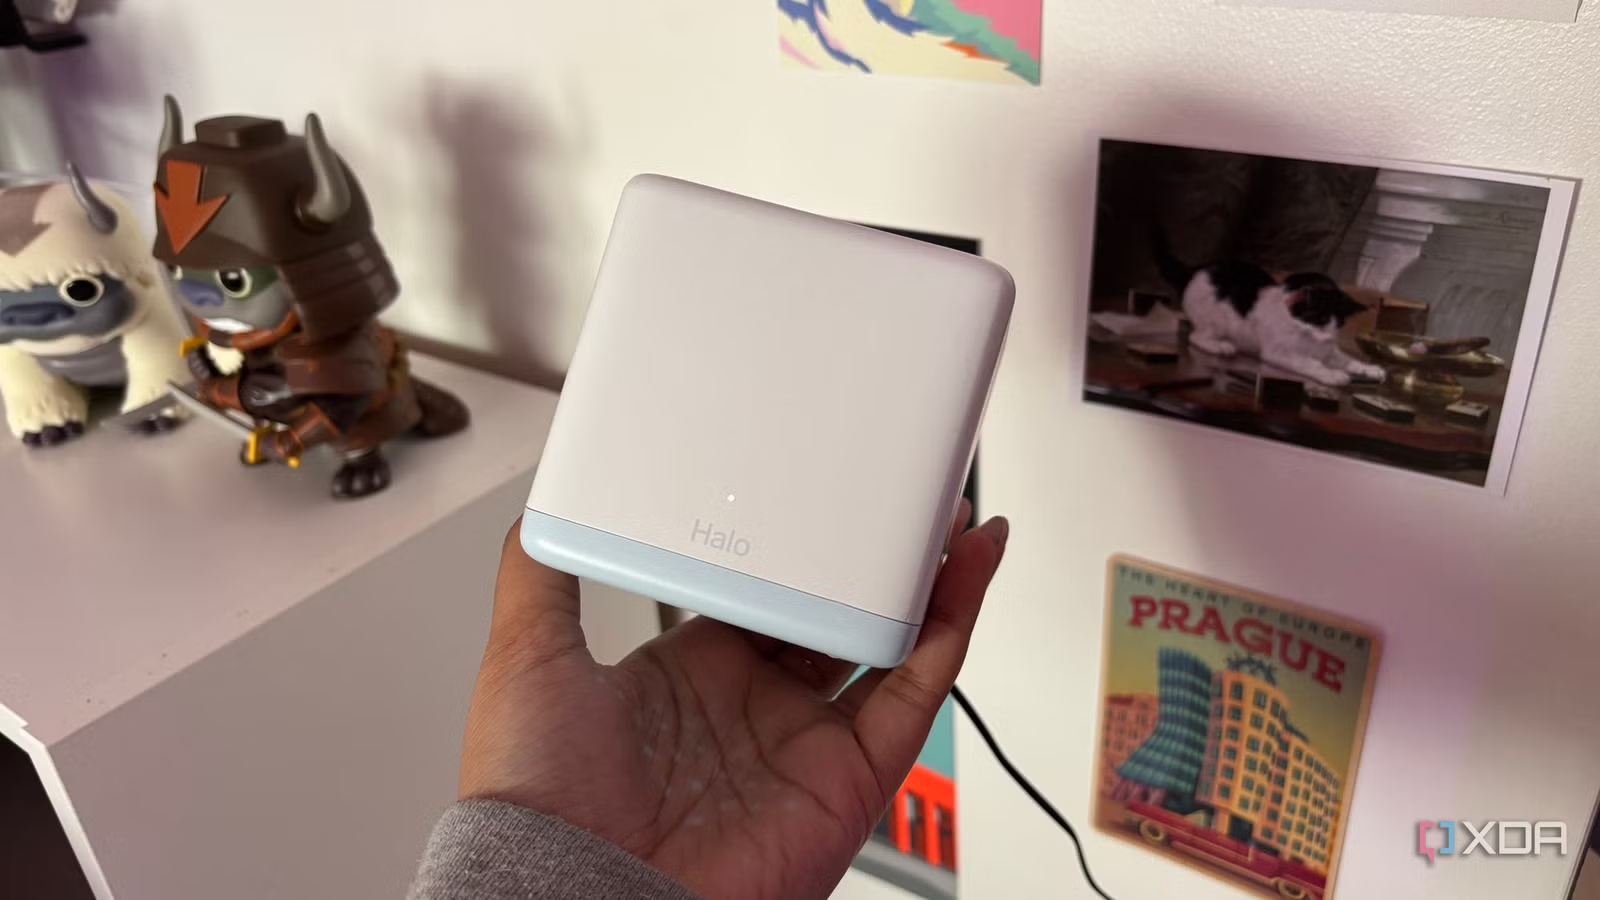
- Reposition mesh nodes halfway between the router and dead rooms, not inside the dead zones themselves. Mesh satellites are relay bridges and need a strong upstream backhaul; if they sit in already‑degraded areas, they only rebroadcast a weak, unstable signal with full bars but poor internet.
- Reduce node overlap. If nodes are clumped together, spread them out or remove an excess one to avoid co‑channel interference, where access points close together shout on the same frequencies and drive up packet loss.
- Test and fine‑tune. After each move, repeat your walkaround and note any improvement. Small changes of a few feet in node placement can produce an astronomical performance jump without spending any money.
The hidden gotcha is thinking more nodes or more overlap always means better coverage. When access points sit too close, they can cause devices to bounce between them, raising latency and breaking connections during important tasks. According to one detailed mesh deployment report, "placing too many nodes in a constrained environment creates co‑channel interference" and harms performance instead of improving it. You fix Wi‑Fi dead zones by giving each node clean air and a strong upstream link, not by piling signals on top of each other.
Why Strategic Placement Beats Constant Hardware Upgrades
It’s tempting to blame every lag spike on old hardware and eye an expensive upgrade, sometimes in the range of hundreds of dollars, to the latest multi‑band mesh standard. But when you unbox a new kit and plug satellites directly into the dead zones, you often see speeds tank anyway, because the new system is still fighting the same walls, floors, and furniture. Wireless networking is not a liquid utility that automatically fills rooms; Wi‑Fi behaves more like light or sound and needs clear paths.
Central, elevated router placement reduces dead zones more effectively than another retail box because you’re lining up the signal pattern with how you live. Elevation and placement are the real levers to optimize router coverage. When you move nodes a few feet, remove a redundant satellite, and avoid hiding them behind big metal surfaces, you turn wasted RF energy into usable coverage without changing any specs.
One user found that repositioning existing mesh nodes instead of replacing them repaired dead zones and made speeds faster across the entire home. That kind of result is common when you respect wave physics: the bottleneck is the layout, not the silicon. Changing placement is free and can deliver a Wi‑Fi dead zones fix that feels bigger than a generation‑to‑generation hardware jump.
Takeaway: Worth the Effort and What to Watch For
Learning a bit about antenna positioning and router placement gives you control over your home network instead of leaving you at the mercy of random signal shadows. Once you understand that the strongest output sits perpendicular to the antenna and that different bands behave differently through walls, you can target coverage at the rooms that matter instead of suffering through dead zones.
The effort is modest: map your weak spots, move the router toward the center, raise it off the floor, point antennas to match your layout, and place mesh nodes where they still see strong upstream signal. The main things to watch for are blocked lines of sight, clusters of overlapping nodes, and the urge to stash networking gear inside cabinets or behind large electronics.
If you keep those gotchas in mind, you can optimize router coverage with the hardware you already own and get a stable, fast network in the rooms you actually use. Before buying anything new, spend an afternoon rearranging antennas and nodes; your Wi‑Fi dead zones fix may already be sitting on your shelf.