
What These Wi‑Fi Tweaks Do and Who They Help
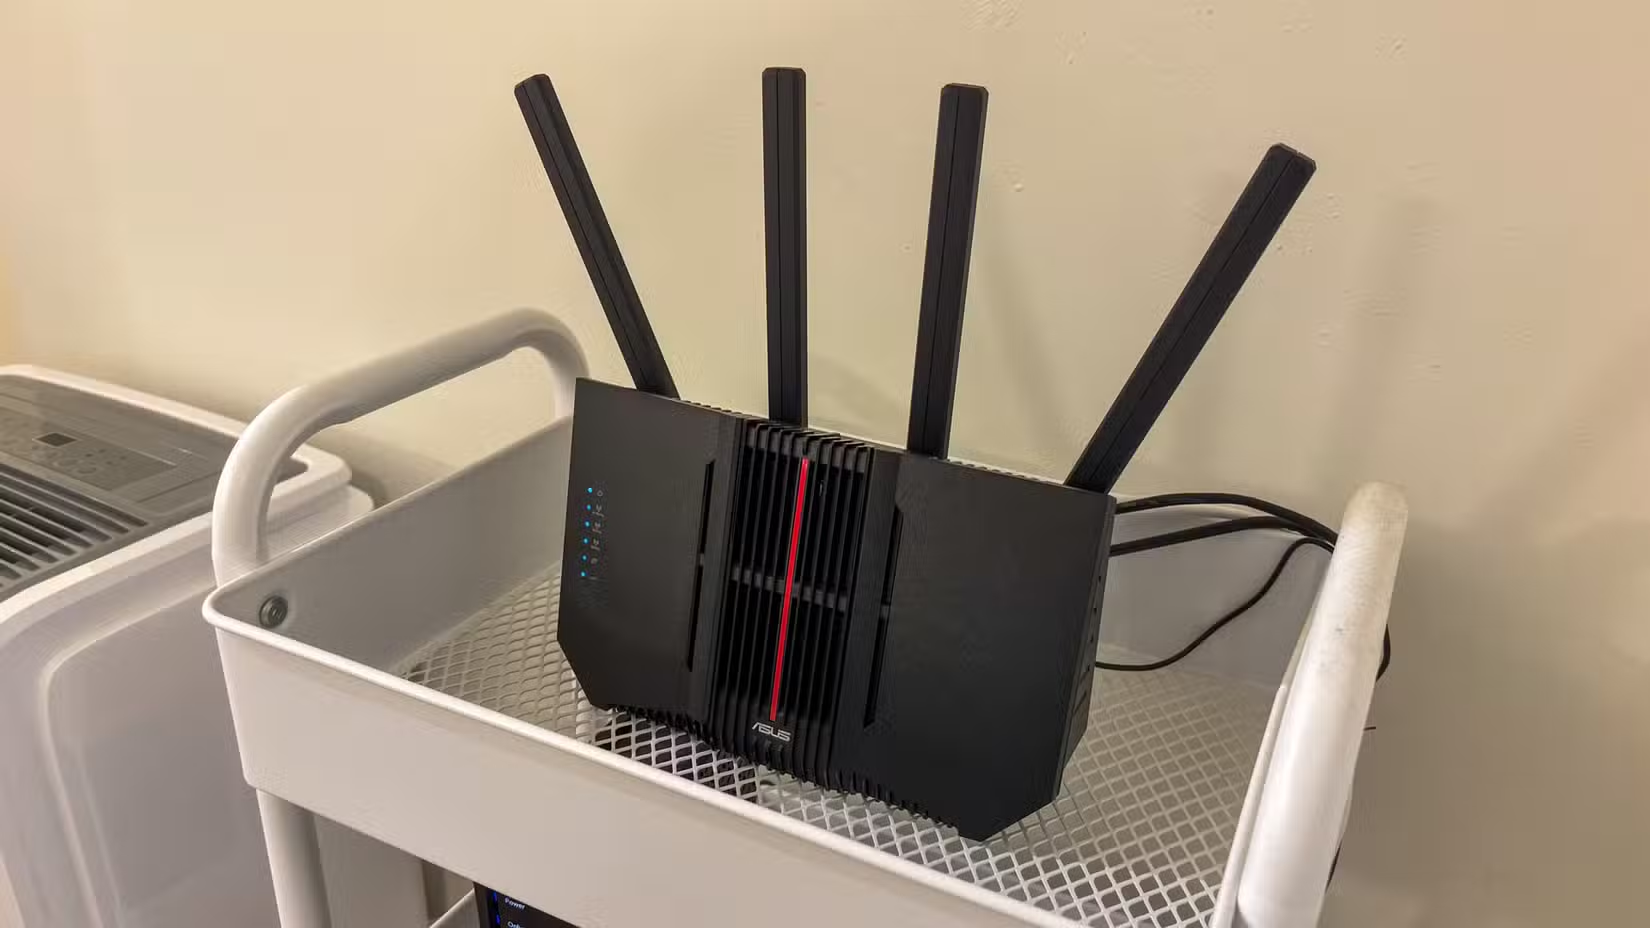
Simple Wi‑Fi tweaks are small changes to your router’s settings and placement, along with low-cost cabling, that improve home network speed, consistency, and coverage without replacing your existing equipment; they help everyday users fix dead zones at home and reduce dropped connections using Wi‑Fi channel optimization and budget networking solutions.
If your Wi‑Fi feels fine near the router but slows down or disappears in certain rooms or the backyard, this approach is for you. The main idea is to make your existing hardware work smarter instead of bigger: tune your 2.4GHz band for reliability, then extend coverage with a cheap cable and a spare router instead of an expensive mesh kit. You’ll need basic access to your router’s admin page—it’s usually printed on a sticker on the back of the router—and the patience to test a couple of settings. The caveat: this won’t fix a very slow internet subscription, but it can turn a patchy, frustrating Wi‑Fi network into something you stop noticing.
Why Narrowing Your 2.4GHz Channel Improves Stability
The first tweak is counterintuitive: you make your 2.4GHz channel narrower to gain more reliable performance. Many people assume that increasing channel width is like adding lanes to a highway—more room should mean more speed. In practice, on the crowded 2.4GHz band this backfires. When you merge channels into a wide 40MHz lane, any busy part of that spectrum can force the whole channel to wait, which leads to stutters and dropped devices.
In one real-world case, shrinking the 2.4GHz channel from 40MHz to 20MHz almost immediately fixed internet stability at home, and smart plugs stopped disappearing every few hours. Apple’s guidelines recommend 20MHz for 2.4GHz, while leaving 5GHz on auto or wider widths. According to Intel, setting the 2.4GHz channel width to 20MHz improves reliability and 40MHz on that band is “rarely optimal,” because it interferes with most Wireless‑N channels nearby. The common mistake is thinking manual channel changes alone will help; modern routers already pick decent channels, so widening them often adds congestion instead of speed.
Step‑by‑Step: Tuning Your Router and Adding a Cheap Access Point
Here’s the practical sequence I’d walk a friend through to combine Wi‑Fi channel optimization with a budget networking solution. The goal is twofold: make your main network more stable, then fix dead zones at home by wiring in a second access point instead of buying a mesh kit.
- Log into your router’s admin page in a web browser; the address is usually printed on the label on the back of the router.
- Find the Wireless or Basic Settings section; on a single‑band router, change the 2.4GHz Channel and set Channel Width to 20MHz, then save.
- On a dual‑band router, open Advanced → Wireless → Wireless Settings, select the 2.4GHz band, change channel width from 40MHz to 20MHz, save, let the router restart, reconnect devices, and test stability.
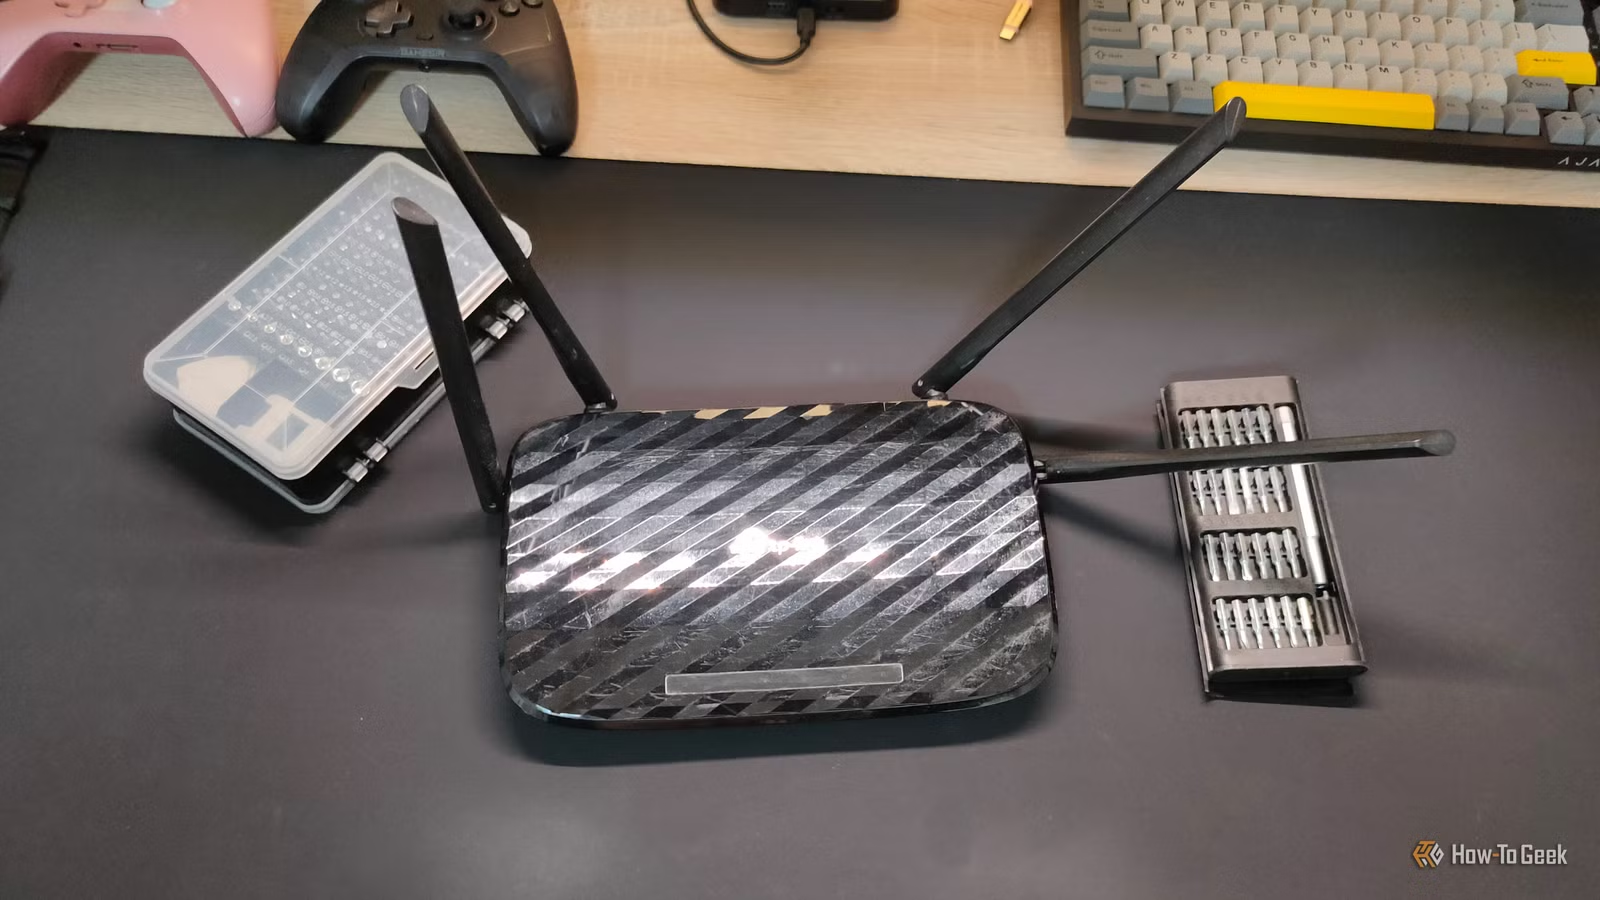
- Locate an old ISP‑provided router or spare router you own and confirm it can act as a secondary access point.
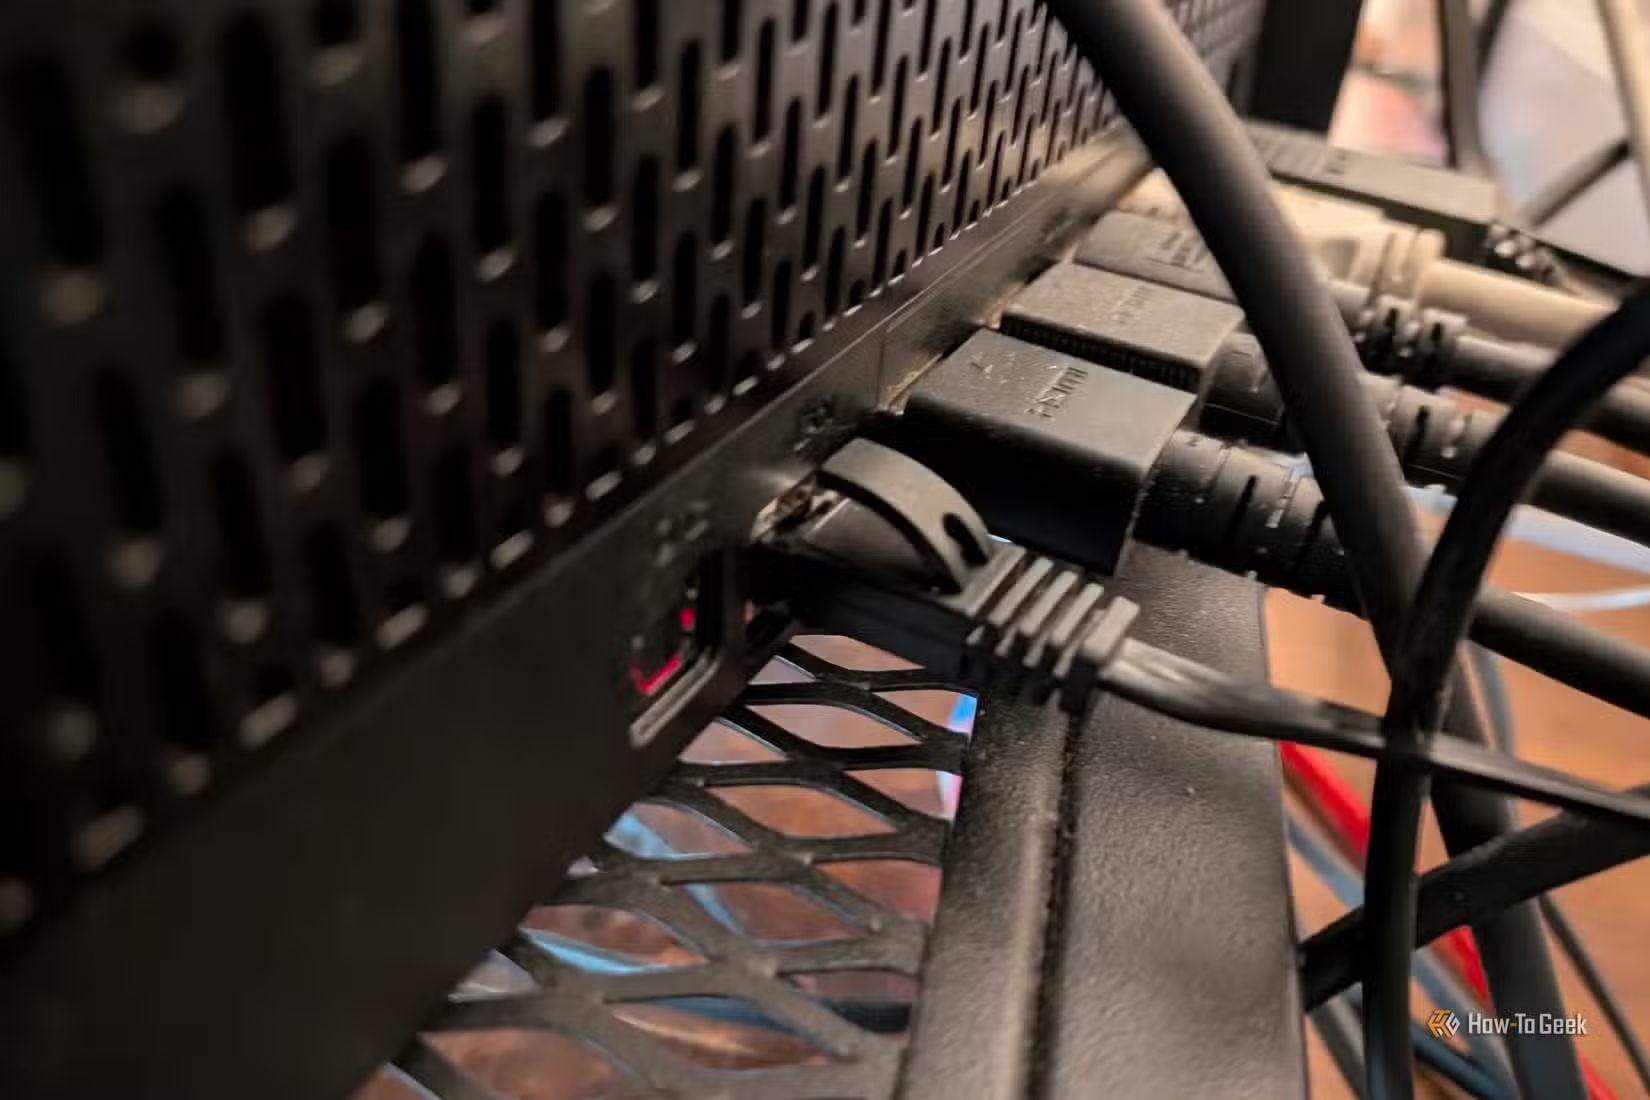
- Buy or use an existing long Ethernet cable, plug one end into a LAN port on the main router, and route the cable through a wall or along baseboards toward the dead zone area.
- Place the old router as close as possible to the weak‑signal area (for example, near the side of a building facing the backyard) and connect the other end of the Ethernet cable to one of its LAN ports.
- Configure the old router as an access point with its own Wi‑Fi name (SSID) so devices can switch to the closer signal when needed, then test coverage in your dead zone.
The gotchas here are mostly about overcomplicating things. Don’t widen 2.4GHz to chase speed—users have found that raw speed barely changes, but consistency improves when the channel width is 20MHz. And don’t waste time nudging antennas or building foil reflectors; one test showed that moving the router or aiming antennas only shifted the dead zone, while DIY reflectors made things worse. In contrast, a long Ethernet run with wired backhaul to a second router delivered a strong, reliable signal in a previously unusable backyard, good enough even for watching videos with only occasional buffering.
A $20 Cable vs. Mesh Systems for Dead Zones
When a single budget router can’t cover a whole property, the default advice is often “buy a mesh system.” In one example house, a single Wi‑Fi 5 router gave solid coverage upstairs and okay coverage downstairs, but the backyard behind a second building had terrible Wi‑Fi. A mesh system would have been the neat, integrated fix—but it was overkill for someone who didn’t want to spend hundreds on networking gear.
Instead, a cheap 100‑foot Cat 6 Ethernet cable, sold for under USD 20 (approx. ₱1,120), was enough to create a wired backhaul to an old router and turn it into a new access point. That single cable plus existing hardware solved the dead zone effectively, delivering strong backyard coverage without sacrificing indoor performance. The useful quotable takeaway here is: “You don’t always need to spend $200 on a new networking setup to fix a Wi‑Fi coverage problem. Sometimes, a cheap Ethernet cable and an old router you already have lying around are more than enough to get the job done.” For many homes, this kind of budget networking solution rivals mesh systems where you mainly need better coverage, not fancy management apps.
Takeaway: Worth the Effort and What to Watch For
These tweaks are low risk and high reward. Narrowing the 2.4GHz channel to 20MHz brings more stable connections, fewer vanished smart plugs, and smoother calls, even if speed tests barely change. Adding a second access point over Ethernet tackles dead zones without shuffling them around; instead of worsening coverage downstairs when you move the main router, you extend coverage into problem areas like a backyard, which worked out well in one tested home.
Watch for two main mistakes: chasing wide channels on 2.4GHz despite vendor guidance that 40MHz is rarely optimal, and spending time on tricks like manual channel changes or reflecting antennas, which in practice “did absolutely nothing” or made coverage worse. Focus on channel width and wired backhaul instead. For everyday users who want Wi‑Fi speed improvement through consistency and better coverage, these simple, low‑cost changes are usually worth an afternoon of tinkering.