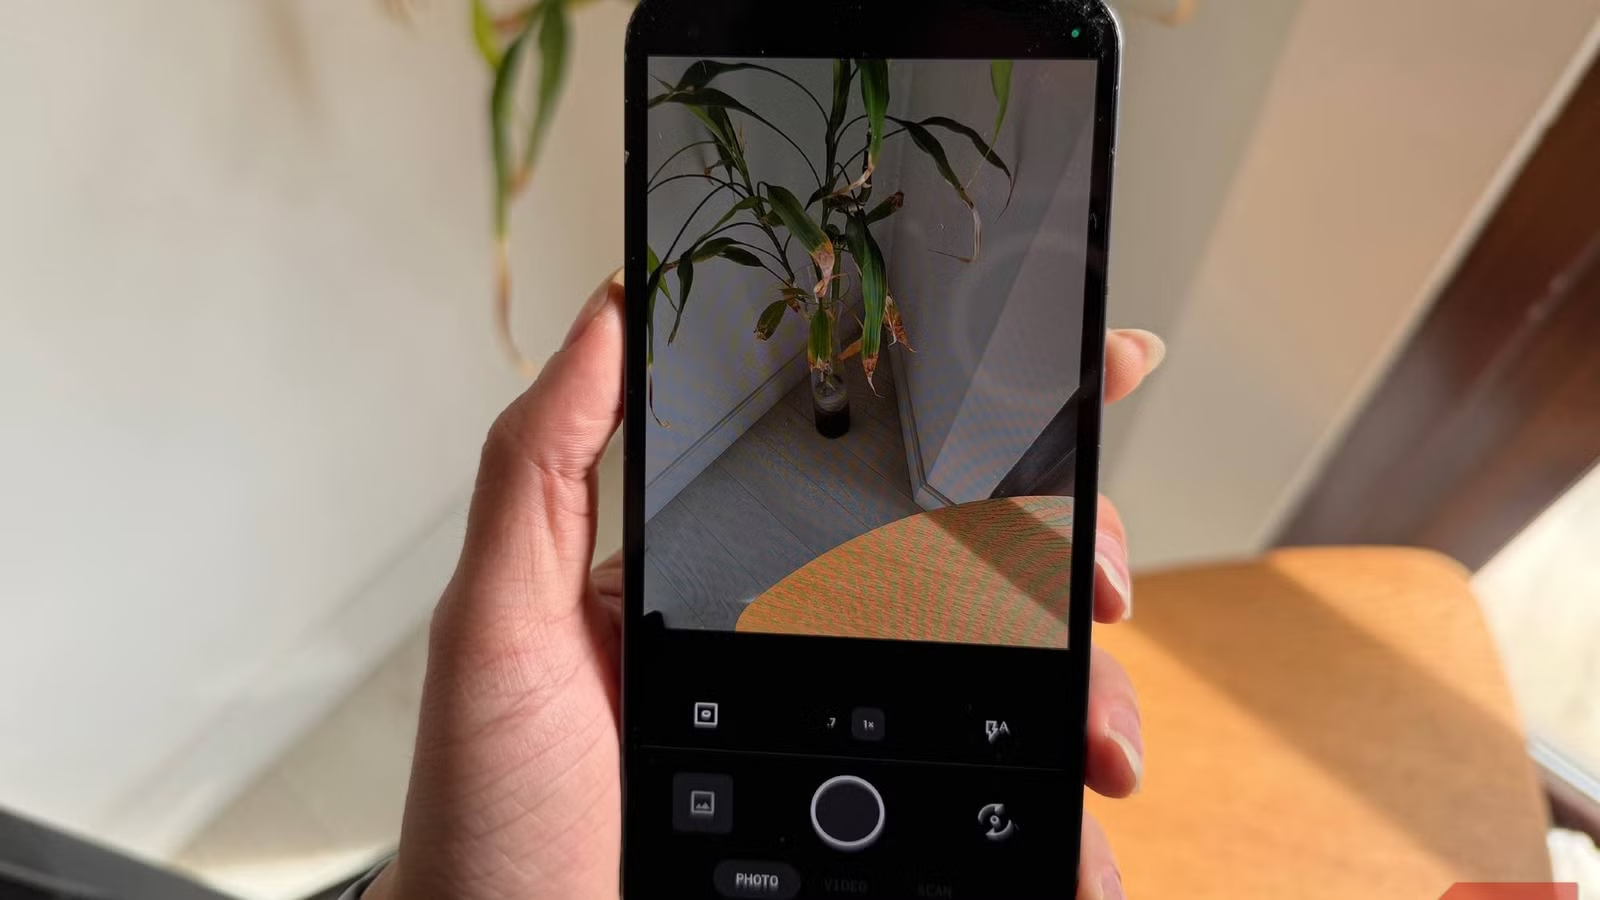

Your phone camera is fine — your settings are not
Hidden camera settings are non-obvious options inside your phone’s camera app that quietly control color, focus behavior, resolution, and interface tools, and changing them can dramatically improve photo quality, reduce blur, and cut editing time by giving you more accurate, detailed images straight from the sensor instead of relying on heavy automatic processing later.
Most people blame shaky hands or bad angles for disappointing shots, then spend more time editing than shooting. In reality, the biggest problems come from features your phone turns on by default because they look good in demos, not because they help in real scenes. Over-processed colors, smeared detail, and shutter lag are usually symptoms of auto-enhancement, tracking focus, and aggressive HDR—not your skill level. The good news: Google Pixel and Samsung Galaxy phones already include the camera optimization tricks you need to fix this. You only have to switch the right ones on and off. According to one long-term Pixel user, “following a few practices and tweaking some parameters under the hood delivers more compelling photos.”
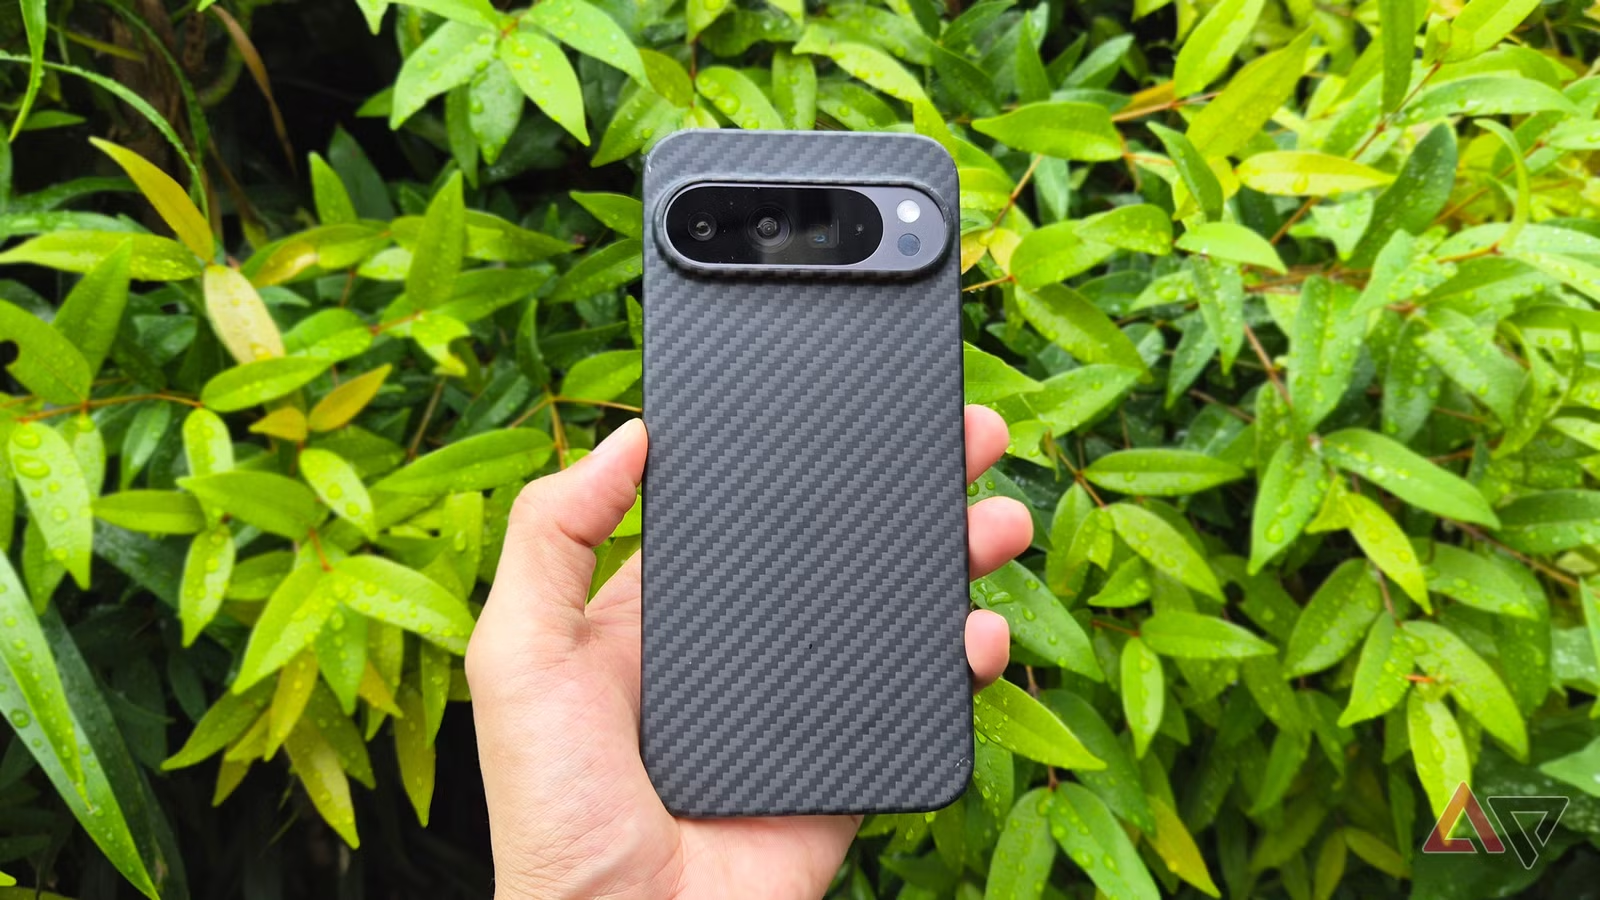
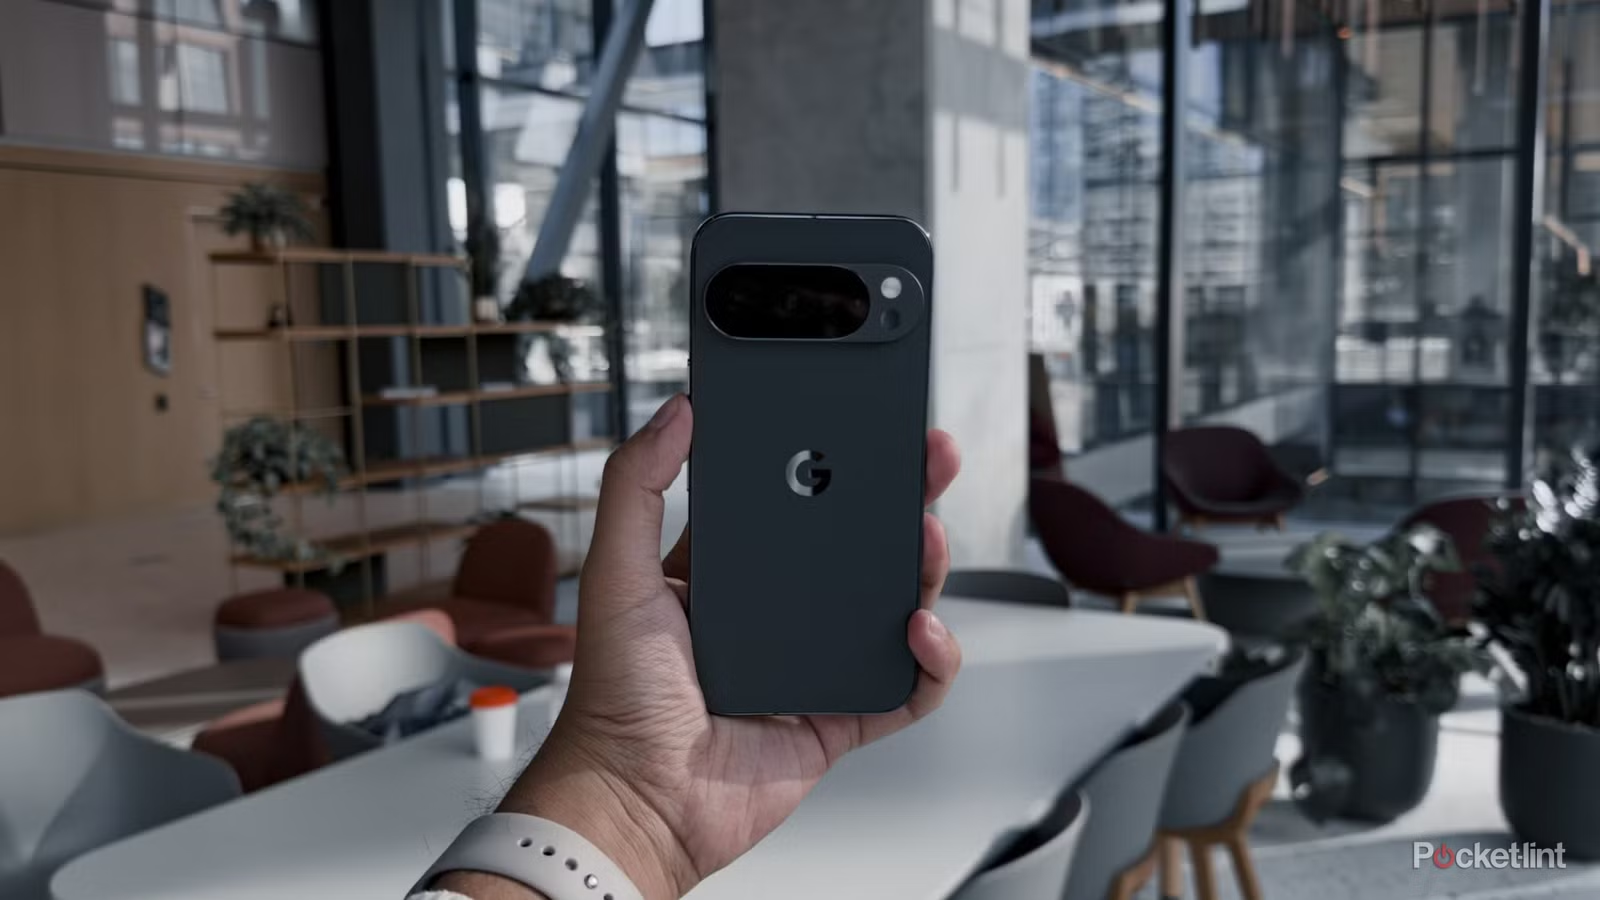
Google Pixel: four hidden switches that make your photos look intentional
Pixel cameras are praised for dependable point-and-shoot results, but the default setup is built for safe, general shooting, not for squeezing out every bit of image quality. If you stop trusting auto-everything and change a few quiet toggles, your photos start to look considered instead of casual.
First, enable Rich color in photos, hidden in the settings; it swaps standard sRGB for a wider color gamut, giving more vibrant yet controlled color so you spend less time boosting saturation later. Second, change your Grid type to the Golden ratio inside Photo settings; this nine-part grid makes it easier to place subjects and truly center them, avoiding the “almost centered” look that ruins otherwise good frames. Third, turn on Quick access controls so tapping the center circle brings live sliders for brightness and white balance onto the screen, letting you fix exposure and color in seconds instead of in an editor. Finally, respect the telephoto lenses: avoid snapping the shutter the instant you switch focal lengths, because the software is still hunting for focus and you will get soft subjects if you rush.
Samsung Galaxy: tame the processing and reclaim natural detail
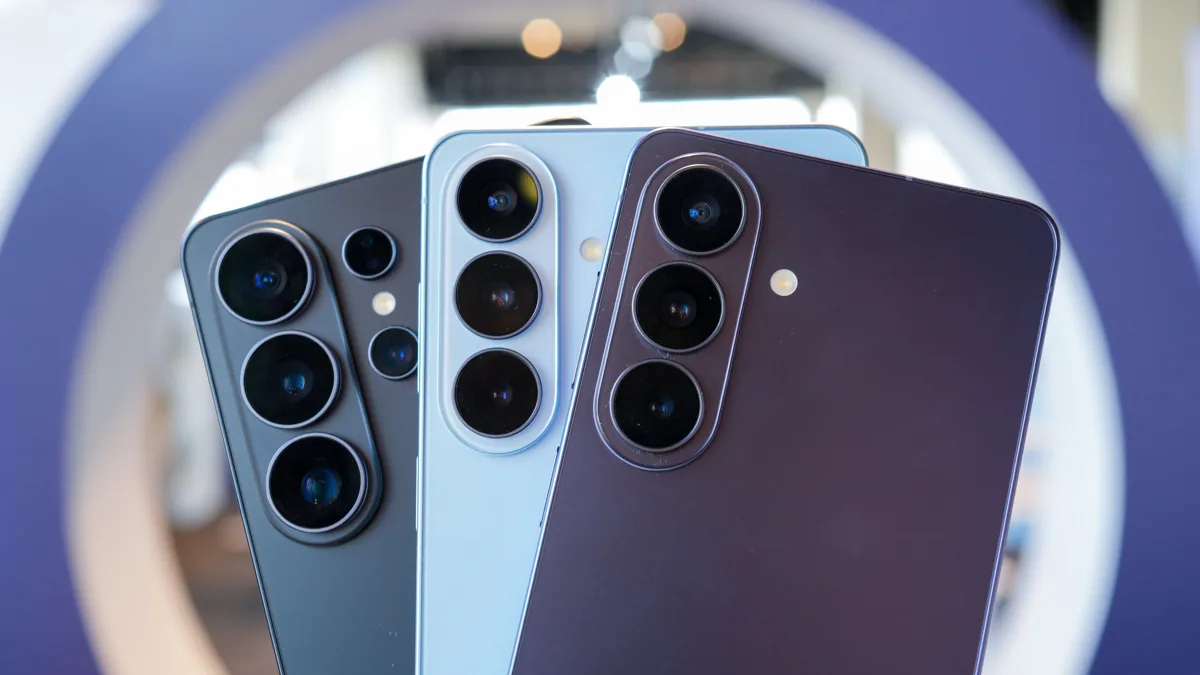
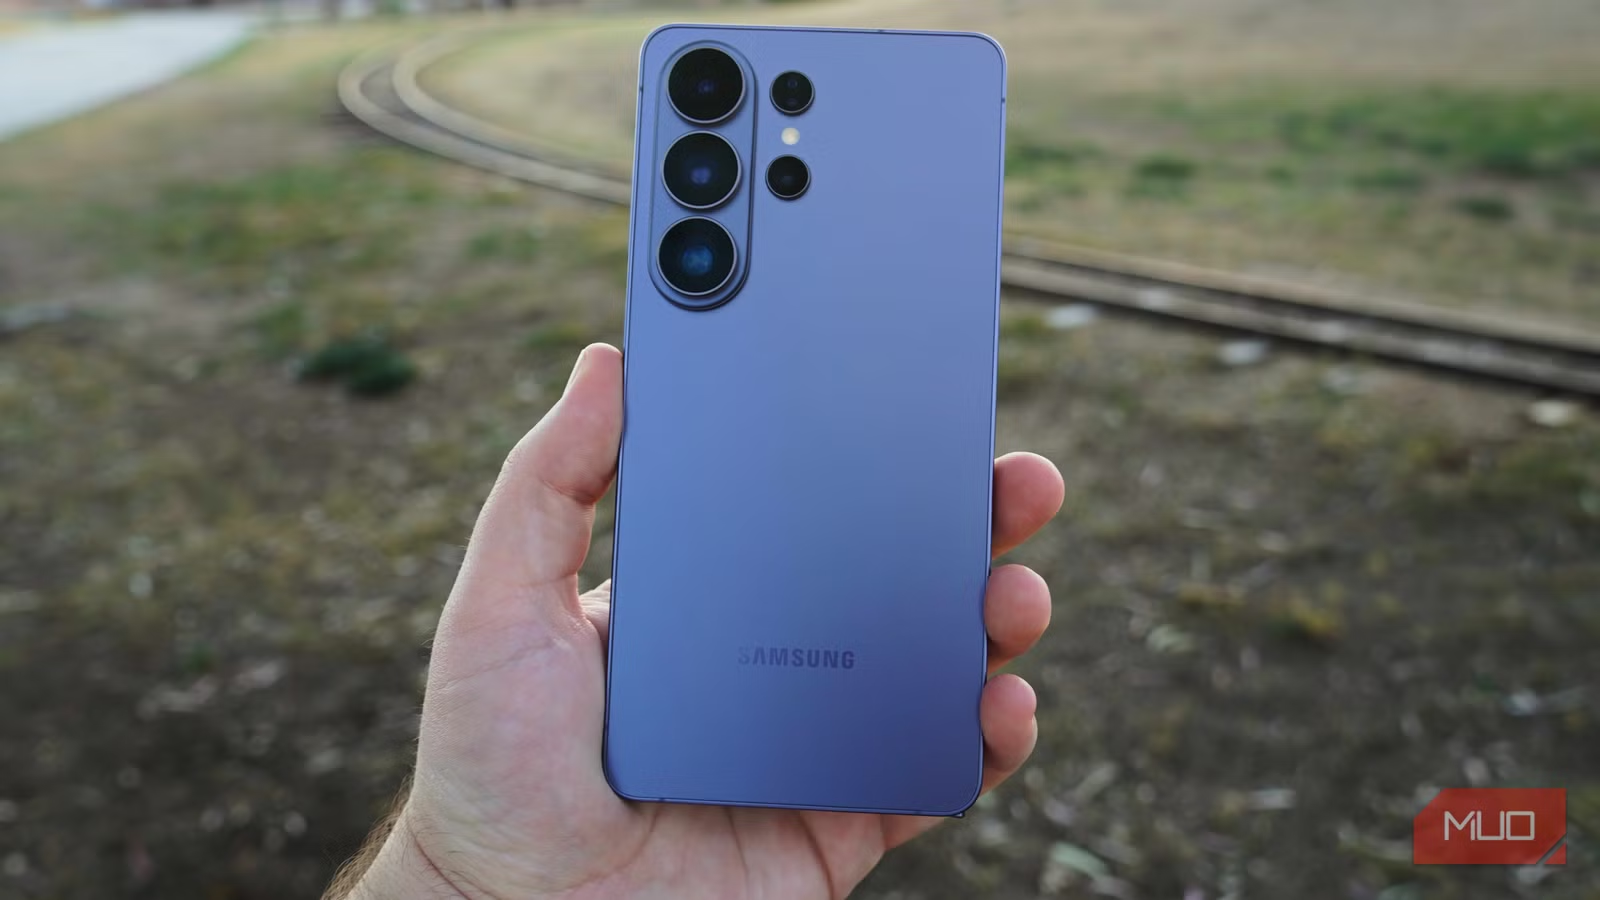
Galaxy phones are powerful, but their default camera processing often rewrites your scene to fit a stylized, punchy look. You end up with warm, over-sharpened faces and sunsets that look more like posters than memories. Four changes turn that “Samsung look” into something closer to a good standalone camera.
Start by turning off Scene Optimizer (or Scene detection inside Photo enhancer). It aggressively boosts color and contrast based on what it thinks is in the frame, which can give food a heavy orange cast and wipe subtle tones from skies, and those edits are baked into the file so you cannot remove them like a filter. Next, bump up your photo resolution in Camera settings so you store more detail for crops and zooms, then use Settings to keep so your chosen resolution does not reset to 12MP every time you reopen the app. Use Camera Assistant to set Photo softening to Medium, which dials back harsh sharpening while still keeping faces clear. These four settings fix most of what many users dislike about Samsung’s Photo mode and reduce the need for heavy tuning afterward.
Stop blur and lag: which auto features to disable across phones
The most persistent myth in phone photography is that blurry shots come from moving too fast or not holding the phone steady enough. Slowing down can help, but the bigger culprit is a cluster of “helpful” automatic features—tracking auto-focus, scene optimizers, auto HDR, and portrait-style enhancements—quietly adding delays and extra processing at exactly the wrong moment.
Tracking auto-focus keeps the lens in constant motion as it chases moving subjects, which means when you hit the shutter mid-hunt, the camera either hesitates or drops the shutter speed to compensate, causing motion blur instead of freezing action. Turning it off and using tap-to-focus on a fixed point stops that endless recalculation so the phone can shoot immediately, giving sharper photos, especially for kids and pets. Scene optimizer features run background analysis and color tweaks that slow capture and can wash scenes with exaggerated hues, so disabling them on both Pixel-like and Galaxy-like phones keeps colors closer to reality and reduces lag. Likewise, turning Auto HDR and certain automated night modes off forces the camera to rely on faster single-frame exposures, cutting ghosting and blur for anything that moves. These tools remain useful in very specific situations—static low-light scenes, for example—but for most everyday and motion-heavy shooting, they work against clean results.
Match your settings to the scene and skip the editing apps
The point of all these phone photography tips is not to turn you into a pro, but to stop your camera from fighting you. You can get professional-looking results by understanding which features help in your situation and which quietly ruin shots.
High-resolution modes on both Pixel and Galaxy phones are best used selectively. On one Pixel, the full 50MP setting takes longer to process and only shines in scenes with excellent lighting. On a 200MP Galaxy sensor, the extra resolution is worth it in bright outdoor scenes with little movement, while the standard 12MP pixel-binned mode works better indoors and at night because it combines pixels to capture more light. Auto HDR and night-specific processing can help with static, low-light cityscapes or interiors, but for anything moving, those features introduce blur and ghosting; turning them off forces faster shutter speeds instead. The pattern is simple: use wide-color and composition aids all the time, raise resolution when light is strong, and disable auto-enhancement and tracking modes when motion matters. These are settings that already exist on your device and even casual users can level up their photos without studying manuals.