
What Smartphone Macro Photography Actually Is
Smartphone macro photography is the practice of using your phone’s built‑in cameras and macro modes to shoot close‑up subjects at very short focusing distances, capturing fine detail on things like flowers, textures, and tiny objects without needing specialist lenses or accessories. It turns an everyday phone into a close‑up camera that can reveal patterns and structures our eyes normally skip over.
If you want to try macro photography but do not want to buy new kit, your phone is the easiest starting point. A phone has obvious advantages of convenience and cost over cameras, which generally require a dedicated macro lens with magnification or close‑focusing ability. In recent years, many flagship and even mid‑range models have added macro functionality directly in the camera app, and it has become a key selling point. That means the only real prerequisite is a reasonably modern smartphone with a macro option or an ultra‑wide lens, plus a bit of patience to work close to your subject.
One reviewer notes that “in recent years, flagships and even mid‑range phones have come equipped with macro functionality directly in camera,” highlighting how common smartphone macro mode has become. The catch is that the phone, not you, often decides which lens it uses at close distances, so learning how your specific model behaves is the real first step.
Know Your Lenses, Focal Lengths, and Crop Modes
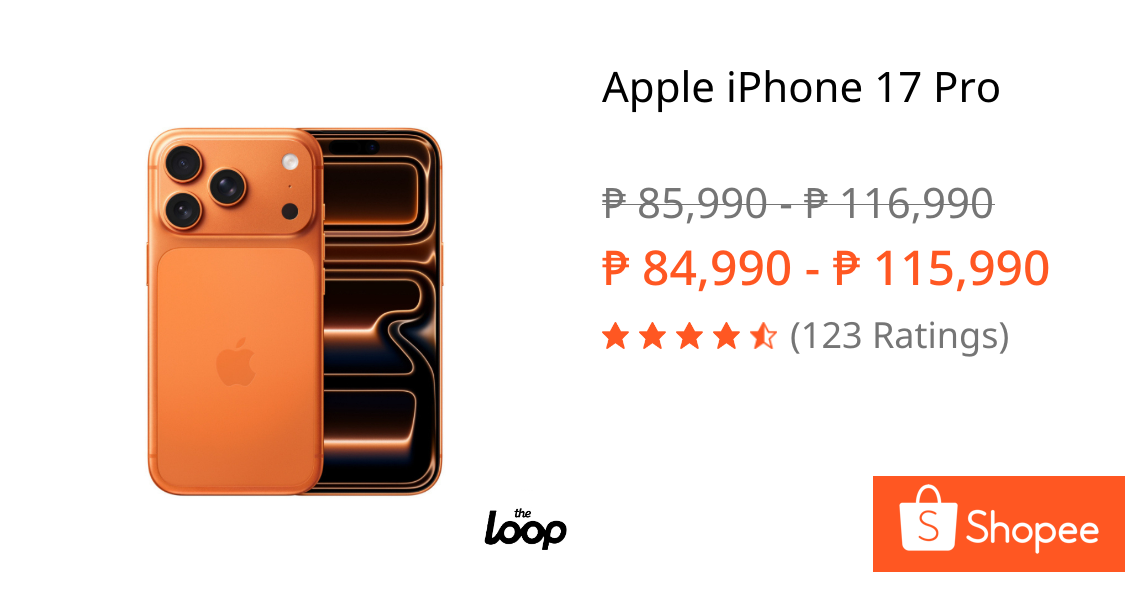
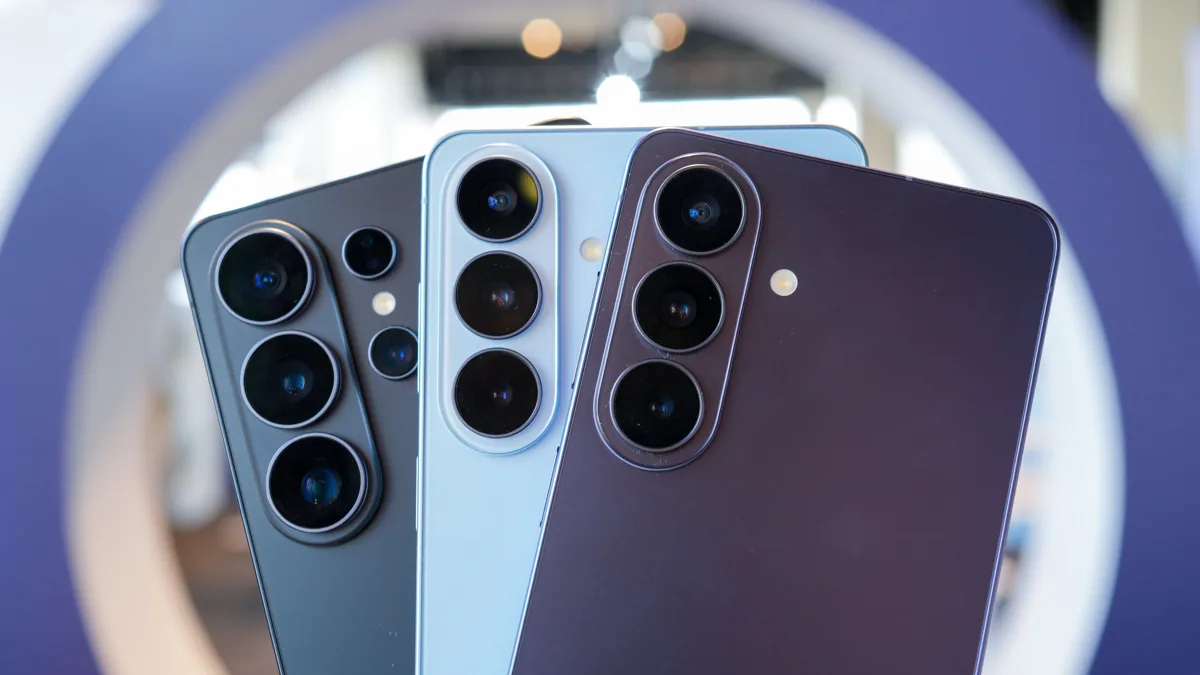
Before you move in close, it helps to know which lens your phone uses for macro and how focal length and sensor crop affect depth and sharpness. Generally speaking, most smartphones use the ultra‑wide‑angle camera for macro work, and the phone detects when you are attempting a close‑up and automatically switches to macro mode. On some models, such as the iPhone 17 Pro, this ultra‑wide setup lets you focus as close as 2cm from the subject, then crop in to match the standard 1x field of view for a more natural look.
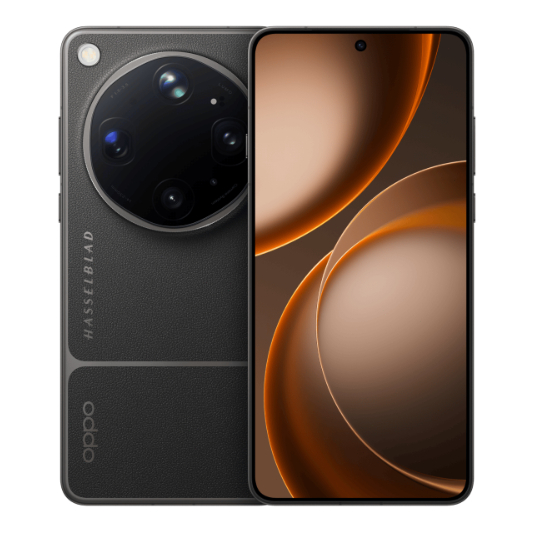
This automatic switching means that at very short distances you are often working with a different focal length and a smaller sensor than the main camera, which can change depth of field and noise. There are exceptions: phones like the Xiaomi 17 Ultra and OPPO Find X9 Ultra use the telephoto lens for macro instead, giving a longer effective focal length. Understanding whether your phone is going wide or telephoto at close range helps you decide how tight to frame your subject and how much background blur you can expect.
A common frustration is that for macro shooting “the good news is that three of the cameras have pretty good close‑up capabilities. The bad news, though, is that you’re never quite in control of which one the phone is using.” That is why it is worth practicing on everyday subjects first, so you can see when your phone changes lenses and how that affects your final image.
Step‑by‑Step: Shooting a Sharp Macro Photo on Your Phone
Here is a simple walk‑through you can reuse for any close‑up subject, from leaves on a walk to details on everyday objects. Think of it as a repeatable routine you follow until it feels natural.
- Open your camera app and enable any dedicated smartphone macro mode or close‑up setting if your phone offers one; if not, select the ultra‑wide or main camera you usually use for wide scenes, as most phones utilise the ultra‑wide‑angle camera for macro work.
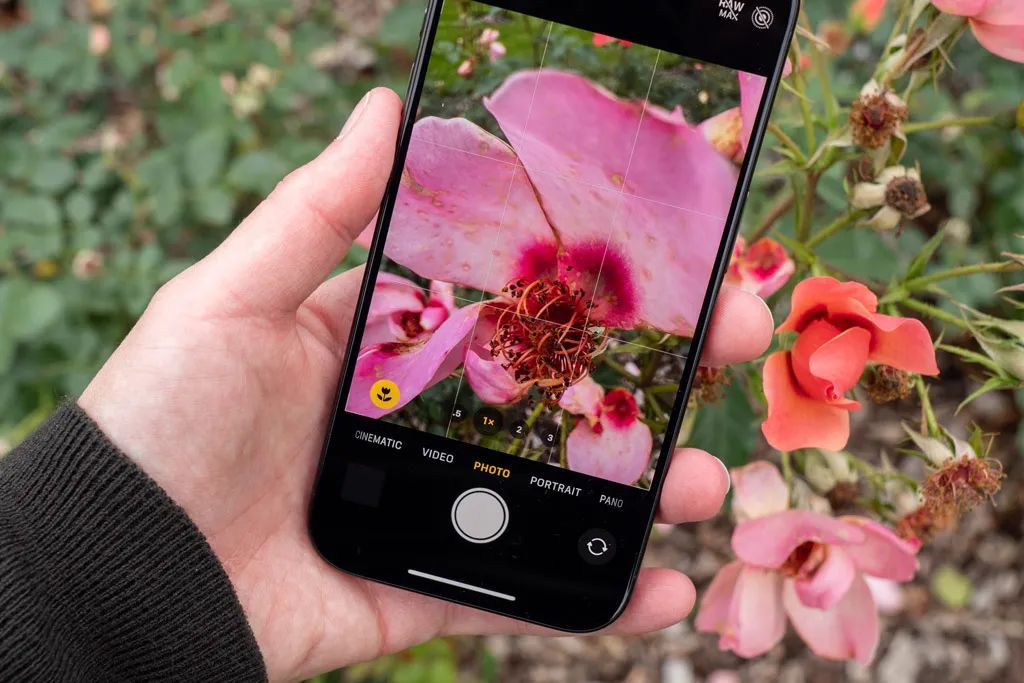
- Move slowly towards your subject until the phone automatically switches to macro mode or displays a macro icon, which typically happens when it detects you are attempting to take a close‑up picture with the ultra‑wide camera.
- Keep moving in until the subject appears sharp on screen; on some phones, like the iPhone 17 Pro, you can focus as close as about 2cm, after which the phone will crop the ultra‑wide sensor to match the standard 1x angle of view for a natural‑looking frame.
- If the preview looks noisy or soft because the light is poor, switch off macro focusing in the camera settings or on‑screen toggle so you revert to the main camera, then step back slightly until it can achieve focus while still giving a reasonably large subject in the frame.
- For subjects that are not extremely small, consider switching to Portrait mode instead of macro, so the phone uses the main camera to create a shallow depth‑of‑field effect, understanding that there is no macro focusing in this mode and it works best when you are not right up against the subject.
Following this sequence keeps you in control of two things that matter most in mobile macro techniques: which camera is active and how close you stand. The real gotcha is low light: when the phone moves to a secondary sensor for macro, image quality may suffer in dim conditions because you are on a different lens and sensor. If that happens, backing off a little and switching back to the main camera can give a cleaner file, even if the magnification is slightly lower.
Common Mistakes and How to Avoid Them
Most problems with macro photography on a smartphone come from trusting the phone too much. Since you are switching to a different sensor and lens when macro engages, certain situations cause image quality to drop, especially in low light. You might see softer detail, more noise, or odd colour shifts. The fix is to notice when light levels are poor and deliberately turn off macro focusing so you revert to the main camera, which still allows fairly close focusing for subjects that are not tiny.
Another trap is relying on low‑resolution dedicated macro cameras that some phones include. These extra lenses can be only 2 megapixels, and in practice they tend to be poor performers for detailed work. In those cases, you are better off with the main or ultra‑wide camera in macro or portrait modes. Also remember that in many setups, you never fully control which lens the phone uses at close distances, even though several cameras have decent close‑up capabilities. That unpredictability is why it helps to check the preview at 100% after a shot so you can see whether the phone picked the sharper sensor or not.
Finally, do not forget stability. Even small movements are obvious at close range. Brace your hands, lean on something solid, and take a short burst of frames so at least one is pin‑sharp.
What Good Results Look Like and Final Takeaways
When things go well, smartphone macro mode can look surprisingly polished. On capable models, macro images show plenty of detail, reliable exposure, and excellent colour reproduction, with dynamic range helped further by automatic HDR when needed. Some telephoto‑based systems display macro samples at around 139mm equivalent focal length, balancing a tight field of view with clear subject separation. That is more than enough to make textures, patterns, and tiny subjects feel life‑size on screen.
It is worth the effort if you like exploring small details and do not want to invest in dedicated lenses, especially now that macro photography smartphone features are standard on many higher‑end and mid‑range devices. The main things to watch are which camera your phone activates, how it behaves in poor light, and whether turning macro off might give a cleaner result. Treat macro mode as a tool you choose rather than a magic switch, and your close‑up phone camera will feel much more like a small, flexible macro system in your pocket.