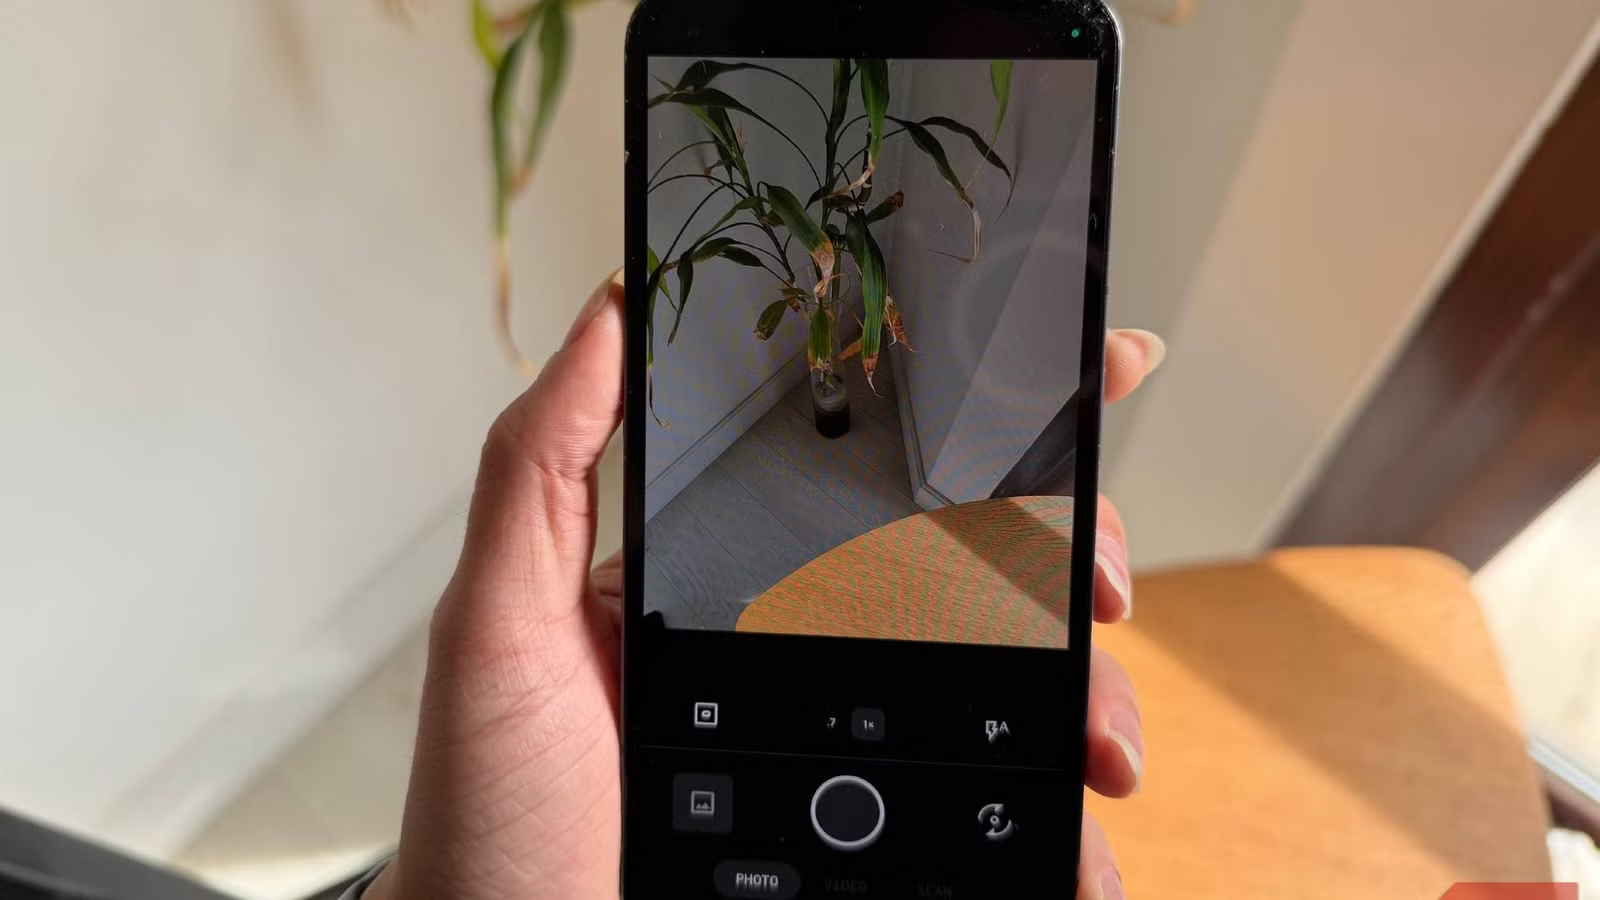

Stop Trusting Default Modes: Why Settings Beat Expensive Gear
Smartphone camera settings are the built‑in controls and options inside your camera app that change how your phone captures, processes, and saves photos, and carefully adjusting a handful of these mobile photography settings can measurably improve phone photo quality while reducing the need for heavy photo editing or professional post‑processing workflows. Most people assume blurry or weak images come from shaky hands, bad angles, or not knowing photography theory, so they blame themselves and slow down, brace harder, or give up. Yet multiple users discovered that they were “leaving image quality on the table” until they tweaked four or five core options and saw more compelling photos without buying new hardware. These changes live in plain sight behind camera settings icons and are on by default because they look good in demos, not because they help in real shooting. If you want cleaner sunsets, sharper kids, and fewer washed‑out scenes, stop treating defaults as sacred and start treating them as a starting point.
Setting 1: Kill Smart Scene Modes Before They Ruin Your Colors
The most common misconception about modern cameras is that more automation always means better photos. On many phones, smart scene modes promise to recognize food, faces, and sunsets, then dial in “perfect” color and contrast. In practice, they often wreck subtle tones and force you back into editing. One user found that their warm skin tones and orange‑heavy food shots were not a lighting problem but a default photo enhancer that rewrote every frame before saving it. Another realized that a sunset enhancer cranked reds and oranges so hard that softer details in the sky vanished entirely. The concrete action is simple: open your Camera app, tap the settings gear, go to your photo enhancer or scene detection section, and turn off scene optimizer or similar options. This keeps colors closer to reality, gives you honest dynamic range in sunsets, and cuts the need to pull down saturation or fix white balance afterward, which directly helps reduce photo editing.
Setting 2: Disable Tracking Focus and Let Your Camera Breathe
When photos keep coming out blurry, most people slow their hands, hold their breath, and brace against a wall. That occasionally helps, but it ignores a bigger culprit: aggressive focus and optimization modes running constantly in the background. Tracking auto‑focus looks like a dream for fast‑moving kids and pets, yet it forces the lens to chase focus nonstop, analyzing the scene, shifting glass, and recalculating positions every moment. According to one detailed test, this continuous hunt adds delay right when you press the shutter, often causing the camera to quietly lower shutter speed and introduce motion blur. The fix is blunt but effective: turn tracking auto‑focus off, tap once to focus on a stable subject, then shoot. Once the lens locks onto a fixed point, it stops moving and recalculating, so the phone captures the frame the instant you press the button, and you get better smartphone photos with fewer misses and far less need to rescue them later in editing.
Setting 3: Use Resolution and Grids Intentionally, Not Randomly
High‑resolution modes and on‑screen grids are two camera optimization tips that most users ignore or misuse. One Pixel owner avoided the full 50‑megapixel setting for ages because it processed slower and seemed only helpful in excellent light; once they tried it on trips, portraits, and landscapes, they saw better detail preservation and more room for cropping without pixelated breakdown. The key is to treat resolution as conditional: use maximum megapixels when lighting is strong and you plan to crop or print; stick to standard resolution when you need faster processing or are shooting in low light, where multi‑frame processing can be more important. On the framing side, changing your grid type to a golden ratio layout inside your camera settings helps avoid the “thought it was centered but it wasn’t” problem and guides more balanced compositions. These smartphone camera settings do not add artistic talent overnight, but they put technical structure under your eye, so you stack the odds in favor of cleaner, more professional‑looking shots without complex edits.
Setting 4: Respect Exposure and Timing, Especially at Night and Sunset
Sunset and low‑light scenes expose the limits of phones more than any other subject. Tiny sensors struggle to pull in light, so software stretches exposure times and layers frames to keep shadows bright. That can be helpful, but it easily crosses into ghosting, washed‑out skies, and lag where the camera is still busy when you tap the shutter. One article showed that Auto HDR and similar multi‑frame tools, while powerful, introduce extra hold time and can blur moving subjects; turning these off makes the phone capture a single frame at the exact moment you press the button, with zero shutter lag and no multi‑frame merge to fail. On telephoto lenses, another user discovered that you should not shoot the instant you jump focal lengths: switching from 1x to 5x and waiting a brief moment before pressing the shutter avoids soft, still‑hunting focus and gives sharper distant details. In short, timing and exposure decisions matter most when light is fragile, so treat these mobile photography settings as tools, not background magic.