
What a Budget Gaming PC Build Gets You in 2026
A budget gaming PC build is a custom desktop assembled from individually chosen parts, aimed at delivering smooth modern gaming performance by balancing cost, upgradability, and reliability, rather than paying extra for prebuilt system margins or overpowered components that do not meaningfully improve frame rates or everyday use.
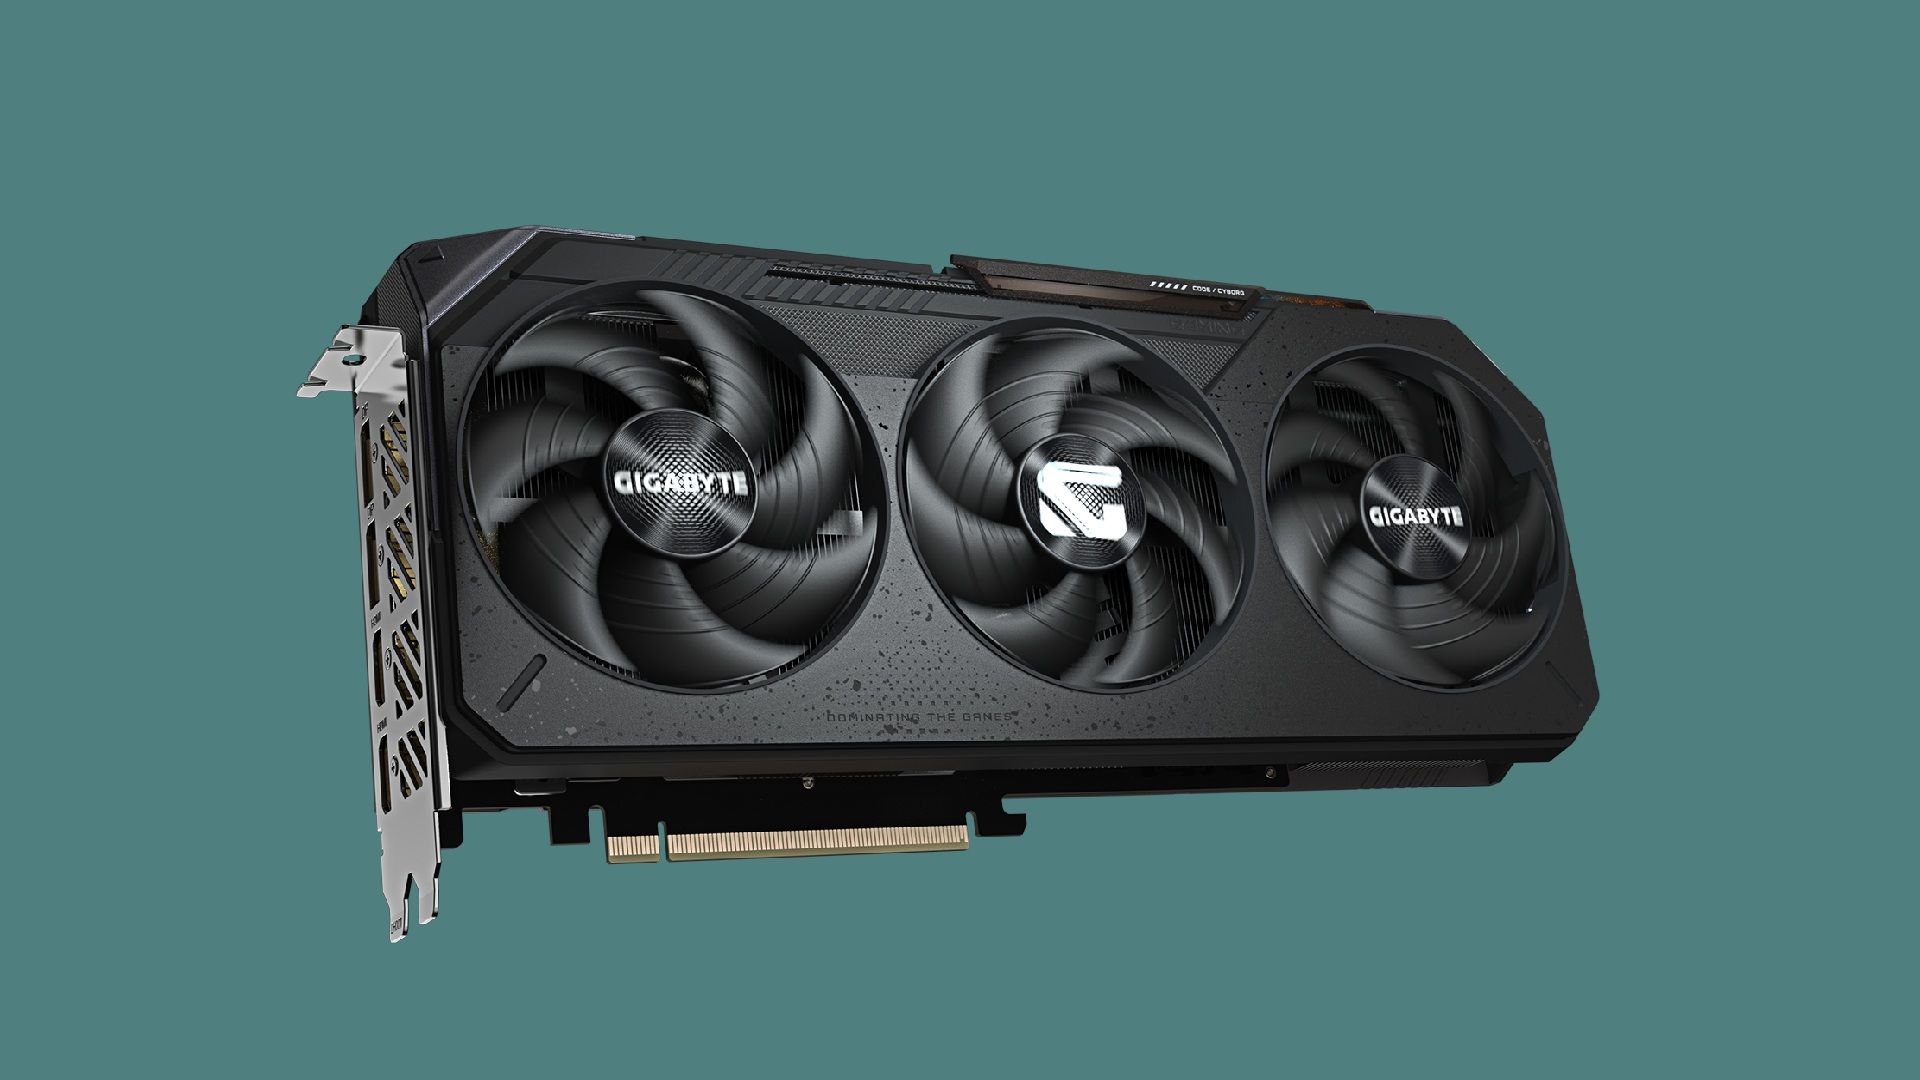
If you’re willing to spend an evening with a screwdriver, building your own affordable gaming setup can stretch your money further than buying a prebuilt system, because you avoid paying for assembly and support on top of parts cost. In July 2026, component prices have climbed, but there are still PC components deals that make a sensible budget gaming PC build appealing: CPU deals start at around AMD Ryzen 5 7600X for USD 168 (approx. ₱9,400), a capable six‑core entry into the AM5 platform. Mid‑range GPUs like the PowerColor Reaper Radeon RX 9070 XT 16GB sit near USD 689.99 (approx. ₱38,700), targeting high‑refresh 1440p and 4K gaming. That GPU is beyond a sub‑USD 900 tower budget, but it shows how steep the curve gets as you chase higher resolutions.
The caveat: because memory and storage prices are affected by an ongoing DRAM and NAND shortage, you must plan your parts list tightly and accept some compromises. The sweet spot today is DDR5‑6000, fast enough to matter for gaming frame rates without paying for speeds that need hand‑tuned timings to boot reliably. Windows 11 version 25H2 is the safer operating system target for a new build, since earlier versions reach end of service sooner. If you’re comfortable following a step‑by‑step gaming PC assembly guide and doing a little troubleshooting, the payoff is a machine tuned exactly to how and what you play.
Parts, Tools, and Budget Planning Under USD 900
Before touching a screwdriver, you need a clear plan: what performance you want, which PC components deals line up with that, and how to keep the total near your sub‑USD 900 (approx. ₱50,500) target. Half of the frustration in a first PC build comes from stopping mid‑assembly to order a missing cable or driver USB stick, so treat this prep stage as part of the build, not an optional prelude.
| Component | Example part | Why it fits a budget gaming PC build |
|---|---|---|
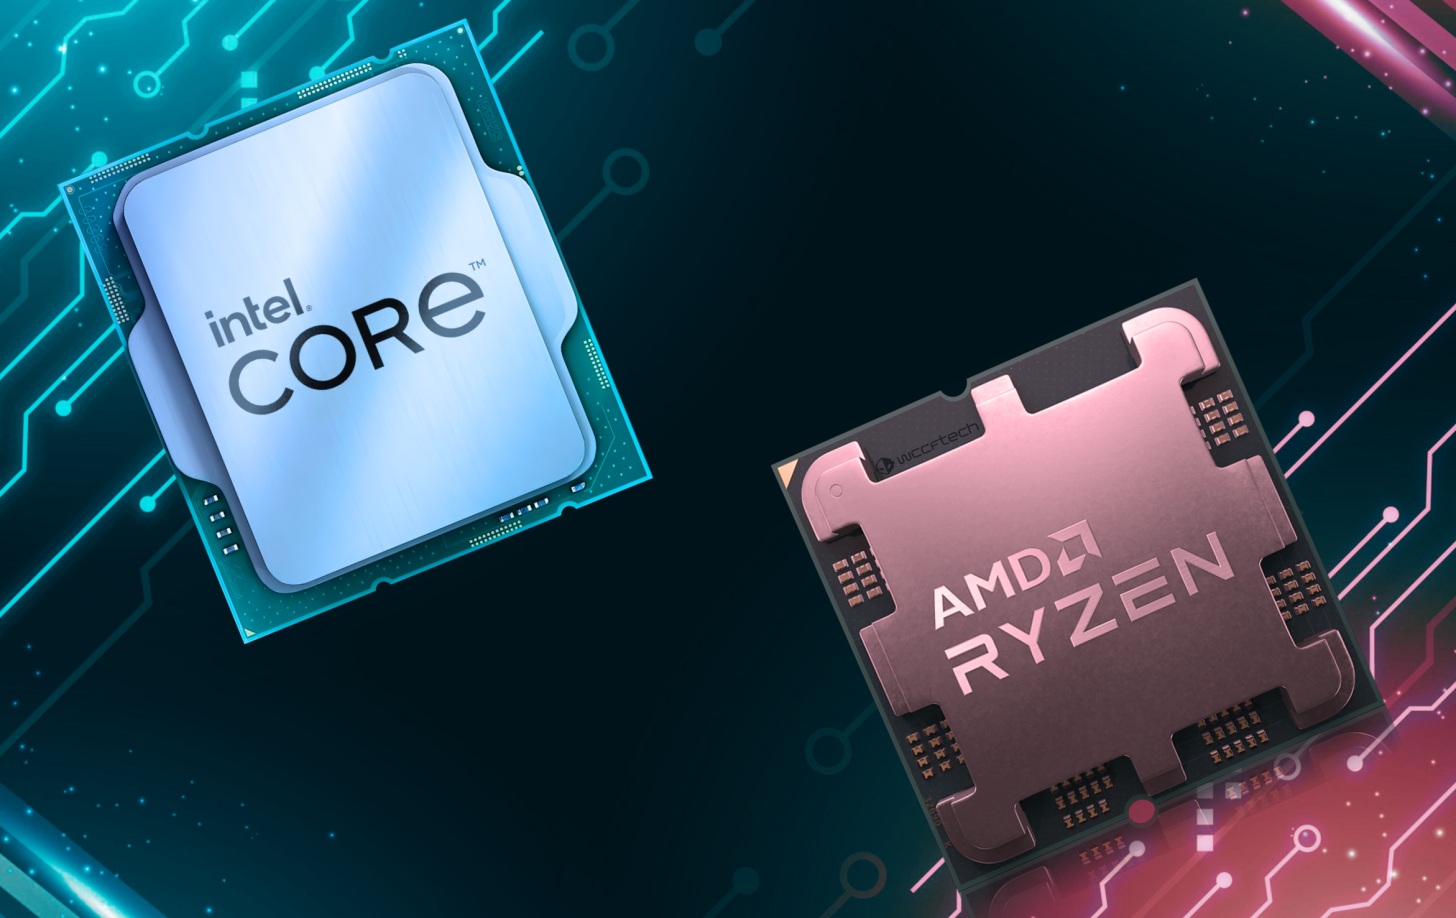
| CPU | AMD Ryzen 5 7600X — USD 168 (approx. ₱9,400) | Cheapest sensible AM5 gaming entry, with six Zen 4 cores and future upgrade path. |
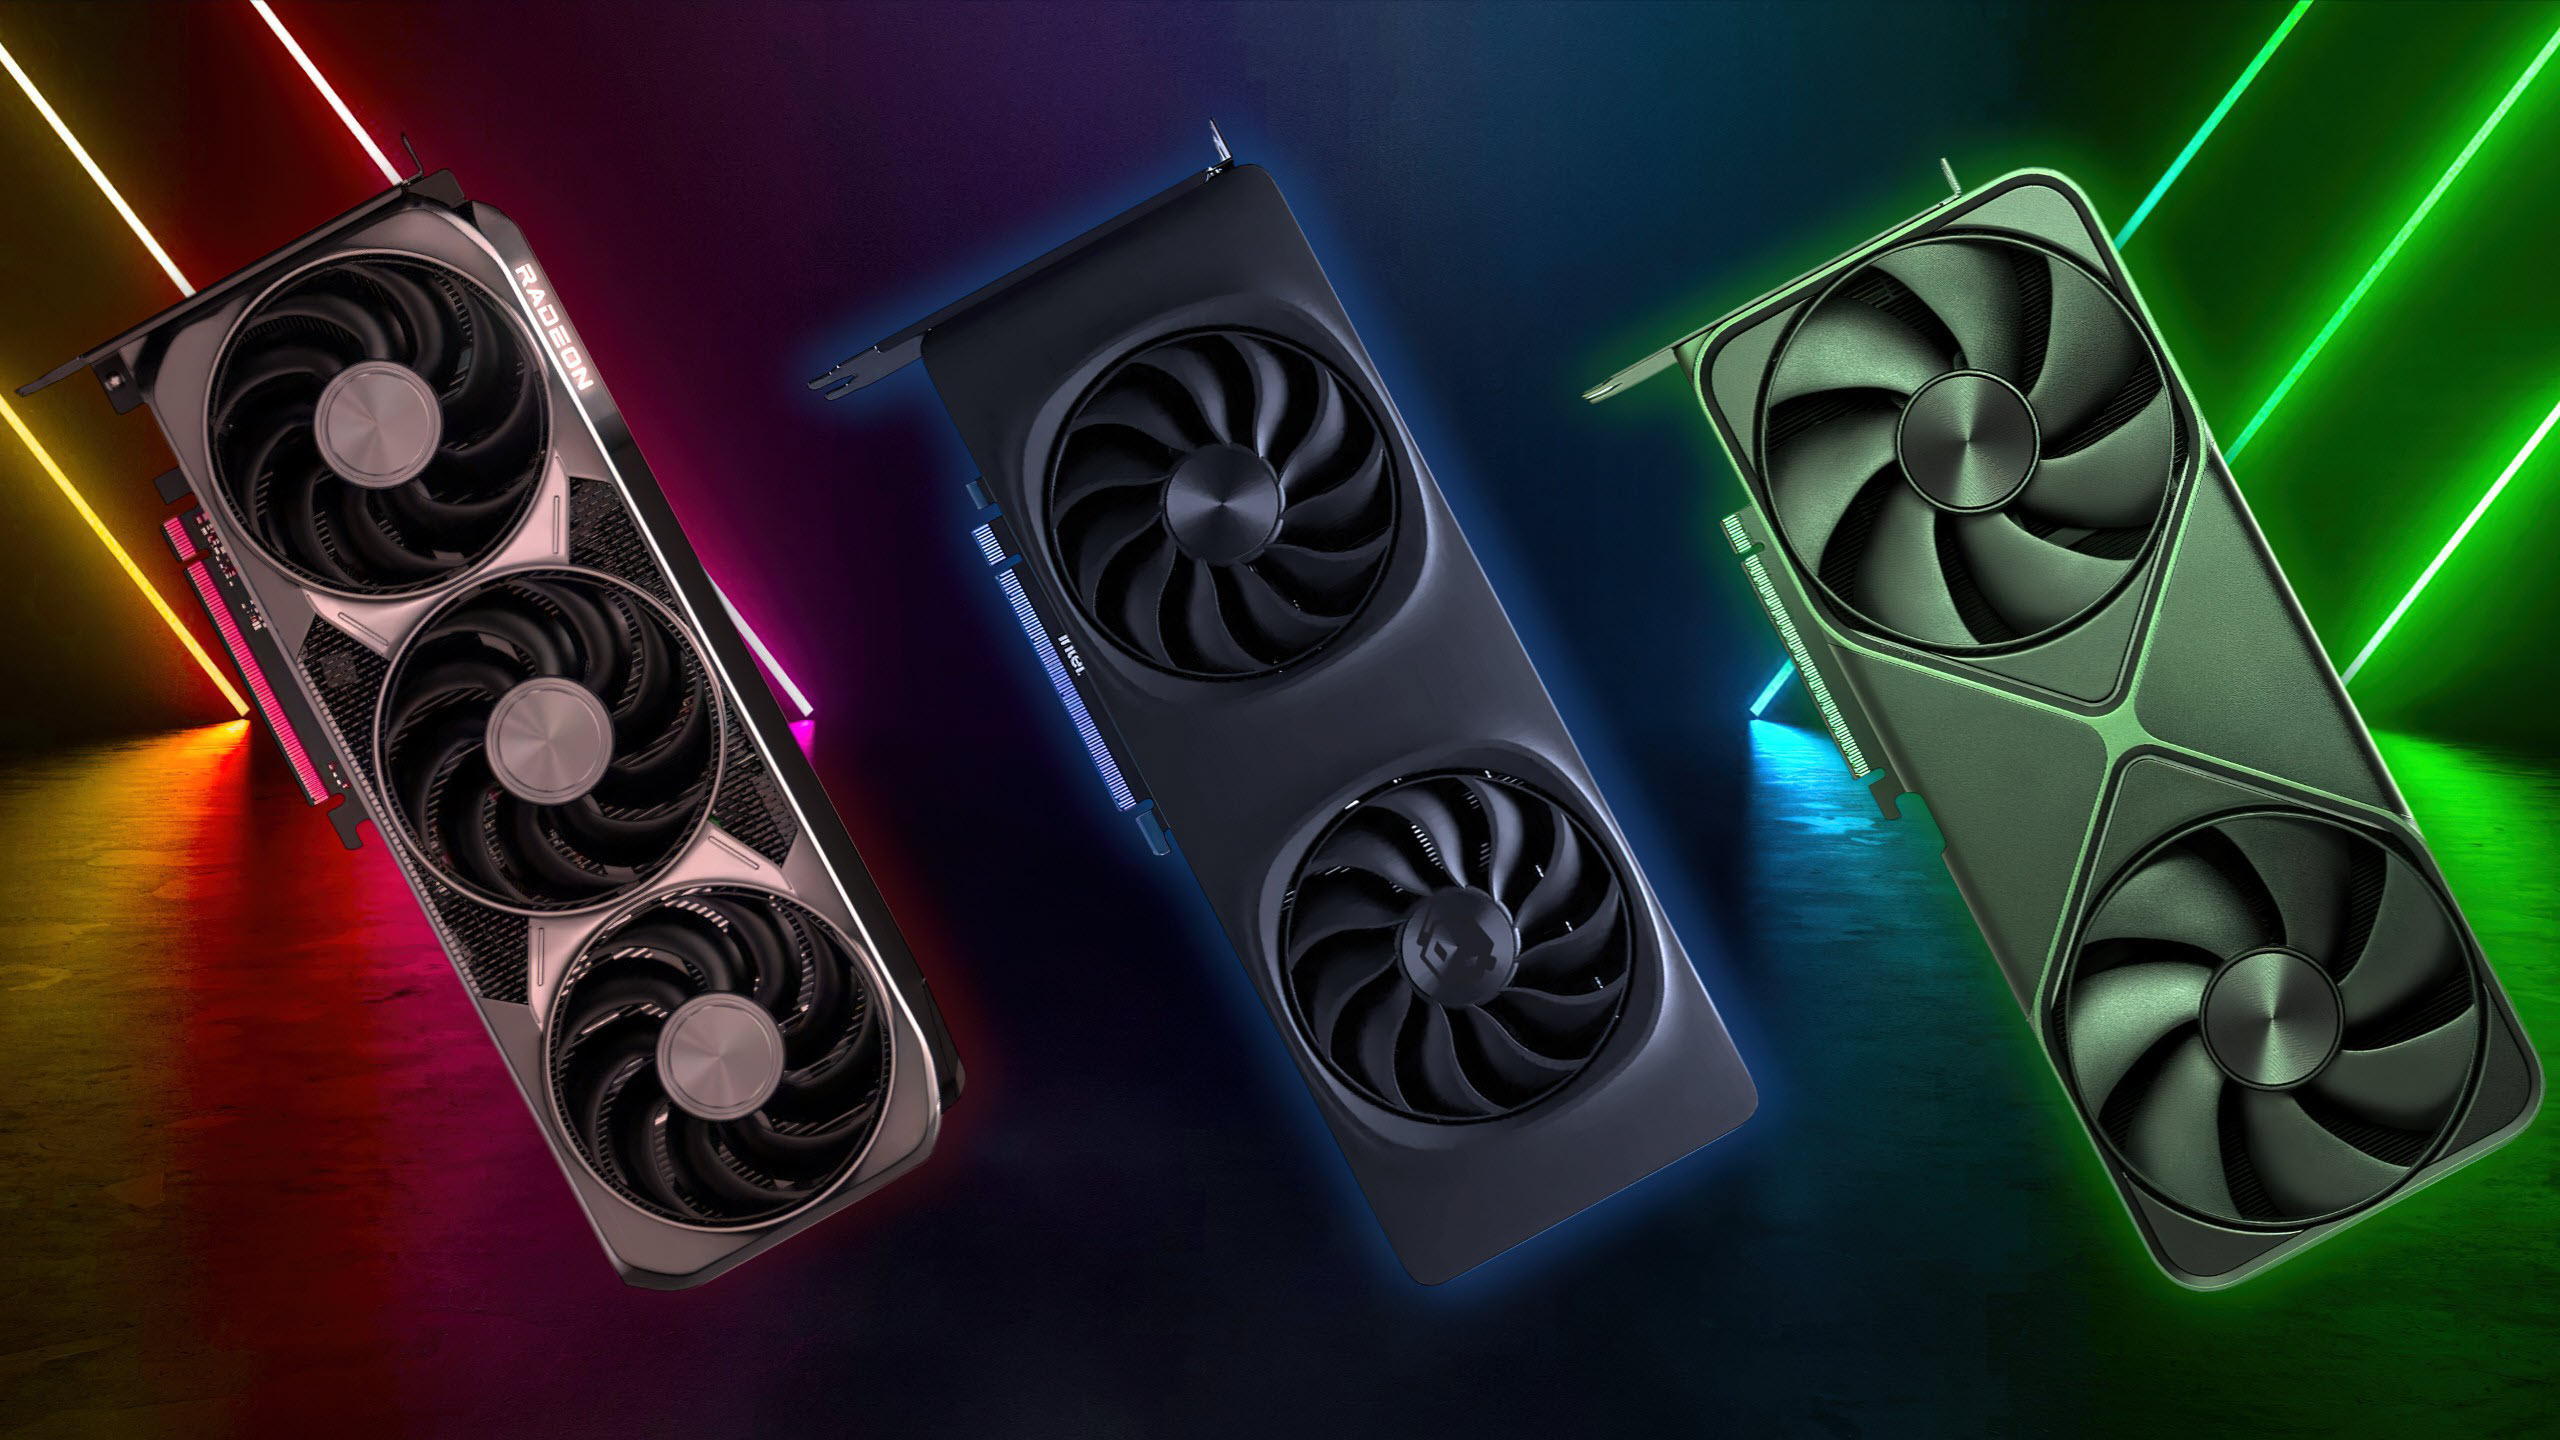
| GPU | Entry‑level or used options below RTX 5060 / RX 9070 XT prices | Keeps the tower under USD 900; avoid paying for 4K if you game at 1080p. |
| Motherboard | B650M micro‑ATX board with DDR5 support | Gives PCIe 5.0 and DDR5‑6000 compatibility without high‑end pricing. |
| RAM | DDR5‑6000 32GB kit (2x16GB) | Mainstream performance sweet spot for 2026, improves gaming and multitasking. |
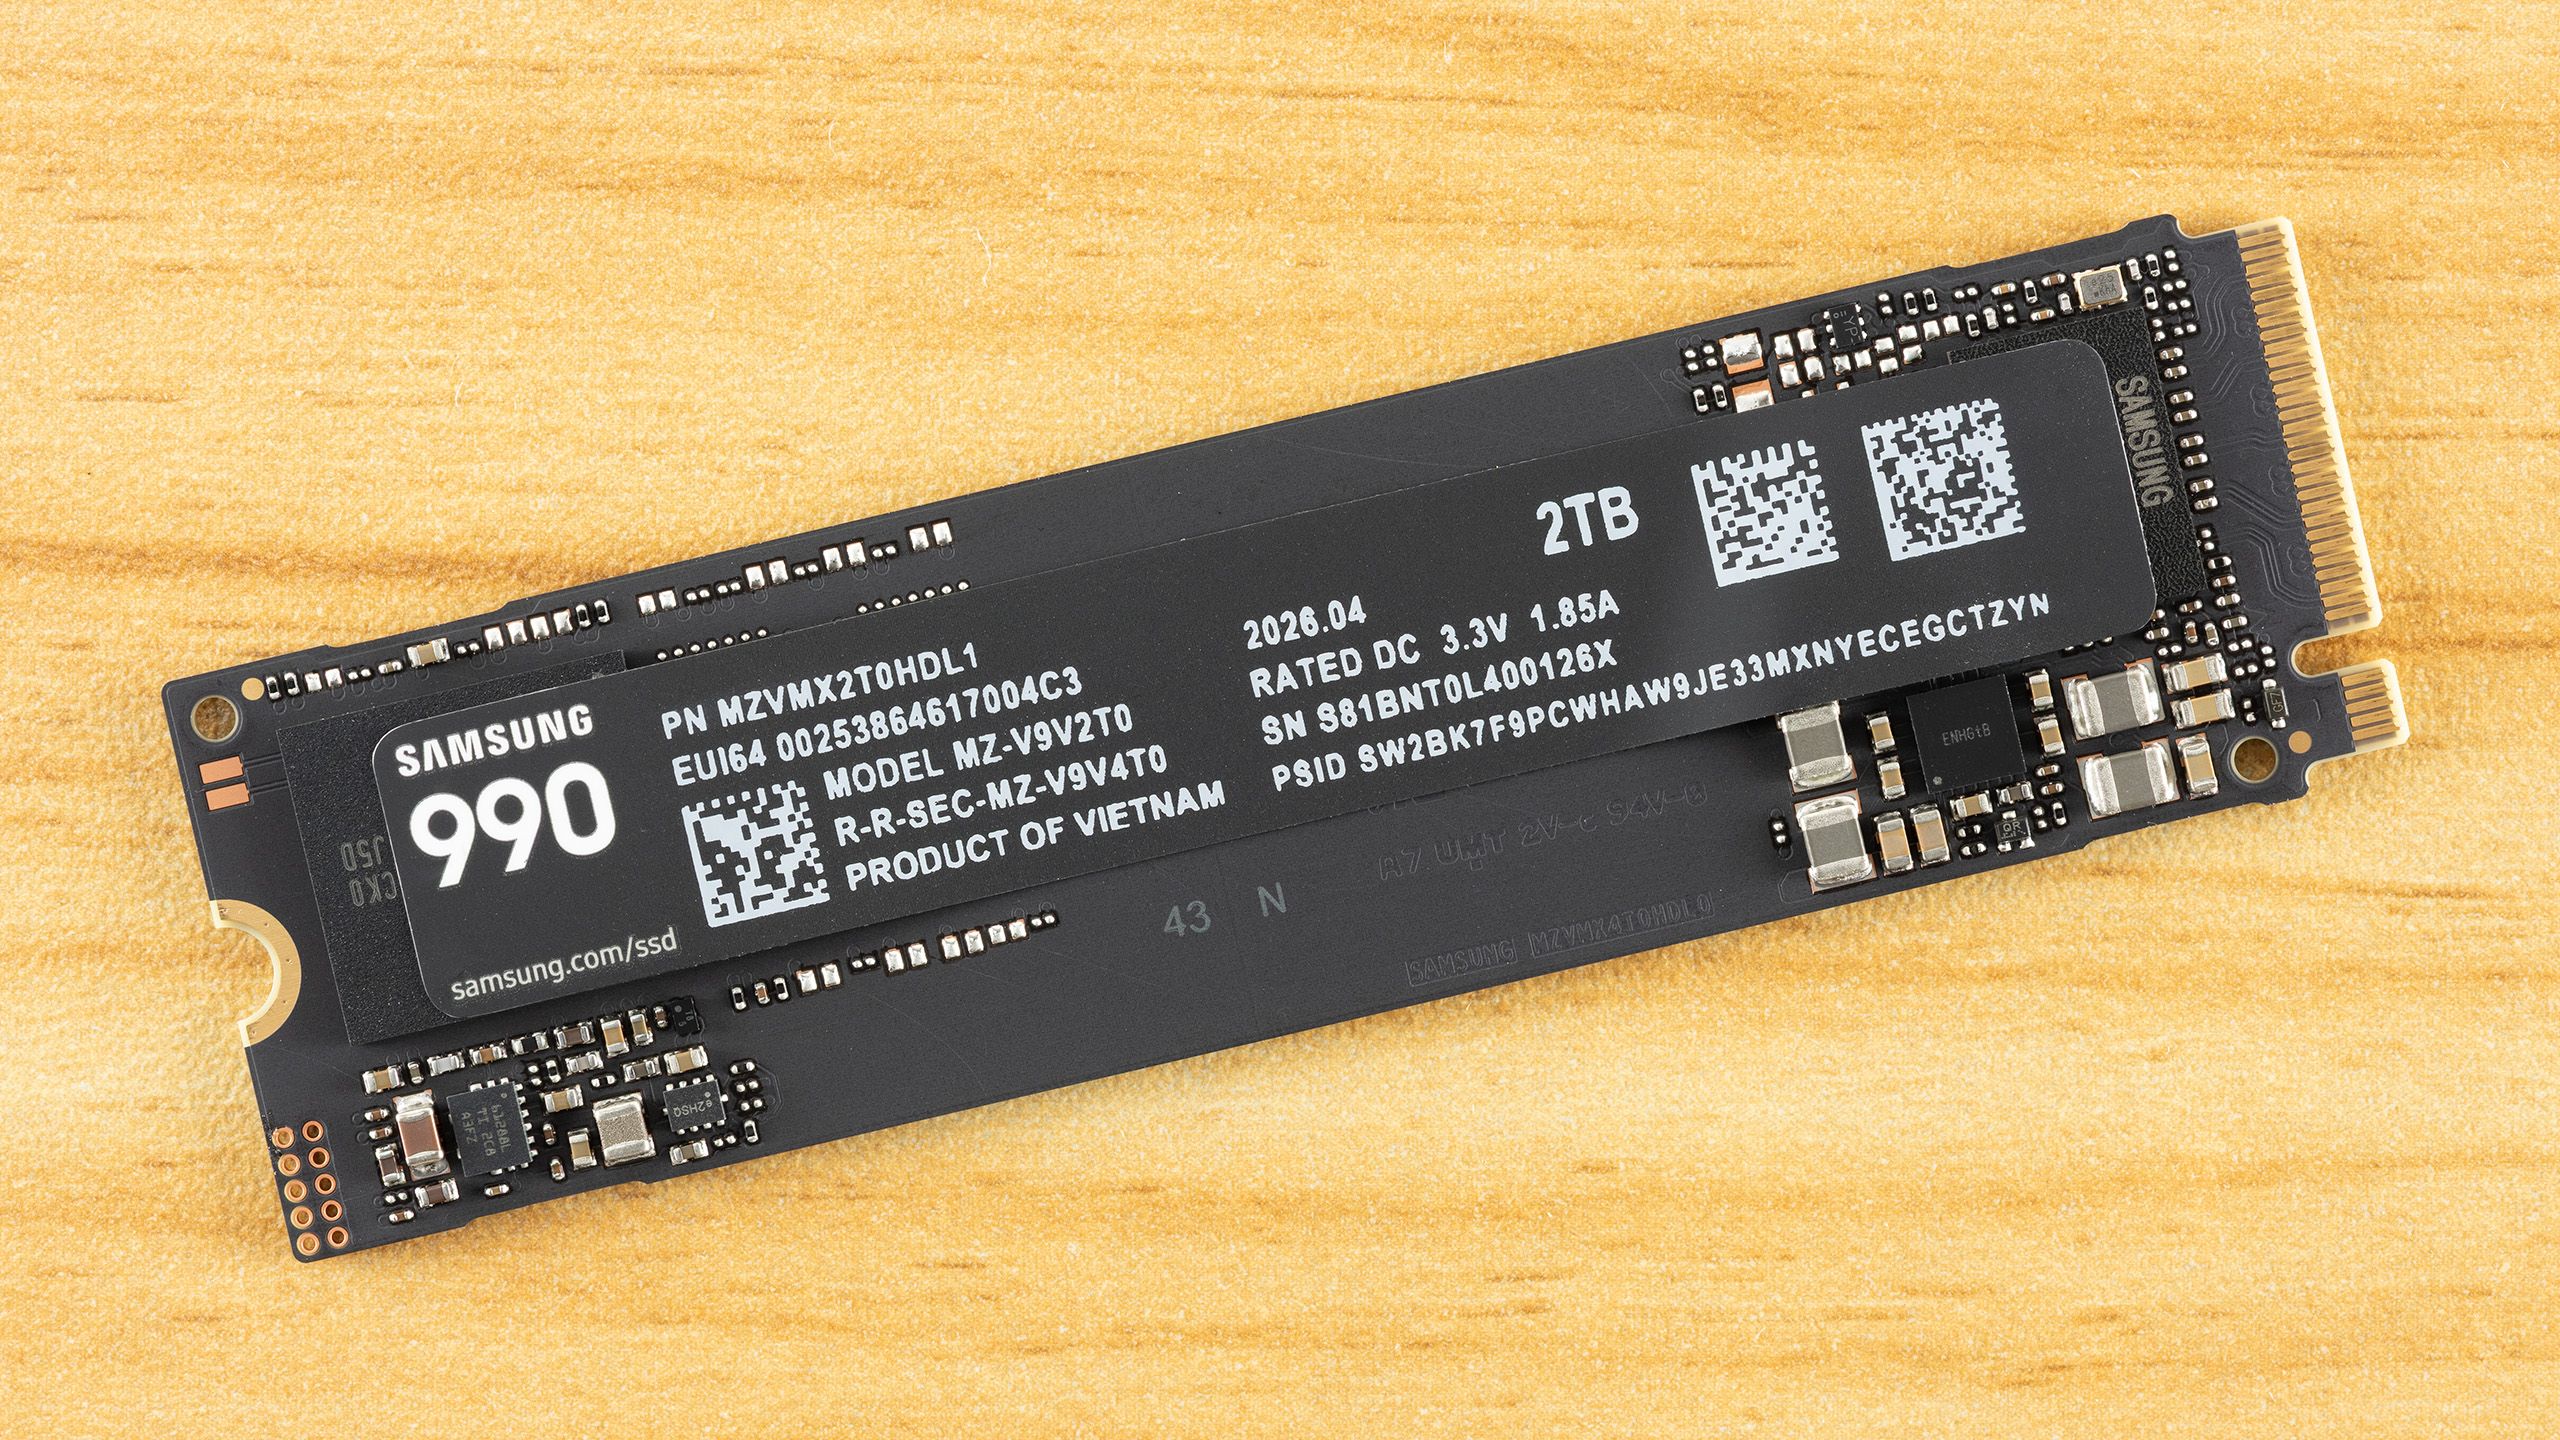
| Storage | 1TB PCIe Gen4 NVMe SSD | Fast OS and game loads; 1TB is a practical baseline. |
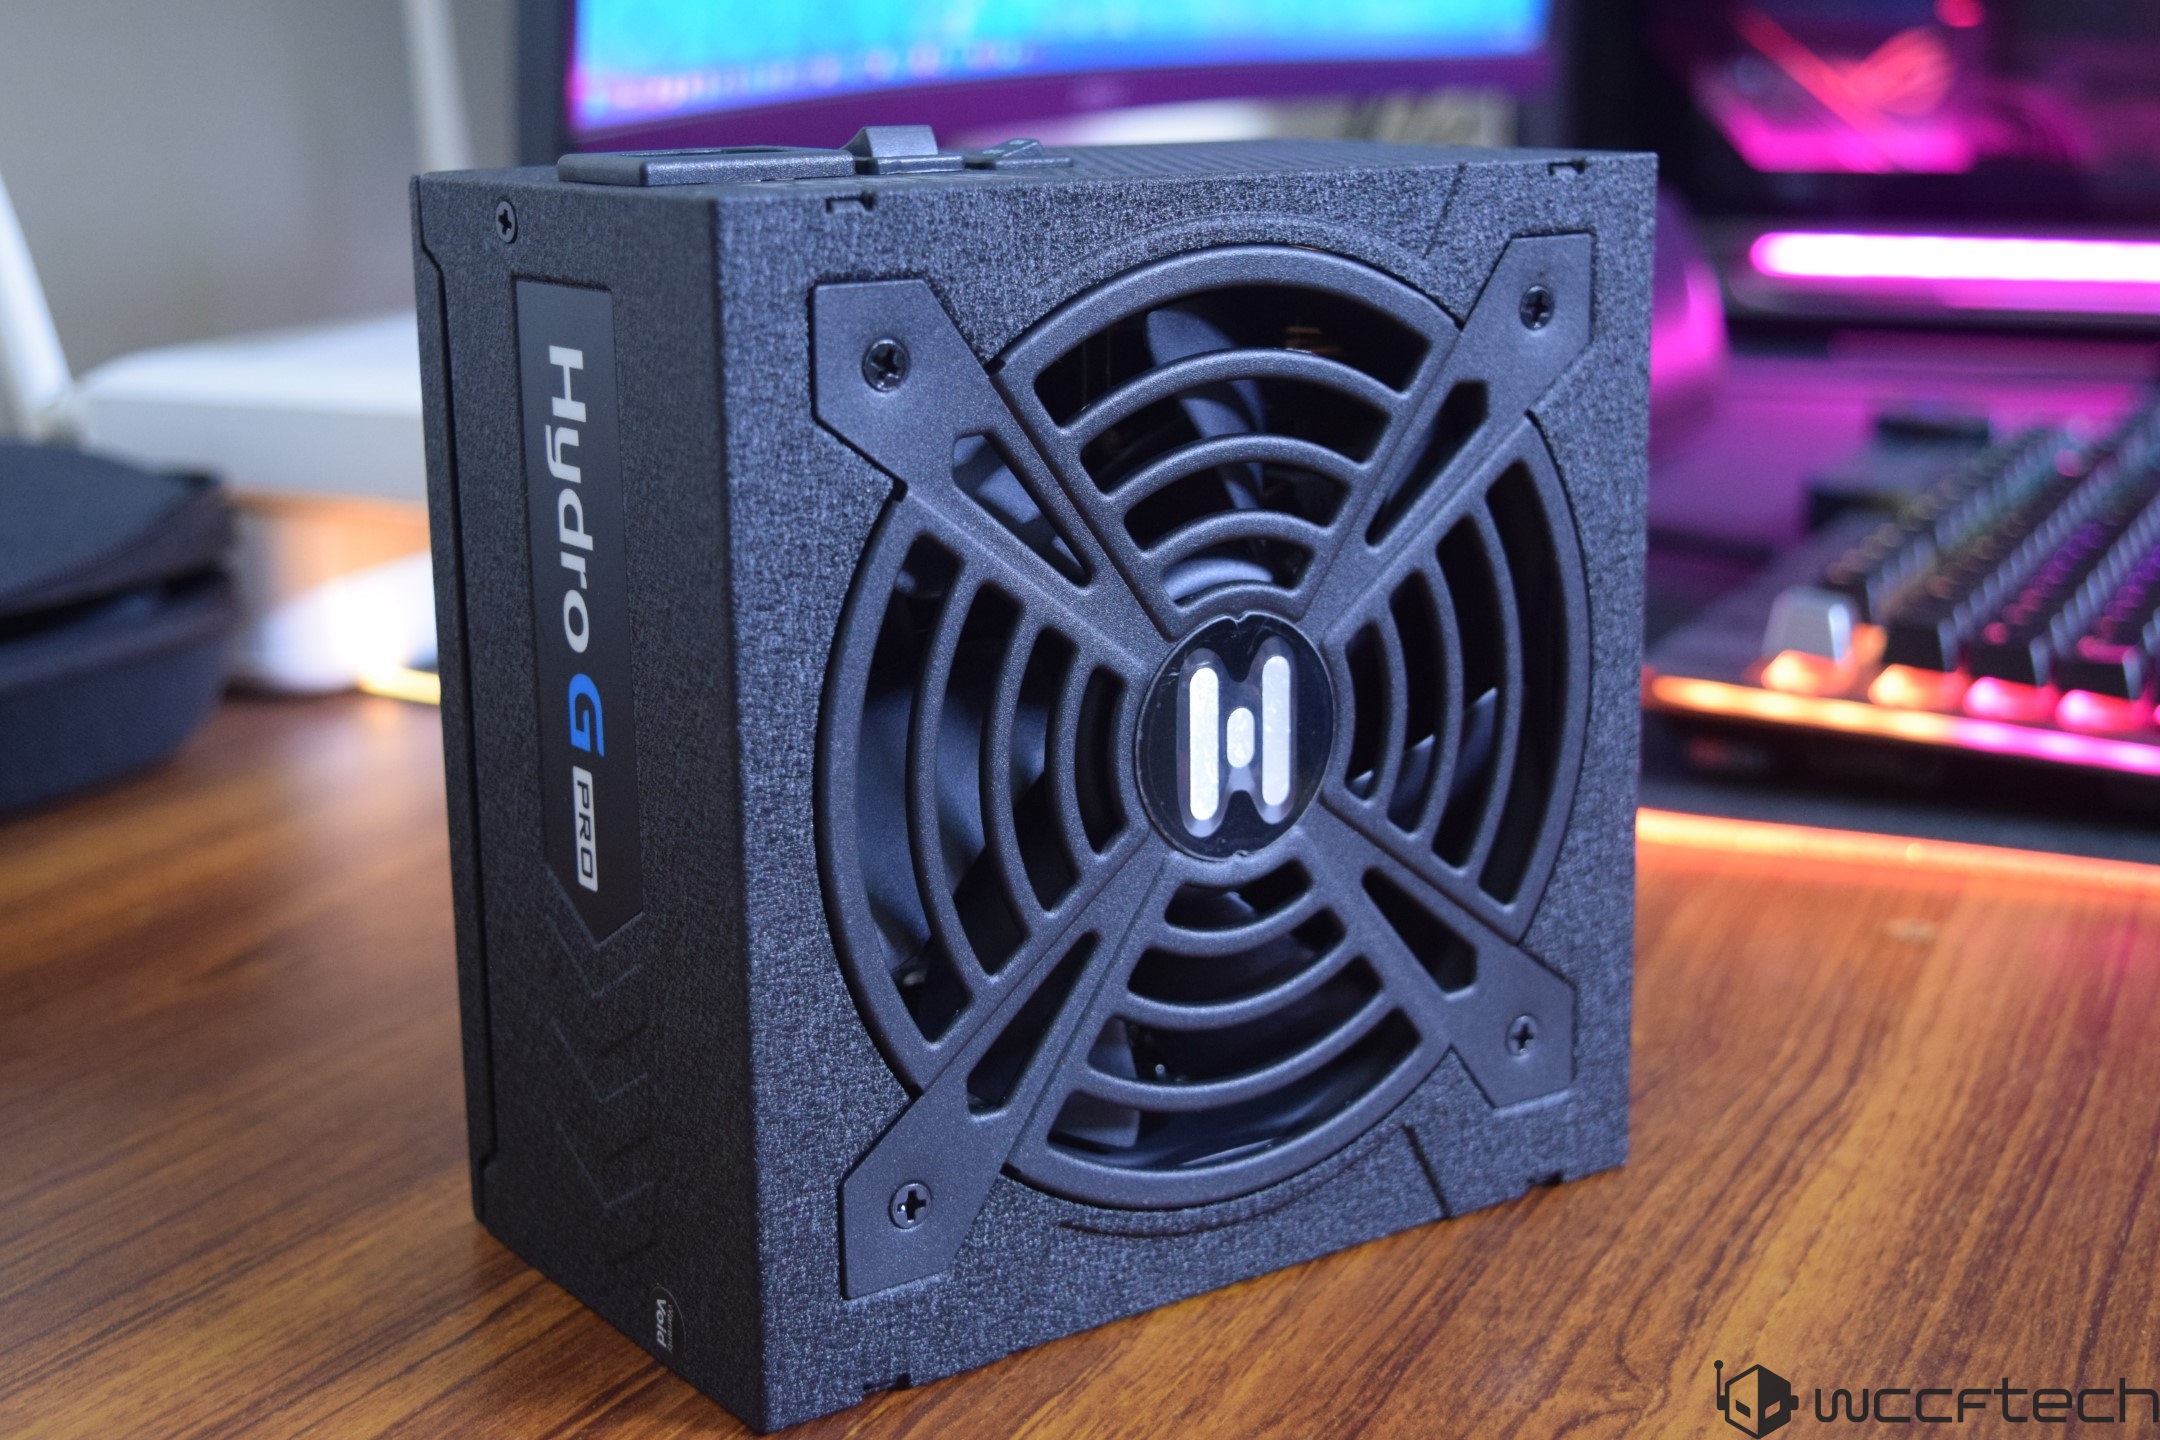
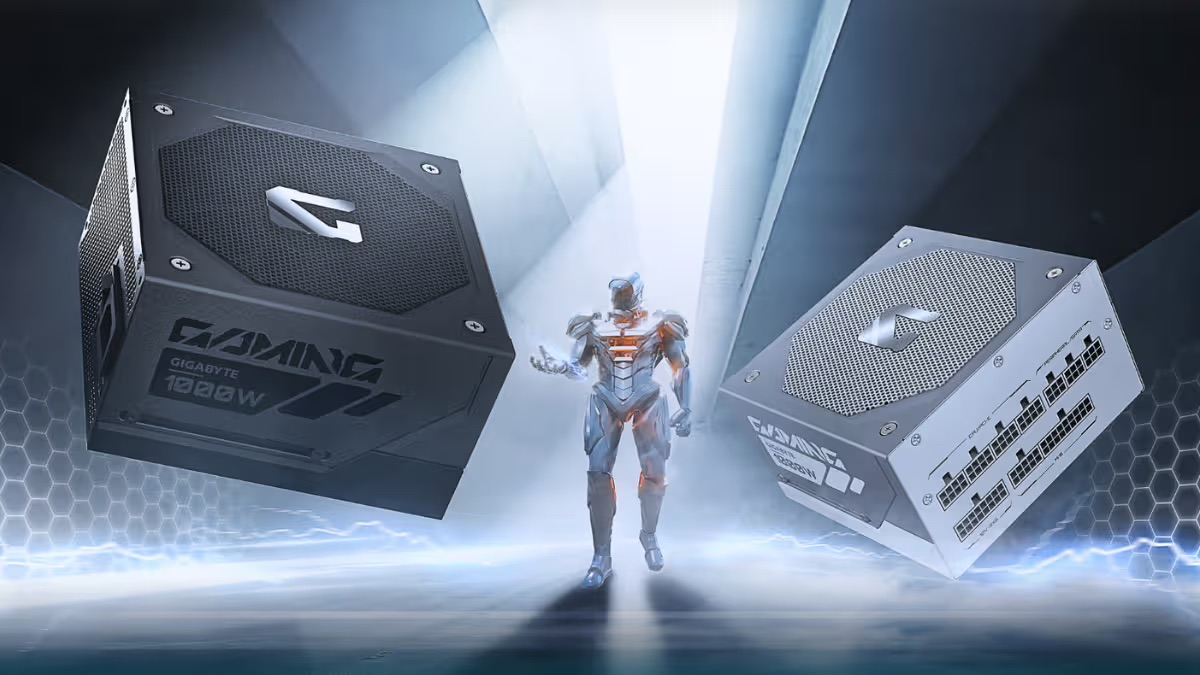
| PSU | 750W 80 Plus Gold unit | Enough headroom for mid‑range GPUs, supports new 12V‑2×6 connectors. |
| Case | Airflow‑focused micro‑ATX enclosure | Cheap, compact, and easier to build in than ultra‑small ITX. |
On top of parts, line up your prerequisites: Windows 11 installation media on an 8GB+ USB drive and the current Media Creation Tool; a Phillips #2 screwdriver (magnetic if possible), a small tray for screws, an anti‑static wrist strap or the habit of touching the case before handling components, plus zip ties or hook‑and‑loop straps for cable management, and thermal paste if your cooler lacks a pre‑applied pad. Sorting screws by type as you unpack them helps avoid a surprisingly common mistake: mixing motherboard standoff, case panel, and M.2 screws and stripping threads later.
12-Step Gaming PC Assembly Guide: From Empty Case to First Boot
- Prep the case and install the power supply: remove side panels and unused drive cages, slide the PSU into its bay, orient the fan toward a vented bottom or into the case interior as appropriate, secure it with the four rear screws, and route the 24‑pin and CPU power cables through cutouts before the motherboard goes in.
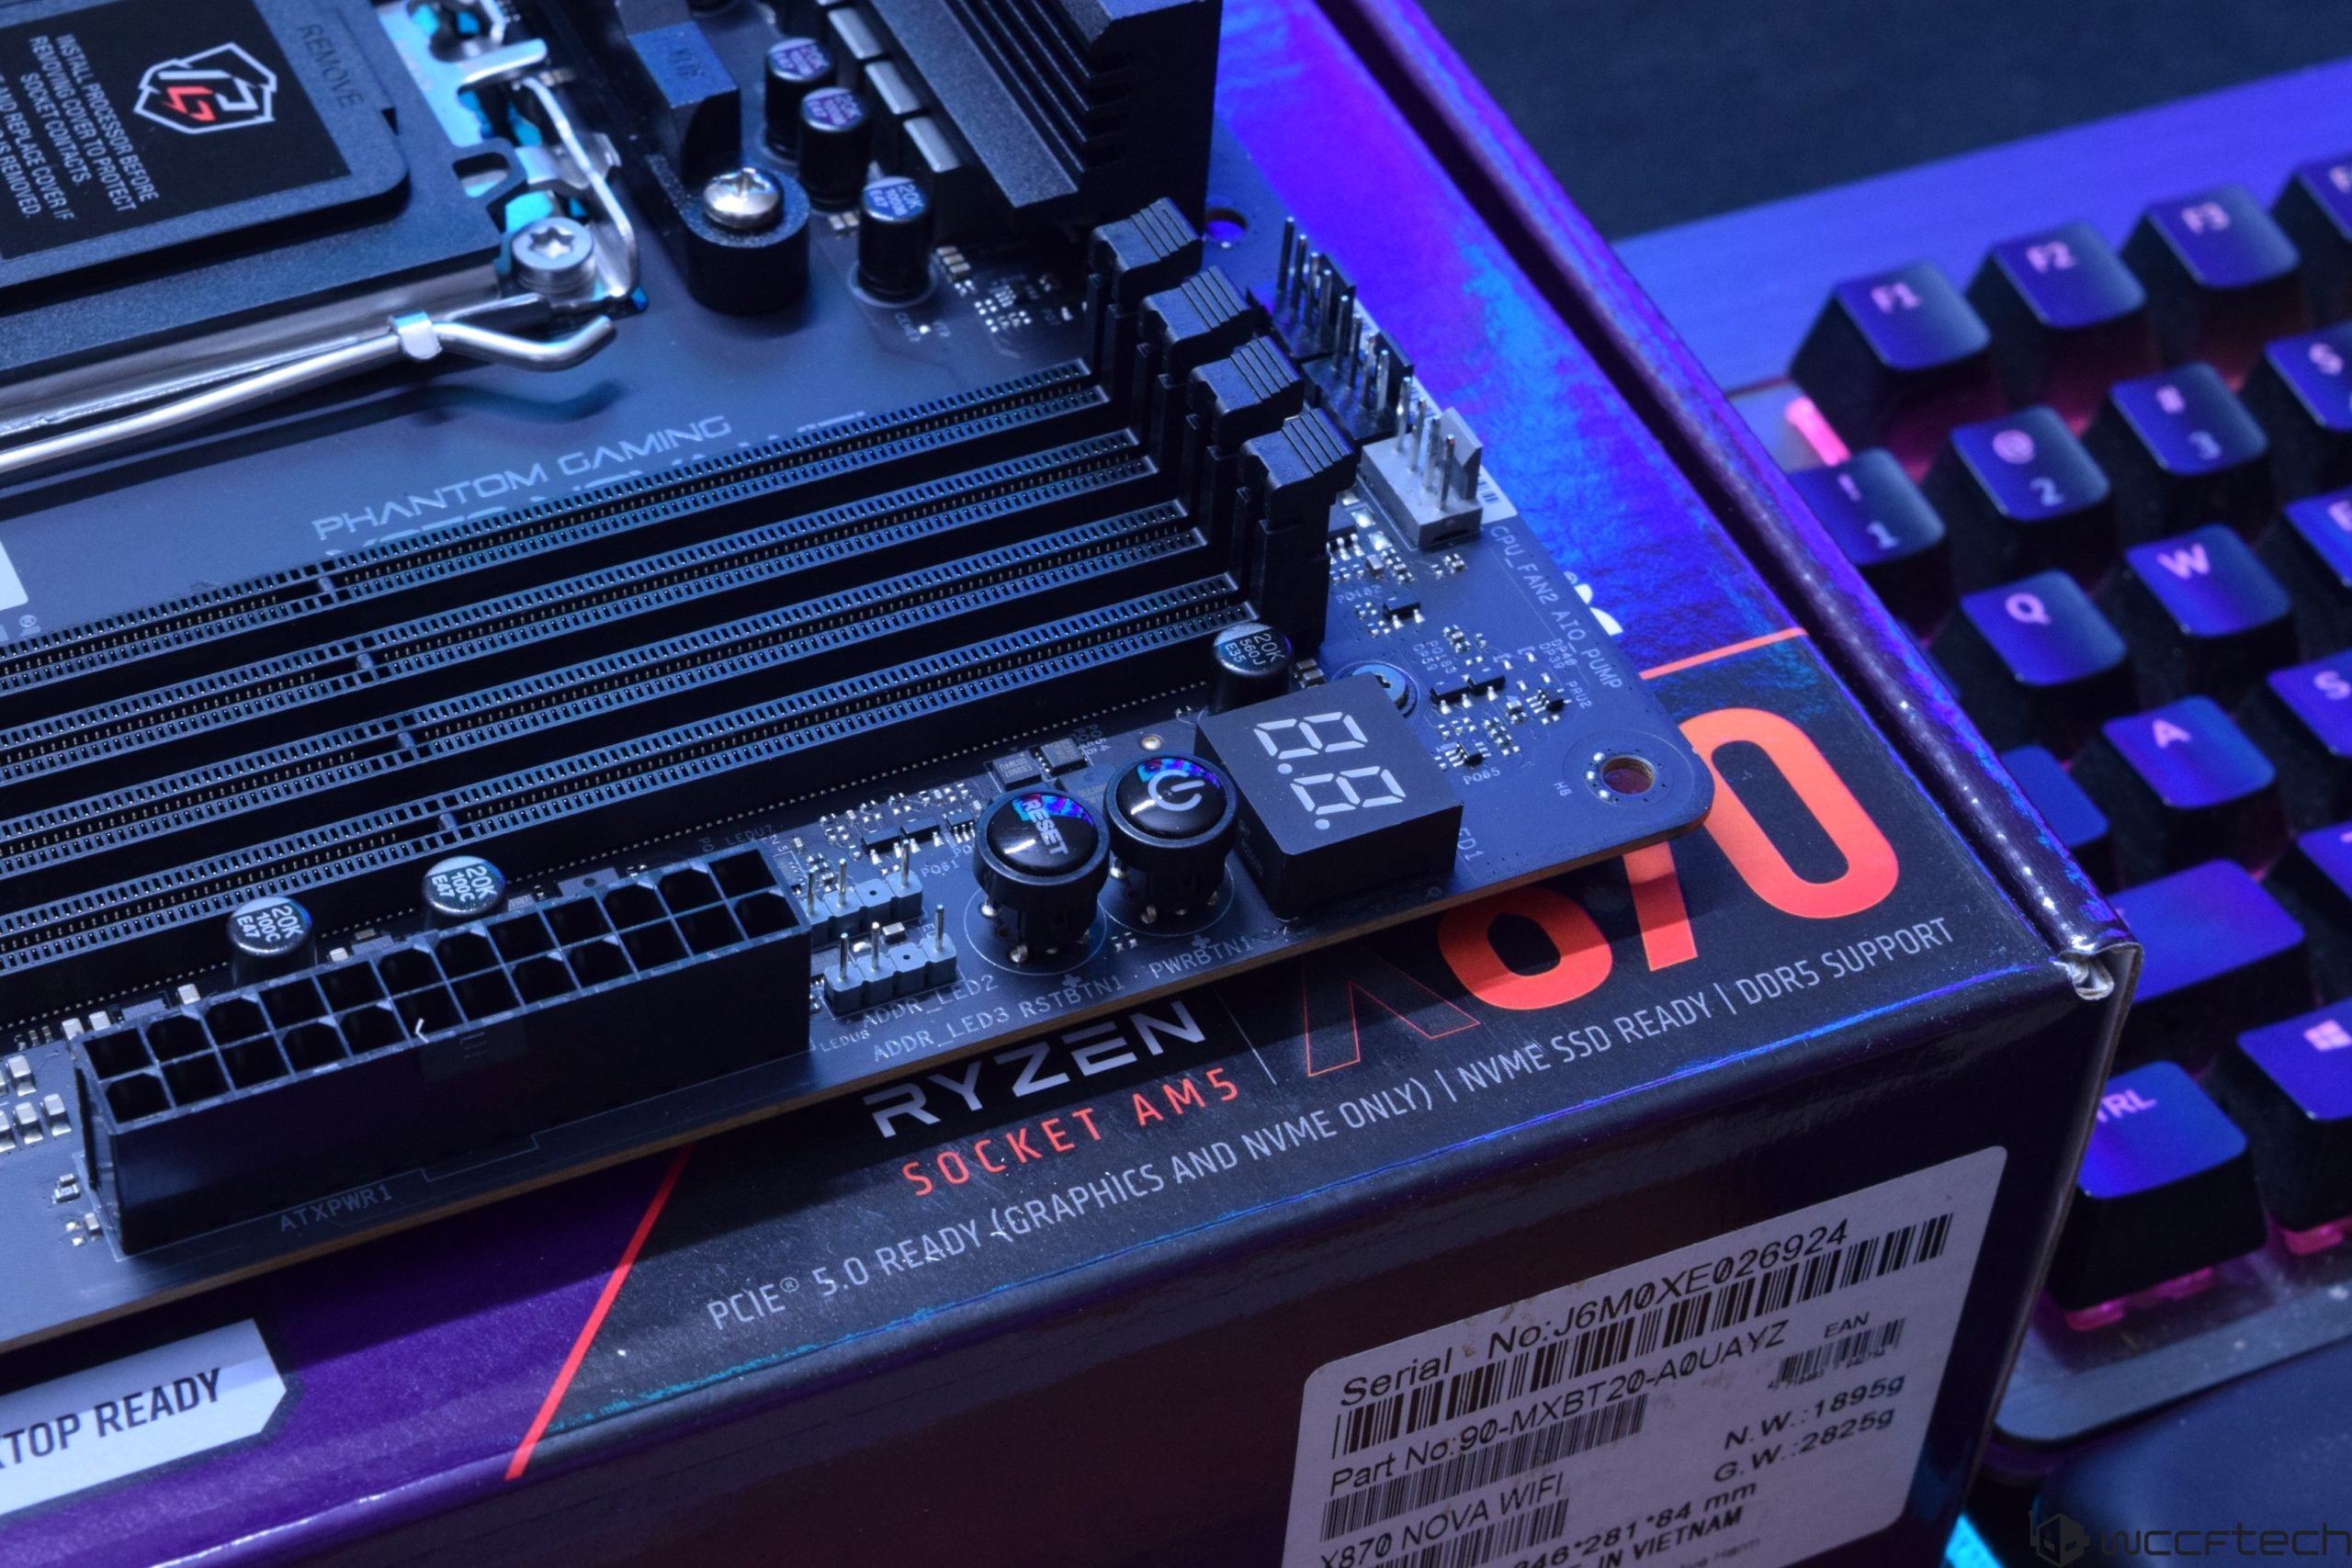
- Install the CPU on the motherboard outside the case: place the board on its box or anti‑static bag, open the socket lever and bracket, remove and save the plastic cover, align the CPU using its notches with the socket keys, lower it straight down, then close the bracket and lock the lever until it clicks.
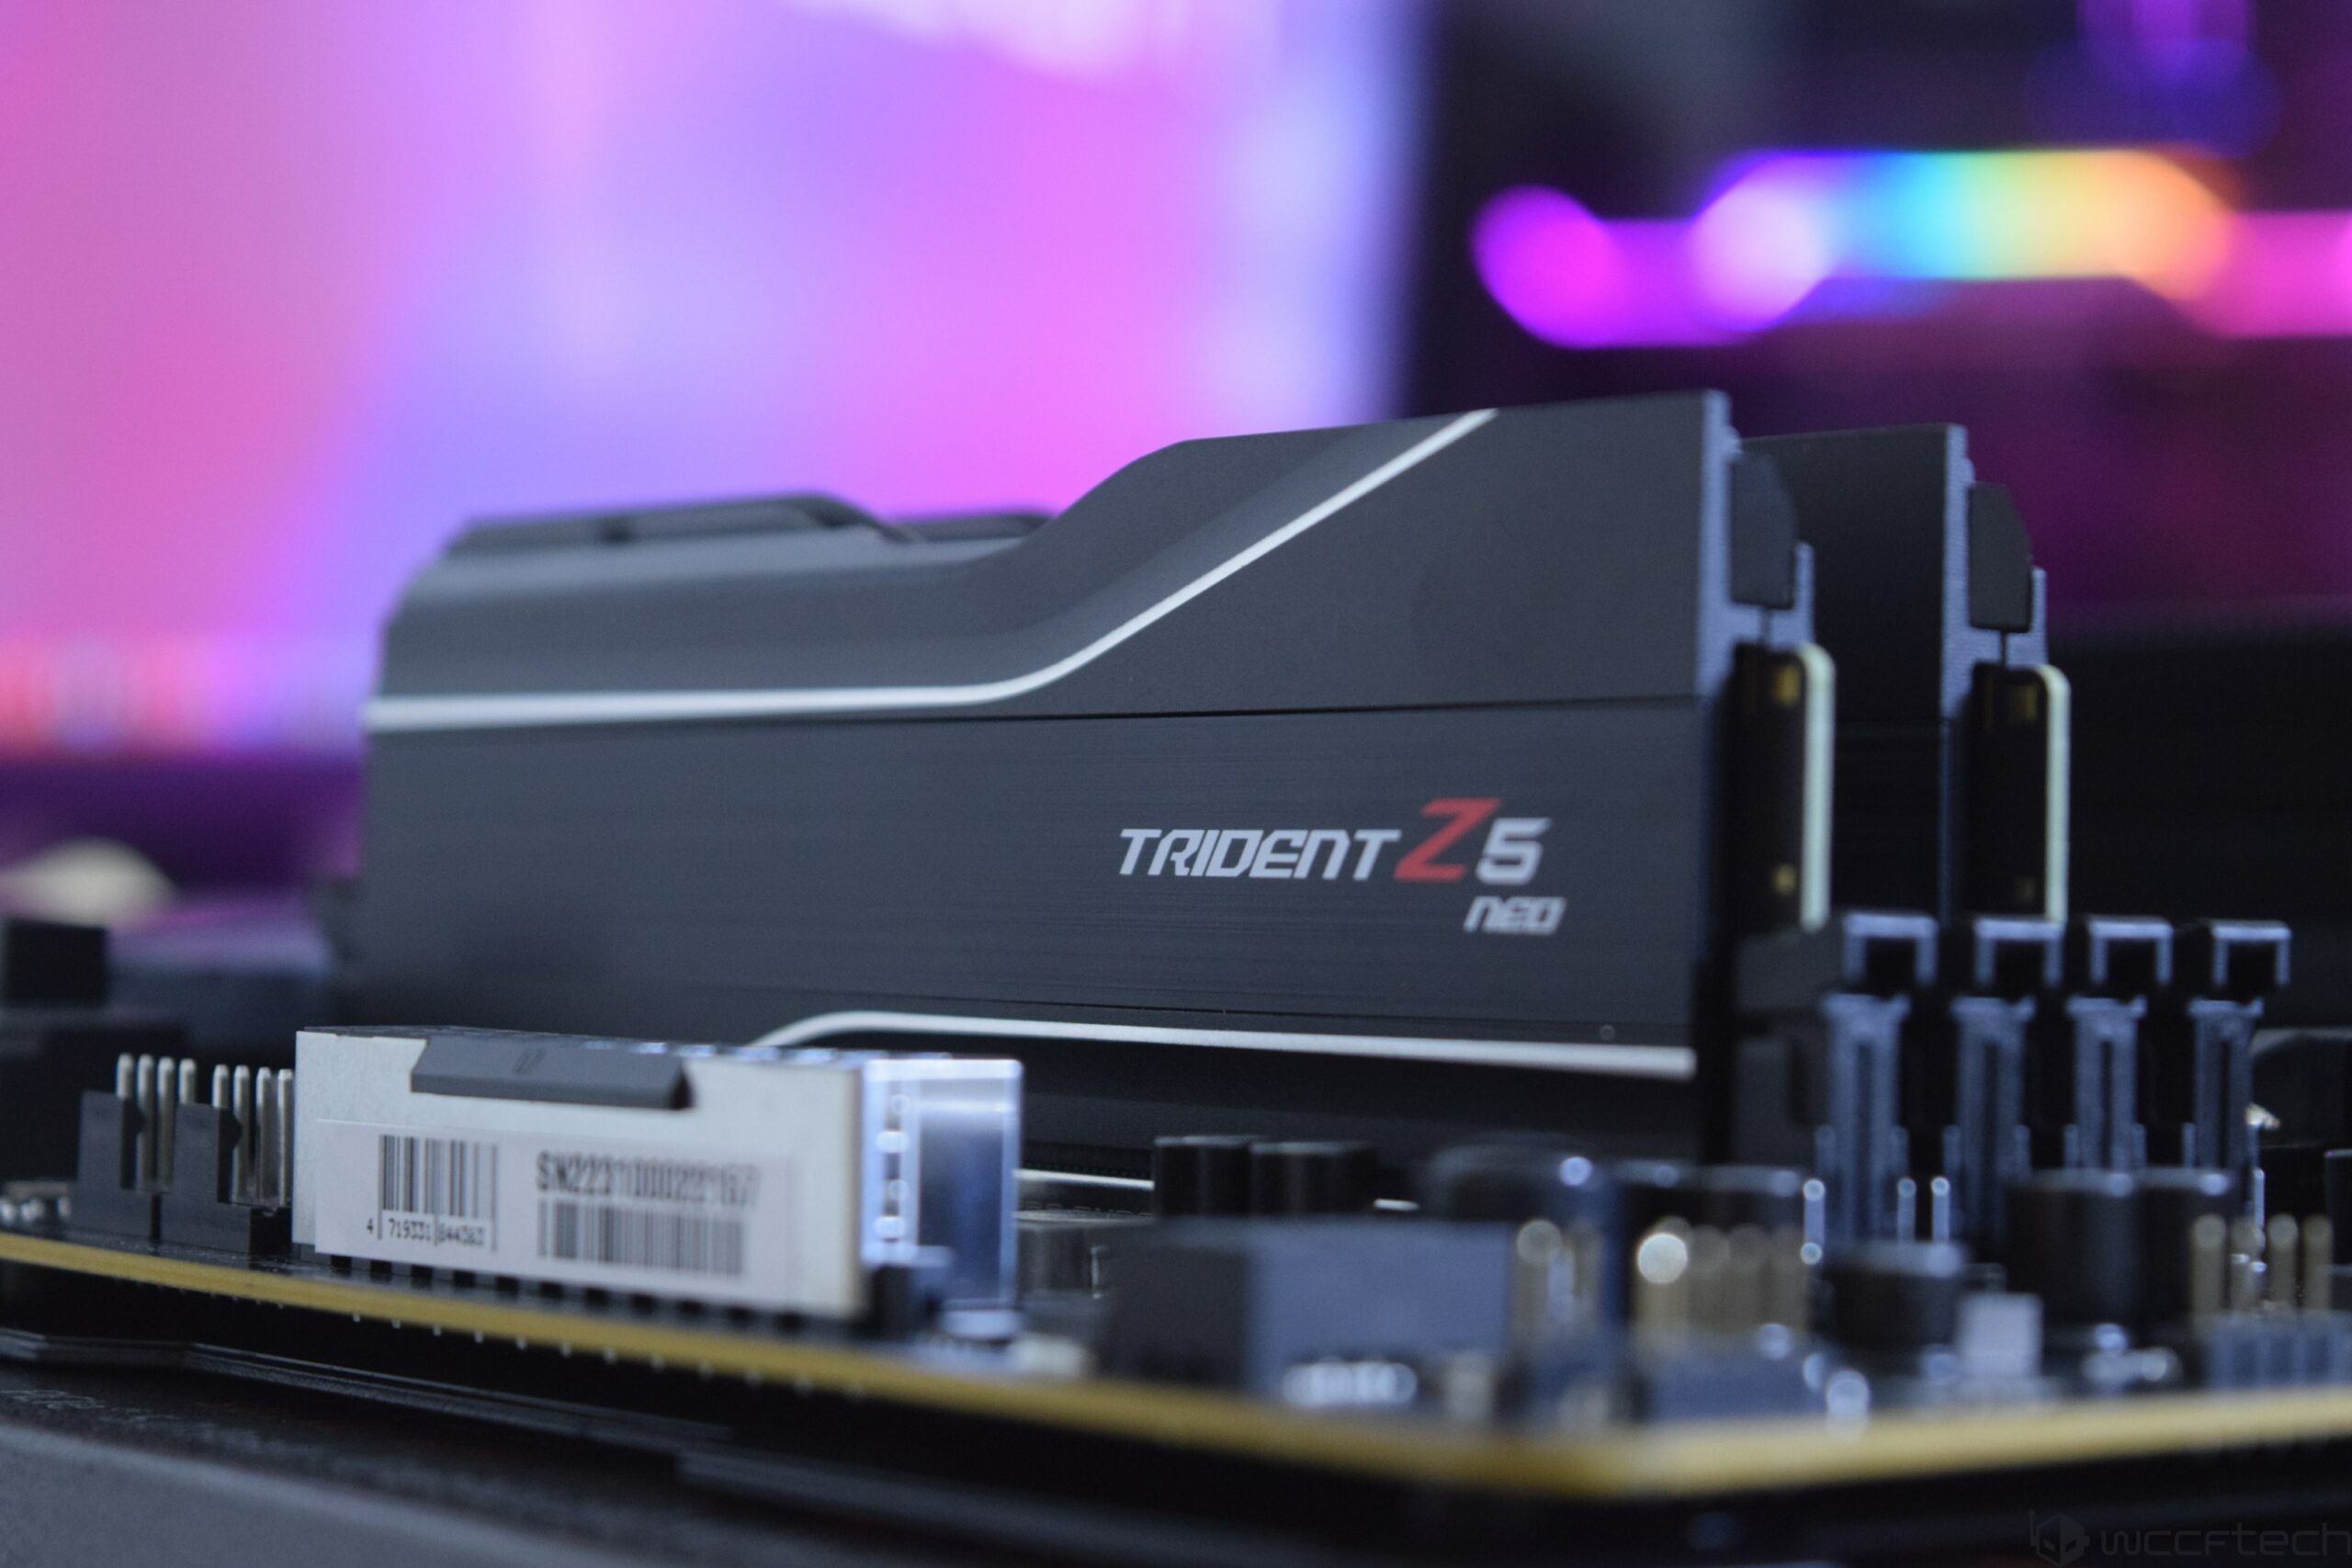
- Install DDR5‑6000 memory: line up each module with the slot, press down evenly until the latches click. A missing click is a common no‑boot cause, so double‑check both ends are fully seated.
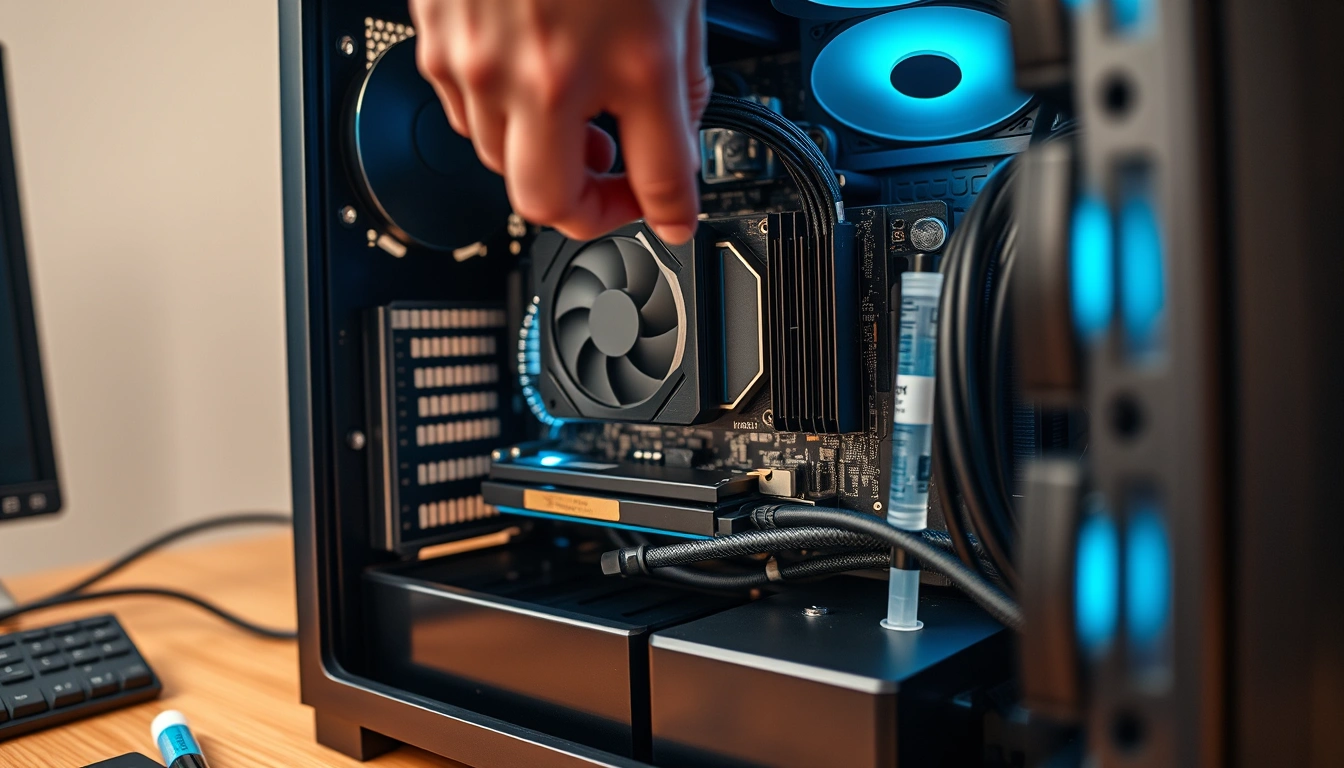
- Mount the CPU cooler: apply thermal paste if required, then attach the cooler using the correct mounting kit for your socket. Tighten screws in a cross pattern so pressure is even, and plug the fan into the CPU_FAN header.
- Install the motherboard in the case: align it with the I/O shield and standoffs, then fasten it using the right screws to avoid stripped threads. Confirm that no loose cables are trapped underneath.
- Install NVMe SSD storage: locate the M.2 slot, remove the tiny mounting screw, insert the SSD at an angle, push it down flat, and secure it with the screw.
- Install the GPU: seat it firmly in the primary PCIe slot, fasten it with case screws, and connect the appropriate PCIe power cable, including the redesigned 12V‑2×6 connector for newer cards.
- Handle cable management and front‑panel headers: connect power switch, reset, audio, USB, and fan headers according to the motherboard manual, then route and tie cables to keep airflow clear.
- First boot and BIOS setup: connect monitor and keyboard, power on, and confirm the system passes POST. Enter BIOS to check that CPU, RAM, and storage are detected, then enable the appropriate XMP/EXPO profile for DDR5‑6000 if the latest BIOS supports it.
- Install Windows 11 25H2 and drivers: boot from your USB installer, target version 25H2 because it outlasts 24H2’s service end date, then install chipset, GPU, and other drivers from vendors.
- Stress‑test and benchmark your build: run tools like CPU‑Z, HWiNFO64, and MemTest86 grabbed from their vendors to confirm stability before you install your full game library.
- Post‑build software and tuning: update firmware, refine fan curves, and adjust in‑game settings to match your hardware and display.
Expect roughly 90 minutes for the physical assembly once your parts are on hand, plus extra time for Windows and driver installs. The biggest gotchas in this sequence are rushed cable routing and partially seated components. Trying to thread a 24‑pin cable behind the motherboard tray after the board is installed is one of the more annoying mistakes to fix, and RAM that is not fully clicked into place is a common cause of a system that powers on but never reaches POST. Take your time at each step, and keep your manual nearby for front‑panel header pinouts — guessing here leads to power buttons that do nothing.
DDR5-6000, Windows 11 25H2, and Common First-Build Troubles
Modern platforms add two extra layers to an affordable gaming setup: memory profiles and operating system life cycle. DDR5‑6000 is now the mainstream performance sweet spot for 2026 builds. To take advantage of it, you usually enable an XMP or EXPO profile in BIOS — but early motherboard BIOS versions can make full‑speed RAM refuse to boot. Before you push memory to rated speed, update to the latest BIOS from your board vendor and be ready to drop back to a lower profile if the system becomes unstable.
On the OS side, Windows 11 version 25H2, delivered as an enablement package on top of 24H2, is the default target for new systems. Version 24H2 still installs fine, but its Home and Pro editions have an end of service set for October 13, 2026. Building for 25H2 means fewer forced upgrades in the near term and better alignment with hardware support. Treat your installer USB as part of the build kit, and create it only once you are ready to install so it carries the current image.
Common pitfalls when building a PC in 2026 include missing cables or a driver USB stick, unconnected CPU power leads, misrouted front‑panel headers, and forgetting to plug in the CPU cooler fan. Troubleshooting often comes down to re‑checking those basics before you suspect a dead component. For first‑time builders, combining a clear 12‑step gaming PC assembly guide with a checklist of these problem spots makes the process far less stressful, even if prices and platform features feel more complex than they did a few years ago.
Is Building Under USD 900 Still Worth It?
The expected result of following this 12‑step guide is a benchmarked, driver‑updated desktop tailored to your games and budget, rather than a generic prebuilt. Together with current component deals, such builds cover the practical spectrum from balanced mainstream systems up to premium 4K rigs based on powerful GPUs, even though your own target is a leaner, sub‑USD 900 tower. In other words, you’re learning the same process enthusiasts use at every tier — just tuning it toward value.
Is it worth it? If you like having control over every part and the ability to upgrade piece by piece, yes. You get a budget gaming PC build that hits the affordable gaming setup goals without paying for unnecessary extras. If the idea of troubleshooting a no‑boot situation makes you wince, buying a prebuilt remains reasonable. But for most people willing to follow a clear gaming PC assembly guide, the main things to watch for are simple: confirm parts and tools up front, seat RAM until it clicks, route power cables before the board goes in, and favor Windows 11 25H2 with a current BIOS for DDR5‑6000 stability. Do that, and building your own rig is far less intimidating than it looks.