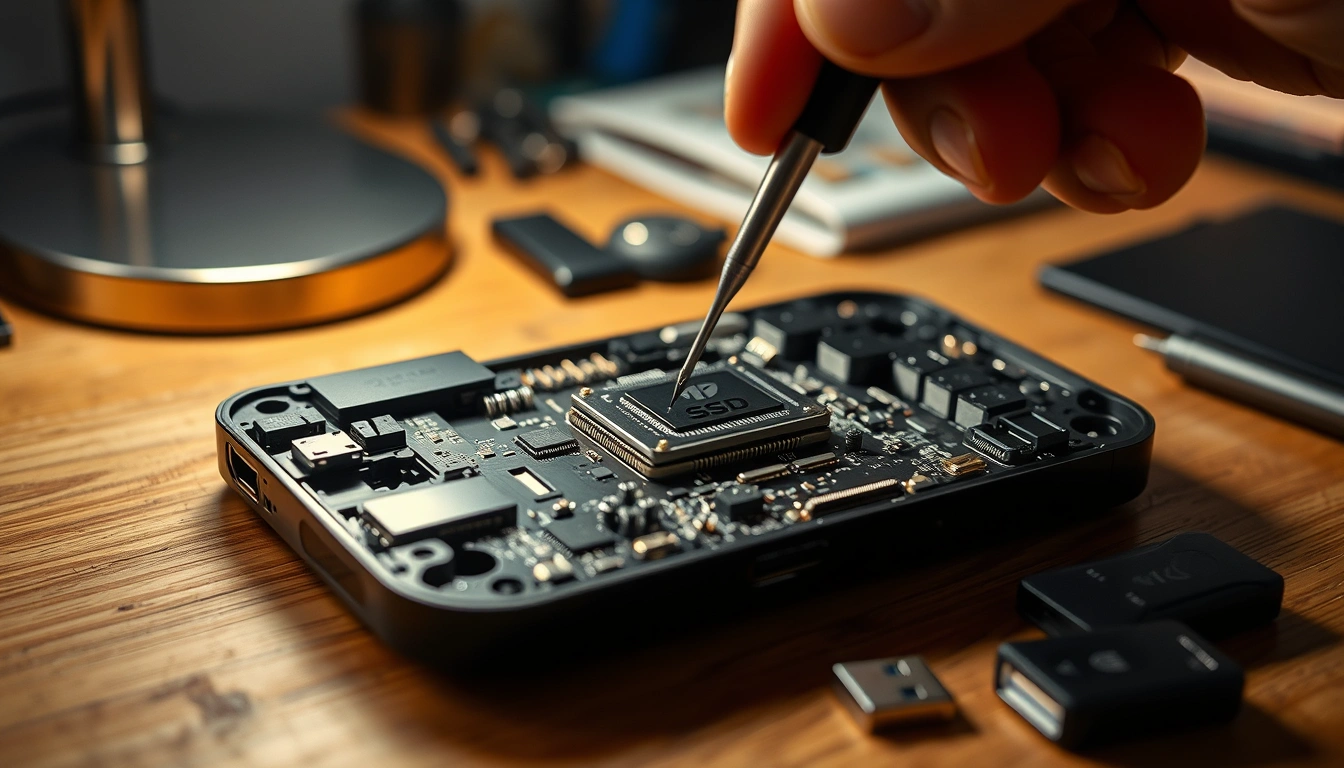

Why Upgrade Your Steam Deck SSD Now
A Steam Deck SSD upgrade is the process of replacing the handheld’s internal M.2 2230 NVMe drive with a higher-capacity, compatible SSD and then reinstalling SteamOS from a recovery image so you gain more fast storage without sacrificing system stability or your saved data.
If your Steam Deck library is bumping into the limits of 256GB or 512GB and new AAA games regularly eat 100GB each, upgrading the SSD is the most direct way to reclaim breathing room. Going from the 64GB eMMC model to any NVMe replacement also delivers the biggest jump in load times and file copy speed of all the storage paths. The catch: the Deck uses M.2 2230 SSDs, a short and less common form factor, so you cannot drop in the longer M.2 2280 drives you might reuse from a desktop. This guide walks you through a 12-step upgrade that covers safe teardown, drive swap, and a SteamOS reimaging guide built around SteamOS 3.8, so you end up with more storage and a working system, not a very expensive paperweight.
There is one simple but important prerequisite you should treat as non‑negotiable: turn the device on at least once and pull the latest updates before opening it. Steam hardware that ships with preloaded firmware may run a BIOS or recovery update on first boot, and skipping that can leave you stuck at a blue recovery error after a drive swap. In other words, let the Deck finish its first‑time setup and patches; then you’re ready for tools.

Tools, Parts, and Picking the Right M.2 2230 Drive
Upgrading Steam Deck storage safely starts with preparation: gather every tool and part before you touch a screw. Running out of a small tool midway through is the fastest way to end up with a half‑disassembled handheld stuck on your desk overnight. None of what you need is exotic, and you do not have to solder anything—the skill level is similar to changing a laptop battery or adding RAM in a desktop, just with smaller screws and a tighter layout.
| Item | Spec / Version | Why It Matters |
|---|---|---|
| Screwdriver | Phillips #0 (LCD) or T6 Torx (OLED) | Using the wrong bit can strip the screw head and complicate teardown. |
| Prying tool | Plastic spudger or guitar pick | Metal tools risk shorting components once the shell is open. |
| Tweezers & ESD gear | Tweezers + ESD-safe mat or wrist strap | Helps handle small shield screws and avoid static damage when the board is exposed. |
| Replacement SSD | M.2 2230, single-sided, NVMe | Steam Deck only accepts 22×30mm drives; double-sided or 2280 SSDs either collide with shielding or do not fit. |
| USB flash drive | 8GB+ USB-A or USB-C | Holds the SteamOS recovery image you’ll boot from after the swap. |
| Second computer & internet | PC with stable connection | Needed to download the 1GB+ SteamOS recovery image and write it to USB. |
| SteamOS version | SteamOS 3.8 or later installed before teardown | Keeps firmware aligned with the recovery image and avoids boot issues. |
One of the biggest gotchas in a Steam Deck SSD upgrade is drive compatibility. The internal slot only accepts the M.2 2230 form factor—22mm wide and 30mm long—and standard laptop or desktop SSDs in the M.2 2280 size are 80mm long and physically cannot fit, no matter how tempting the price may look. The replacement also has to be single‑sided; some 2230 models put memory chips on both sides of the PCB to reach higher capacities, and those extra chips hit the Deck’s internal shield. If a listing does not clearly state “single‑sided,” treat that as a red flag and double‑check product photos for visible chips on the underside or contact the seller. Getting this wrong is one of the top reasons upgrades fail before you even pick up a screwdriver.
The 12-Step Steam Deck SSD Upgrade and SteamOS Reimaging
Once you have a compatible single‑sided M.2 2230 drive and your tools laid out, the actual Steam Deck storage upgrade follows a clear 12‑step sequence that covers backup, hardware teardown, drive installation, and a SteamOS reimaging guide built around a recovery USB. Read through the entire process once before you start so you know what is coming and do not feel rushed while the device is open.
- Update SteamOS to at least 3.8 and confirm your current storage under Settings > System > System Update. This aligns your firmware with the recovery image and reduces “recovery image won’t boot” problems.
- Back up your saves and note your library. Sync cloud saves where possible and jot down which games you want to reinstall first after the upgrade.
- Enter Battery Storage Mode and power the Deck down fully. This helps protect the battery and reduces the chance of shorts while the device is open.
- Remove the back cover screws using the correct bit for your model—Phillips #0 for the LCD version or T6 Torx for the OLED.
- Use a plastic spudger or guitar pick to unclip and lift the back cover, working slowly around the edges to avoid snapping internal clips.
- Remove the internal shield and disconnect the battery, exposing the motherboard while making sure no power is flowing to the SSD slot.
- Unscrew and remove the old SSD from the M.2 2230 slot, lifting it out at a slight angle as you would in a laptop.
- Transfer any shielding sticker or thermal pad from the old drive onto the new M.2 2230 SSD, then seat the new SSD in the slot and secure it.
- Reconnect the battery and replace the shield so the motherboard is covered again and protected from accidental contact.
- Close the back cover, reclip it carefully, and reinstall all the screws to restore the Deck’s shell.
- On a second computer, create the SteamOS recovery USB drive using the official recovery image and a flash drive of at least 8GB.
- Plug the recovery USB into the Steam Deck, boot into recovery using the key combo documented in the current SteamOS recovery instructions, and reimage SteamOS onto the new SSD.
Most of the hour this process takes is hands‑off while the recovery image downloads and flashes to USB. The mechanical parts—opening the shell, handling the shield screws, and carefully disconnecting the battery—are where patience pays off. Avoid rushing Steps 4 through 7; a stripped screw or hurried pry can cause more trouble than the rest of the upgrade combined. Also remember the warning learned from other Steam hardware: “Once you’ve gone through the setup process once, I’d personally recommend updating your Machine via Steam before swapping the SSD.” That same logic applies here; keeping firmware current before the swap gives the recovery environment the best chance of working on first boot.
Verification, Common Pitfalls, and Troubleshooting
After SteamOS finishes reimaging onto the new drive, you are not done until you have verified that the Steam Deck SSD upgrade behaved as expected. Start by checking that SteamOS sees the full capacity of your new M.2 2230 SSD in Settings > Storage. Then sign in, confirm cloud saves have arrived, and begin restoring your library and settings so the Deck feels like home again. If you moved from the 64GB eMMC version to NVMe, game load times and file transfers should feel noticeably quicker once a few titles are installed.
The most common mistakes fall into two categories: hardware fit and firmware mismatch. On the hardware side, using any M.2 size other than 2230, or a double‑sided 2230 with chips on both faces, leads to drives that either cannot be installed or collide with the internal shield. On the firmware side, mismatched SteamOS versions between what the Deck was running and the recovery image can cause the “recovery image won’t boot” issue described in troubleshooting sections. Making sure you are already on SteamOS 3.8 or later before you open the shell is the easiest way to avoid that.
If something does go wrong, step back to basics. Recheck that the battery was reconnected, that the SSD is fully seated, and that you are using the correct key combo and current recovery image as documented in Valve’s refreshed SteamOS recovery and troubleshooting material. Remember that advanced tips, common pitfalls, and “issues and fixes” are cataloged in deeper troubleshooting guides, so you are unlikely to be the first person to hit your exact error. Overall, a careful Steam Deck storage upgrade is worth the effort: more fast storage, smoother installs, and a device that feels less cramped, so long as you respect the 2230 form factor, keep firmware up to date, and take your time around the teardown and reimaging steps.