
What Building a Gaming PC Involves and What It Gets You
Learning how to build a gaming PC means choosing compatible components, assembling them in a safe sequence, configuring firmware and software, and testing the finished system so it runs modern games smoothly and reliably for years. This DIY approach trades prebuilt convenience for lower cost at a given performance level, more control over every gaming PC component, and easier future upgrades.
You should bother with a DIY gaming PC if you care about squeezing maximum frame rates from a given budget and want the freedom to swap parts later instead of replacing a whole prebuilt tower. The main prerequisite is patience: budget about 90 minutes for physical assembly once your parts are on hand, plus extra time for Windows and drivers. If the thought of troubleshooting a no‑boot system makes you anxious, a prebuilt might suit you better, but with a clear gaming PC assembly guide the process is much less scary than it looks at first glance.
Before you touch a screwdriver, gather everything. You will need Windows 11 version 25H2 installation media on an 8GB or larger USB drive, a current motherboard BIOS, and diagnostic tools like CPU‑Z, HWiNFO64, and MemTest86 downloaded directly from their publishers. For tools, have a magnetic Phillips #2 screwdriver, a tray or magnetic mat for screws, an anti‑static wrist strap or the discipline to touch the metal case before handling parts, some zip ties or hook‑and‑loop straps for cable management, and thermal paste if your cooler does not include pre‑applied paste. Skipping this preparation is the fastest way to stall halfway through your build waiting on a missing cable or file.
Choosing 2026-Ready Gaming PC Components and Realistic Budgets
In 2026, how to build gaming PC plans start with modern parts: RTX 50‑series GPUs with the new 12V‑2×6 power connector, DDR5‑6000 memory as the mainstream sweet spot, and current‑generation CPUs on AMD AM5 or Intel LGA1851 platforms. A solid DIY gaming PC no longer comes in far under four figures: one source notes that approximately USD 1,000 (approx. ₱56,000) is the realistic starting point for a decent new gaming PC in July 2026, with higher tiers bringing stronger CPUs, GPUs, and more memory and storage.
| Component | Example Part | Approx. Price & Notes |
|---|---|---|
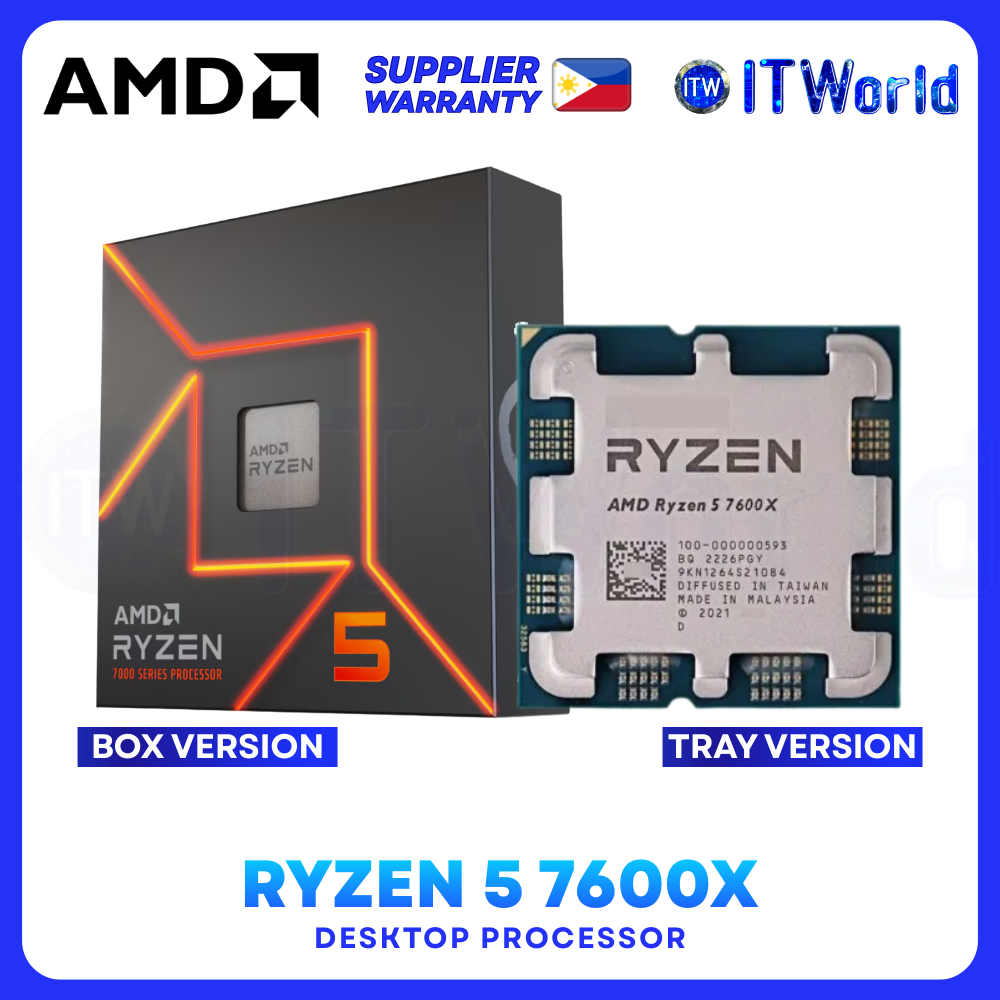
| CPU | AMD Ryzen 5 7600X (6-core, AM5) | USD 176.99 (approx. ₱9,900) — budget-tier gaming chip with a clear AM5 upgrade path. |
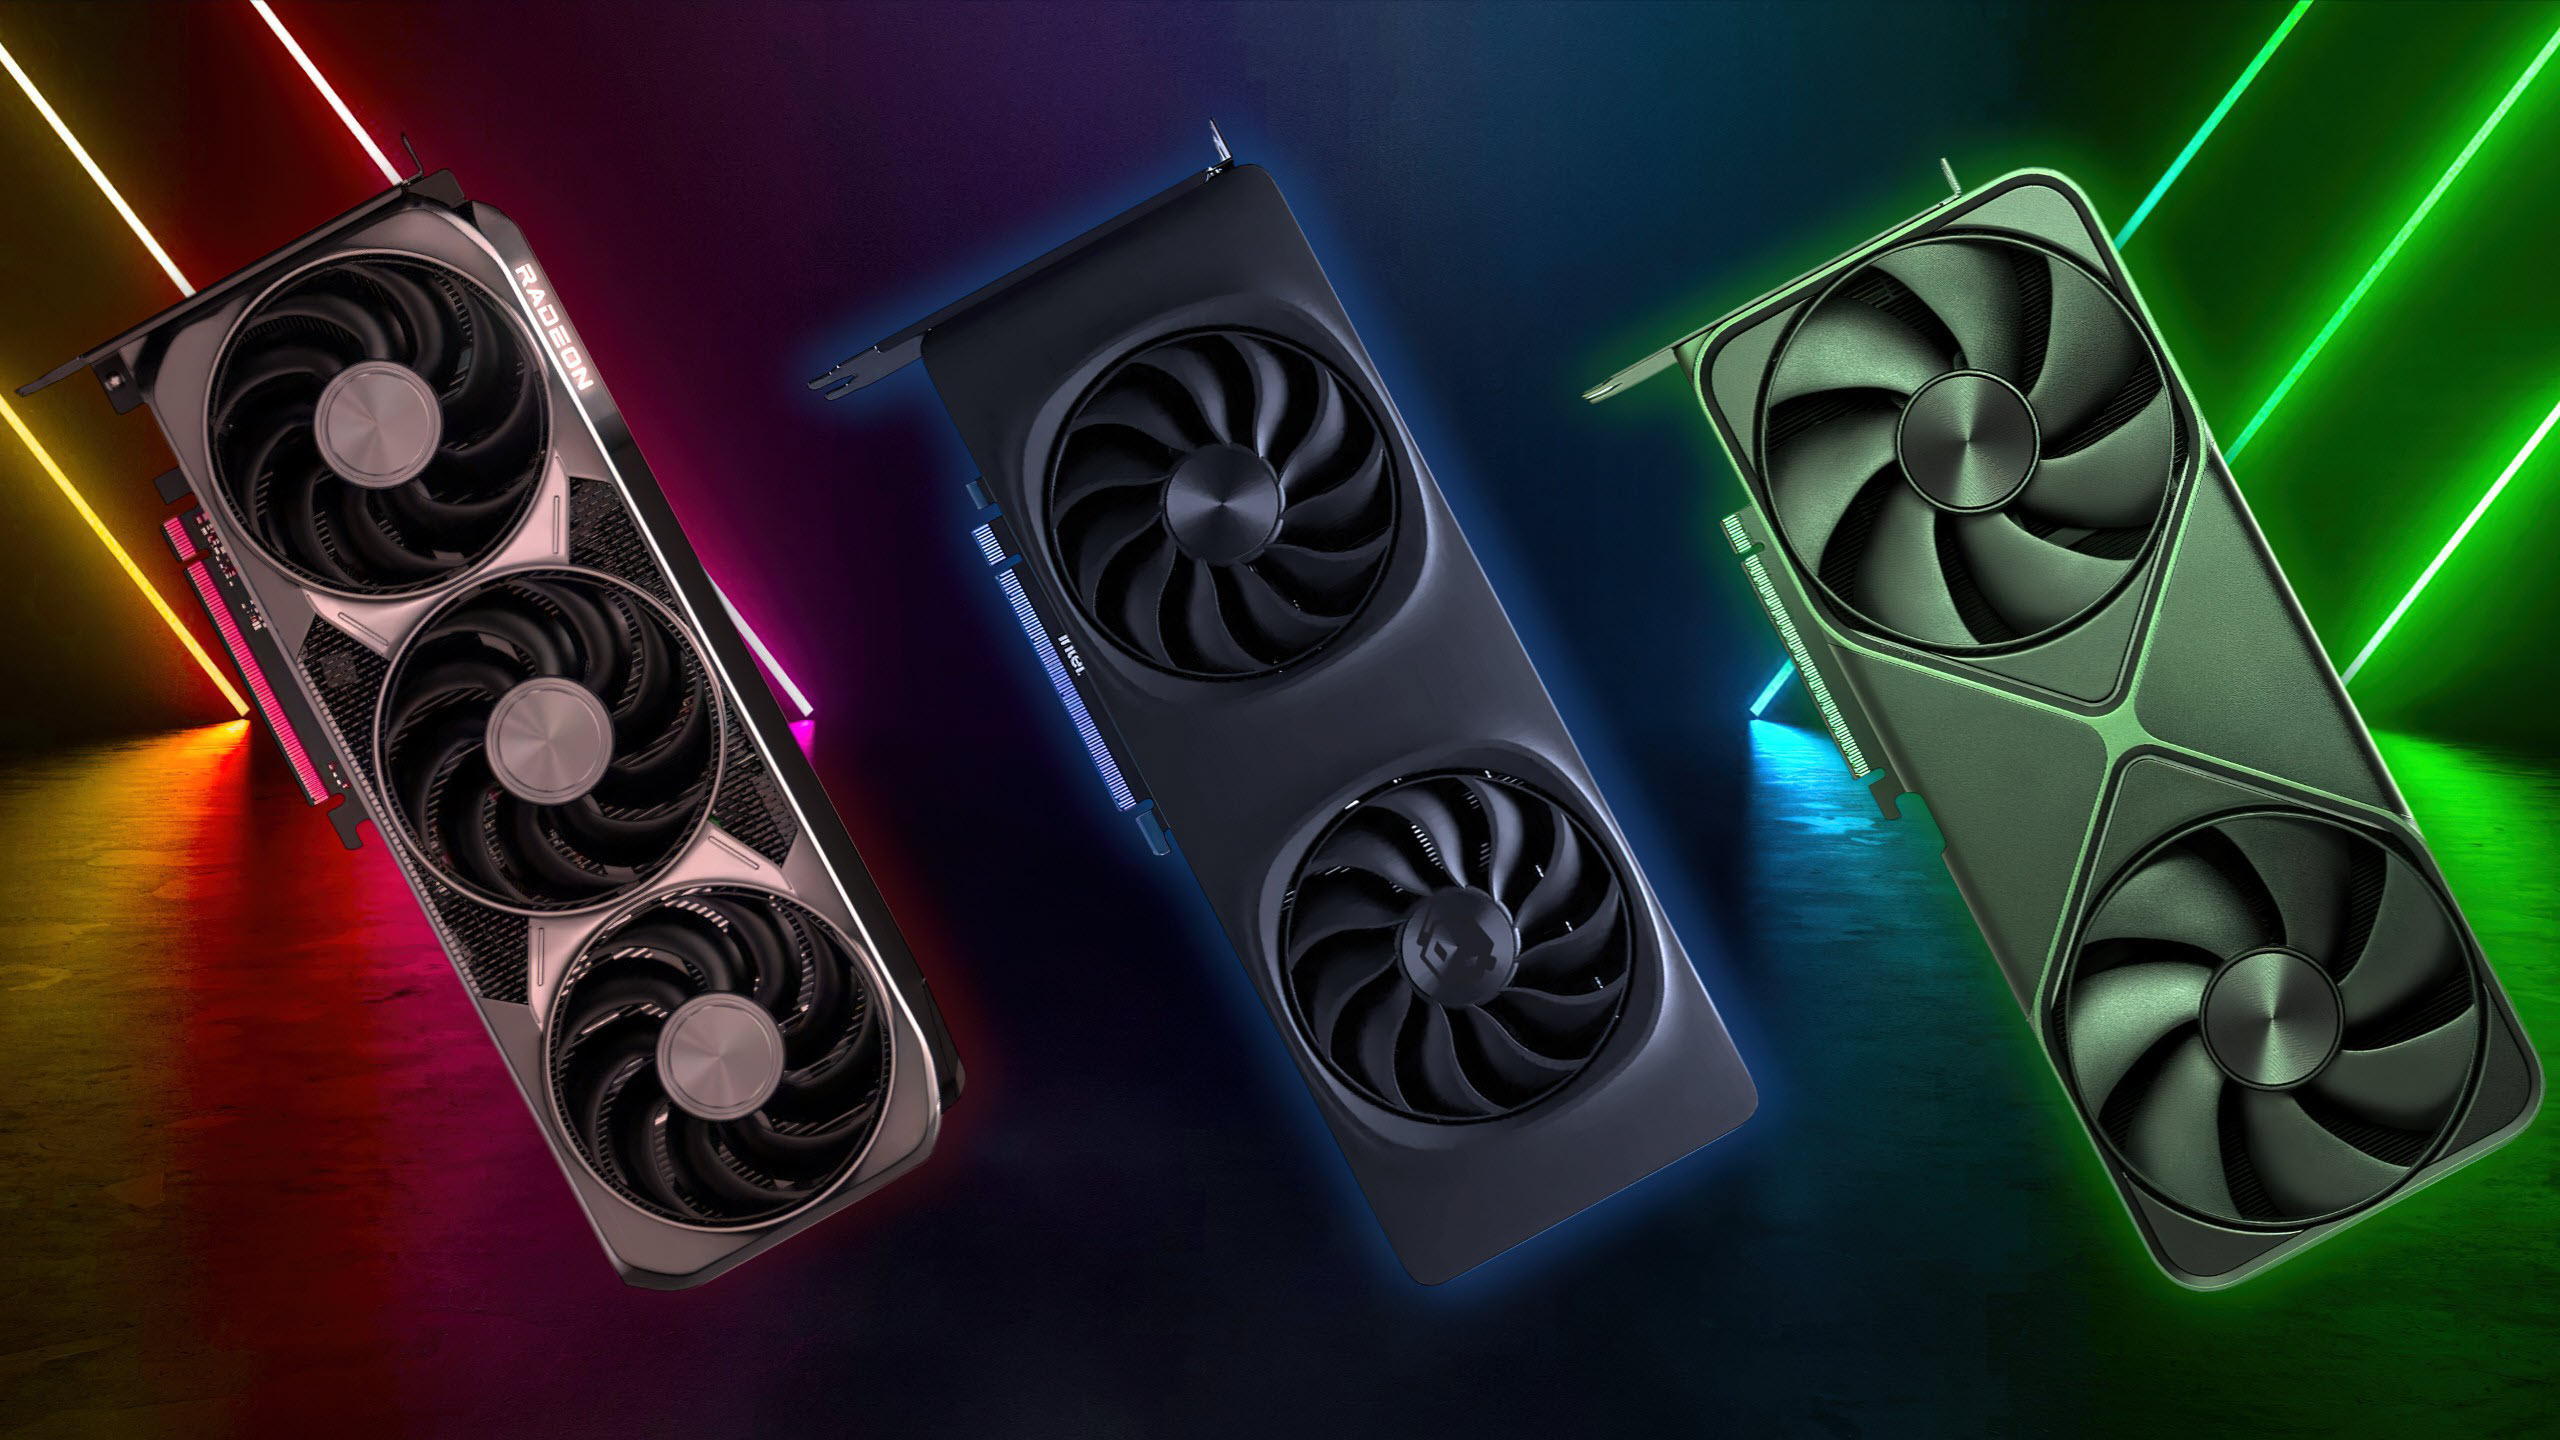
| GPU | Nvidia GeForce RTX 5060 8GB | USD 329.99 (approx. ₱18,500) — entry RTX 50-series card using a 12V‑2×6 connector. |
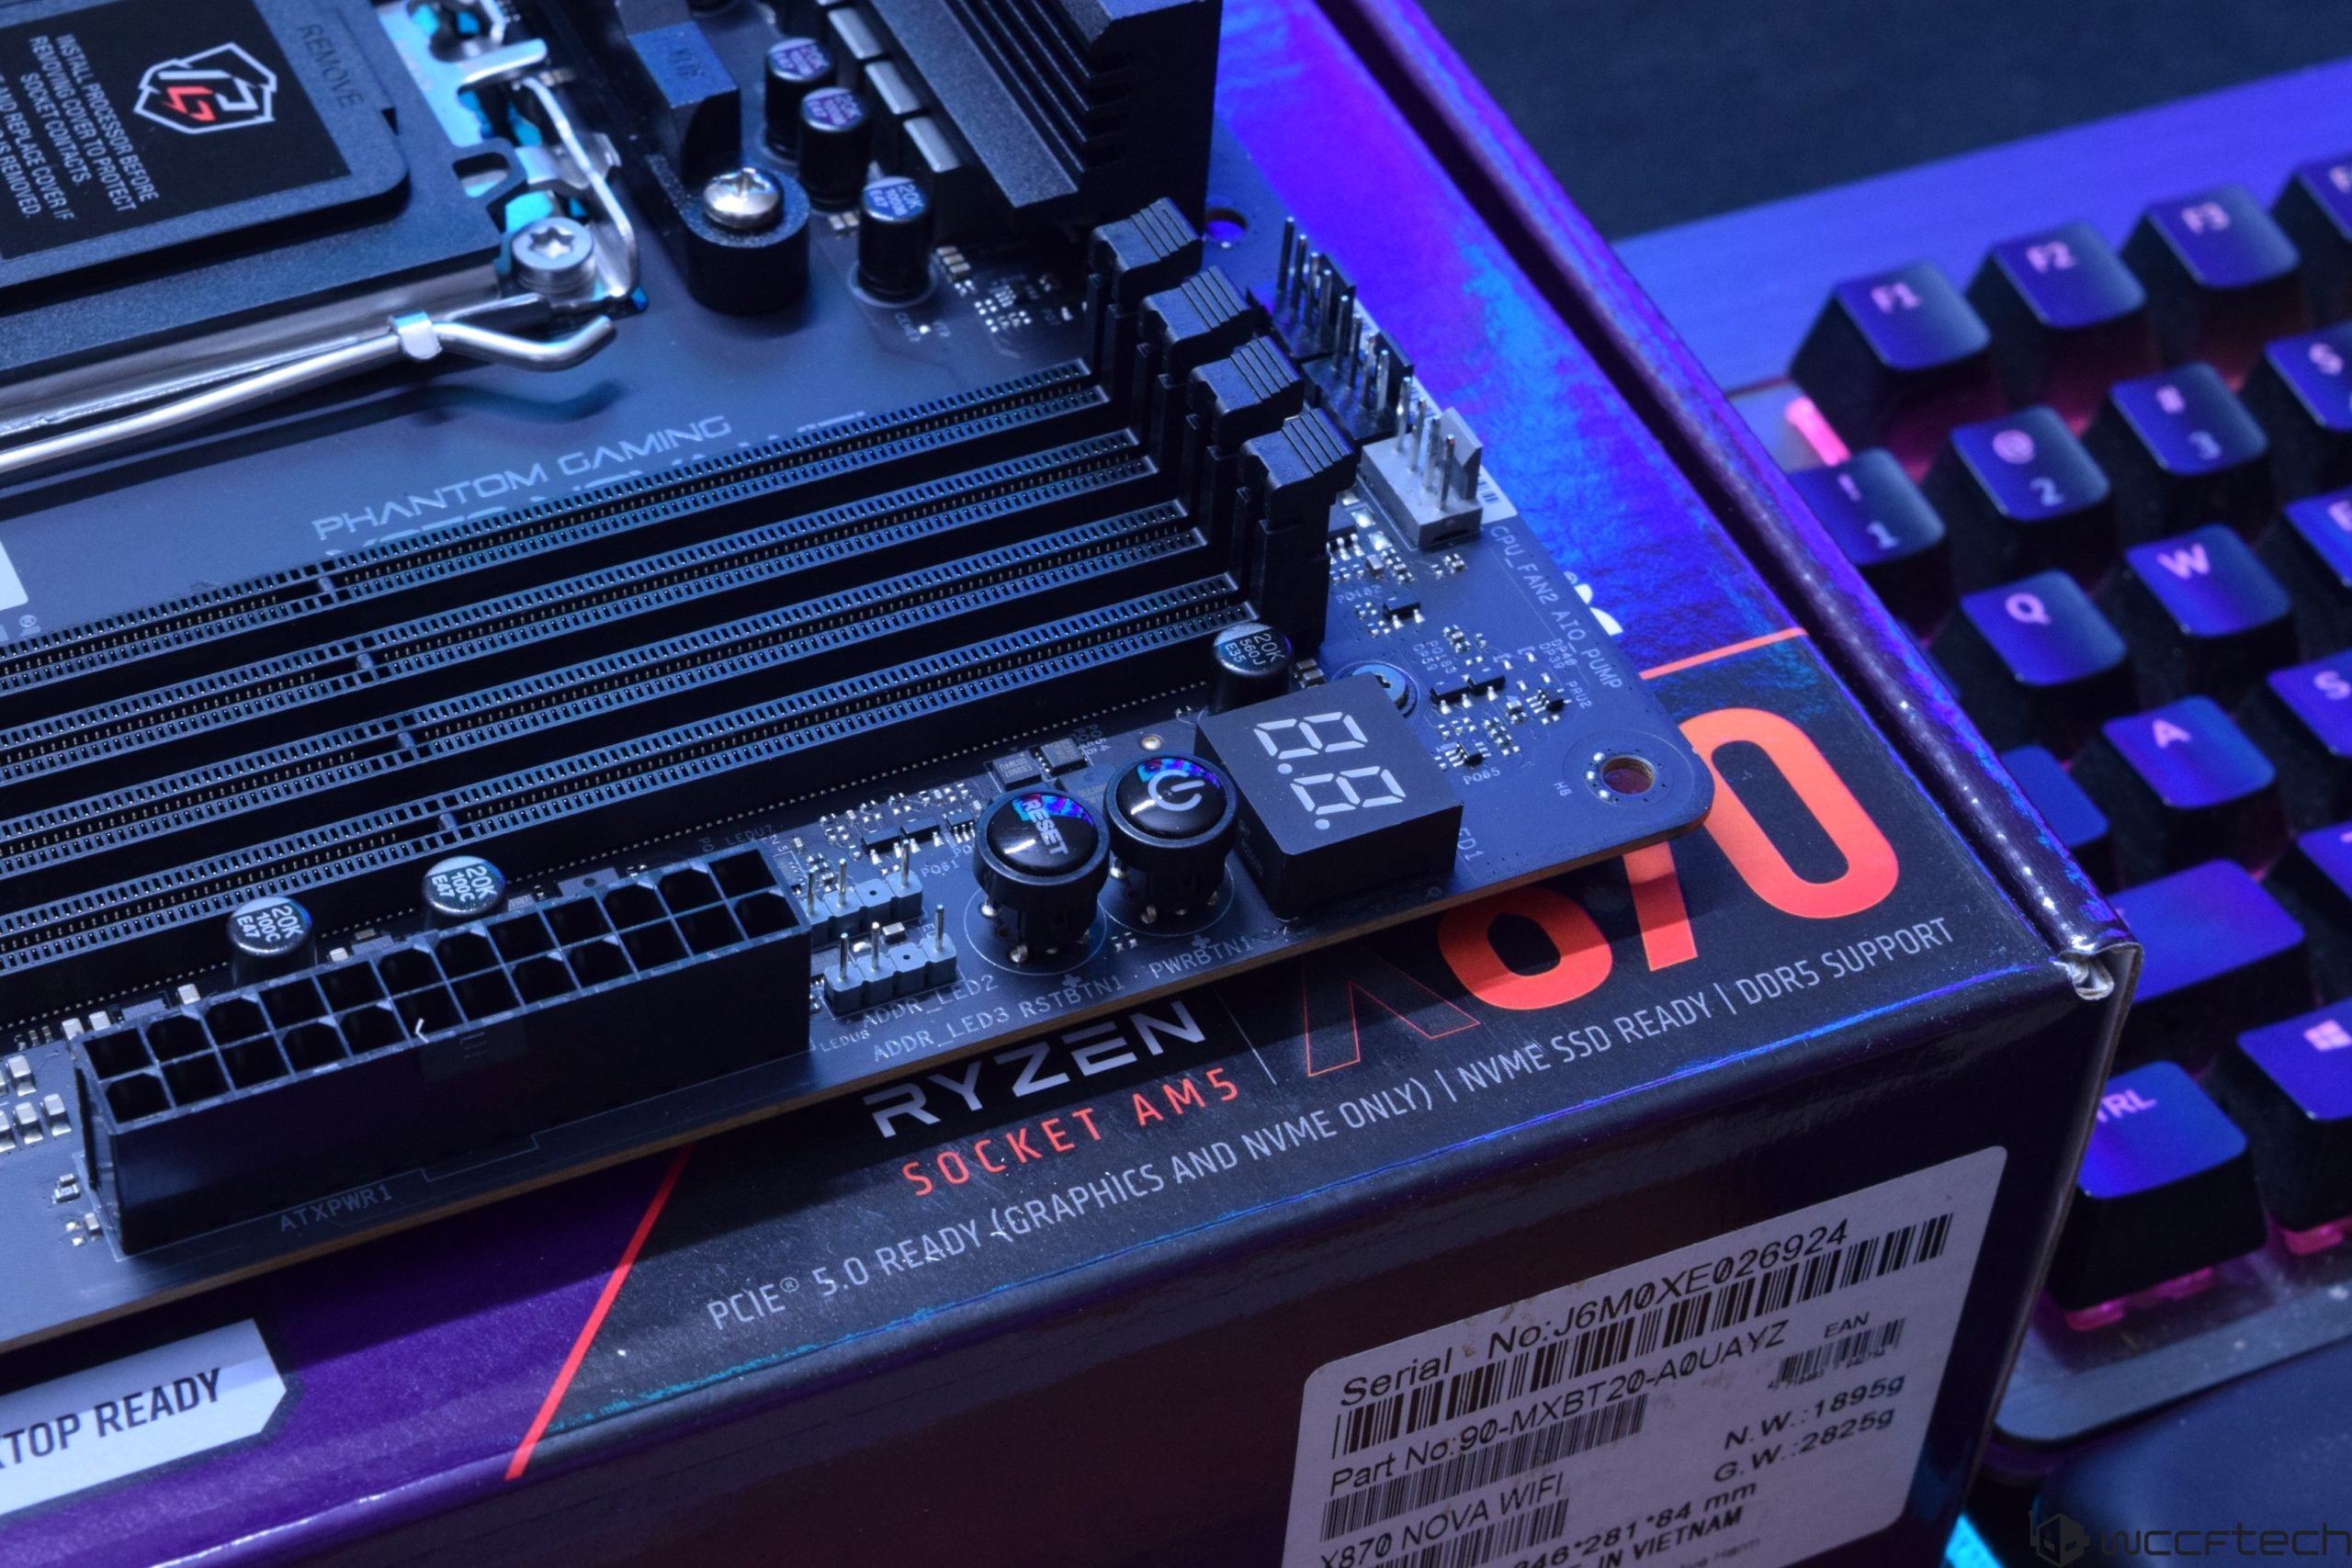
| Motherboard | ASRock B650M Pro RS (AM5) | USD 99.99 (approx. ₱5,600) — DDR5 and PCIe 5.0 support for modern GPUs and SSDs. |
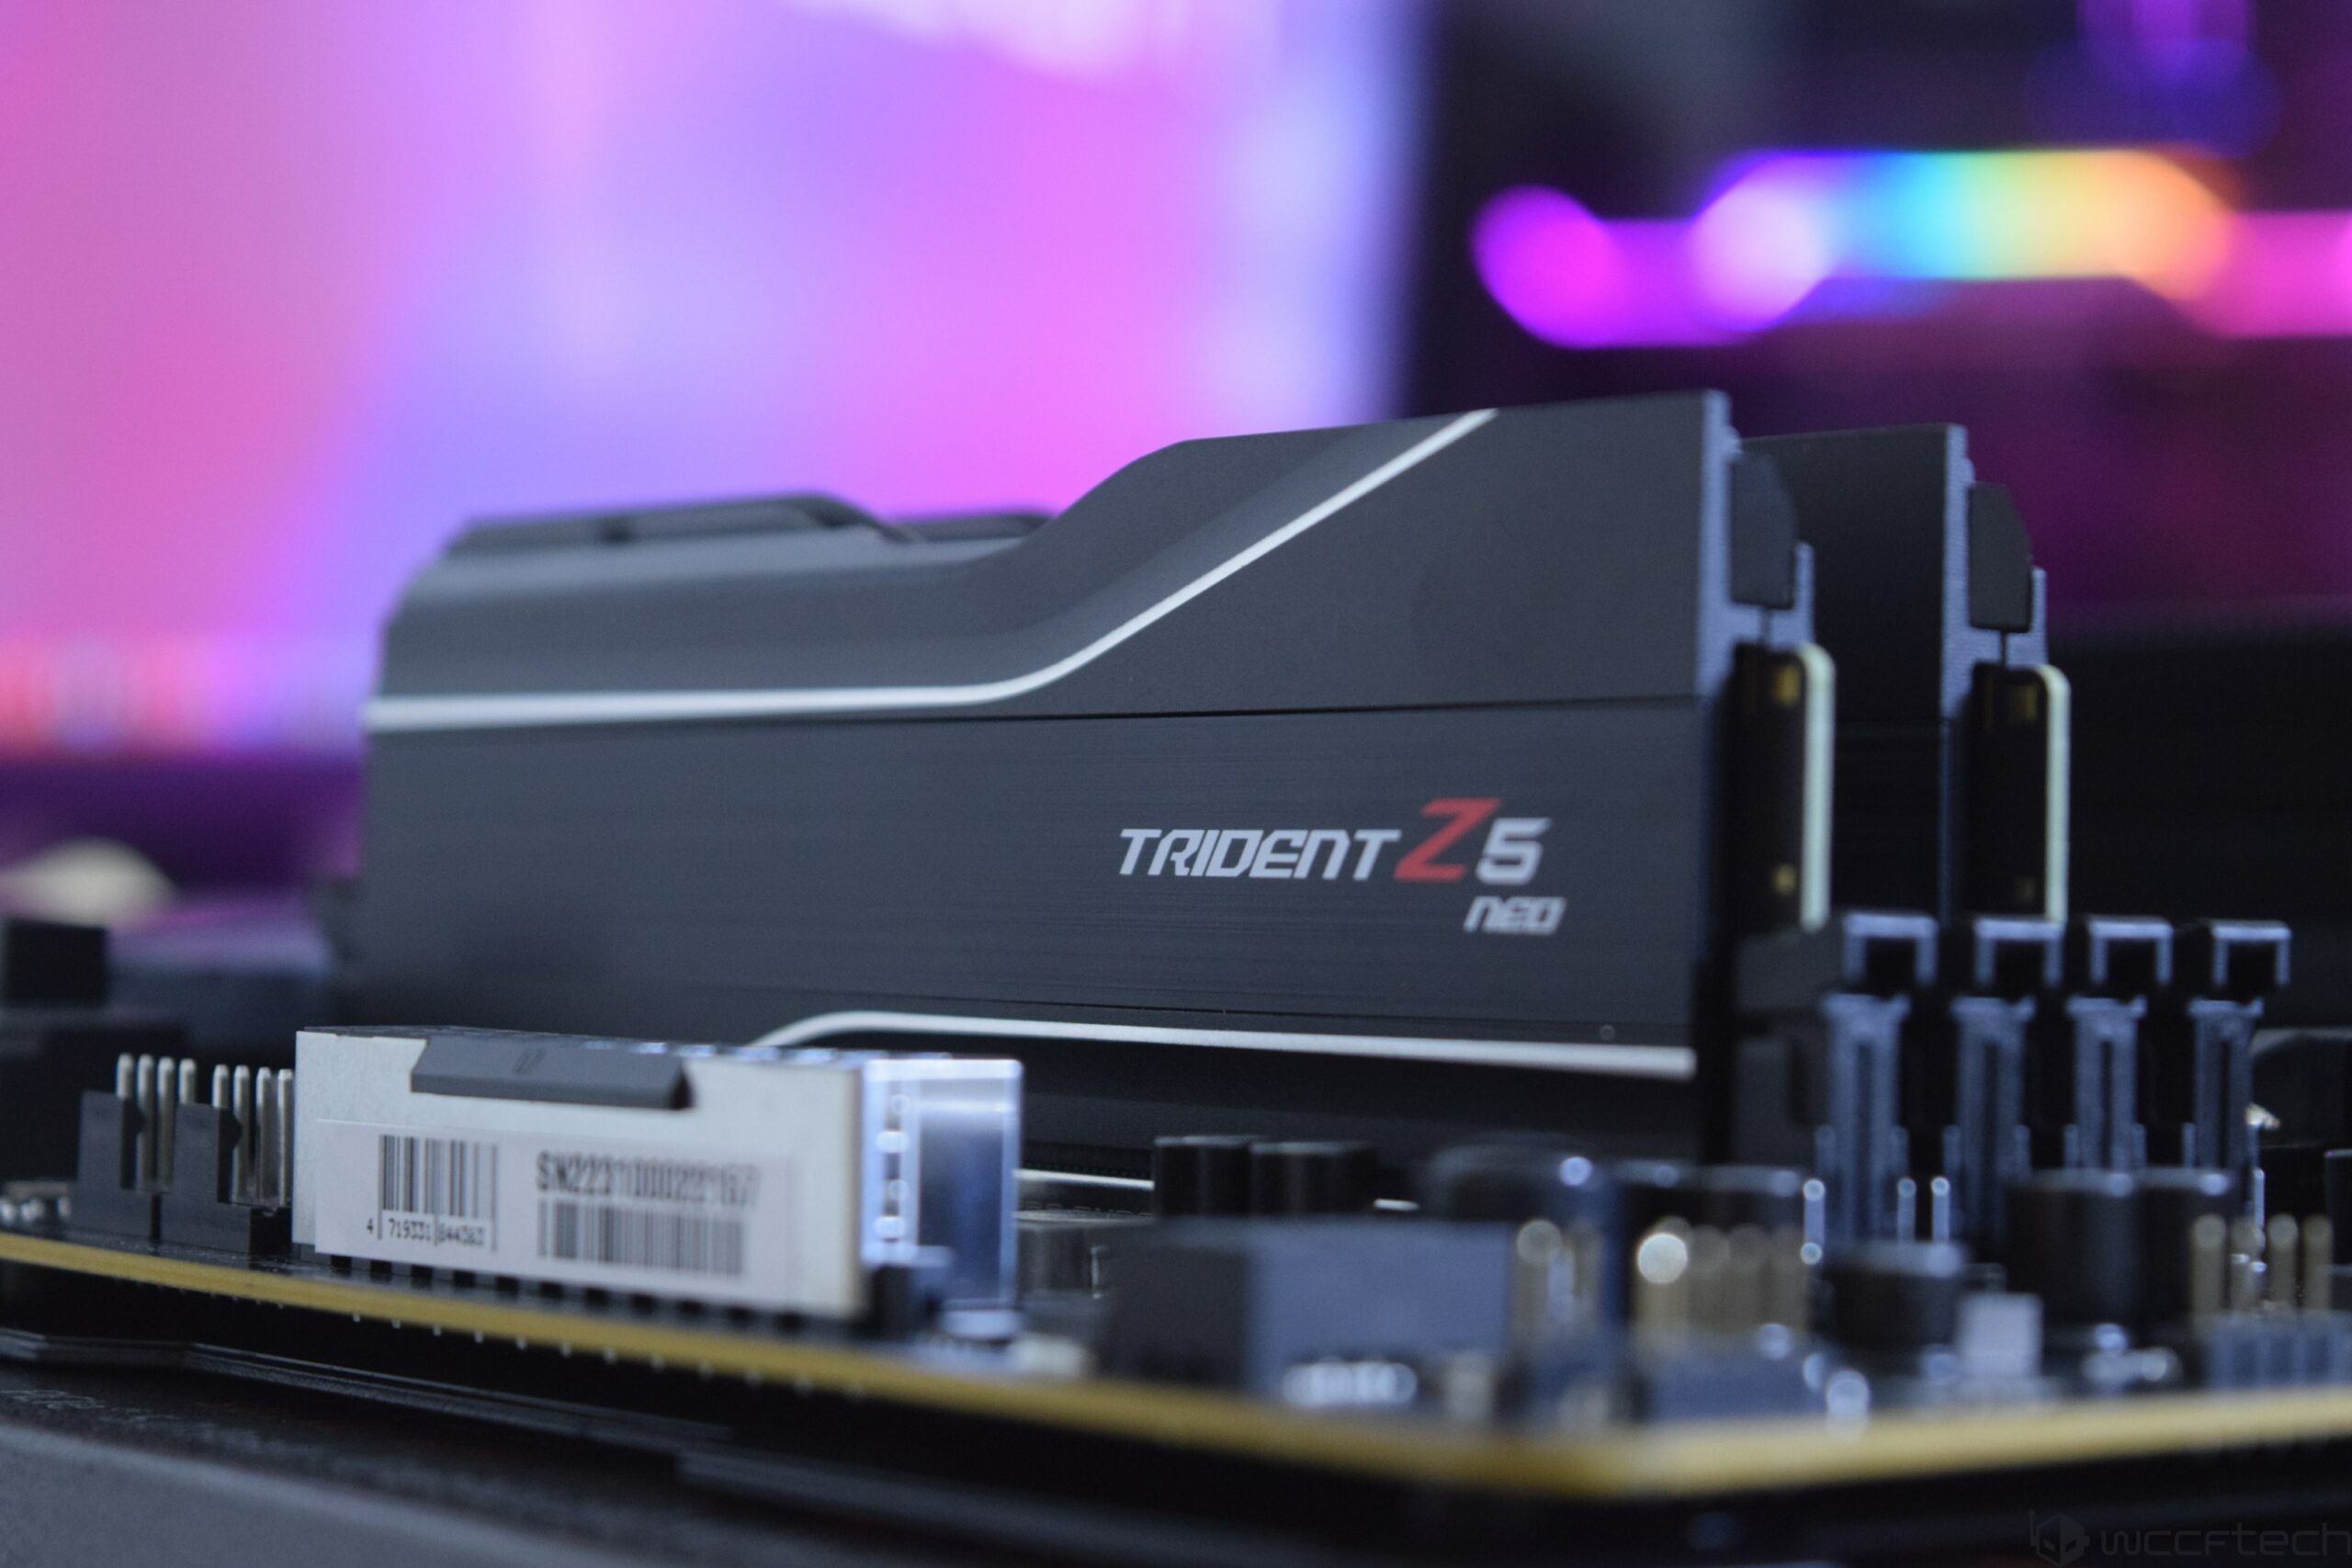
| RAM | DDR5‑6000 32GB kit (2×16GB) | Price varies by retailer — populate slots A2/B2 to enable dual-channel operation. |
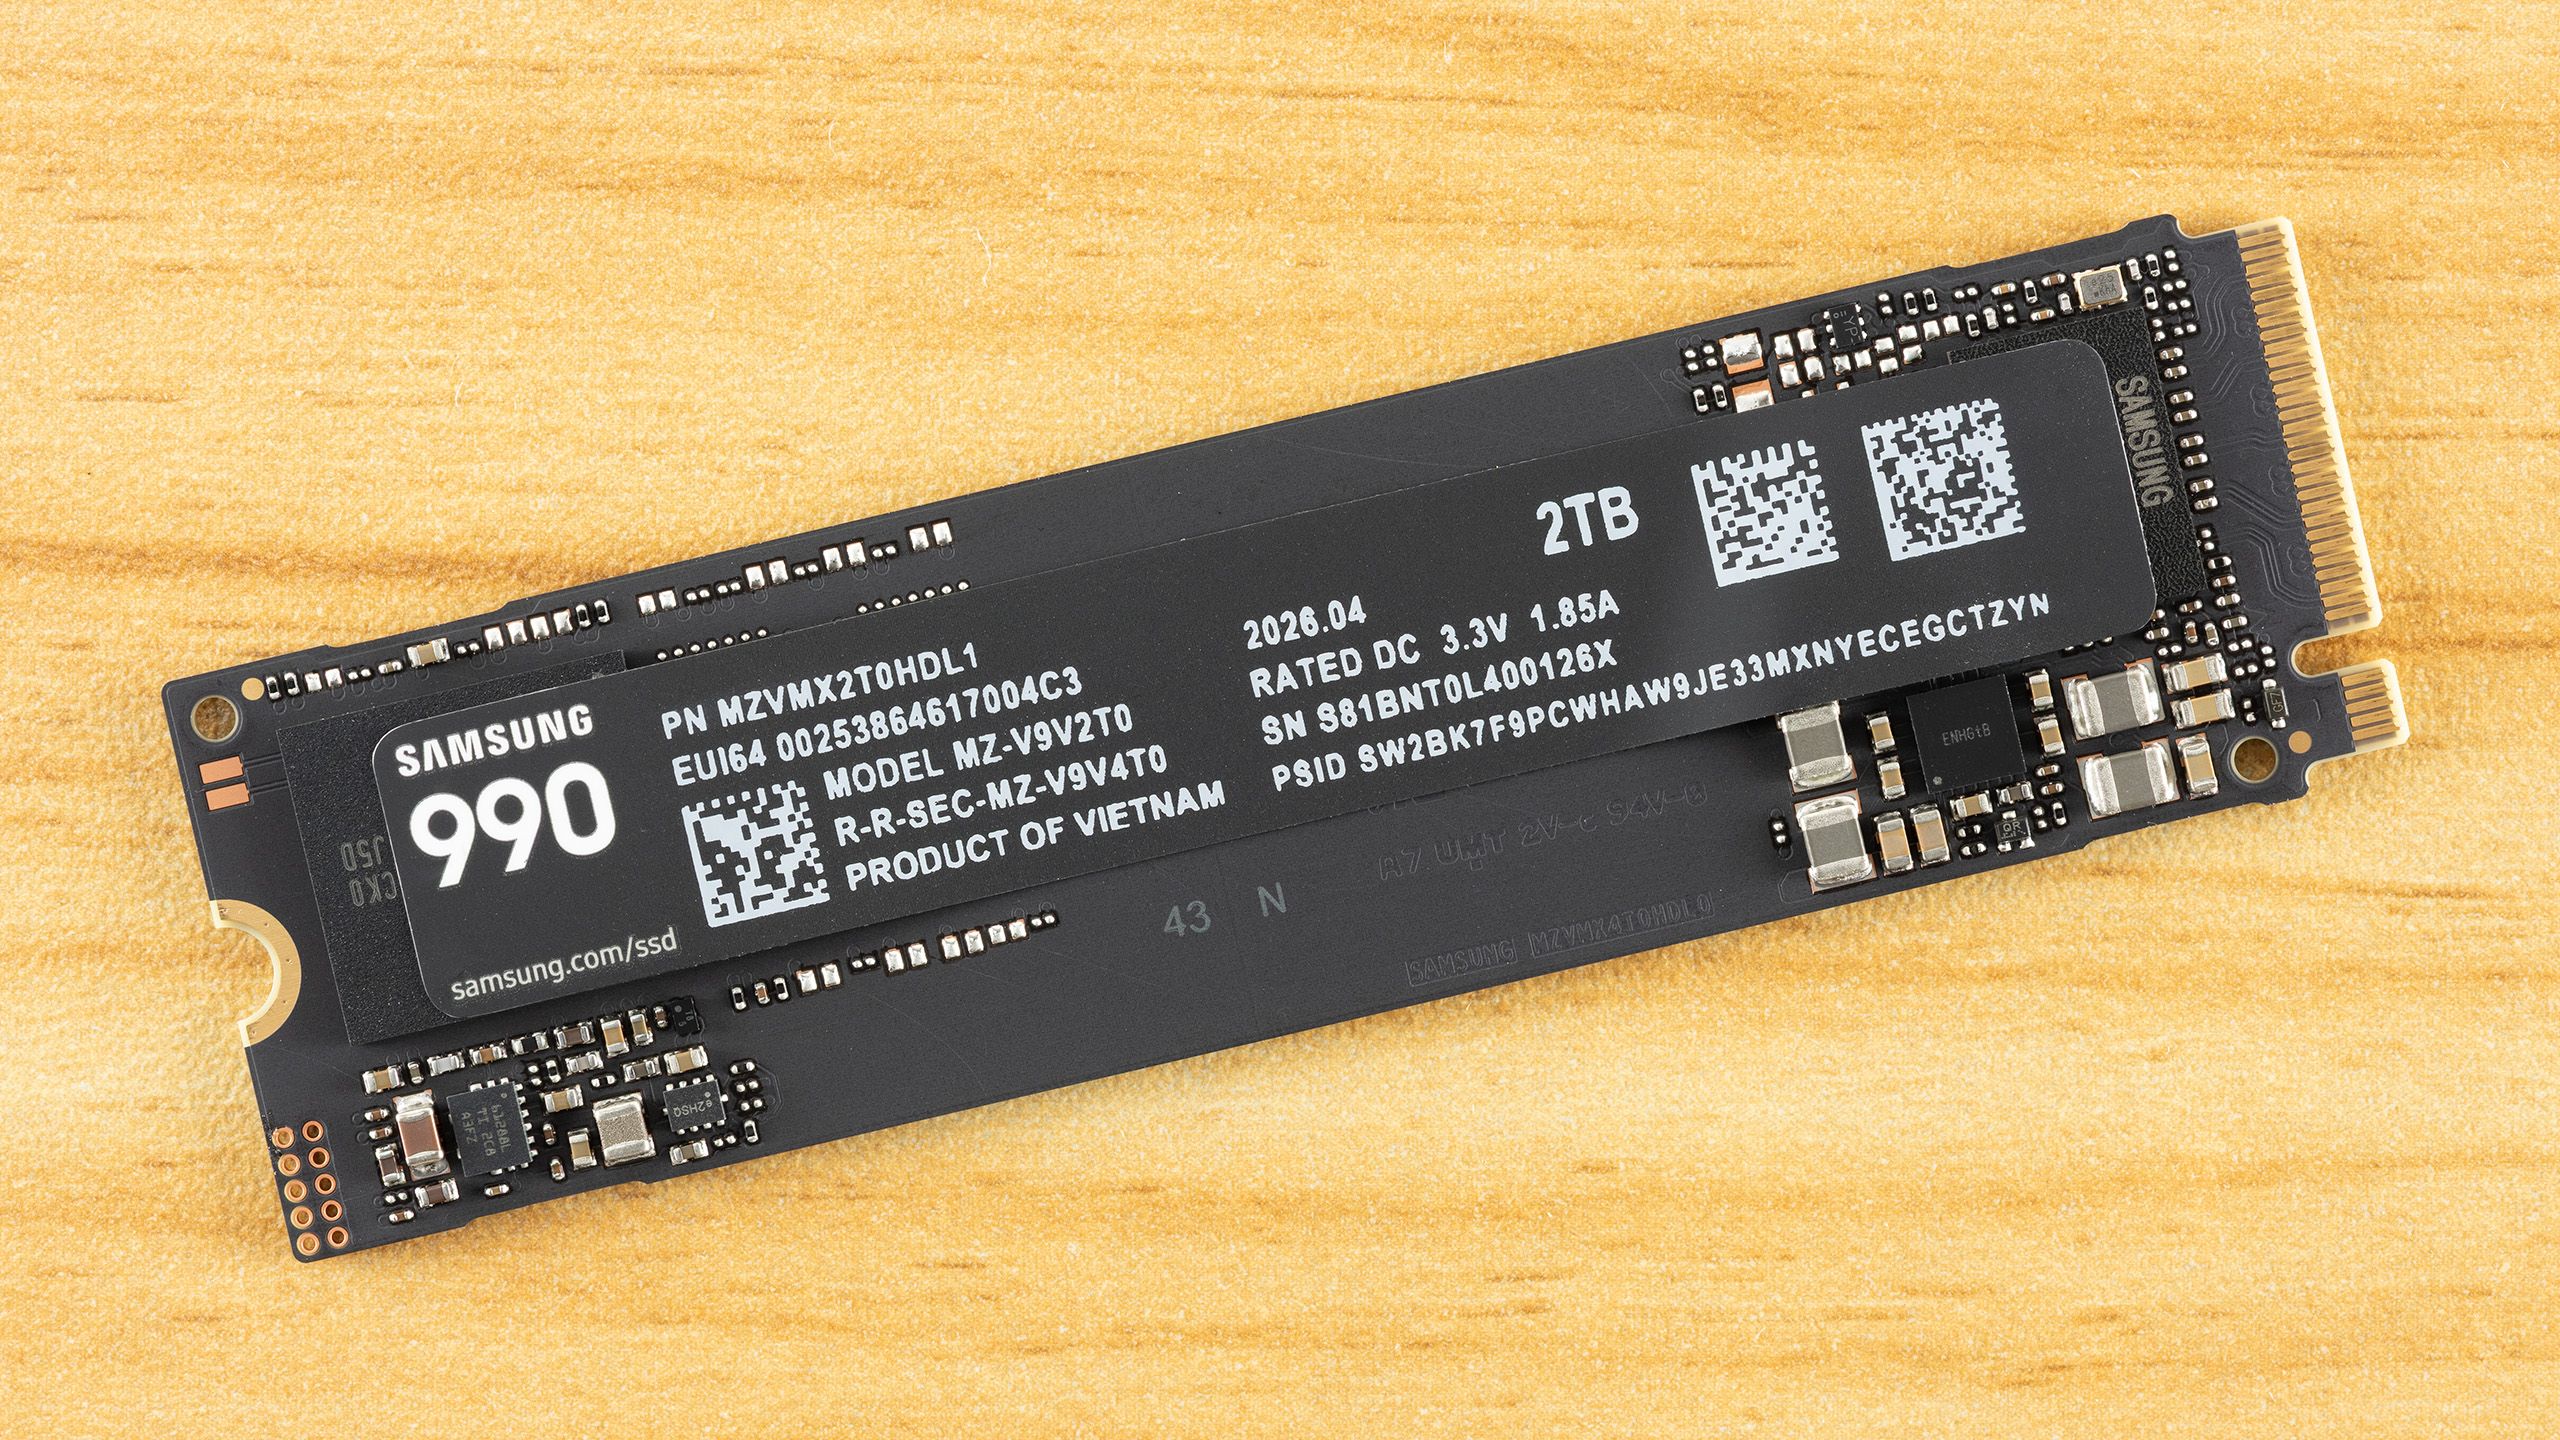
| Storage | Patriot P400 Lite 1TB NVMe (Gen4) | USD 134.99 (approx. ₱7,600) — fast OS and game install drive. |
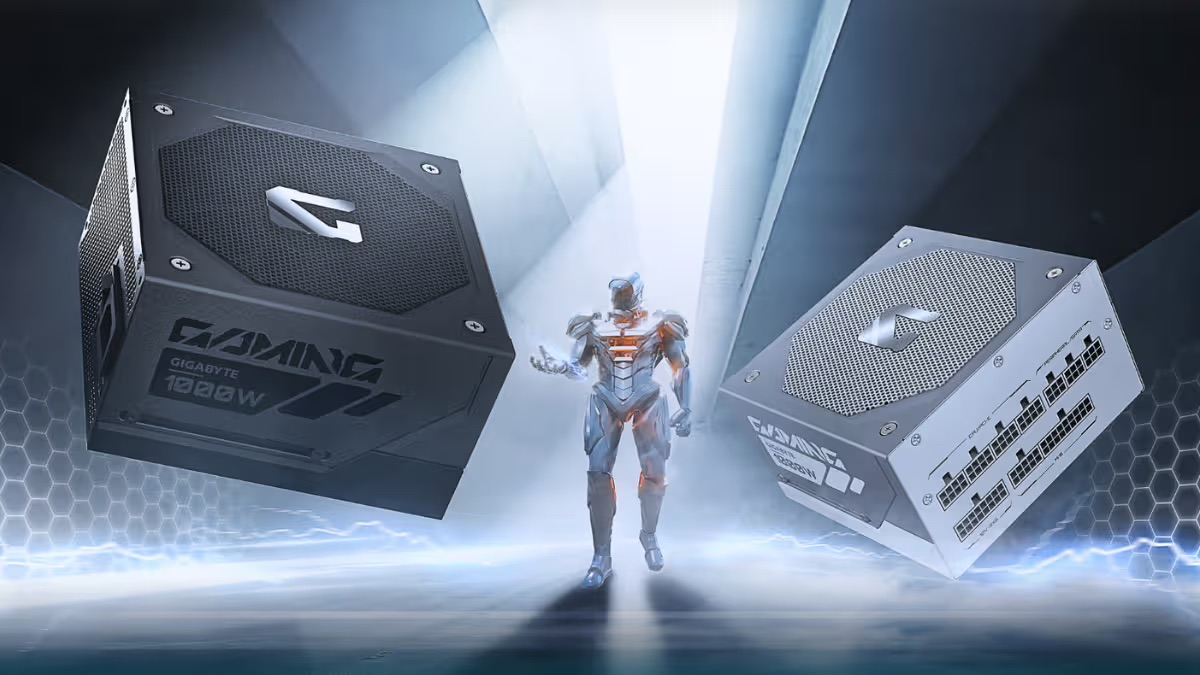
| PSU | Corsair CX750M 750W, 80 Plus Gold | USD 59.99 (approx. ₱3,400) — semi‑modular with headroom for a mid‑range GPU. |
| Case | Zalman T6 Mini | USD 28.99 (approx. ₱1,600) — budget, high‑airflow micro‑ATX enclosure. |
For more performance, you might climb to stronger CPUs like AMD’s higher‑end AM5 chips or NVIDIA’s RTX 5070‑series GPUs, which maintain advantages in ray tracing, DLSS features, and some productivity software. The trap is overspending on parts that do not raise frame rates or reliability in a meaningful way, such as an overly powerful CPU paired with an entry card or decorative components that add cost but not performance. Focus your budget on the CPU, GPU, 32GB of DDR5‑6000, and at least a 1TB NVMe SSD; you can always add bigger storage or extra RGB later.
12 Essential PC Building Steps: From Case Prep to First Boot
These PC building steps 2026‑style follow the same logical flow whether you are using an AMD Ryzen 5 7600X and RTX 5060 or a more expensive pairing. Work slowly, read your manuals, and keep the anti‑static precautions in mind. The biggest gotchas for first‑timers are parts that are not fully seated and too much thermal paste: RAM that is not clicked in on both ends is a common no‑boot cause, and excess paste can squeeze out onto the socket. If something fights you, stop and double‑check orientation and slot labels instead of forcing it.
- Prep the case and install the power supply, routing main cables loosely toward where the motherboard and GPU will sit.
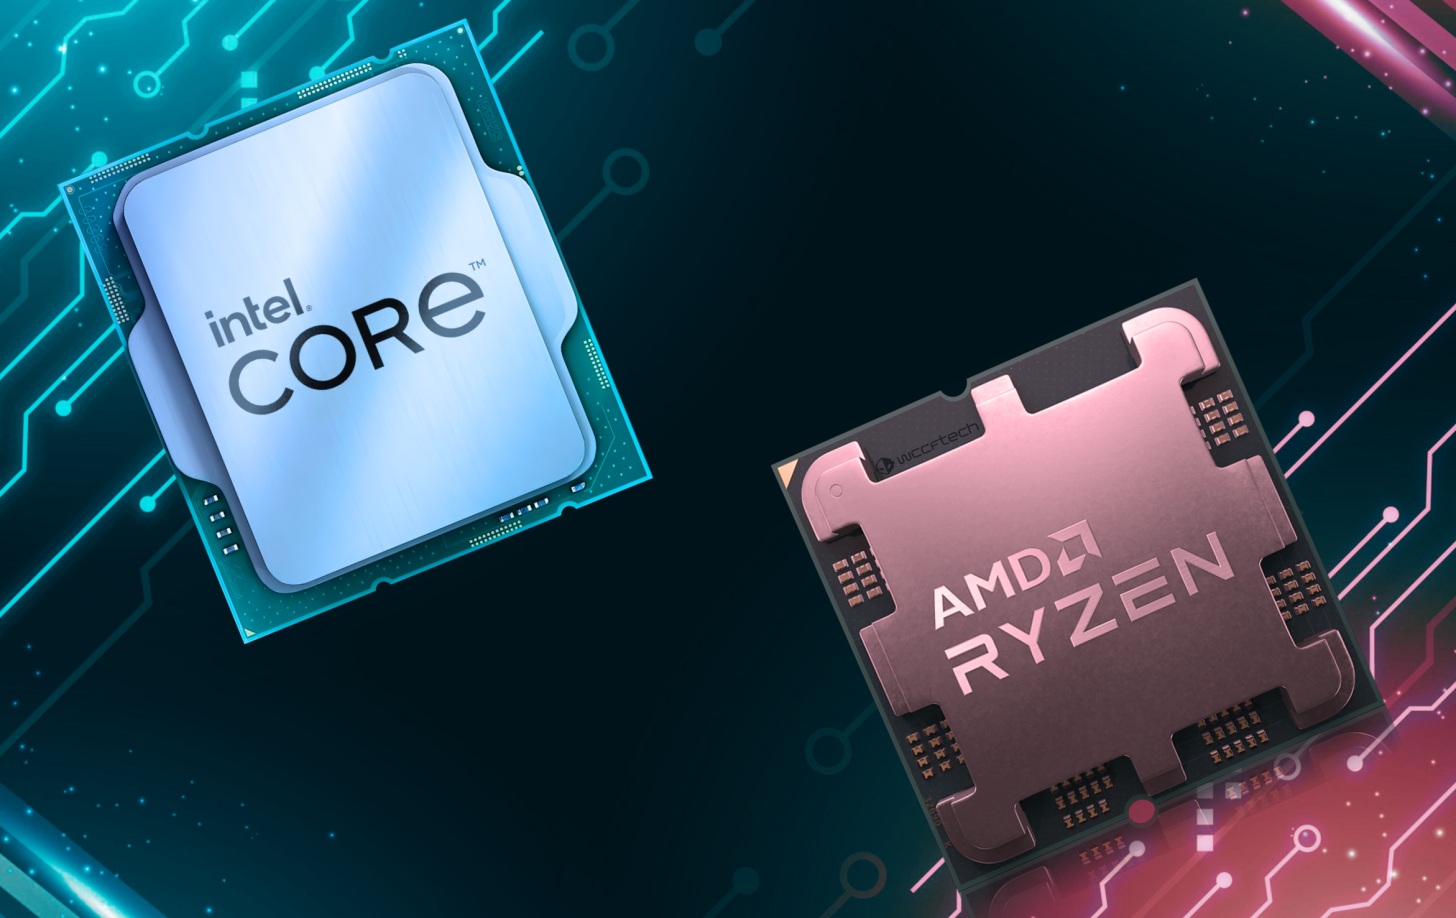
- Install the CPU into the motherboard socket (Intel LGA1851 or AMD AM5), aligning the notches or triangle, then lock the retention mechanism.
- Install DDR5 RAM sticks into the recommended A2 and B2 slots, pressing firmly until both latches click.
- Mount the CPU cooler, applying thermal paste only if needed and tightening screws evenly to avoid uneven contact.
- Install the motherboard into the case on standoffs, lining up rear IO with the shield and securing with screws.
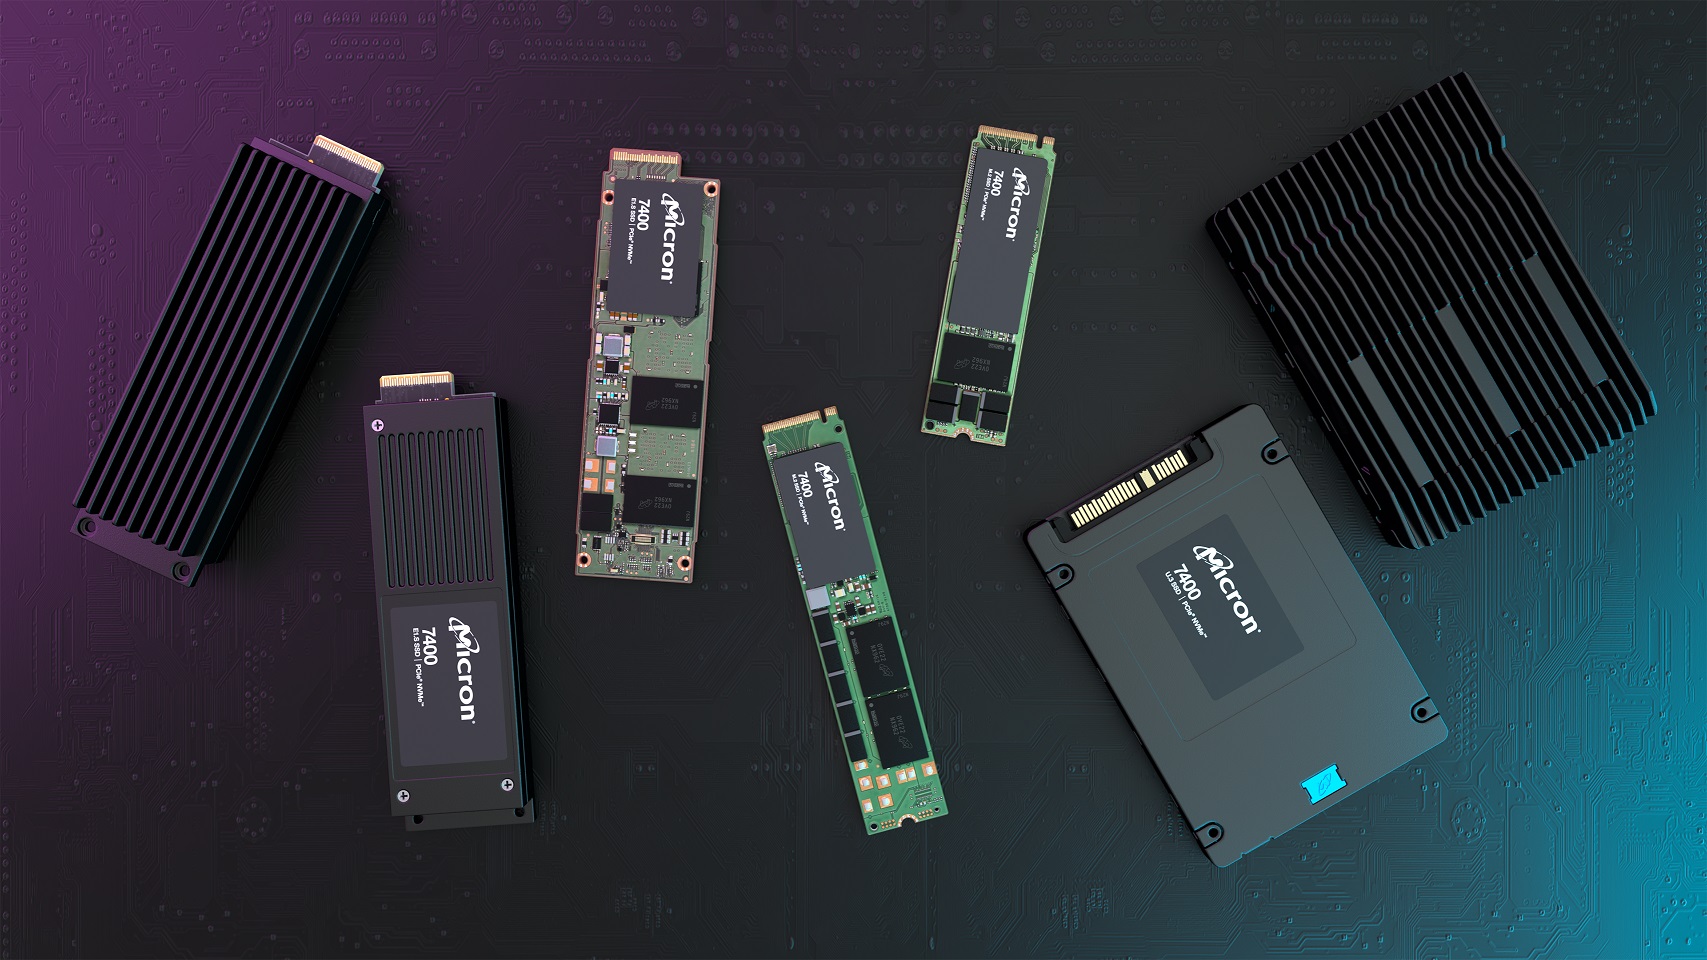
- Install NVMe SSD storage into the M.2 slot, angling the drive in and securing it with the M.2 screw.
- Install the GPU into the primary PCIe x16 slot and connect the redesigned 12V‑2×6 power cable from the PSU.
- Connect front‑panel headers (power switch, reset, LEDs, audio, USB) and finish cable management with zip ties or straps.
- Perform the first boot, enter BIOS, and confirm that CPU, RAM (at correct speed), storage, and GPU are detected and that the system completes POST.
- Install Windows 11 25H2 from your USB drive, then install chipset, GPU, and other device drivers once you reach the desktop.
- Run stress tests and benchmarks to check stability and that your gaming performance matches expectations for your parts.
- Tidy post‑build software: enable XMP/EXPO profiles carefully, install monitoring tools like CPU‑Z and HWiNFO64, and tune fan curves or power limits to your liking.
A reliable way to avoid chasing ghosts is to pause after each major step and verify your work instead of trusting a successful splash screen alone. One guide notes that every step should include checks and, where relevant, even command‑line verification to ensure that your system is healthy before moving on. If the system fails to POST, start with the simple fixes: reseat RAM and power cables, confirm the 12V‑2×6 connector is fully latched, and clear CMOS according to your motherboard manual. Most first‑build problems come down to those basics rather than dead hardware.
Troubleshooting, Windows 11 25H2 Setup, and Final Tuning
Once your hardware is assembled, the DIY gaming PC journey is only complete when Windows 11 25H2 and drivers are installed, your system is stable, and performance matches what your parts can deliver. Create your installation USB with the latest Media Creation Tool and target Windows 11 version 25H2, since earlier 24H2 builds reach end of service for Home and Pro sooner and are not ideal for a new system. During setup, keep your system on a wired network if possible so Windows can pull baseline drivers automatically, then replace those with current chipset and GPU packages from vendor sites once you reach the desktop.
Treat the first few hours as a shakedown cruise. Run MemTest86 from a USB stick to confirm that your DDR5‑6000 kit is stable, especially after enabling XMP or EXPO profiles in BIOS. Use CPU‑Z and HWiNFO64 to confirm clock speeds, temperatures, and voltages during gaming or synthetic benchmarks. Common troubleshooting for first‑time builders includes failed boots after enabling RAM overclock profiles (roll back to auto or update your motherboard BIOS), crashes under GPU load (recheck the 12V‑2×6 power connector and PSU cables), and higher‑than‑expected CPU temperatures (remount the cooler with the right amount of paste). According to one detailed gaming PC assembly guide, budgeting time for these checks is what turns an apparently working PC into a stable, benchmarked, driver‑updated desktop.
When everything is stable, finish with quality‑of‑life tuning: tidy cable runs to improve airflow, refine fan curves so the system stays quiet while idle but ramps under load, and set up your game library on the NVMe drive so load times stay snappy. Building your own rig takes more effort than clicking “Buy” on a prebuilt, but you end up with a system you understand, can fix, and can upgrade one part at a time instead of throwing away a whole machine. As long as you respect the step‑by‑step process and watch out for the usual mistakes, the experience is worth it for the performance and control you gain.