
Why Build Your Own RTX 50-Series DDR5 Gaming PC
A modern gaming PC build is the process of selecting compatible parts and assembling them into a desktop that runs current games smoothly, balancing performance, price, and future upgrade paths for components such as an RTX 50-series graphics card and DDR5-6000 memory while configuring firmware and software for stable everyday use.
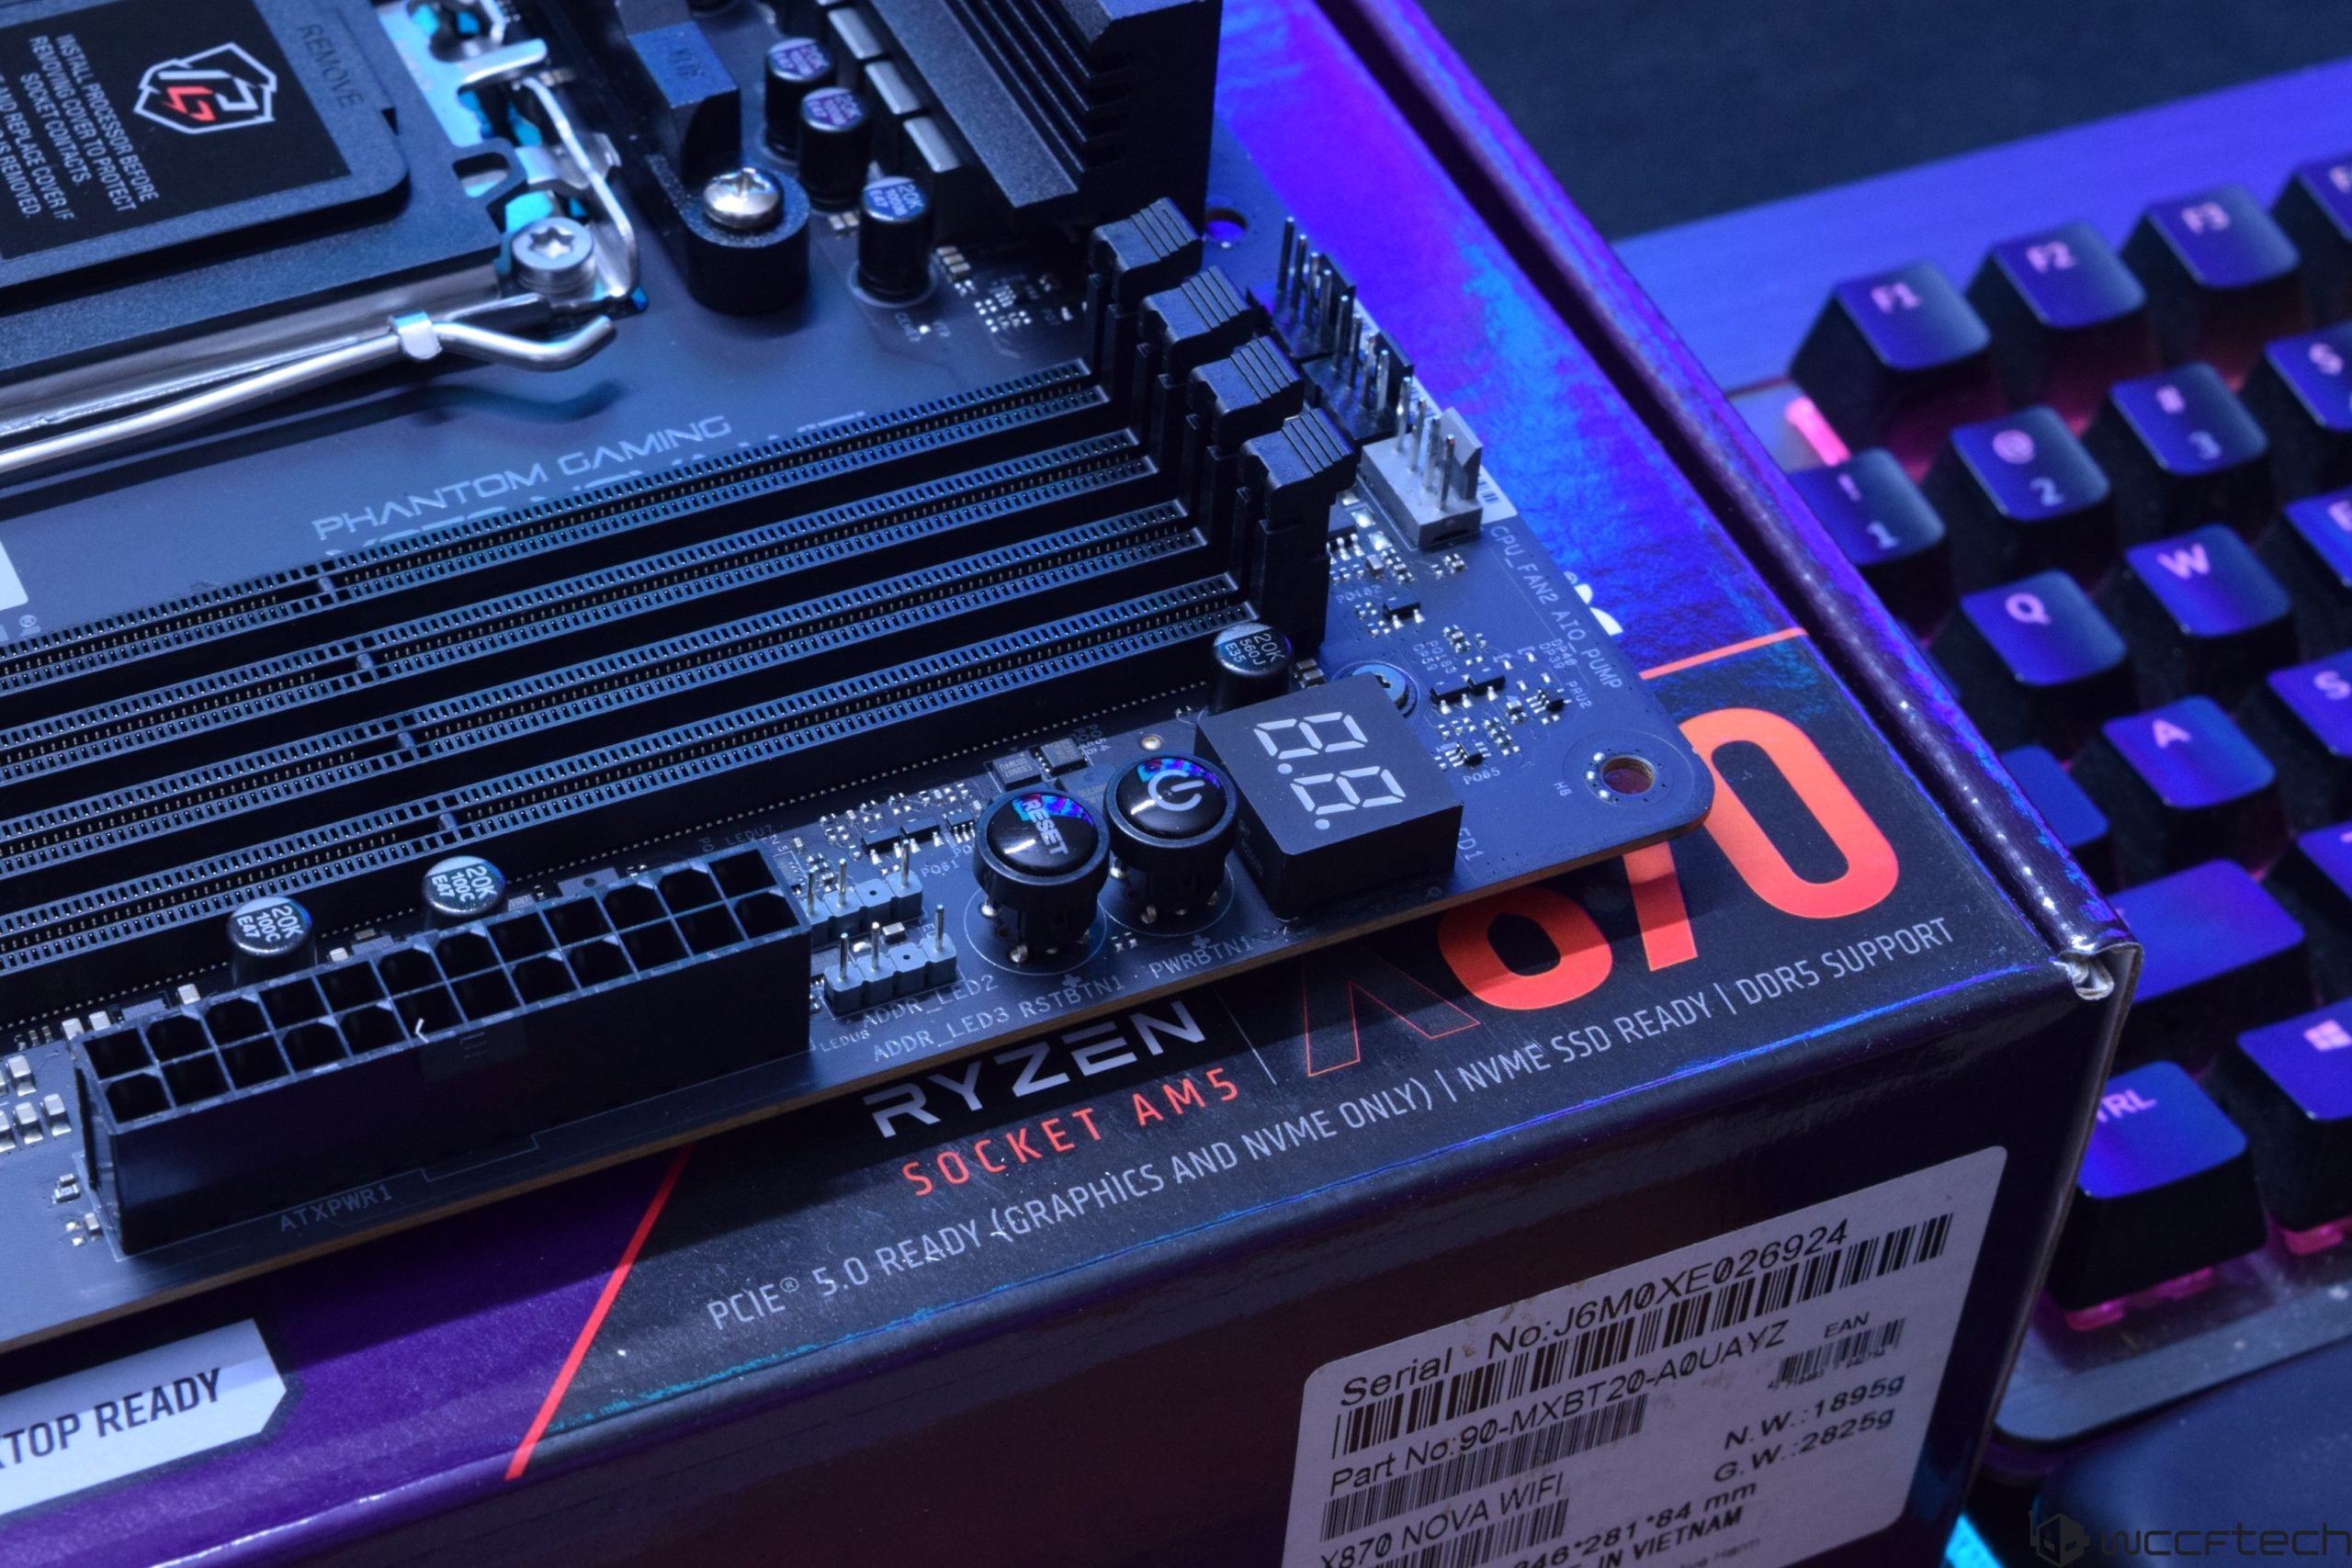
If you want to know exactly what is in your rig and avoid paying someone else to assemble it, learning how to build a gaming PC is worth the effort. You trade plug-and-play convenience for control: you pick the CPU, GPU, storage, case style, and cooling instead of accepting whatever a prebuilt uses for margin. Building also makes future upgrades easier; you can drop in a faster graphics card or more RAM later instead of replacing the whole machine. Today’s typical RTX 50 series build centers on DDR5 gaming PC parts: an AM5 or LGA1851 motherboard, a midrange GPU like an RTX 5060, and DDR5-6000 memory as the performance sweet spot. Expect the physical PC building steps to take about 90 minutes once everything is on the table, plus time for Windows and driver installs.
| Component | Example Part | Approx. Price |
|---|---|---|
| CPU | AMD Ryzen 5 7600X | USD 176.99 (approx. ₱9,900) |
| GPU | Nvidia GeForce RTX 5060 8GB | USD 329.99 (approx. ₱18,500) |
| Motherboard | B650 DDR5 micro-ATX | USD 99.99 (approx. ₱5,600) |
| Storage | 1TB Gen4 NVMe SSD | USD 134.99 (approx. ₱7,600) |
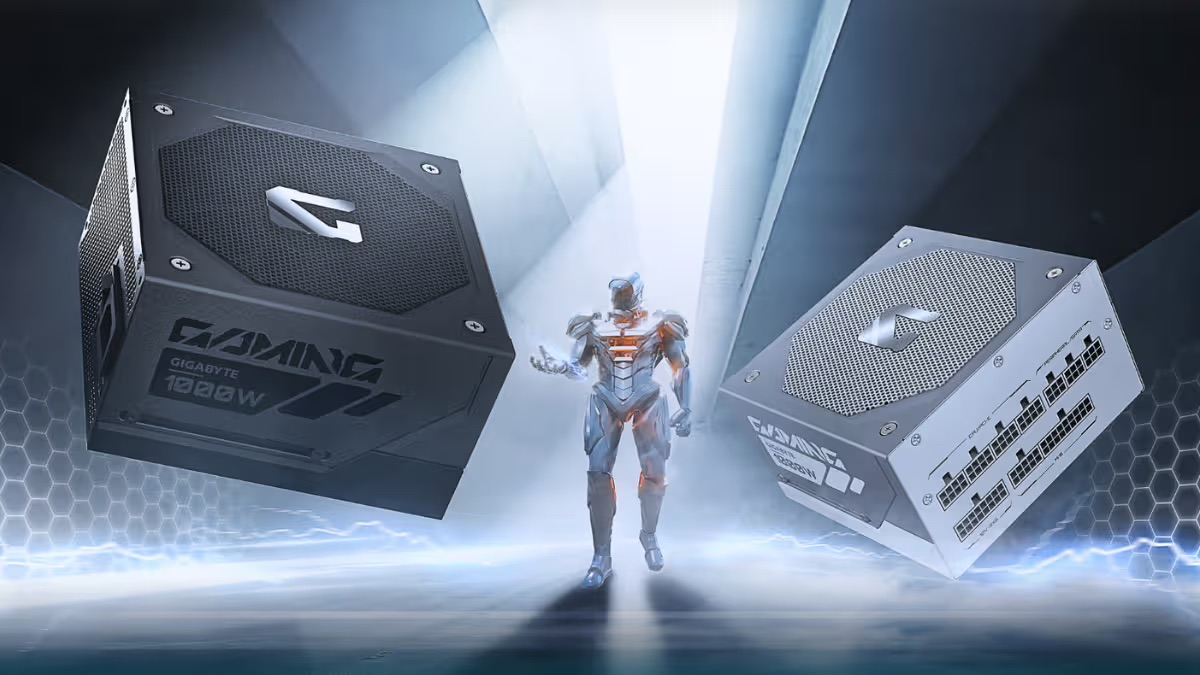
| PSU | 750W 80 Plus Gold | USD 59.99 (approx. ₱3,400) |
| Case | Budget micro-ATX tower | USD 28.99 (approx. ₱1,600) |
Parts, Tools, and Compatibility Checks Before You Start
Before you pick up a screwdriver, treat the prep phase as its own mini-project. Half of the frustration for first-time builders comes from realizing you are missing a cable, a USB installer, or the right screwdriver halfway through assembly. Setting up a clean workspace and confirming part compatibility up front saves you from those stalled evenings where your build is stuck until another delivery arrives.
Clear a large, uncarpeted table with good lighting; carpet fibers and static are bad news around an open motherboard. You need a Phillips #2 screwdriver, ideally magnetic, plus a tray or magnetic mat for screws. Wear an anti-static wrist strap or at least touch the case chassis before handling parts to discharge static. Zip ties or hook-and-loop straps will keep cable management from turning into a spaghetti mess. On the parts side, plan for Windows 11 version 25H2 on an 8GB or larger USB drive, because Microsoft has already set end of service dates for 24H2, making 25H2 the safer target for a new system. Check your motherboard vendor’s support page and update the BIOS before you rely on DDR5-6000 XMP or EXPO profiles; early BIOS revisions are a common reason full-speed RAM refuses to boot.
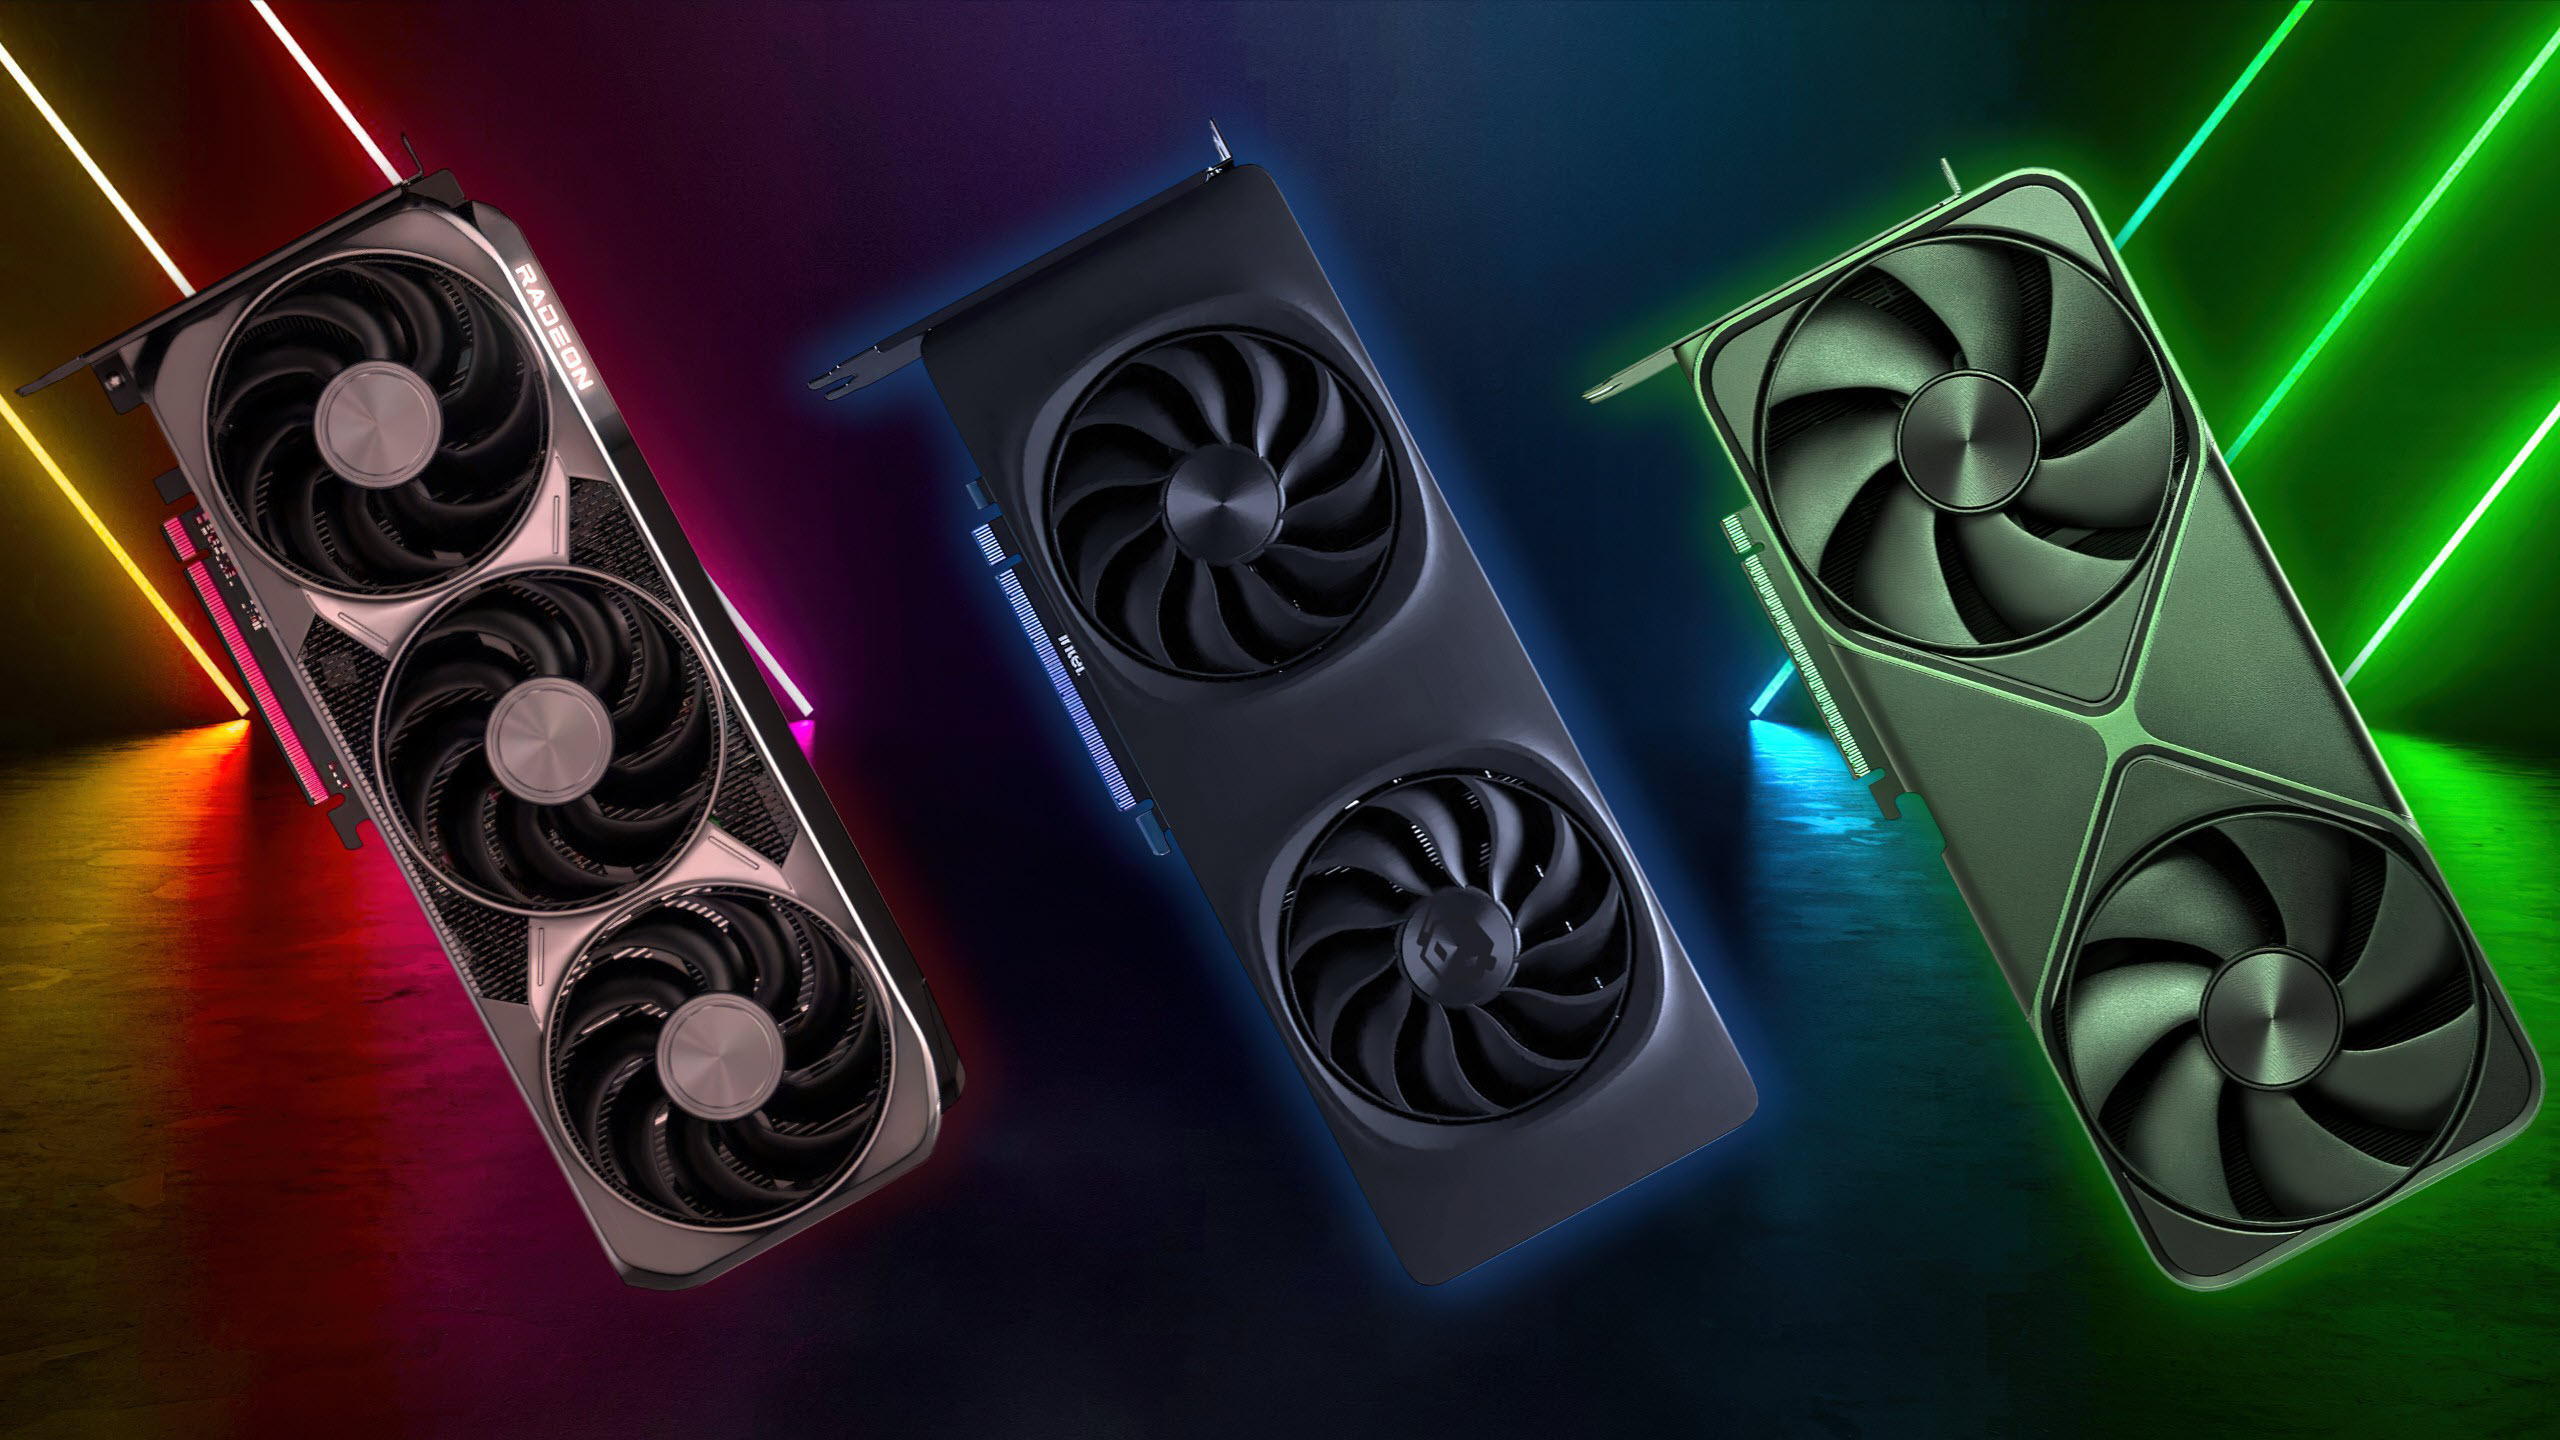
For platform choice, AM5 has an attractive long-term angle because it is scheduled to stay supported for several more years, so a board you buy today can host future CPUs. Meanwhile, the RTX 50 series uses the newer 12V-2×6 power connector, so make sure your 750W-class power supply includes a compatible cable rather than needing an older adaptor. With the ongoing memory shortage driving up the cost of DRAM and SSDs, about USD 1,000 (approx. ₱56,000) has become a realistic starting point for a decent new gaming PC, and moving up gives you stronger CPUs, GPUs, and larger storage.
12 PC Building Steps: From Case Prep to First Game
Think of the build as one continuous path from an empty case to a benchmarked, driver-updated desktop: twelve PC building steps where each one depends on the last being solid. The most common mistakes in a how to build gaming PC project are rushing these transitions and trusting that a system is fine just because a logo appears on-screen. It is better to slow down, check connections, and fix issues when they are still easy to reach.
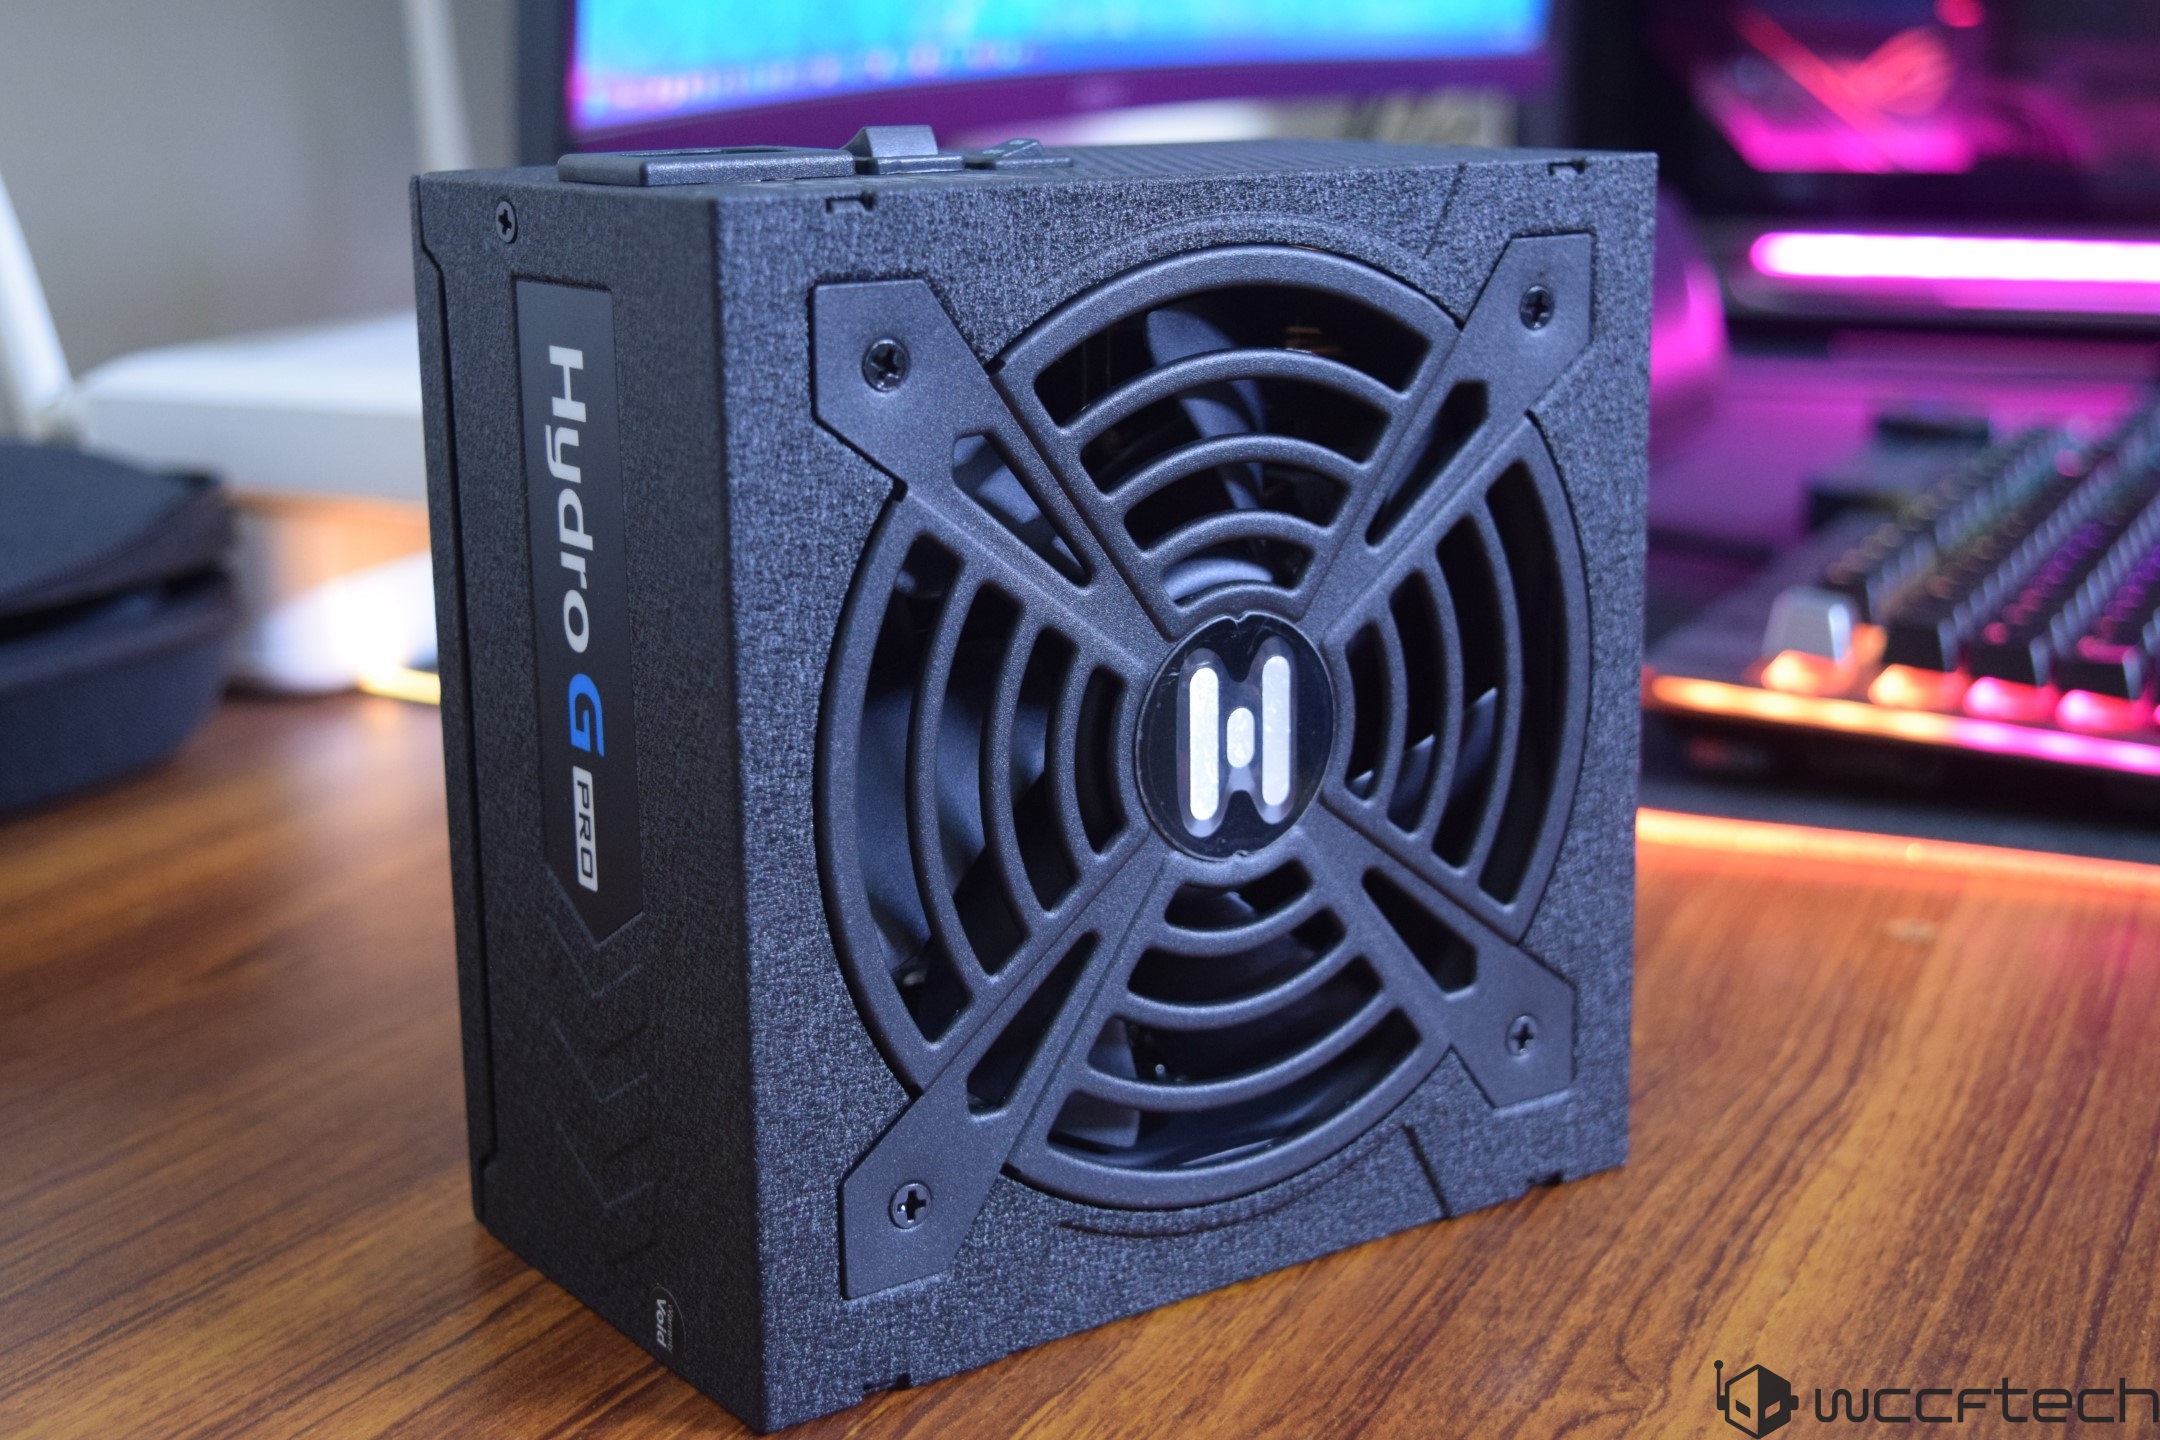
- Prep the case and install the power supply: remove side panels, install the PSU with its fan correctly oriented, and route its main cables where you can reach them later.
- Install the CPU in the motherboard socket (LGA1851 or AM5): open the socket latch, align the triangle marker, gently drop in the chip, and lock it down.
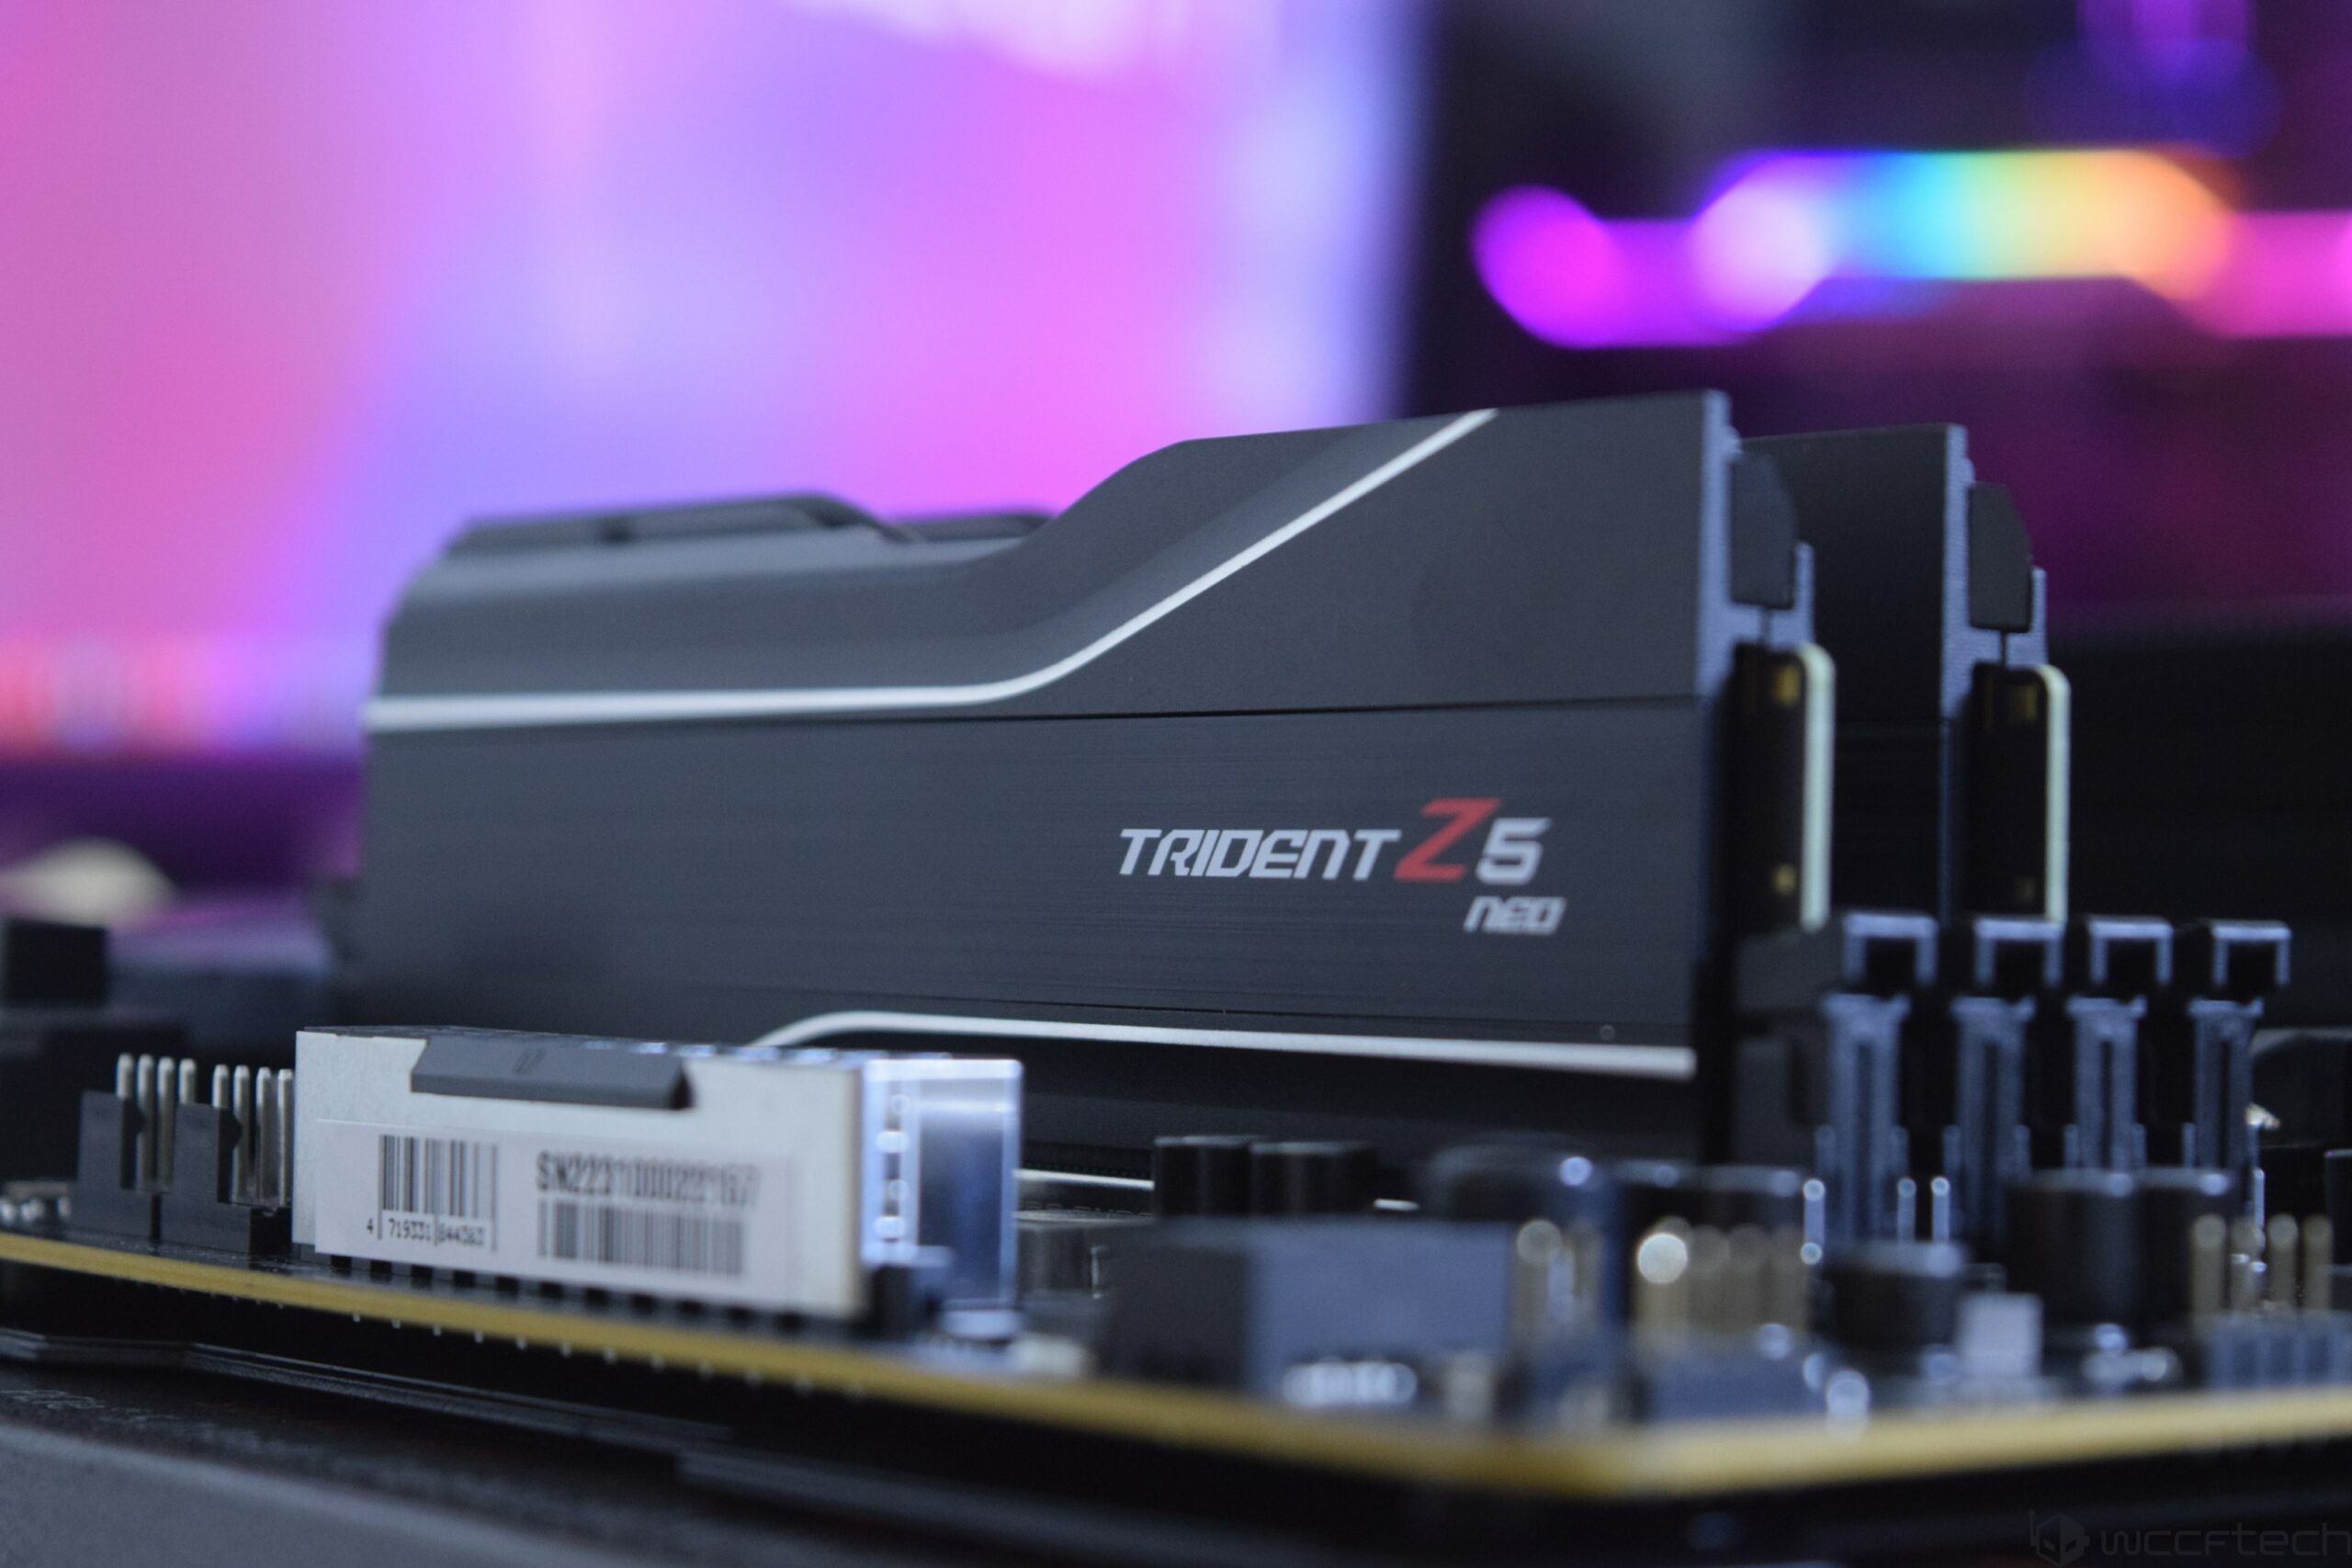
- Install DDR5-6000 RAM: populate the recommended A2/B2 slots for dual-channel, pressing until both latches click; RAM that is not fully seated is a common no-boot cause.
- Mount the CPU cooler: apply thermal paste if your cooler does not include any, then secure the cooler evenly over the CPU and plug its fan into the CPU_FAN header.
- Install the motherboard into the case: place it on the pre-installed standoffs, line up the rear I/O, and tighten screws in a star pattern without over-torquing.
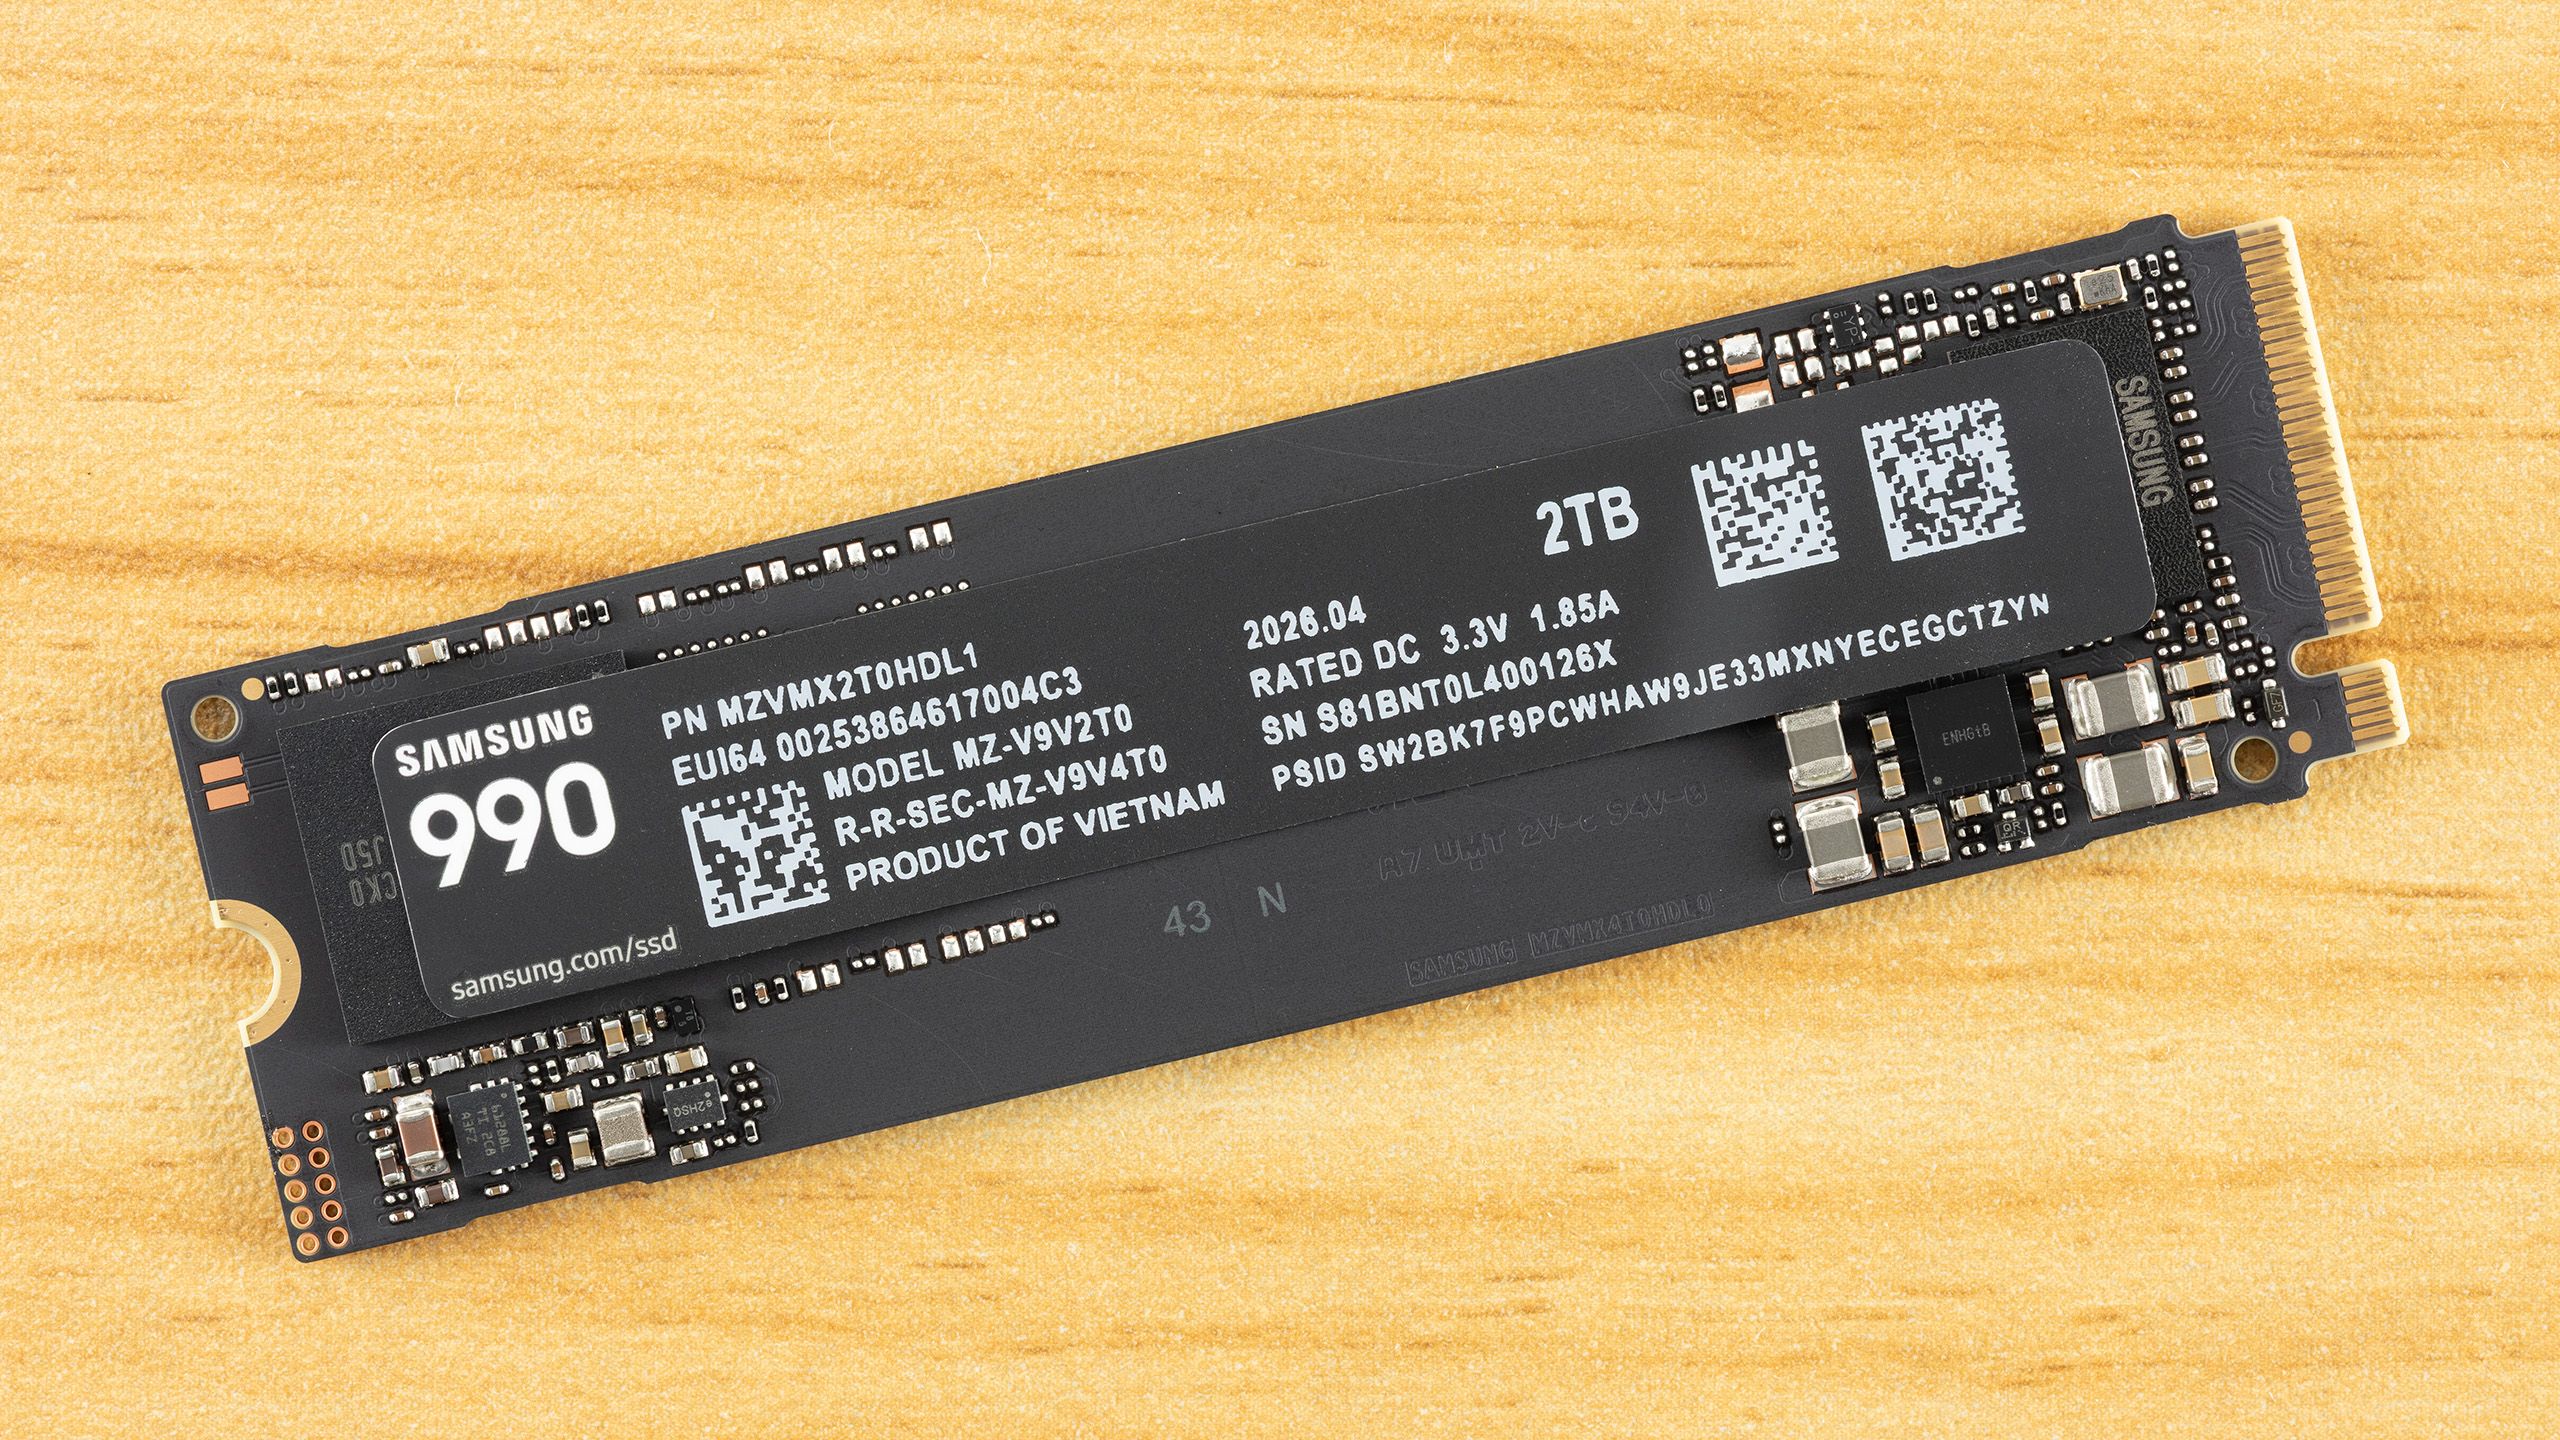
- Install NVMe SSD storage in the M.2 slots: slide the drive into its keyed slot, press it flat, and secure it with the mounting screw or retention clip.
- Install the RTX 50 series GPU: seat it in the main PCIe x16 slot until the latch clicks, then connect the new 12V-2×6 power cable firmly.
- Cable management and front-panel headers: connect power switch, reset, USB, and audio headers carefully, then tie back cables to keep airflow clear.
- First boot, BIOS setup, and POST: power on, confirm that the system completes POST, set the correct boot drive, and enable XMP/EXPO for DDR5-6000 if stable.
- Install Windows 11 and drivers using your USB installer and then the latest GPU, chipset, and network drivers from each vendor.
- Stress-test and benchmark your build with tools like CPU-Z, HWiNFO64, and MemTest86 to confirm temperatures, clocks, and memory stability.
- Post-build software and performance tuning: fine-tune fan curves, update utilities, and adjust in-game settings for the balance of noise and frame rate you prefer.
The big gotcha is to avoid blasting through the hardware steps and then assuming everything is fine because the BIOS splash appears. According to one detailed gaming PC assembly guide, “every step notes what commonly goes wrong and how to check your work… rather than just trusting the BIOS splash screen.” Make your own checks part of the process: look for fans spinning, RGB or diagnostic LEDs, and listen for any grinding or coil whine as you reach each milestone.
Troubleshooting First-Time Builds and Cable Management Tips
Even a careful RTX 50 series build can run into hiccups. The good news is that most early problems are simple: a RAM stick that is not fully seated, a forgotten EPS CPU power cable, or front-panel connectors on the wrong pins. The first thing to remember is that a no-boot situation does not mean you ruined hardware; it usually means one signal or power path is not complete yet.
If your system fails to POST, shut it down and reseat DDR5 gaming PC memory modules until each latch locks, because RAM that is not fully seated is a common no-boot cause. Then re-check GPU and motherboard power cables, especially the 12V-2×6 for the RTX card and the 8-pin CPU connector near the top of the board. Clear CMOS if the board seems stuck on a bad boot attempt, and try booting with one RAM stick to rule out a faulty module. Thermal and noise issues often come from poor cable routing. Step 8 in standard PC building steps emphasizes cable management for a reason: cables packed in front of fans or radiators block airflow and raise temperatures. Use zip ties or hook-and-loop straps to run power cables along the case edges, keep front intakes clear, and leave enough slack near the GPU so you are not stressing the 12V-2×6 connector.
Once Windows and drivers are in place, use CPU-Z, HWiNFO64, and MemTest86 to confirm that clocks, voltages, and memory timings match expectations and remain stable under load. This is where you catch subtle issues like a DDR5-6000 profile that boots but throws errors under stress, or a fan curve that lets the GPU run hotter than you want. Treat this phase as your safety net before you trust the system with long gaming sessions or important data.
Is Building Your DDR5 RTX Gaming Rig Worth It?
By the time you reach the final tuning step, you have gone from loose parts to a fully benchmarked, driver-updated desktop that reflects your choices instead of a prebuilt’s compromises. You have a DDR5 gaming PC with an RTX 50 series card, ready for modern titles on Windows 11, and a clear map of where every cable and component sits inside your case.
Is it worth it compared with buying an off-the-shelf machine? If you are comfortable doing some troubleshooting and you care about picking each major part, yes: you get more performance per dollar and better long-term flexibility than most prebuilts. The main things to watch for are part availability and pricing swings, especially with the memory shortage affecting RAM and SSD costs, plus staying current on BIOS and driver updates so your system stays stable. The real payoff is not only higher frame rates for the money, but the confidence that comes from knowing how to build gaming PC hardware yourself. The next time you want to upgrade, you will treat opening the case like any other household project instead of something mysterious.