
Why DIY Retro Gaming Storage Is Worth Your Time
DIY retro gaming storage means repurposing old hardware such as IDE optical drives and second-hand SATA SSDs into custom enclosures and cartridge-style cases that organize modern game libraries while adding nostalgic, physical-media charm to your setup.
If you have a box of unused drives and a soft spot for old-school cartridges and CD players, this kind of project hits a sweet spot. You get functional storage and audio gear, but with a tactile, toy-like feel you will never get from a plain black external SSD. It is perfect for tinkerers who enjoy the idea of pressing a real eject button or sliding a game "cartridge" into a dock before firing up Steam.
The main caveat: you need patience more than advanced skills. The most polished kits focus on being assembled, repaired, and owned without soldering, but you still have to handle fragile legacy components and make peace with quirks that brand-new hardware does not have. If that sounds fun rather than frustrating, you are the right kind of person for these builds.
Turning an Old IDE Optical Drive into a Boutique Audio Player
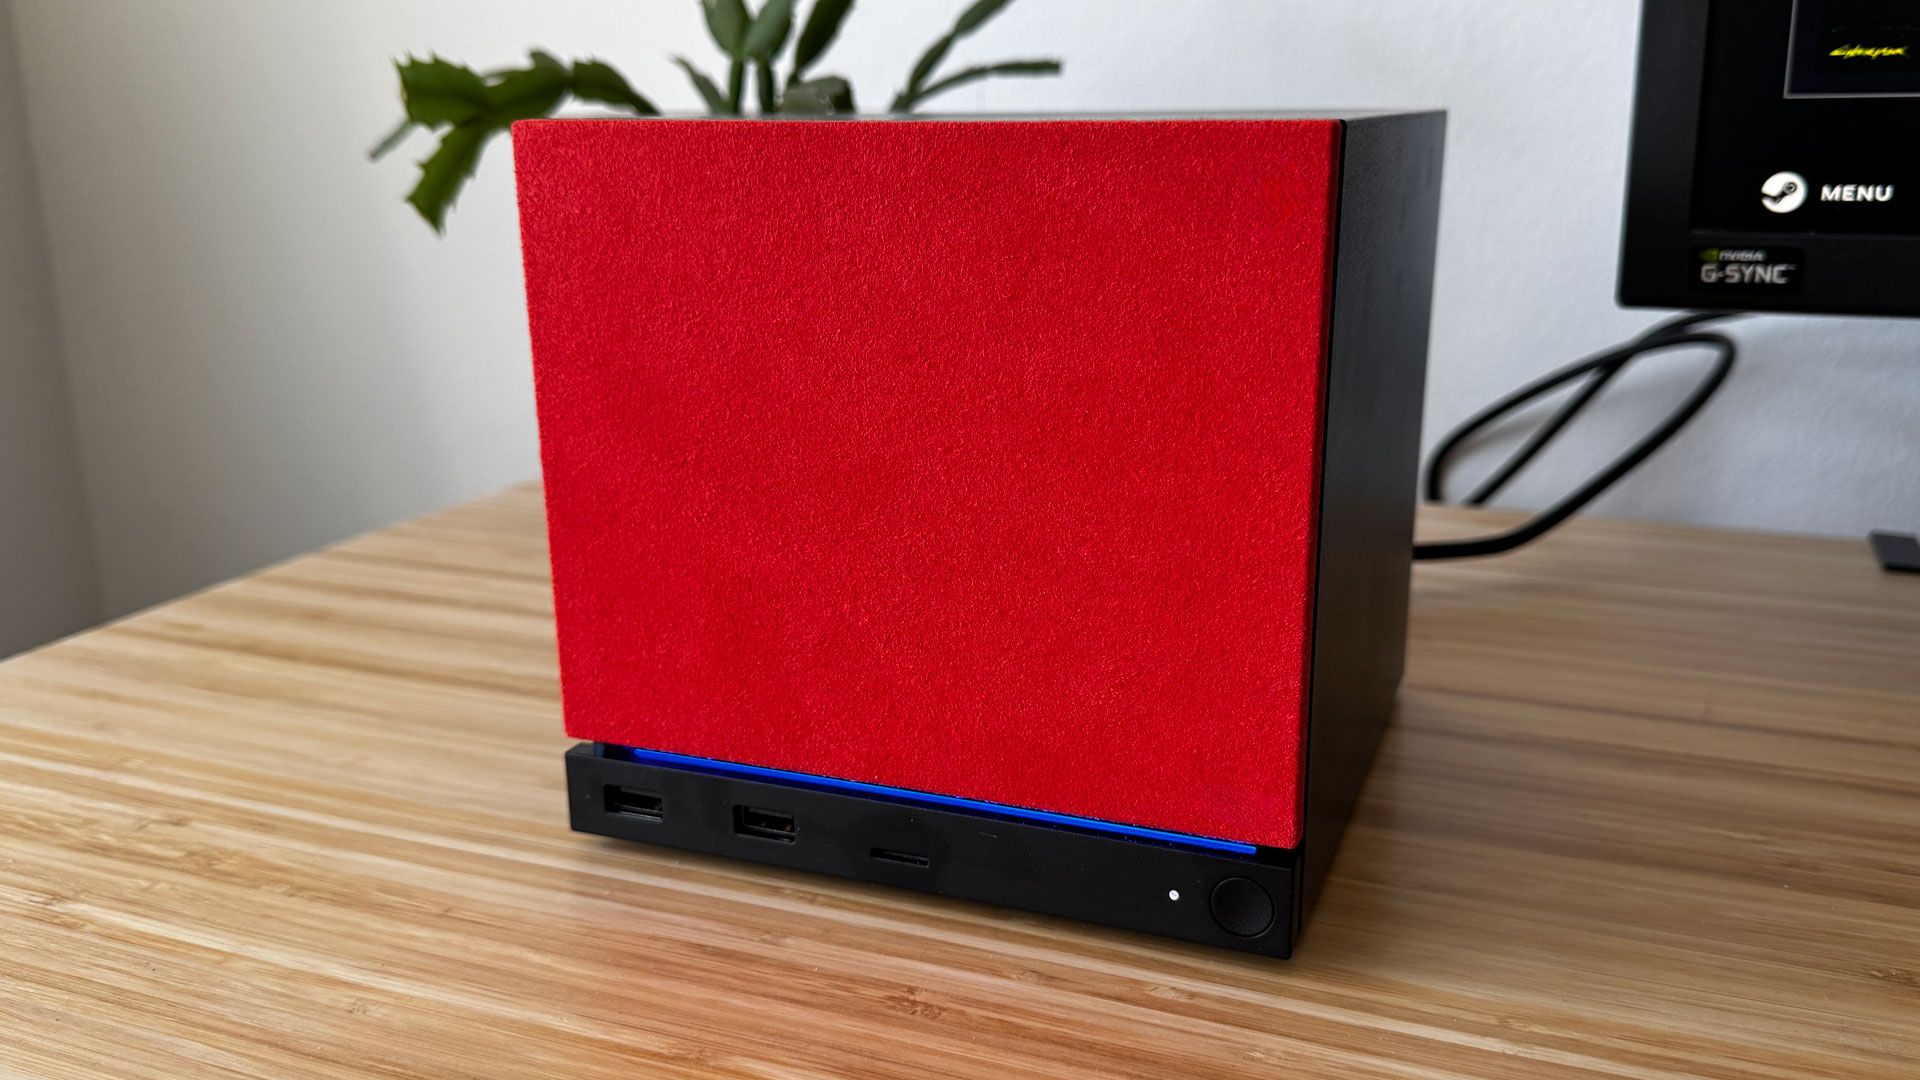
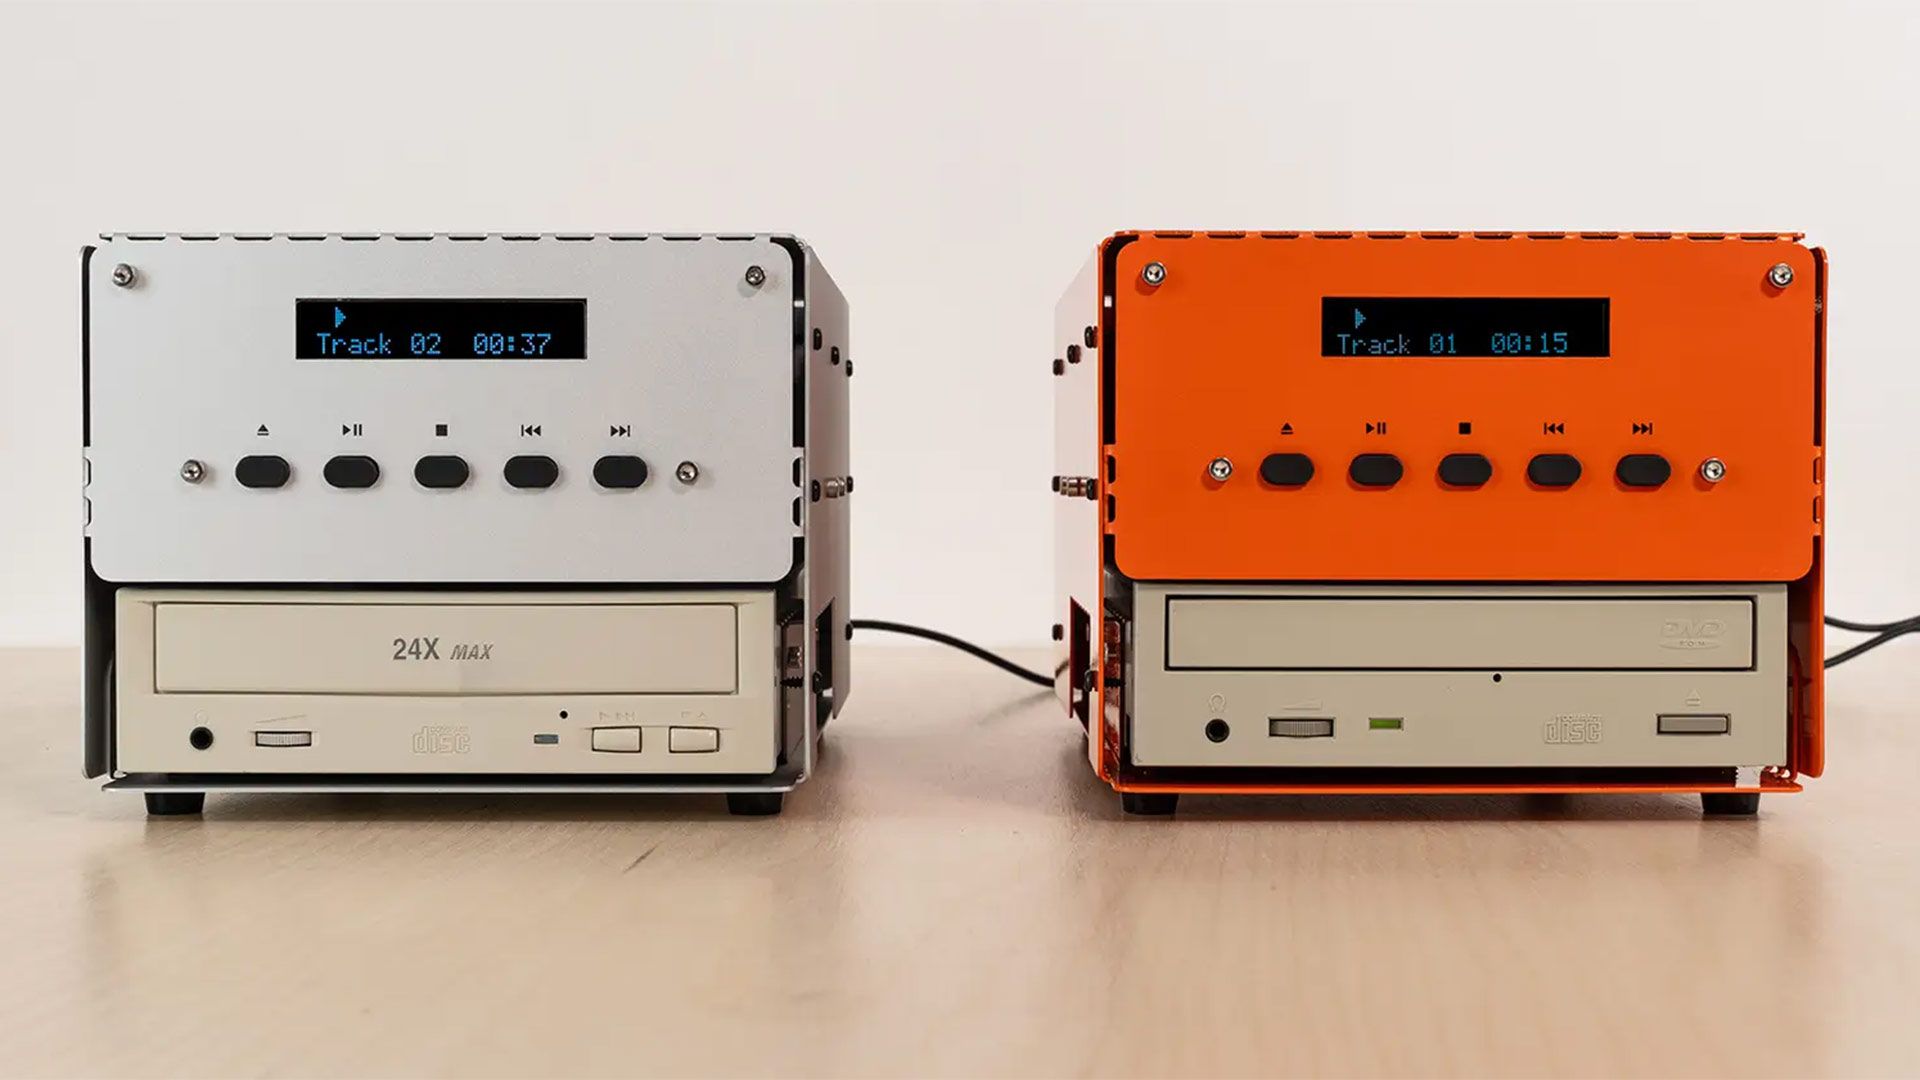
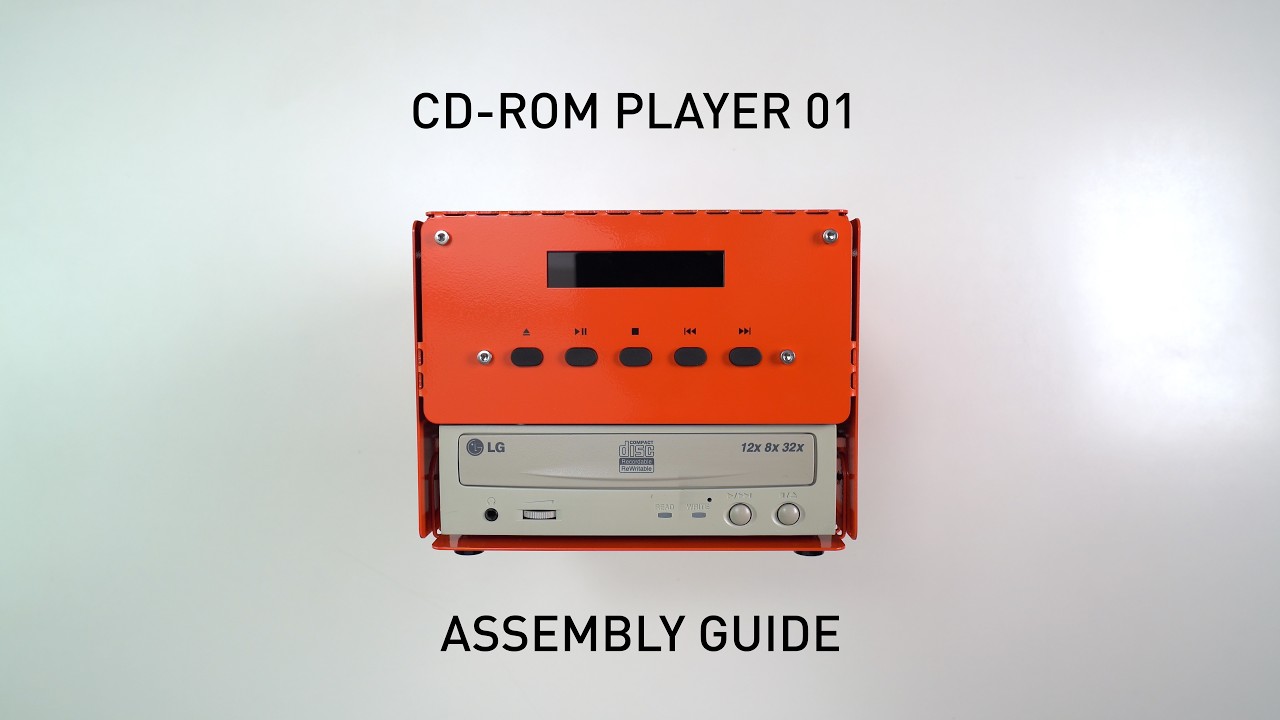
One of the neatest ways to repurpose old hardware is converting an IDE optical drive from a forgotten PC into a standalone audio player with boutique aesthetics. A kit known as CD-ROM PLAYER 01 encourages exactly this, pairing a universal laser-cut enclosure with a custom PCB so your rescued drive becomes a minimalist hi-fi component instead of e-waste.
According to its maker, the project is “designed to be assembled, repaired, and owned,” and supplied as a bring-your-own-drive enclosure that explores ownership, reparability, and the physical experience of music. Unlike conventional CD players, you are expected to hunt down compatible IDE drives in old computers, second-hand markets, recycling centers, or boxes in storage, which means every finished player carries its own history.
The real gotcha is that the enclosure kit ships without the IDE drive, AUX cable, or 12V power adapter, and you must budget for those separately. On the upside, refurb drives can be found for as little as USD 5 (approx. ₱280), with more options up to USD 40 (approx. ₱2,240), so you can pick a faceplate style and condition that fits your retro vibe. If you like the idea of choosing the exact chunk of history that lives in your audio stack, this trade-off is worth it.
Building a Retro Gaming Cartridge System with Cheap SATA SSDs
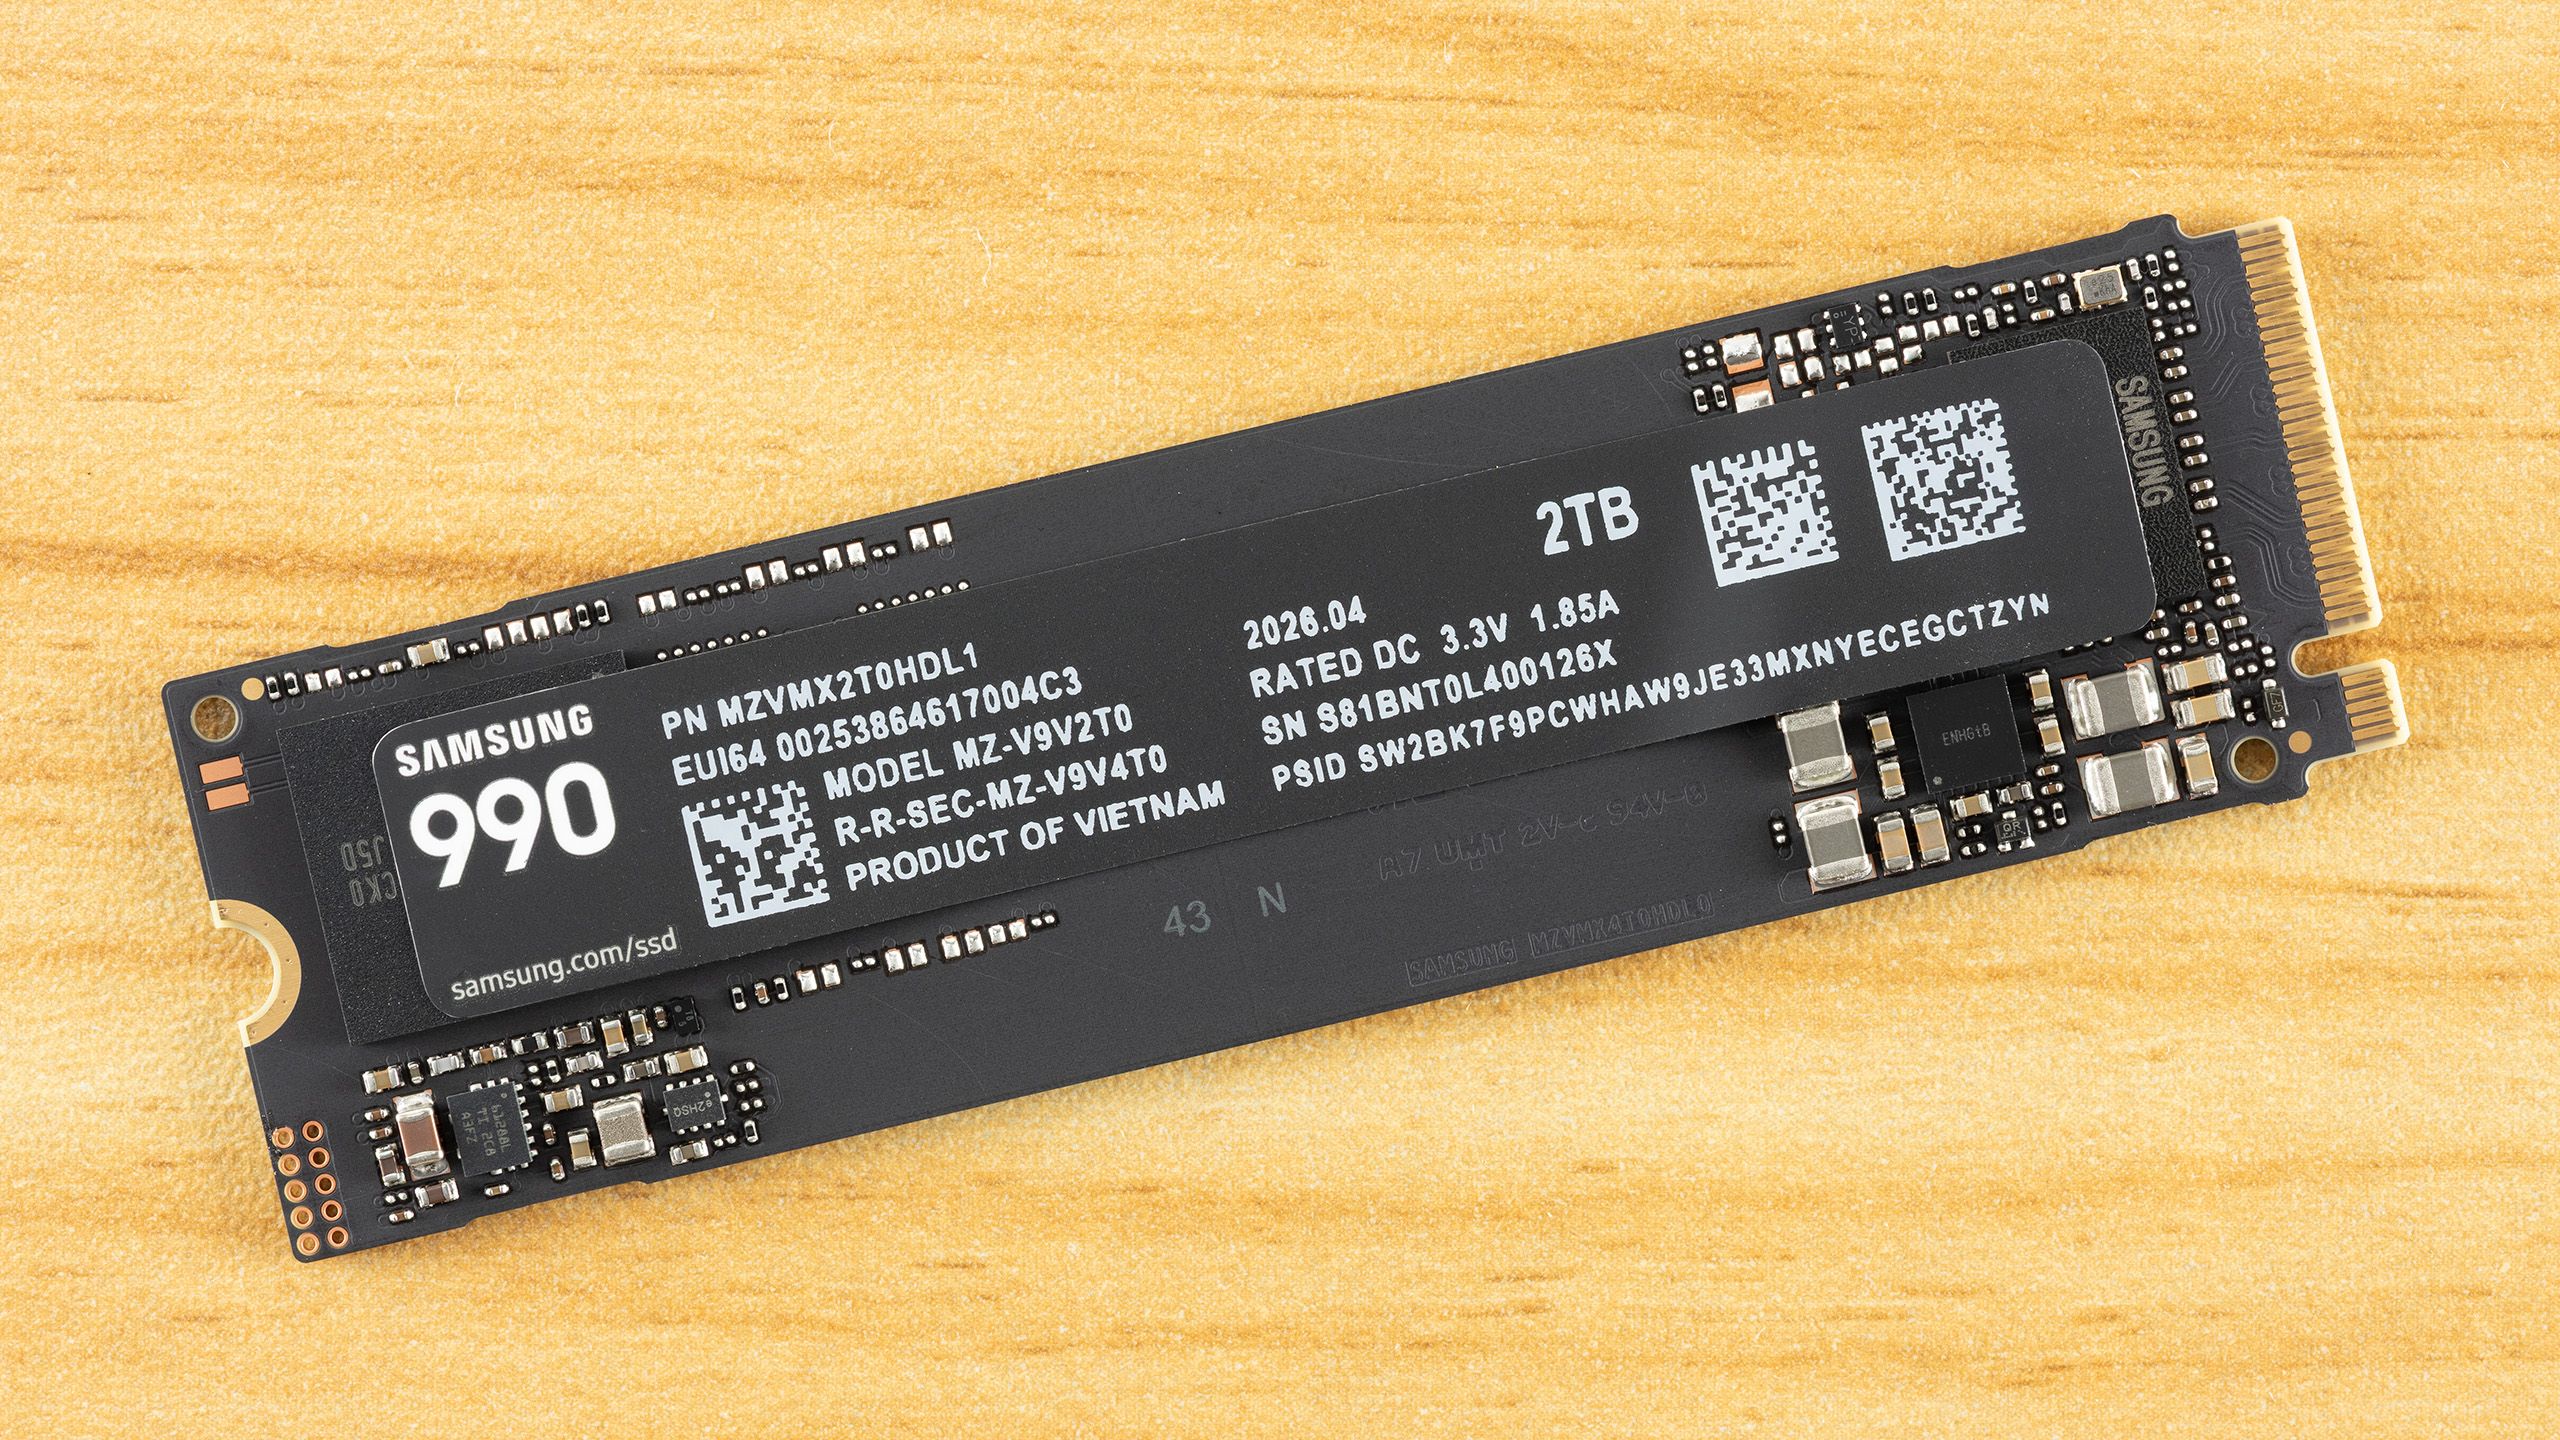
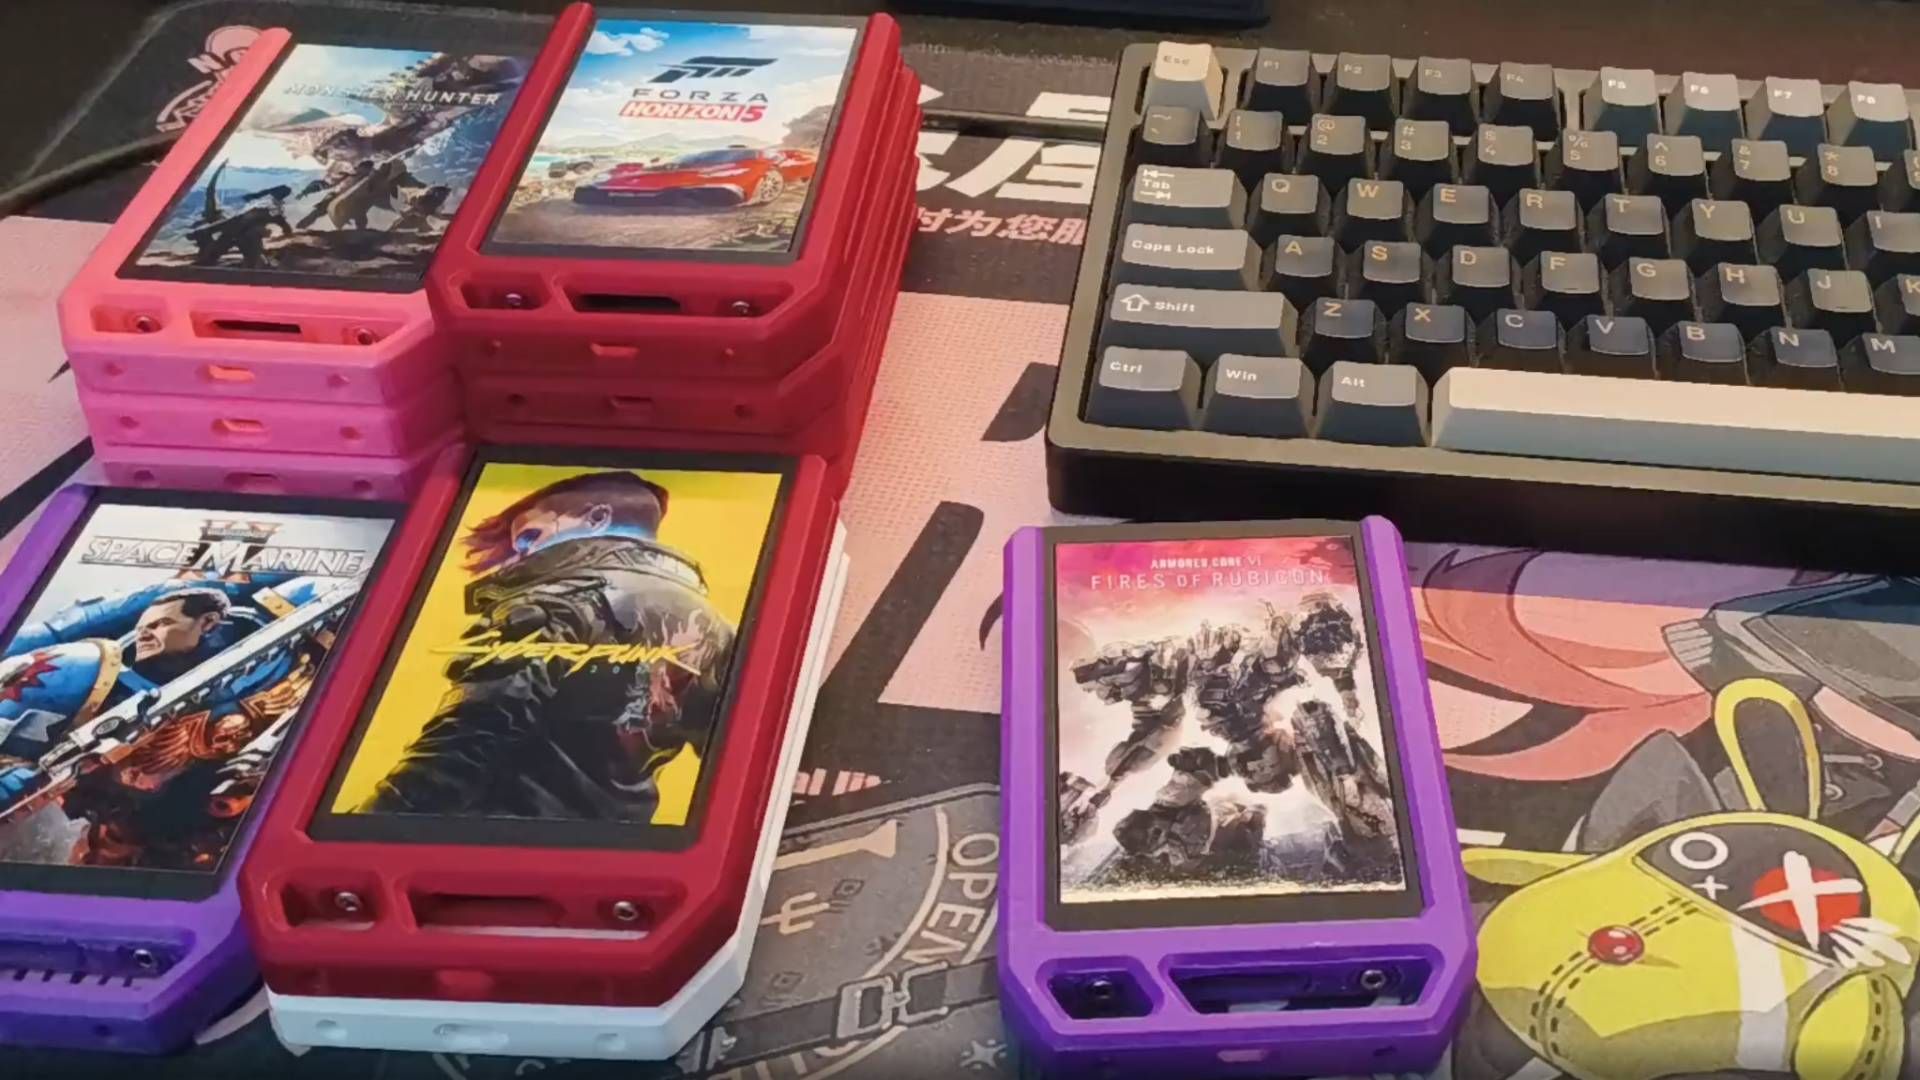
On the gaming side, a Reddit user built a physical game cartridge system for their Steam library using second-hand 2.5-inch SATA SSDs bought for about €7 (USD 8, approx. ₱450) each. Instead of leaving drives loose, they created colourful housings featuring each game’s cover art, then loaded the games directly onto these SSD-based cartridges.
When a cartridge is slotted into a dock, a script uses Valve’s Steam browser protocol to auto-open the game’s library page, and can even be set to launch the game immediately. In practice, it feels like plugging in a retro gaming cartridge, but under the hood you are using standard PC storage and Steam. The project is a perfect example of DIY retro gaming storage: modern, solid-state drives dressed up like classic cartridges to give digital libraries a physical ritual.
The big warning here is cost and practicality. The original builder “got lucky” finding cheap drives, likely pulled from old PCs at a refurb station. If local prices are higher, you might pay more for the SSD cartridges than you did for some of the games, especially during a memory supply crisis with spiking prices. Treat this as a passion project rather than a strict money-saving move.
Step-by-Step: Planning Your Own DIY Retro Storage Project
Before you grab a screwdriver, it helps to think through what you want out of the build: a showpiece CD player for your desk, a retro gaming cartridge library for Steam, or both. The goal is to bridge nostalgia with modern functionality in a way that matches your budget and space.
- Decide your project type: standalone audio player, retro gaming cartridge system, or a mix of both, based on the hardware you already own.
- Gather legacy components from old computers, second-hand markets, recycling centers, or bulk refurb listings, focusing on IDE optical drives or 2.5-inch SATA SSDs.
- Choose or design an enclosure, from a universal laser-cut CD-ROM case with a custom PCB to personalised cartridge housings with printed cover art.
- Plan the electronics: ensure the drive controller, power board, AUX output, 12V adapter, or SSD dock work together, and source missing PCBs or adapters.
- Set up your software, whether that is basic audio output from the optical drive or a script that uses Steam’s browser protocol to open and launch games.
- Test the system thoroughly, fix quirks, then refine aesthetics—faceplates, labels, colours—to give the final build its boutique, retro look.
The main pitfall is underestimating the time and fiddling involved, especially when pairing AliExpress-style controllers with self-made or third-party enclosures and power boards. Expect minor alignment problems, cable shortages, or scripts that need tweaking. That effort is what turns generic parts into something personal.
Is Repurposing Old Hardware for Gaming and Audio Worth It?
These DIY projects prove that legacy hardware can gain new purpose as gaming and storage peripherals when you care more about personality than raw specs. Custom enclosures transform old IDE optical drives into standalone audio players with boutique aesthetics, and PC gamers are fashioning retro gaming cartridge systems using cheap SATA SSDs to organise Steam libraries with physical flair.
You will not always save money, and you will have to live with imperfections. But you gain something rare: a system that feels like it was built for you, not for a store shelf. If you are comfortable hunting parts, troubleshooting, and accepting a few scars on your gear, repurposing old hardware into DIY retro gaming storage and audio players is more than a technical project—it is a way to keep physical media habits alive in a digital world.