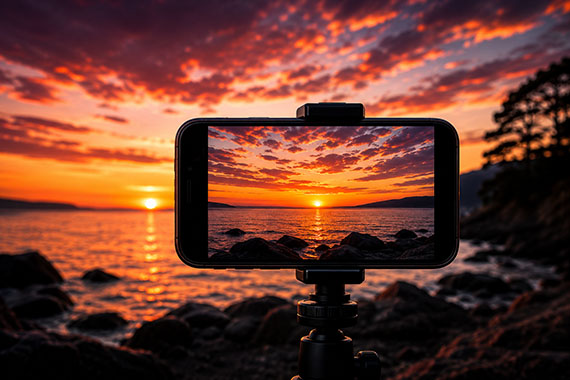

Exposure Control Photography: Stop Blaming Your Camera
Exposure control photography is the deliberate use of camera settings and techniques to balance highlights and shadows in scenes with high contrast lighting, preventing blown out skies, noisy shadows, and colorless results that come from letting the camera guess your exposure instead of making conscious, creative choices yourself. The harsh truth is that your camera is not ruining your sunsets or night shots—you are, when you leave everything on auto. The most common misconception is that better images require better gear, but the secret to stronger sunset photos “isn’t a more expensive phone—it’s controlling the exposure.” Likewise, you don’t need the newest body or fastest lens for clean night photography; you need better habits. Once you accept that, every setting becomes a tool instead of a mystery, and high-contrast lighting turns from a problem into a creative playground.
Blown Out Sky Fix: Prioritize Highlights, Embrace Shadows
If your sunset photos keep turning into flat white bands of light, your camera is exposing for the dark foreground instead of the bright sky. In other words, it is protecting shadows at the cost of highlights. The fix is to stop letting the darkest part of the frame dictate exposure. On a phone, tapping the brightest part of the sunset tells it to expose for the sky, preserving rich colors and cloud detail. Then, nudge the exposure down with the brightness slider until the sky looks vibrant and the highlights are not blown out. This is exposure control photography in action: consciously protecting highlight detail in high contrast lighting. Let the land, trees, or people fall into silhouette; that darkness provides drama and stops the viewer’s eye from drifting away from the color in the sky. If you keep accepting washed-out skies, you are choosing convenience over impact.
Night Photography Exposure: Manual, ISO, and the Tripod You Keep Ignoring
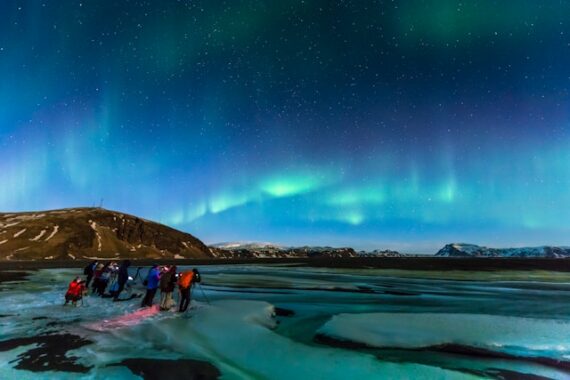
Night photography exposure has a way of exposing every weakness in your technique: frames that looked sharp on the LCD reveal blur, colors turn muddy, highlights blow out, and shadows crawl with noise once you review them later. This is what happens when you keep trusting auto mode in high contrast lighting after dark. Your camera might raise ISO too high, pick an inappropriate aperture, or choose shutter speeds that do not match your subject. You need manual or priority modes to gain control over exposure, motion blur, noise, and depth of field. Then accept another tough truth: handholding at night is usually a recipe for soft images unless you are deliberately shooting fast street scenes. Use a sturdy tripod, trigger the shutter with a remote or self-timer, and enable a brief delay if needed; a stable camera is the foundation of sharp night photography.
ISO Myths, Histograms, and Why Your Shadows Look Terrible
Many photographers cling to ISO 100 as a safety blanket, assuming the lowest ISO is always best. At night, that belief sabotages exposure: ISO 100 can force shutter speeds so long that motion blur and missed shots are inevitable once the sun goes down. Sometimes increasing ISO to 800, 1600, or even 3200 produces a cleaner final image because it allows a faster shutter speed; a little noise is easier to fix later than smeared detail. If your shadows are noisy or lifeless, your problem is not only ISO—it is also how you judge exposure. At night, the LCD lies, making frames appear brighter than they are. The histogram is a more reliable guide, showing whether highlights are clipped, whether shadows contain usable detail, and whether exposure is balanced. Ignoring it keeps you trapped in guesswork instead of informed exposure control photography.
High Contrast Lighting Demands Multiple Exposures, Not One Lucky Shot
The most stubborn mistake in high contrast lighting is treating every scene as a single-exposure problem. Night scenes often contain an enormous range of brightness, where one exposure preserves city lights while another captures shadow detail. If you insist on taking only one frame, you are choosing clipped highlights or crushed shadows by default. Exposure bracketing—capturing several exposures at different brightness levels—gives far more flexibility during editing and raises your chances of coming home with a keeper. In post-processing, those extra frames allow you to recover shadow and highlight detail that no single shot can hold, whether you blend them manually or through automated tools. The same mindset applies to sunsets: stay 10–30 minutes after the sun dips below the horizon, when some of the best colors appear in the sky. High contrast lighting rewards patience, planning, and multiple attempts, not one hopeful press of the shutter.