

What Soft Light Photography Is Really About
Soft light photography is the practice of turning a small, bright light source into a bigger, gentler one, so shadows become smoother, skin tones look flattering, and the overall portrait feels natural instead of harsh and contrasty. If you shoot portraits on a budget, this matters more than almost anything else: a bare flash can look clinical and unforgiving, but shaped light can look like a window or a cloudy day. The good news is you do not need an expensive softbox to get there. A single flash, a way to trigger it off-camera, and a nearby wall or household surface give you most of the control—and that is where we’ll spend our time. You’ll need a willing subject, a room with light-colored walls, and the patience to tweak angles.
Gear You Need and Common Flash Mistakes
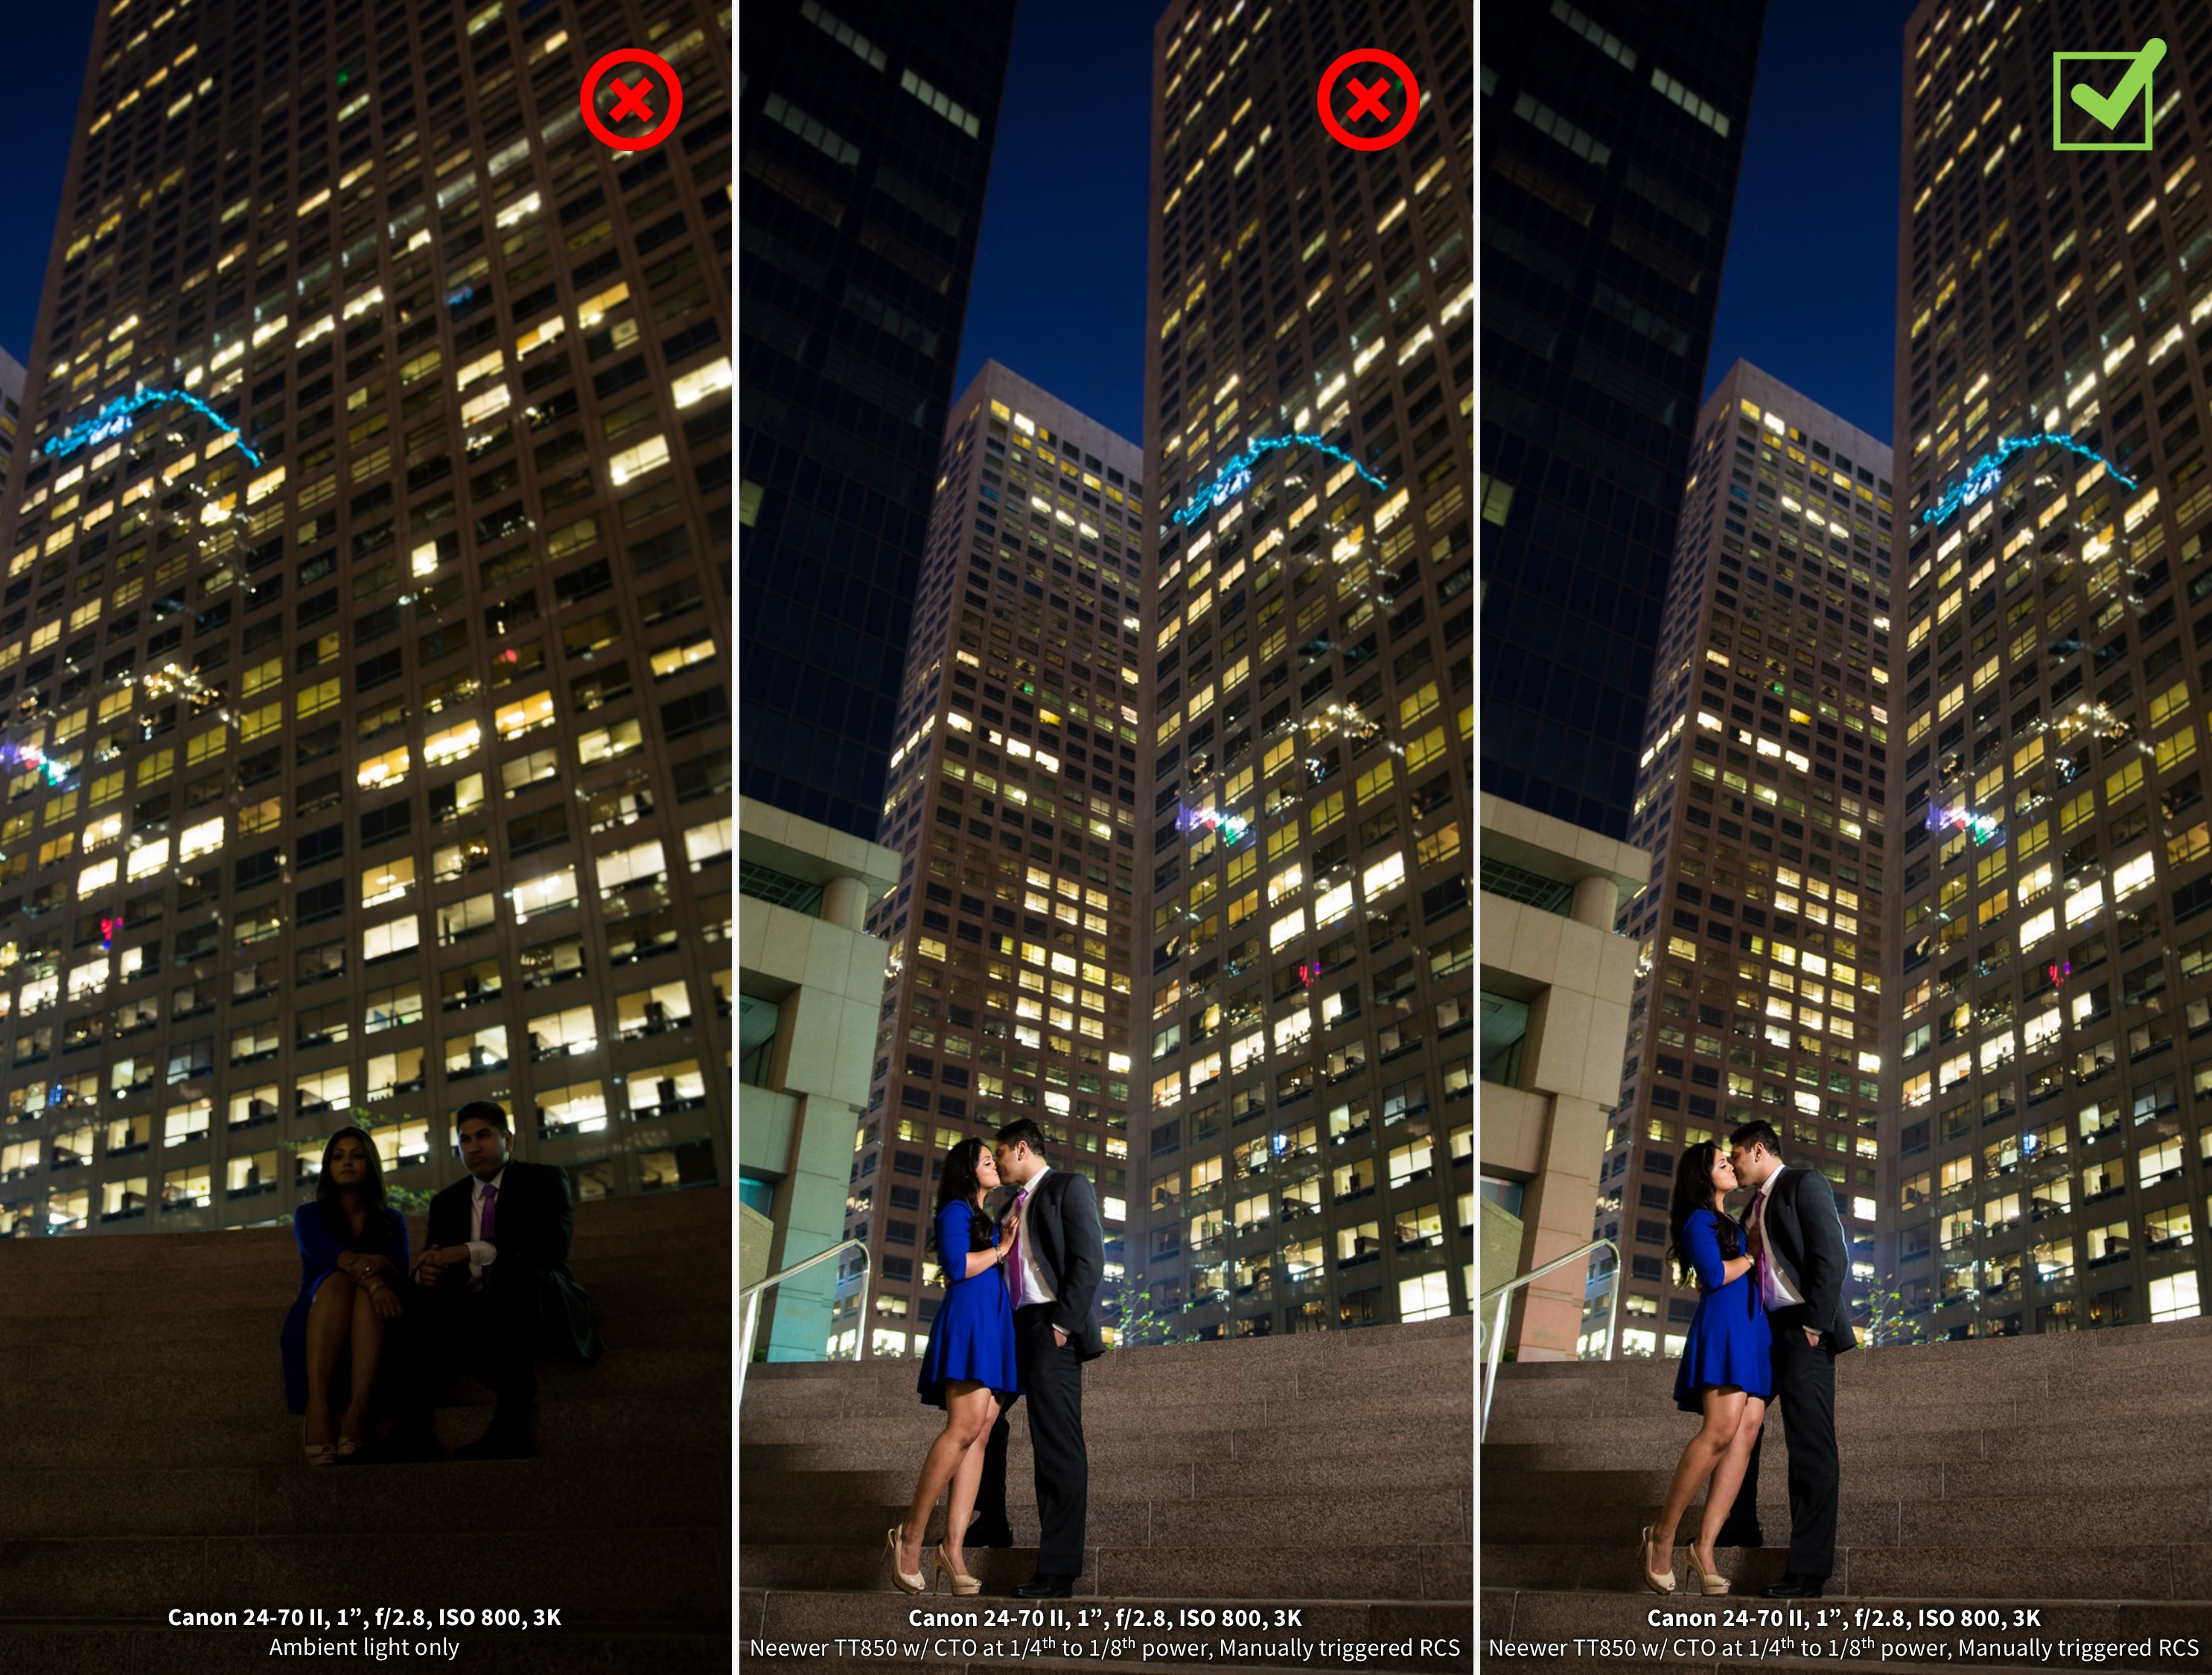
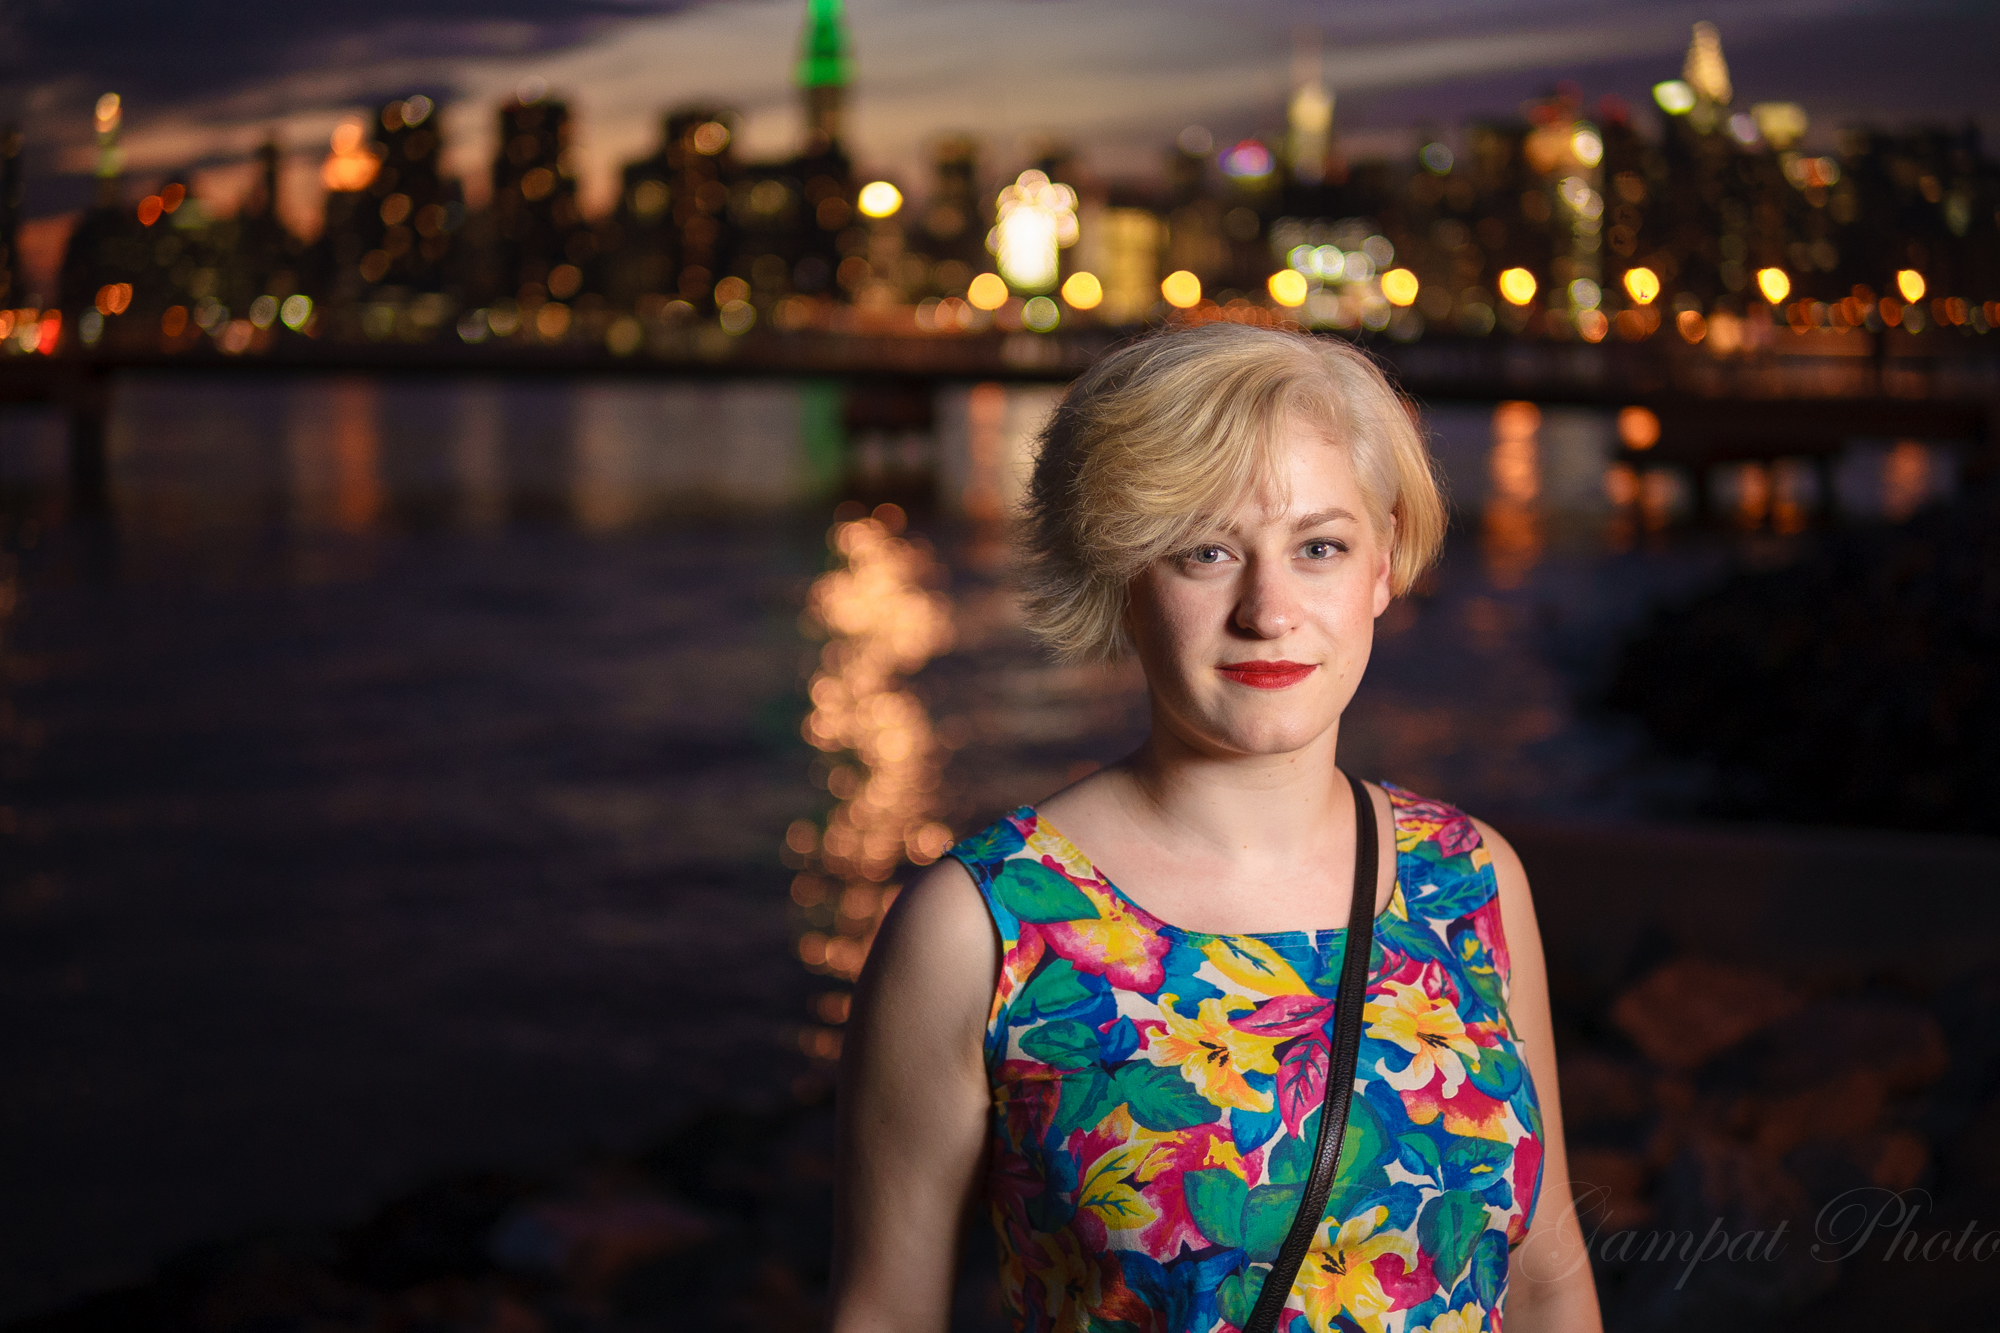
To start, you need one flash, plus a way to fire it off-camera, because keeping it in the hot shoe greatly limits how you can shape portrait lighting. Affordable radio triggers work well, and TTL cords are described as “incredible due to their major reliability,” so either route gives you freedom to move the light. Beyond that, gather white household items: walls, doors, foam board, a bed sheet, or a large piece of paper. Anything matte, light-colored, and broad can stand in as DIY lighting modifiers and flash diffuser alternatives. The two big mistakes to avoid are pointing the flash straight at the subject from the camera position, which gives hard, unflattering light, and bouncing straight off the ceiling, which carves deep shadows under the eyes that do nothing good for portraits.
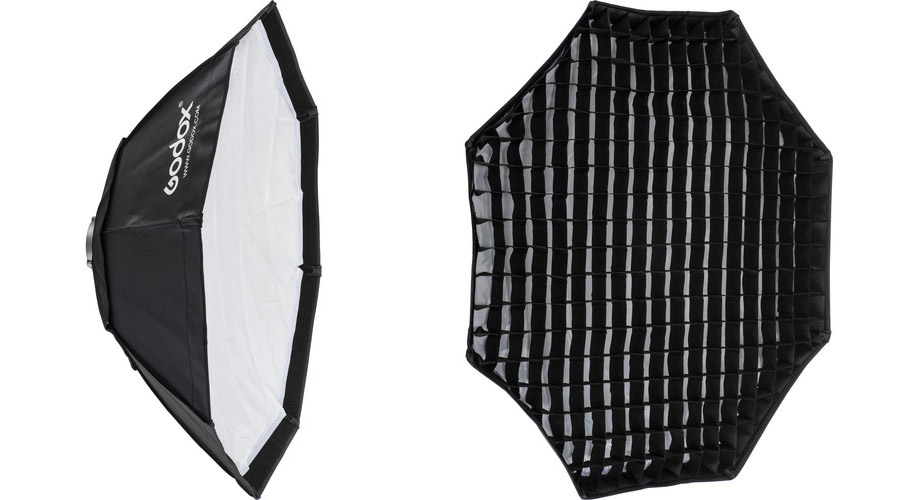
According to one lighting comparison, umbrellas and softboxes both turn a small strobe into a “big, soft, semi-directional light source,” but umbrellas tend to spill light widely while softboxes offer more directional control. Keeping that in mind helps you decide whether to stick with bare flash and bounce techniques or add a simple umbrella later.
Step-by-Step: Turn Bare Flash Into Soft Portrait Light
- Move your flash off-camera by using a radio trigger or TTL cord, placing it about 45–90 degrees to one side of your subject and slightly above eye level.
- Aim the flash at a nearby white wall or large matte surface so the light will bounce back toward the subject instead of hitting them directly.
- Set the flash to its widest zoom setting to spread the beam and effectively enlarge the apparent light source on the wall.
- Angle the flash so it hits the wall above and a little behind you, rather than straight up at the ceiling, to avoid harsh eye sockets and to fill facial shadows more evenly.
- Pose your subject facing toward the bounced light source, turning their nose slightly into the direction of the wall or improvised diffuser.
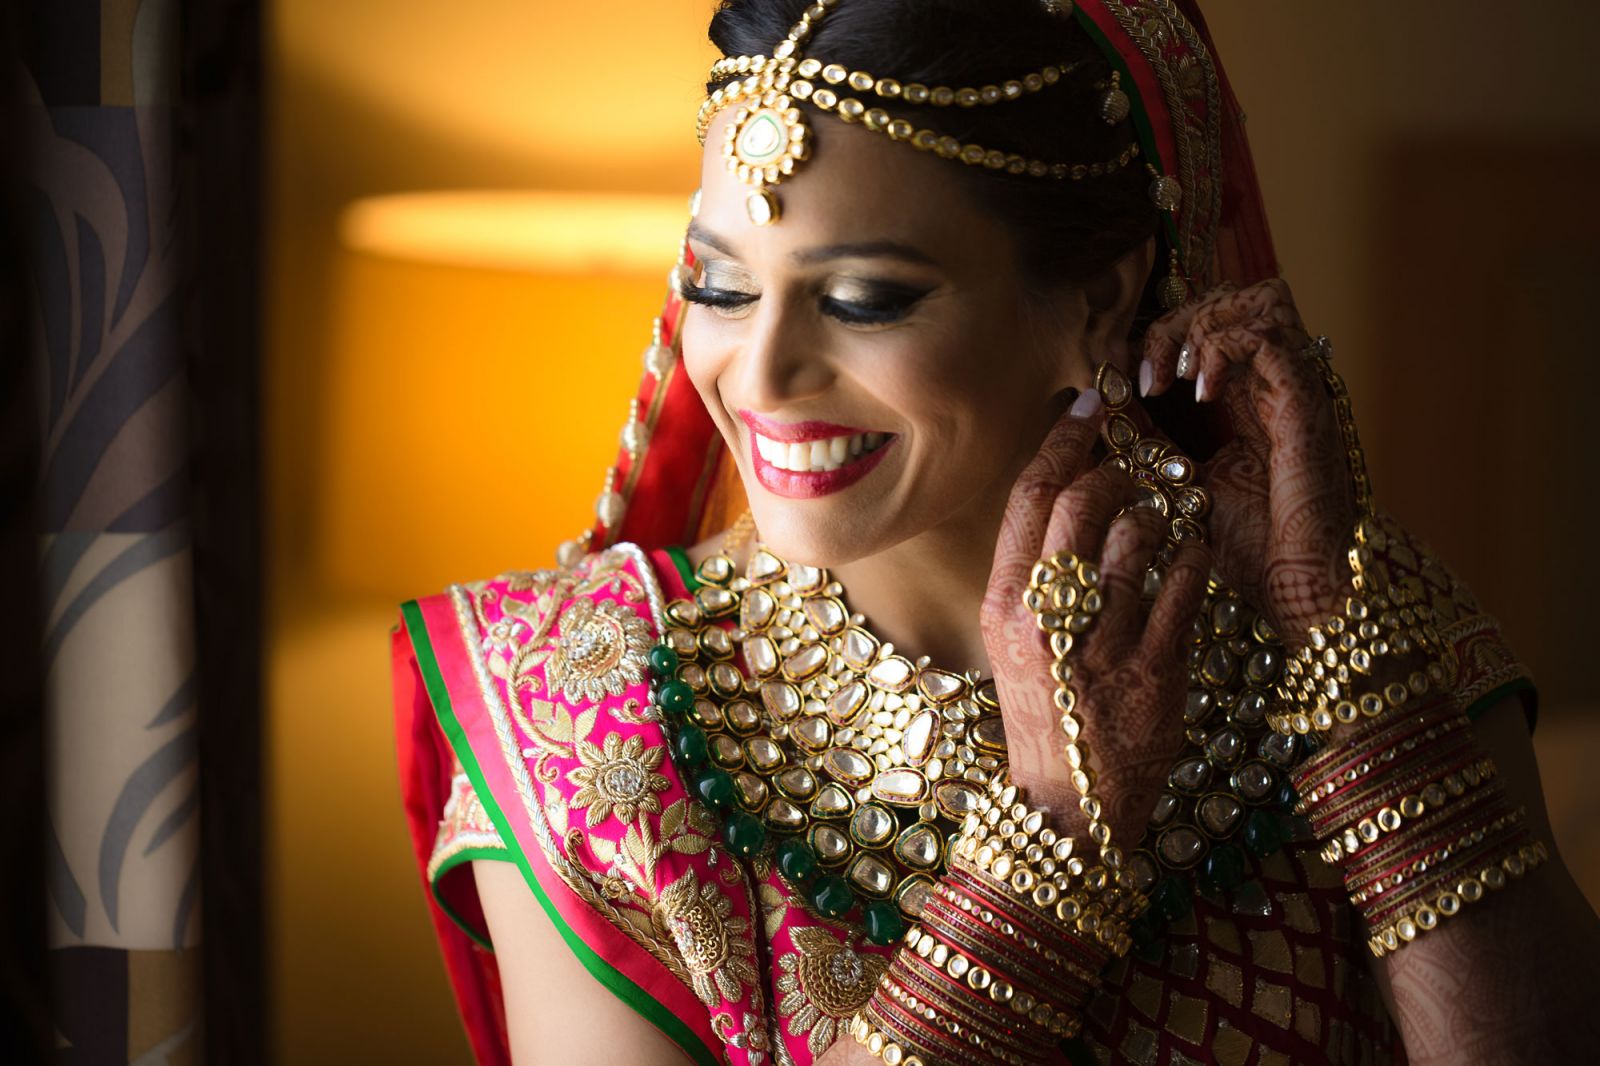
- Take a test shot, then adjust flash power and distance; when exposure is dialed in, the bounced light should look soft and flattering, with gentle shadows and pleasant skin tones.
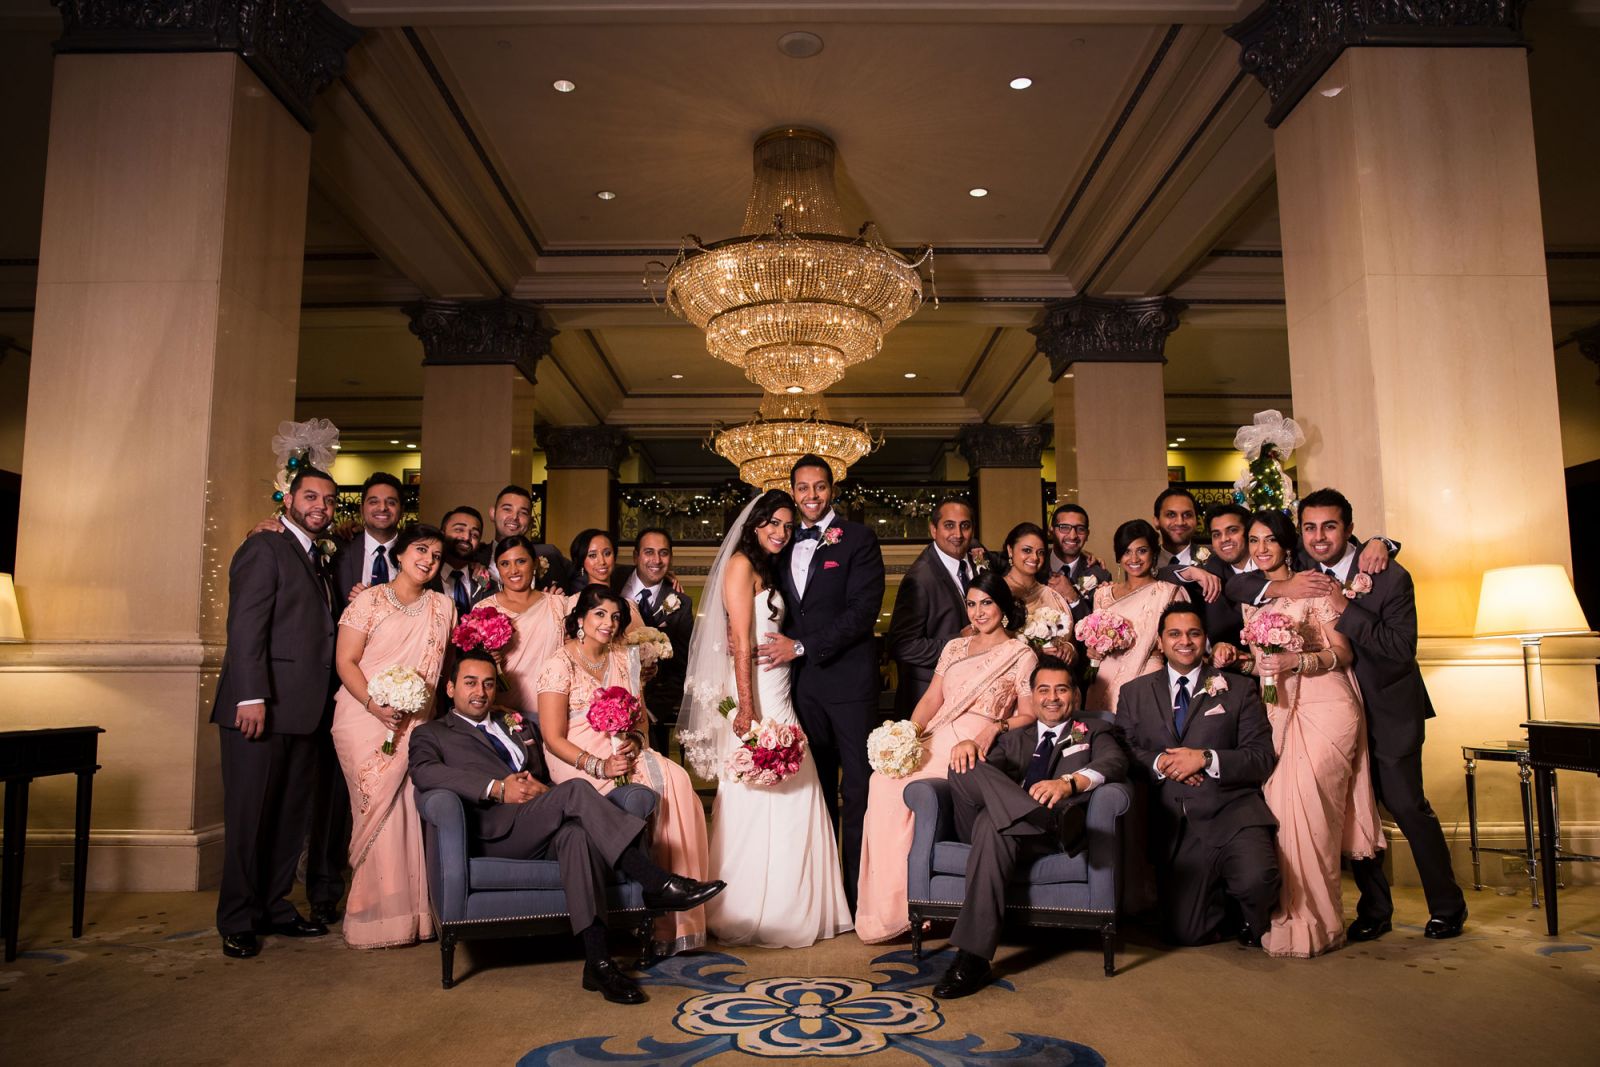
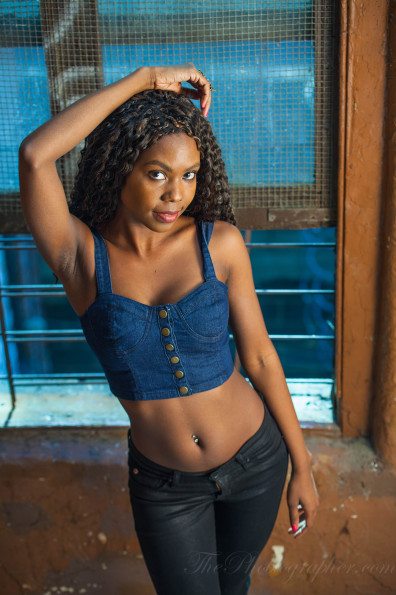
The key idea here is simple physics: smaller light sources create harder light, while making the source larger—by spreading it on a wall or big surface—softens everything. Bouncing above and slightly behind you gives light that wraps around the face instead of dropping straight down from the ceiling and digging into eye sockets. When the flash is at its widest zoom and positioned a fair distance away, exposure control matters; once that’s balanced, the result can “look perfect and incredible” compared to bare, frontal flash. Think of the wall as a huge softbox you didn’t have to buy: when your subject turns toward this virtual window, you get smooth portrait lighting techniques on a shoestring.
How DIY Diffusers Compare to Umbrellas and Softboxes
Household surfaces and improvised diffusers, like white foam board or sheets, behave a lot like shoot-through or bounce umbrellas: they turn a hard flash into a soft, diffused light source that spreads broadly. This gives lovely, forgiving portrait light, but less control over spill—you brighten more of the room, not just the subject. A true umbrella is designed to be easy to set up; you open it, attach it, and your light softens. Bounce umbrellas and softboxes add more direction, keeping light off areas you want dark and letting you create punchier drama or highlight only the face. In terms of cost-effectiveness, walls and household items win: you already own them. Umbrellas are generally more affordable than softboxes and are popular for budget-conscious photographers. Softboxes take longer to assemble but provide a “bright, directional, and highly modify-able” source that excels when you need tight control.
| Method | Light Quality | Portability / Setup | Cost-Effectiveness |
|---|---|---|---|
| Wall or household bounce | Soft, wide, natural; less directional. | Instant; no extra gear, but needs a suitable surface. | Highest; uses gear and items you already own. |
| Umbrella (shoot-through / bounce) | Soft and diffused; bounce adds more direction than shoot-through. | Opens quickly; attaches straight to flash. | Generally more affordable than softboxes; common budget pick. |
| Softbox | Big, soft, and very directional with strong control. | Slower, multi-part assembly; more structured. | More expensive; chosen when control matters more than price. |
Portrait Lighting Techniques and Final Takeaways
Once you understand how to bounce and spread a bare flash, you gain most of the benefits of soft light photography before you ever buy a modifier. Keep your flash off-camera, treat nearby walls as giant diffusers, and pose your subject facing toward the apparent light source for flattering, even illumination. This simple portrait lighting technique avoids the common ceiling-bounce mistake that carves unflattering shadows under the eyes. Over time, you may add umbrellas or softboxes for more control, but you do not need them to make portraits “look perfect and incredible” when your bounce angles and exposure are on point. It is worth the effort: once you see your first soft, window-like portrait made with a bare flash and a cheap trigger, you realize gear is less important than what you do with the light. Watch your angles, mind your shadows, and your portraits will feel far more professional.