
The Daylight-at-Night Trick: Exposure as Time, Not Brightness
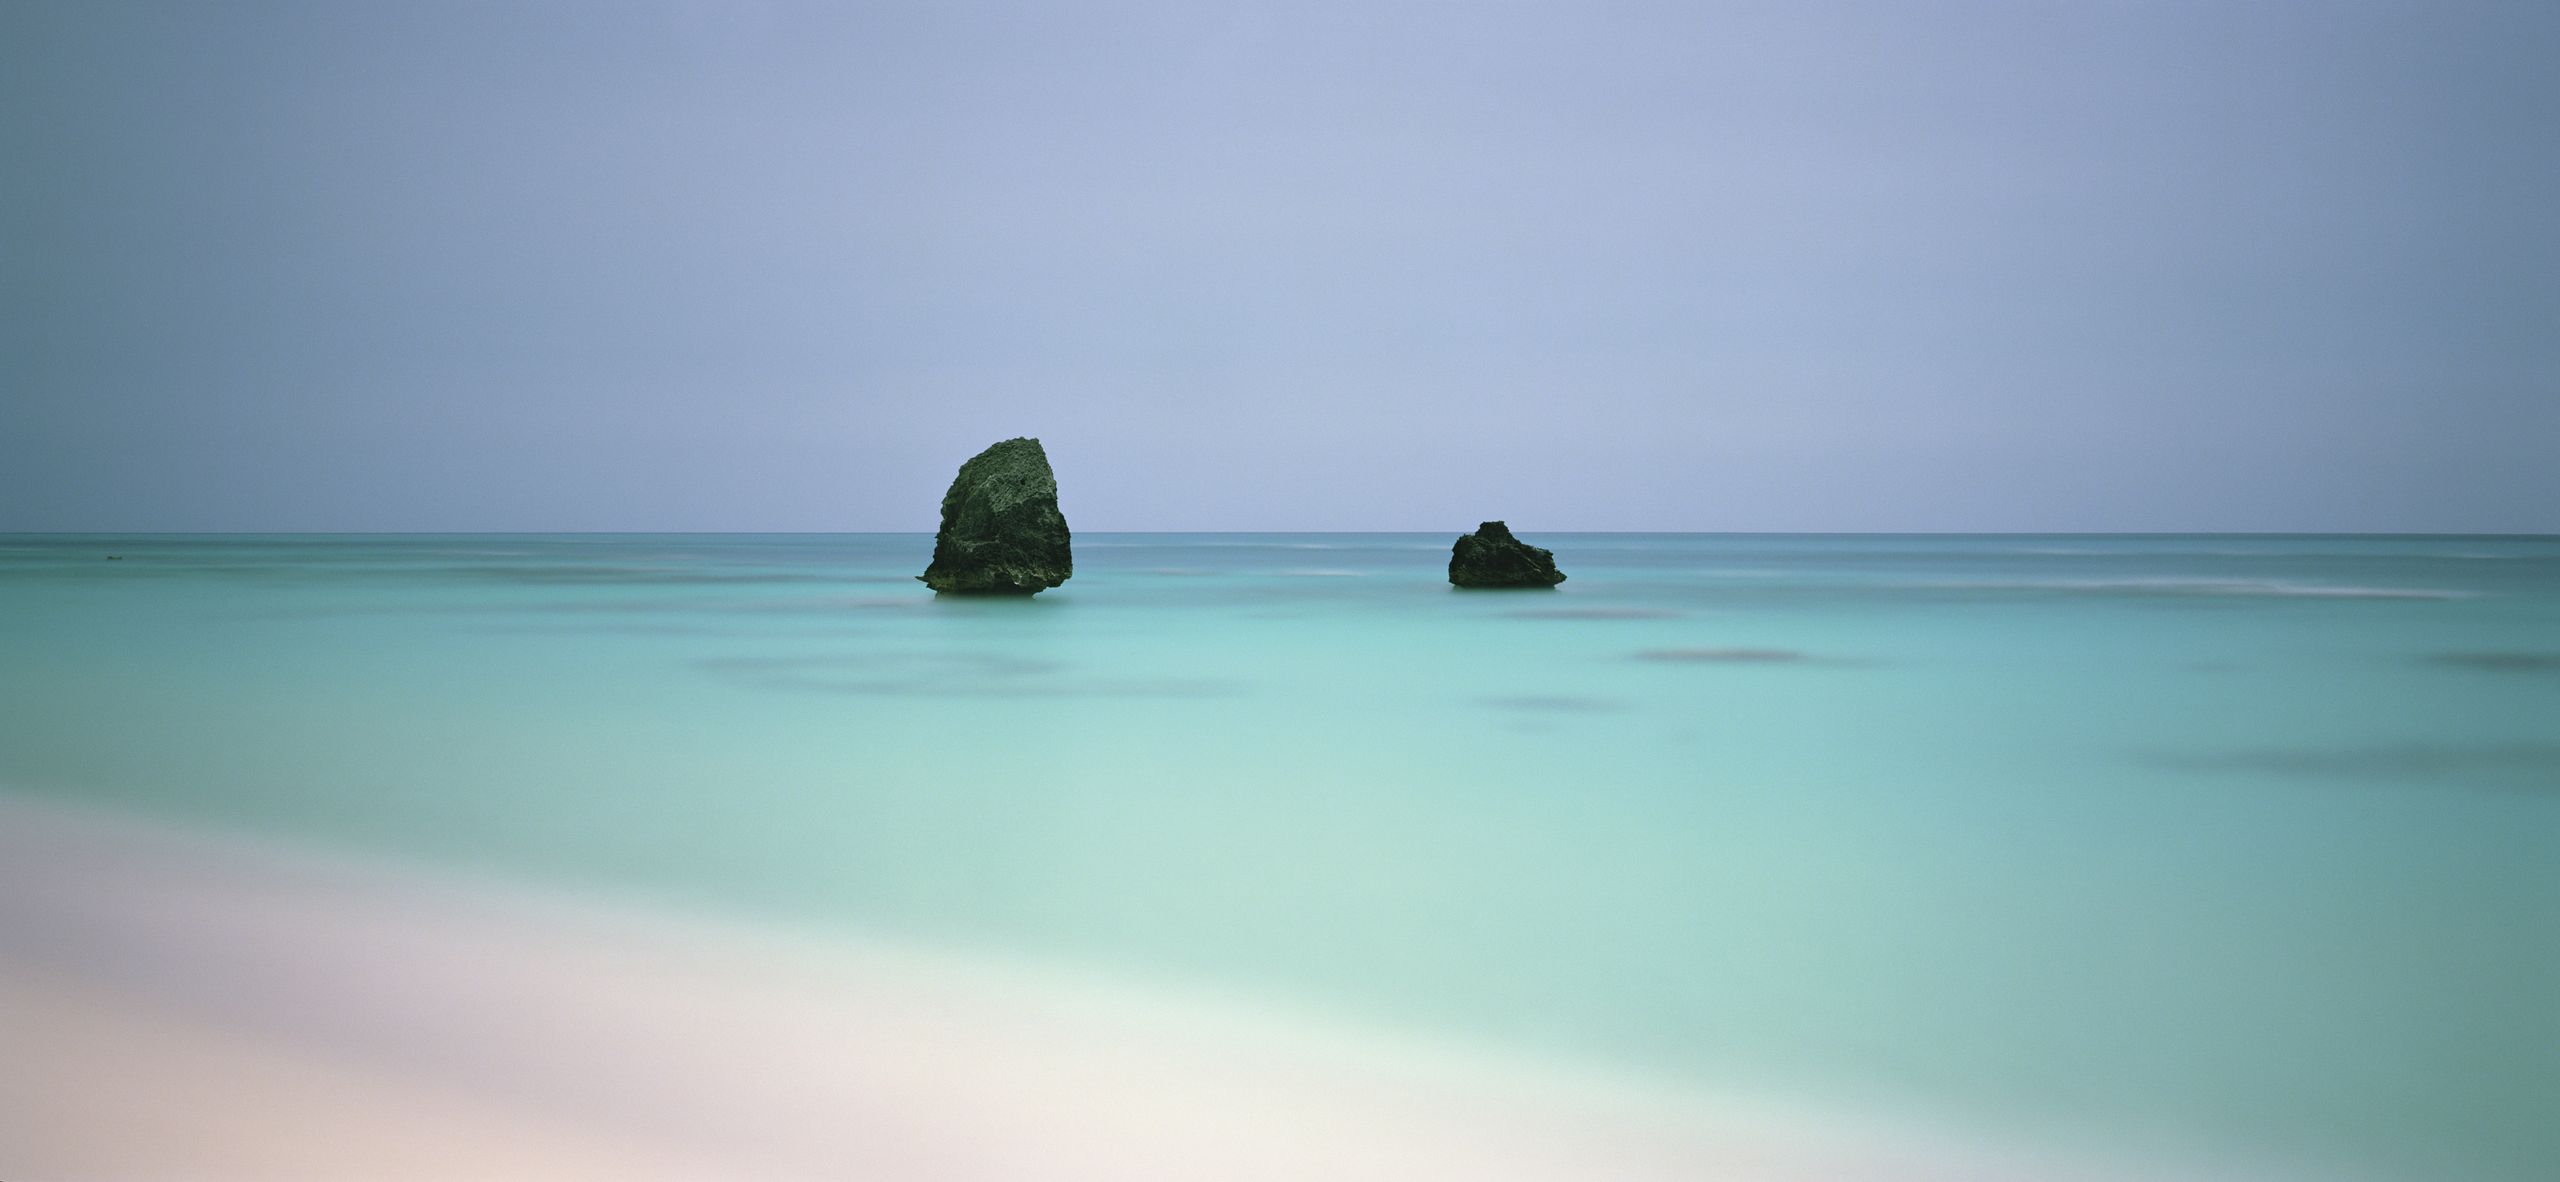
Daylight-at-night photography is a night photography technique where long exposure settings allow a camera sensor to collect moonlight for several minutes so nighttime landscapes and landmarks appear with full daylight-like color, clarity, and tonal detail. Point a camera at a famous landmark lit only by the moon and, by normal rules, you should record a near-black frame. Yet professional night photographers keep their shutters open for a quarter of an hour or more, letting the sensor gather scattered photons until the scene builds complete color and tonal range. The moon is reflected sunlight, weaker than the sun by a factor of around 400,000, but exposure is time, not magic. If you are willing to wait in the dark, your camera can render landmarks in a way your eyes cannot.
Dial In the Counterintuitive Long Exposure Settings
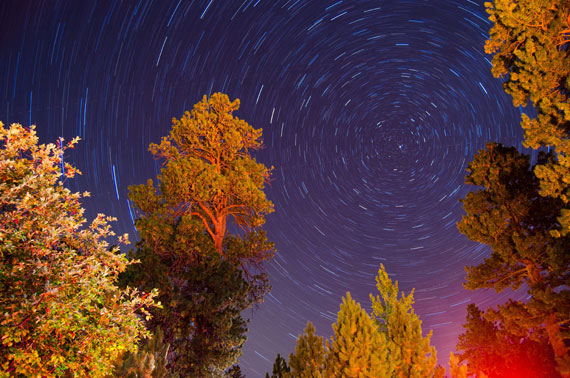
Most photographers underexpose the night. Pros do the opposite: they treat the full moon as a usable light source, not merely a subject. For bright moonlit nighttime landscape photography, the principle is simple: lengthen the shutter until the scene looks like day. According to one long-term night project, “given a long enough exposure – be it a typical quarter of an hour or more – the sensor simply keeps collecting photons until the scene builds up full color and tonal range”. For astrophotography exposure, a different baseline works: a wide-open aperture, a 30‑second shutter speed, and an ISO around 800 offer a practical starting point for star trails. For single-frame star trails, photographers often keep ISO low, use a fast lens, and stretch shutter speed from 15 minutes to an hour while refining through test shots.
Scout Smarter: Locations and Angles Do the Heavy Lifting
The exposure trick alone will not win awards; where you stand matters as much as how long you expose. One celebrated night project revisits sites loaded with history: Alpine viewpoints sketched by JMW Turner, the mountain painted repeatedly by Cézanne, terrain crossed by Robert Falcon Scott, and volcanic islands surveyed by Charles Darwin. Capturing these places by moonlight instead of golden hour gives a completely different look to subjects photographed countless times in daylight. For nighttime landscape photography and astrophotography, the same logic applies: find compositions with strong foregrounds and clean skies. Recommended night photography techniques include selecting foregrounds like mountain ranges, water, old buildings, or bridges to give depth to star trails and sky scenes. Given the choice between a crowded sunset and an empty moonlit overlook, the empty overlook usually wins.
Apply the Method Across Landmarks, Skies, and Architecture
This is not a niche trick; the same long exposure mindset works across most night photography scenarios. In nighttime landscape photography, a long moonlit exposure turns dark valleys, glaciers, and temple gardens into scenes that look softly overcast rather than pitch black. For astrophotography exposure, you can choose between two core night photography techniques: shooting many 30‑second frames at ISO 800 to stack later, or using a single long exposure with low ISO for continuous trails. Star trail shooters often look for locations far from light pollution and prefer moonless, cloudless nights so the sky does not wash out. Architectural subjects benefit too: a landmark framed under a bright full moon can record as crisply as if lit by artificial floods, but with far subtler shadows, so long as your exposure time and stability are under control.
Why In‑Camera Exposure Choices Matter More Than Editing
The magic in these daylight-at-night images happens before you open any software. With long enough shutter times, whether 15 minutes for a landmark or 30 seconds repeated for star trails, the sensor accumulates the light it needs in-camera. Software then refines what exposure already achieved. Star trail photographers often stack sequential frames in tools that blend images and fill gaps, but those programs cannot rescue scenes that were underexposed or poorly composed in the first place. When you work with single long exposures, careful manual focusing, white balance around 4000K, and turning off in‑camera noise reduction matter more than flashy presets. The opinion that post-processing is secondary here is not purist snobbery; it is practical. If you get the deliberate exposure choices right on location, your night photographs will already look impossibly clear before you touch the sliders.