
What Building Your Own Gaming PC Gets You
A modern gaming PC build is the process of choosing compatible components, assembling them in a case, and installing an operating system so you end up with a powerful, upgradeable machine tailored to your performance needs instead of a one‑size‑fits‑all prebuilt system. If you like the idea of knowing exactly what’s inside your rig and tweaking every part later, learning how to build a gaming PC is worth the effort. Component prices have climbed thanks to higher DRAM and NAND costs, and a solid new rig now starts around USD 1,000 (approx. ₱56,000), so getting the most from every dollar matters. The real prerequisite is patience: if you can follow a 12‑step assembly process and handle a bit of troubleshooting, you can build a system in about 90 minutes once all parts are on your desk.
Before we get into PC building steps, it helps to know why this route beats a prebuilt for many people. When you assemble your own system, you avoid cut‑corner power supplies and odd GPU/CPU pairings chosen for profit instead of balance. You also keep an easy upgrade path: swapping a GPU or adding storage later is far cheaper than replacing a whole off‑the‑shelf tower. The main caveat is support. With a DIY rig, you are your own first‑line tech. If that sounds more fun than stressful, you’re the perfect person for this gaming PC assembly guide.
Choosing 2026 Gaming PC Components and Tools
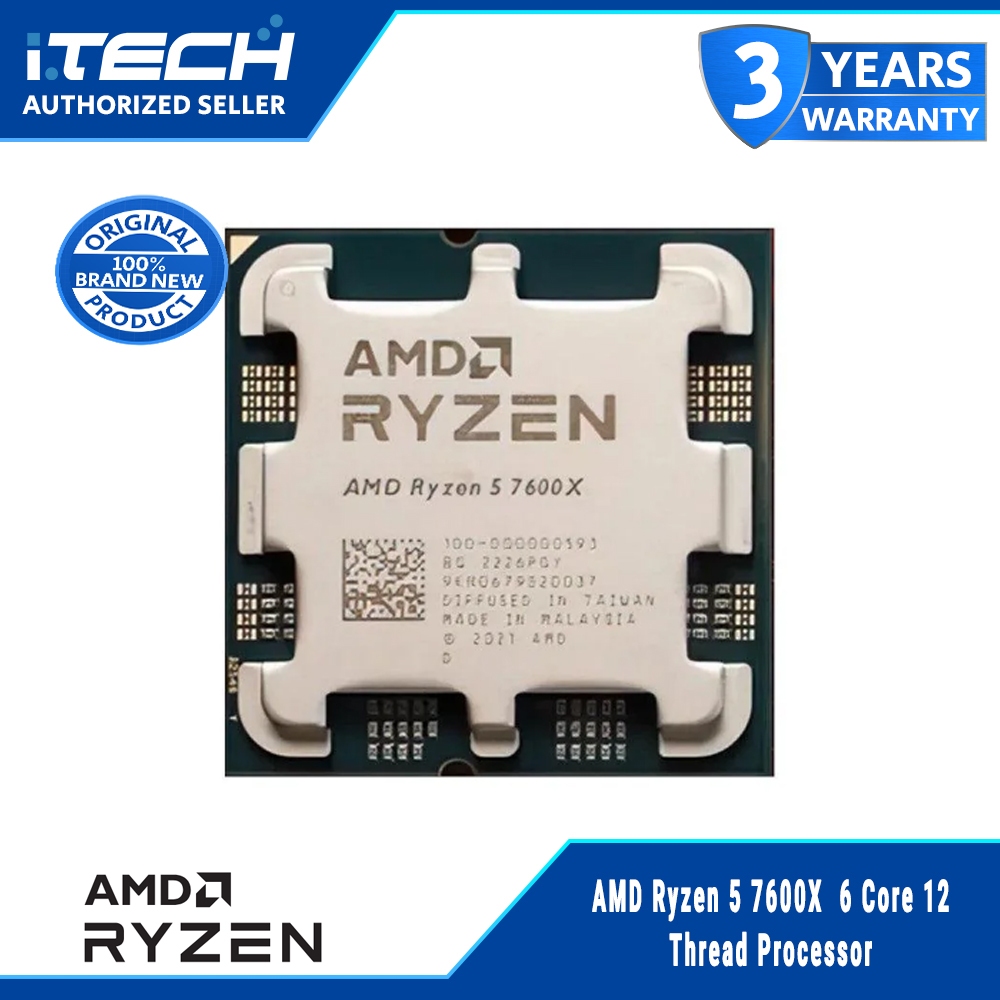
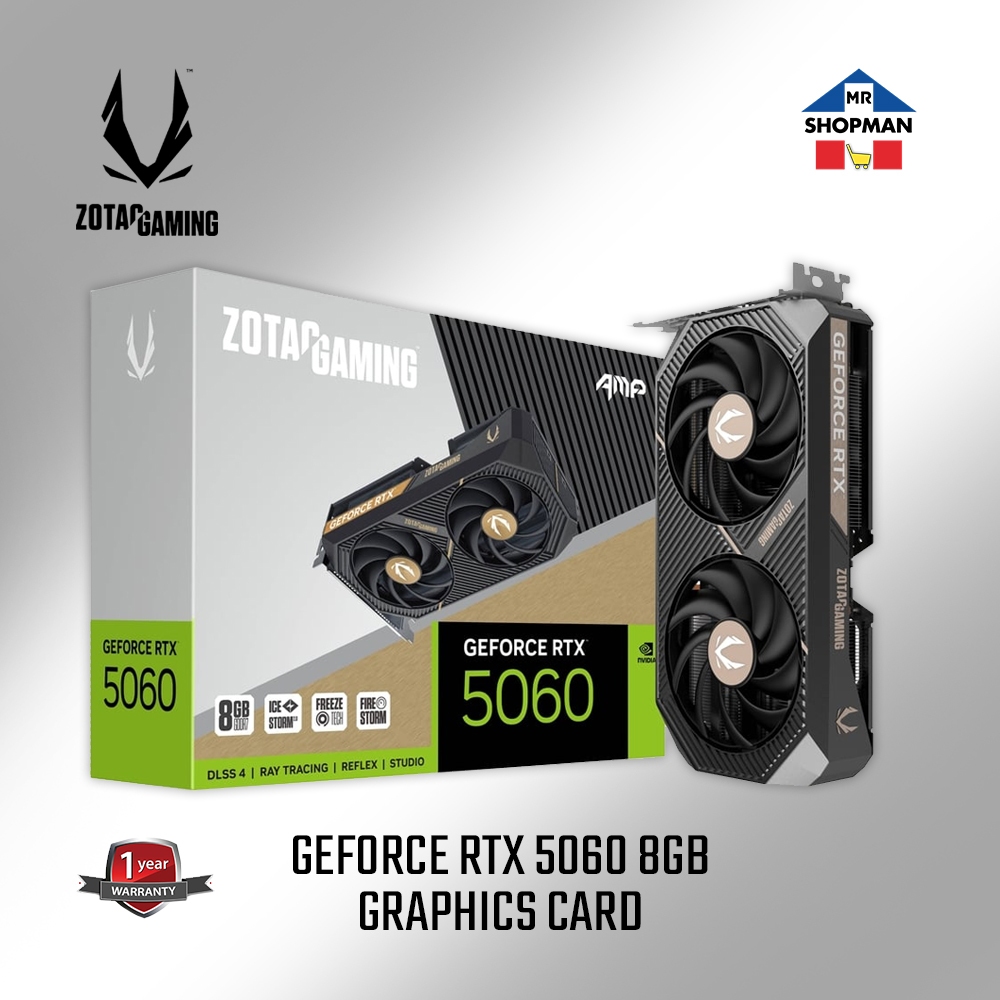
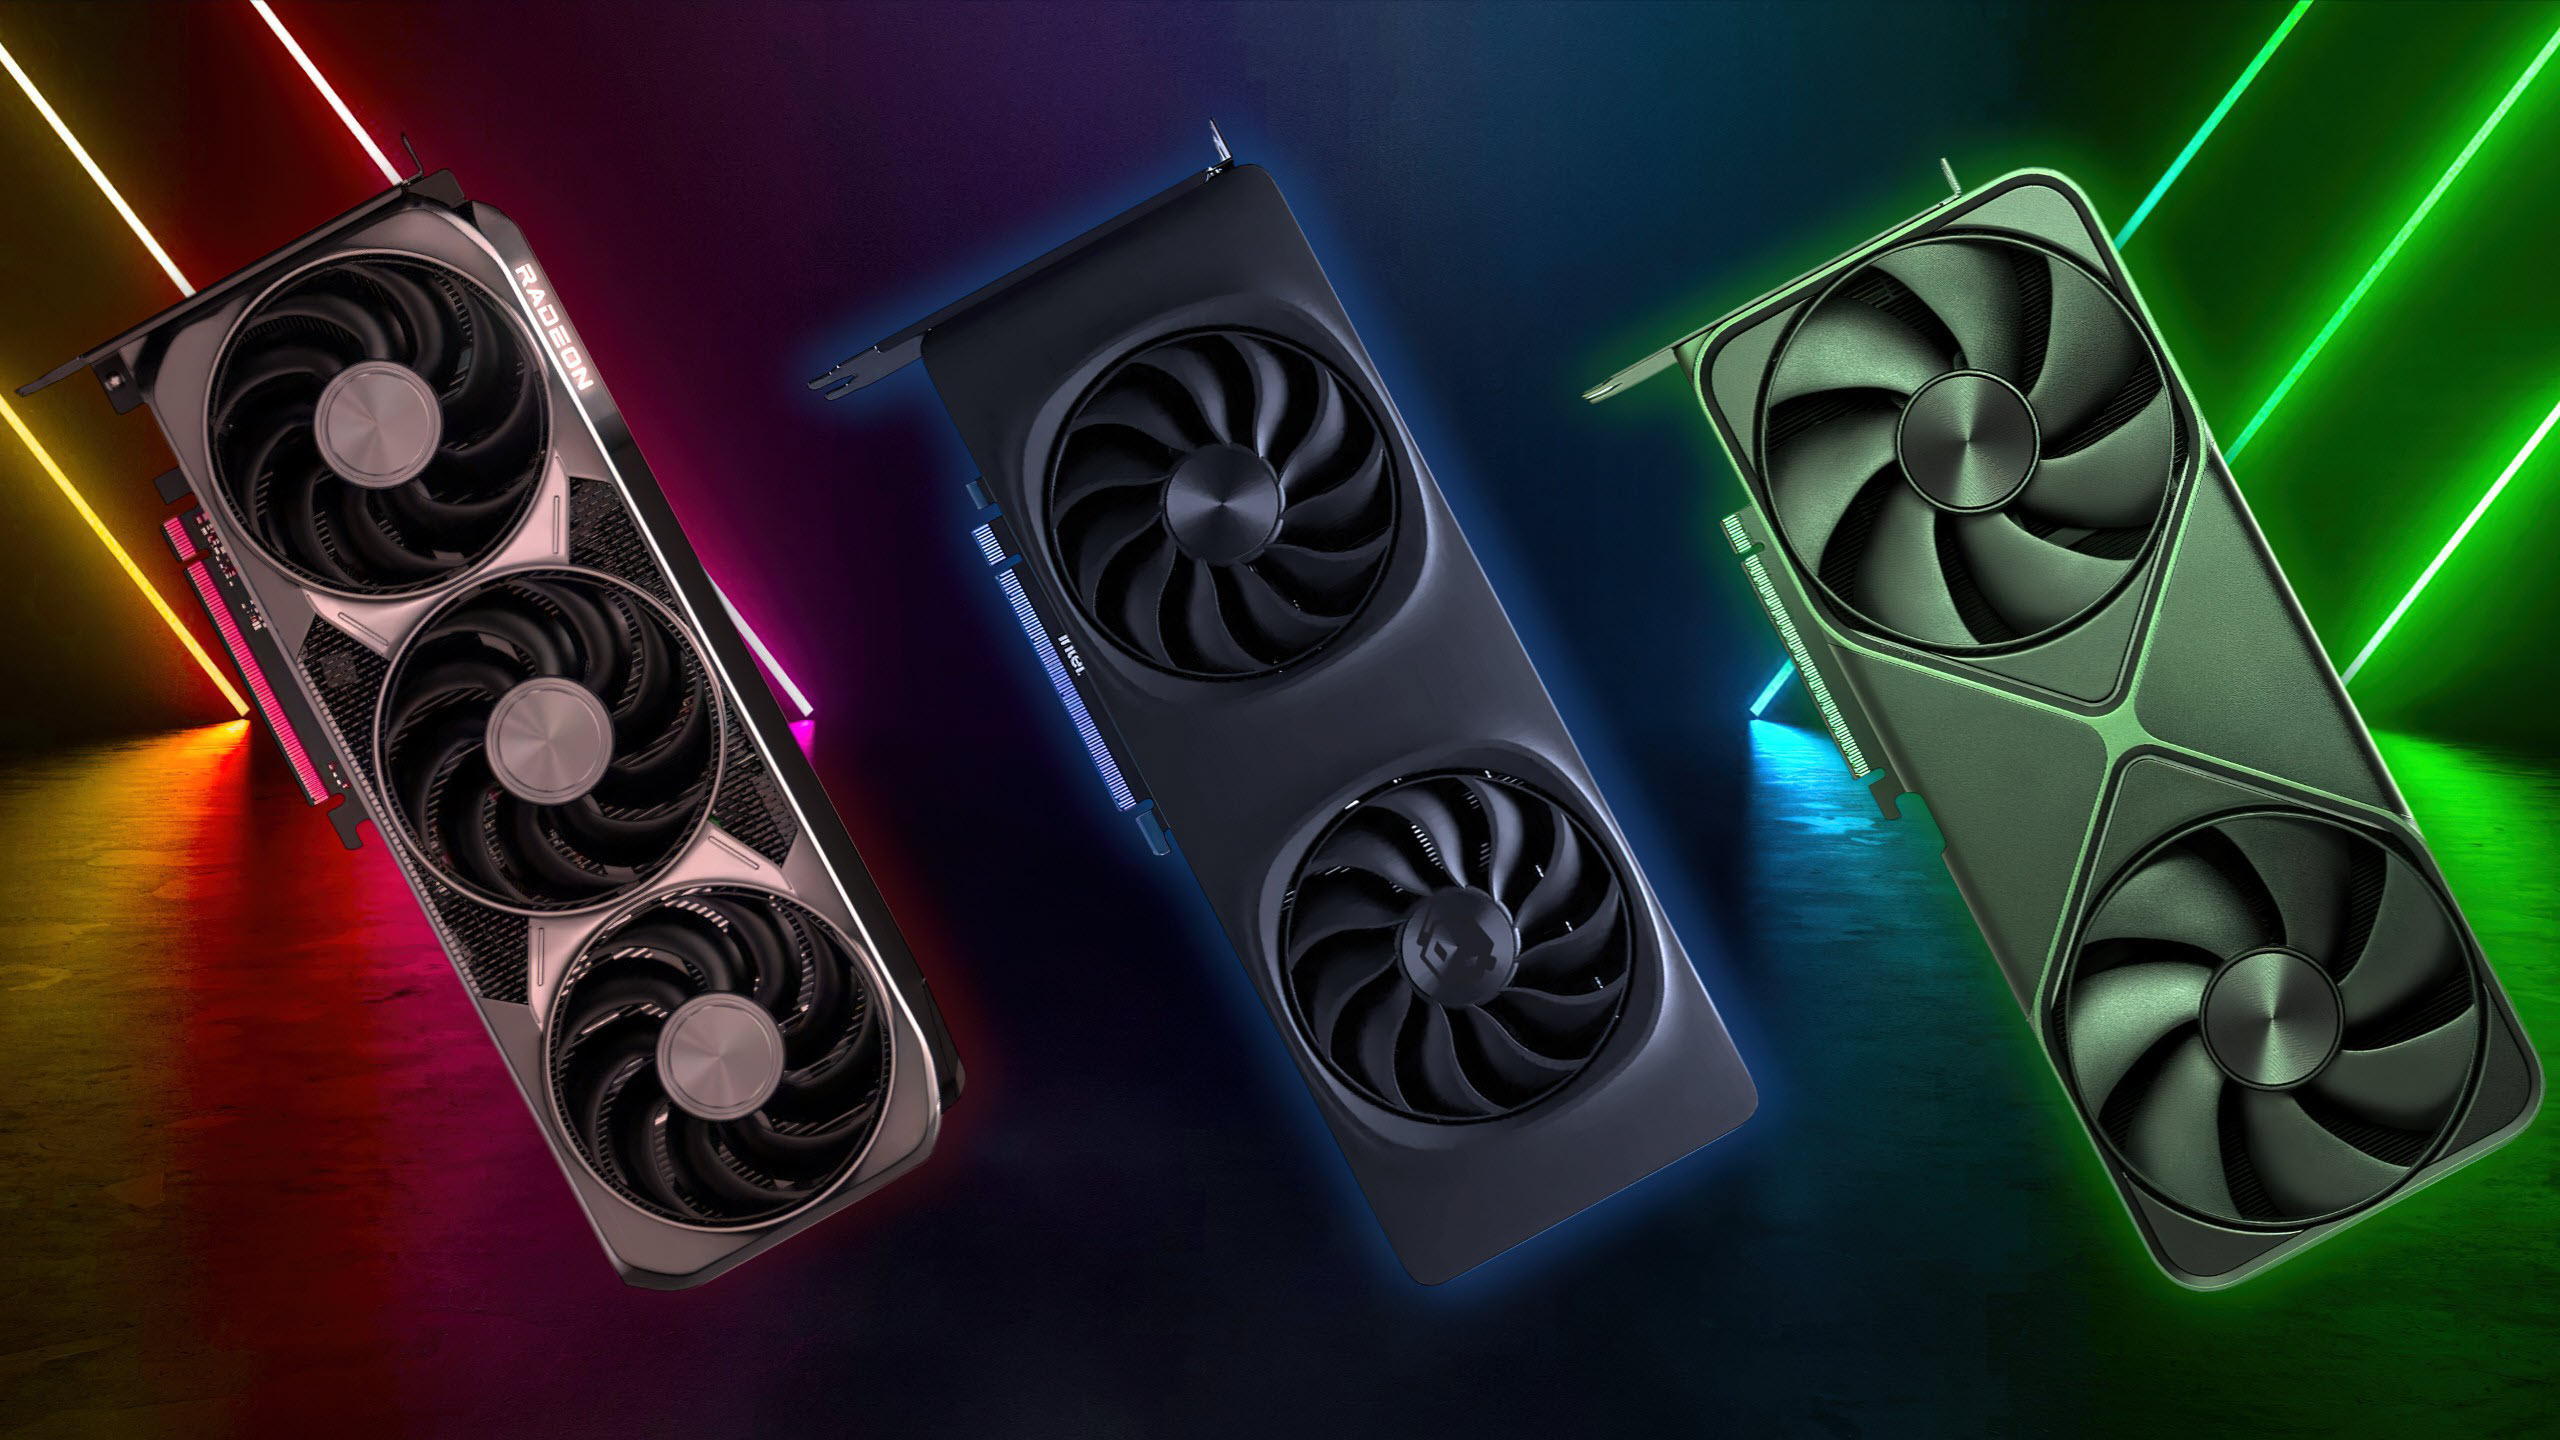
Picking the right gaming PC components in 2026 means balancing performance, price, and future upgrades. A strong starter build uses an upgradeable AM5 or LGA1851 platform, RTX 50‑series or RX 9000‑series graphics, and DDR5 memory fast enough to keep the CPU fed. For example, an AMD Ryzen 5 7600X is a six‑core chip that has become one of the cheapest sensible entries into the AM5 platform at around USD 168 (approx. ₱9,400). On the GPU side, you might choose an Nvidia GeForce RTX 5060 8GB for roughly USD 329.99 (approx. ₱18,500) or step up to a PowerColor Reaper Radeon RX 9070 XT 16GB at about USD 689.99 (approx. ₱38,600) for high‑refresh 1440p and 4K gaming.
| Component | Example Part | Approx. Price |
|---|---|---|
| CPU | AMD Ryzen 5 7600X (6-core, AM5) | USD 168.00 (approx. ₱9,400) |
| GPU | Nvidia GeForce RTX 5060 8GB | USD 329.99 (approx. ₱18,500) |
| Motherboard | ASRock B650M Pro RS (AM5) | USD 99.99 (approx. ₱5,600) |
| RAM | DDR5-6000 32GB kit (2x16GB) | Varies by retailer |
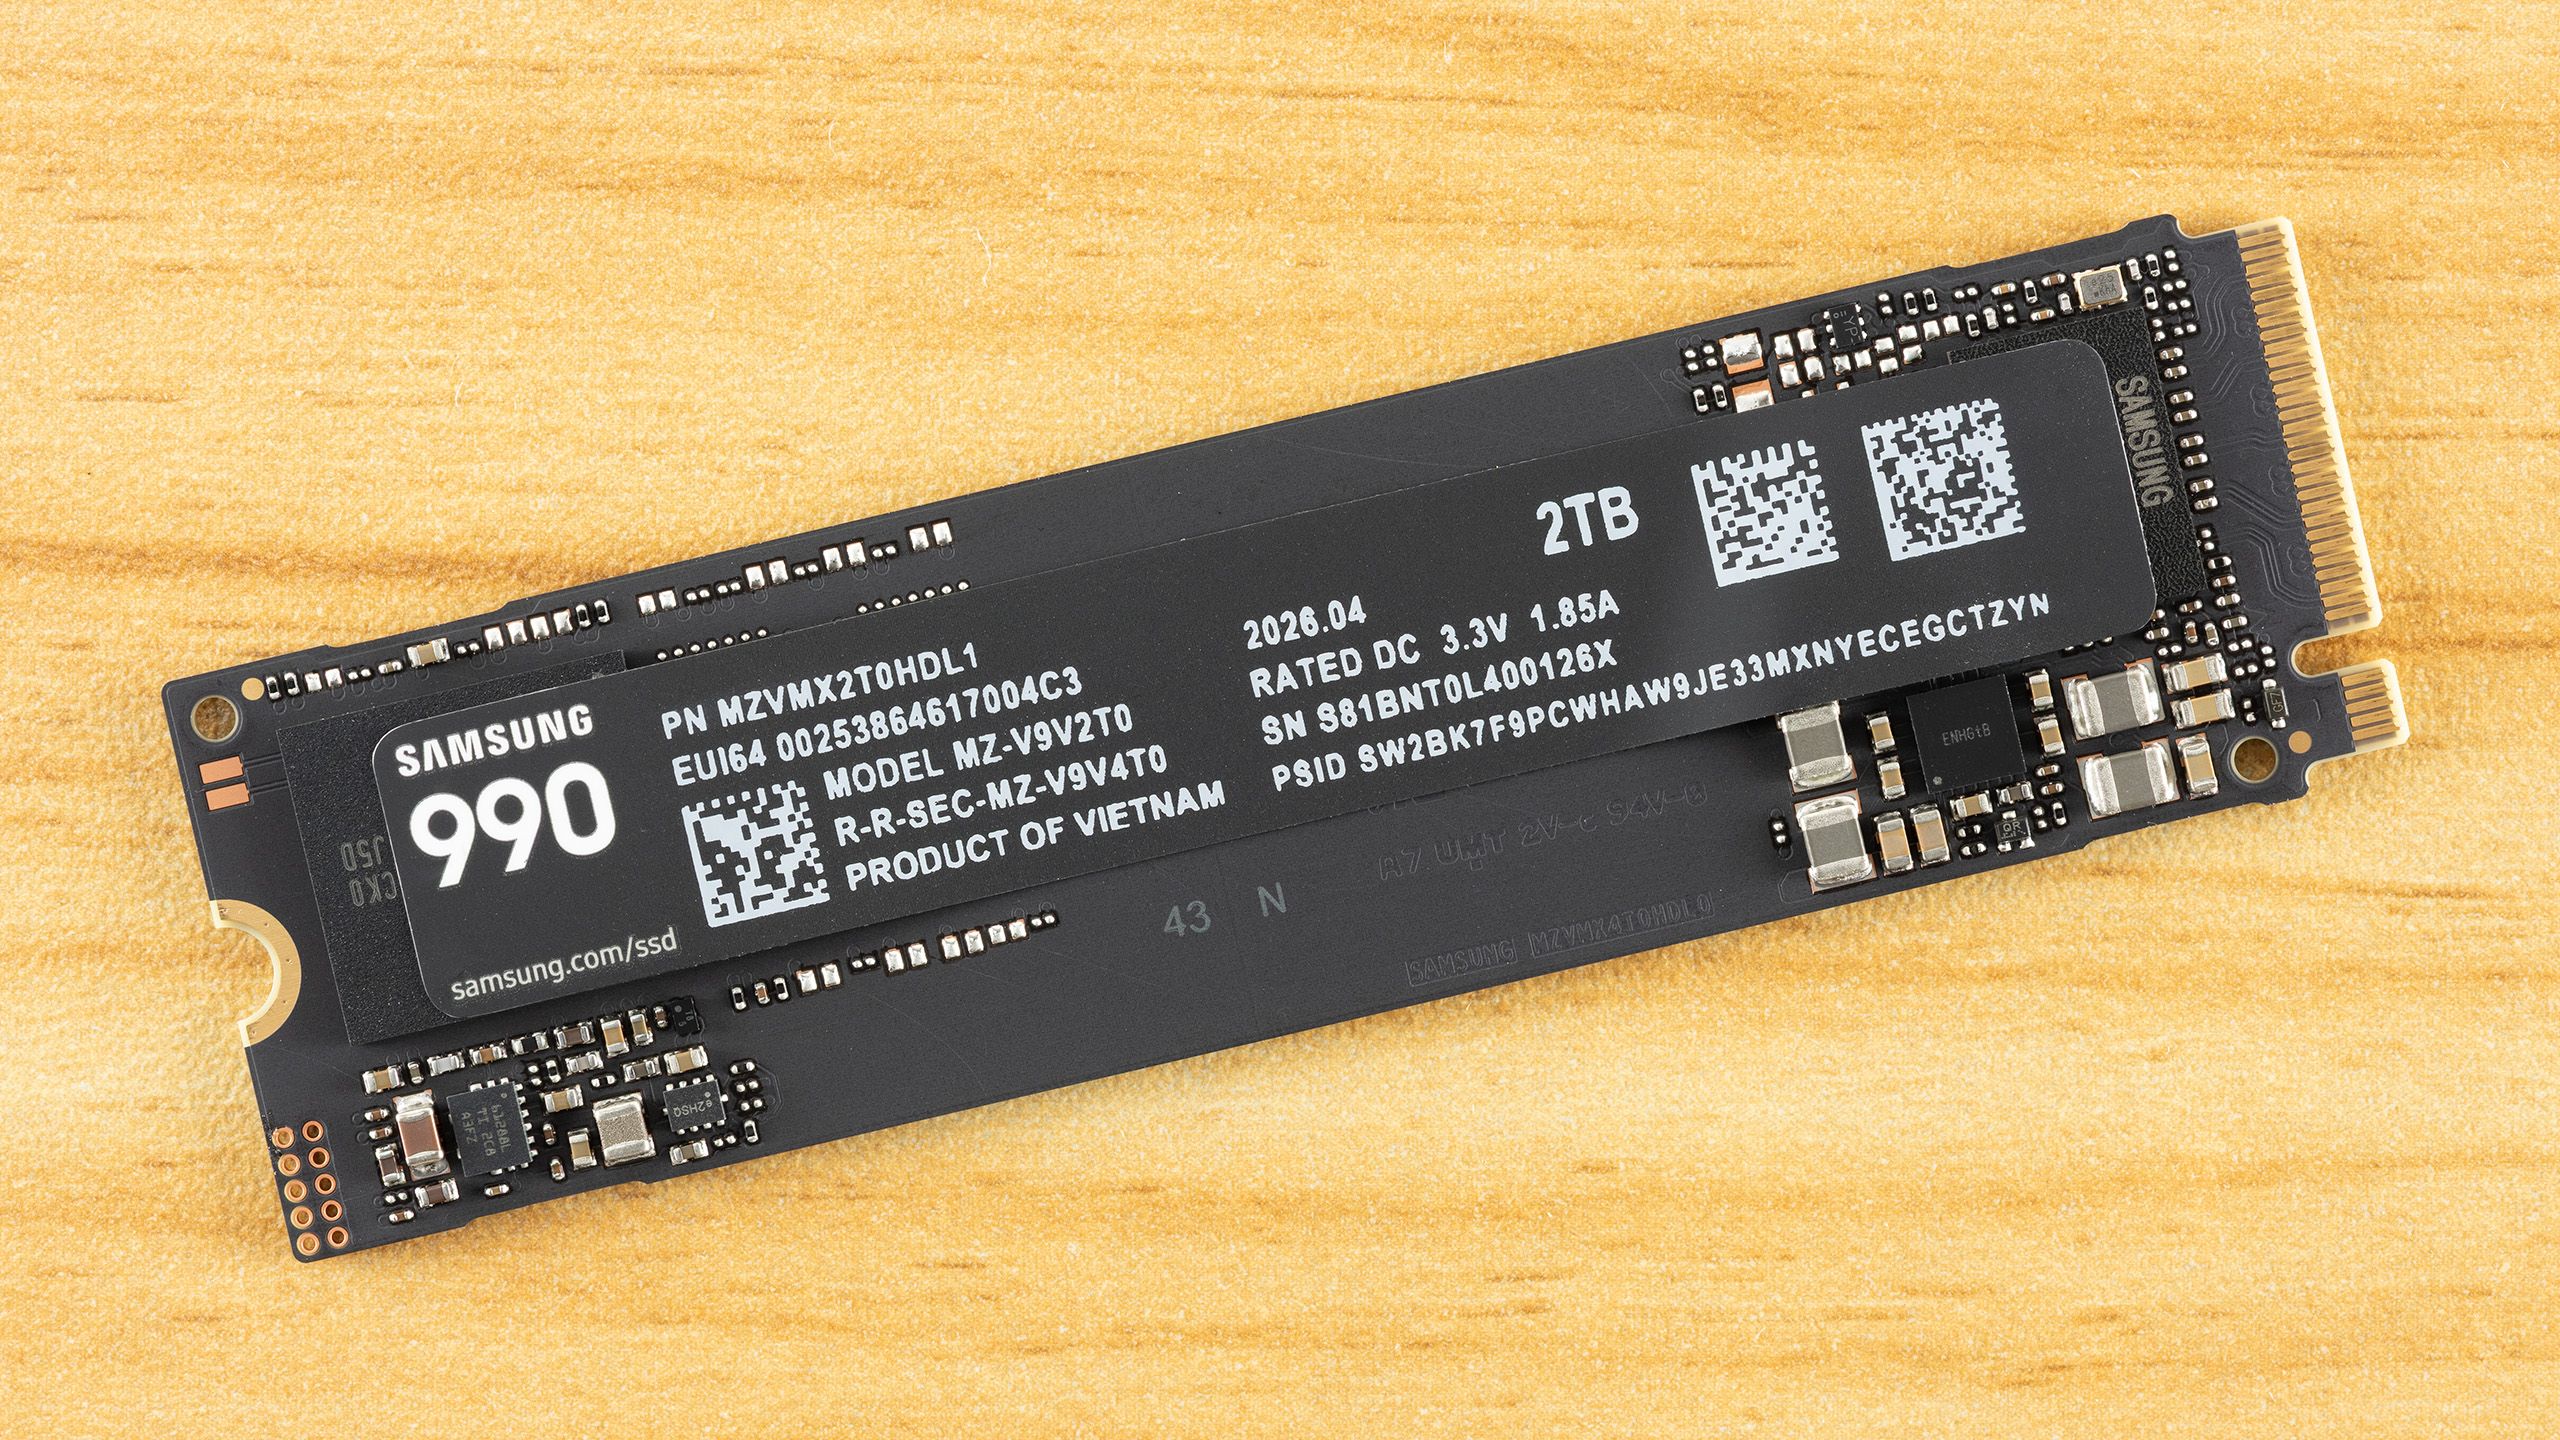
| Storage | Patriot P400 Lite 1TB NVMe (Gen4) | USD 134.99 (approx. ₱7,600) |
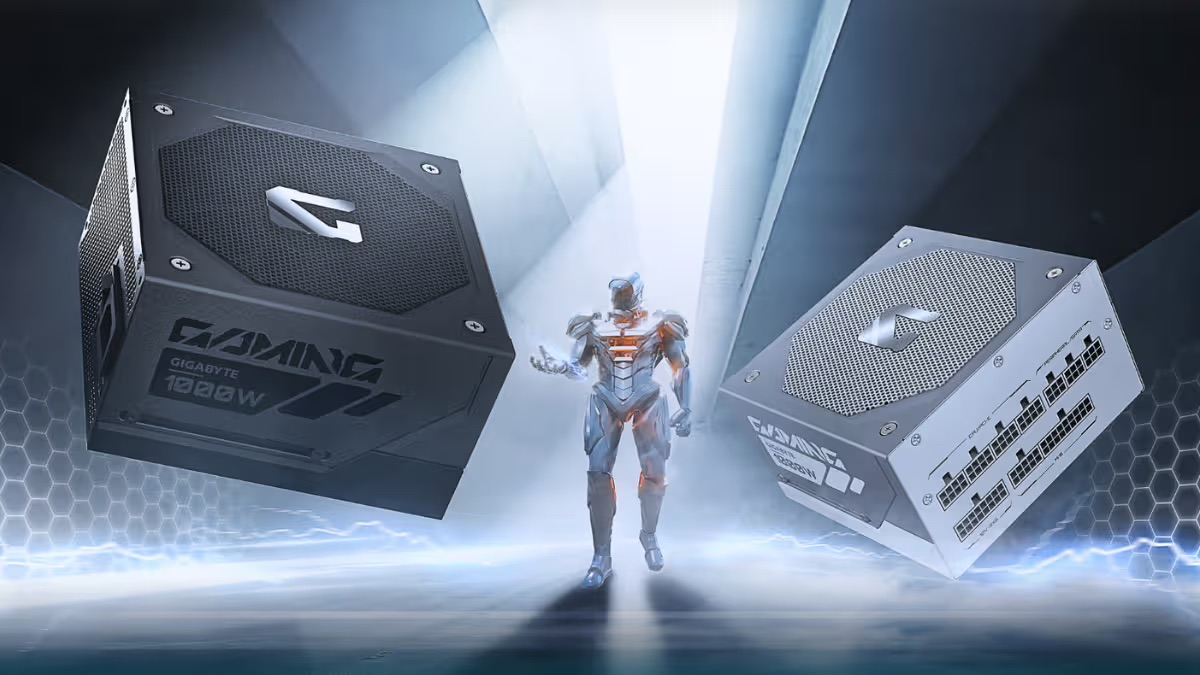
| PSU | Corsair CX750M 750W, 80 Plus Gold | USD 59.99 (approx. ₱3,400) |
| Case | Zalman T6 Mini | USD 28.99 (approx. ₱1,600) |
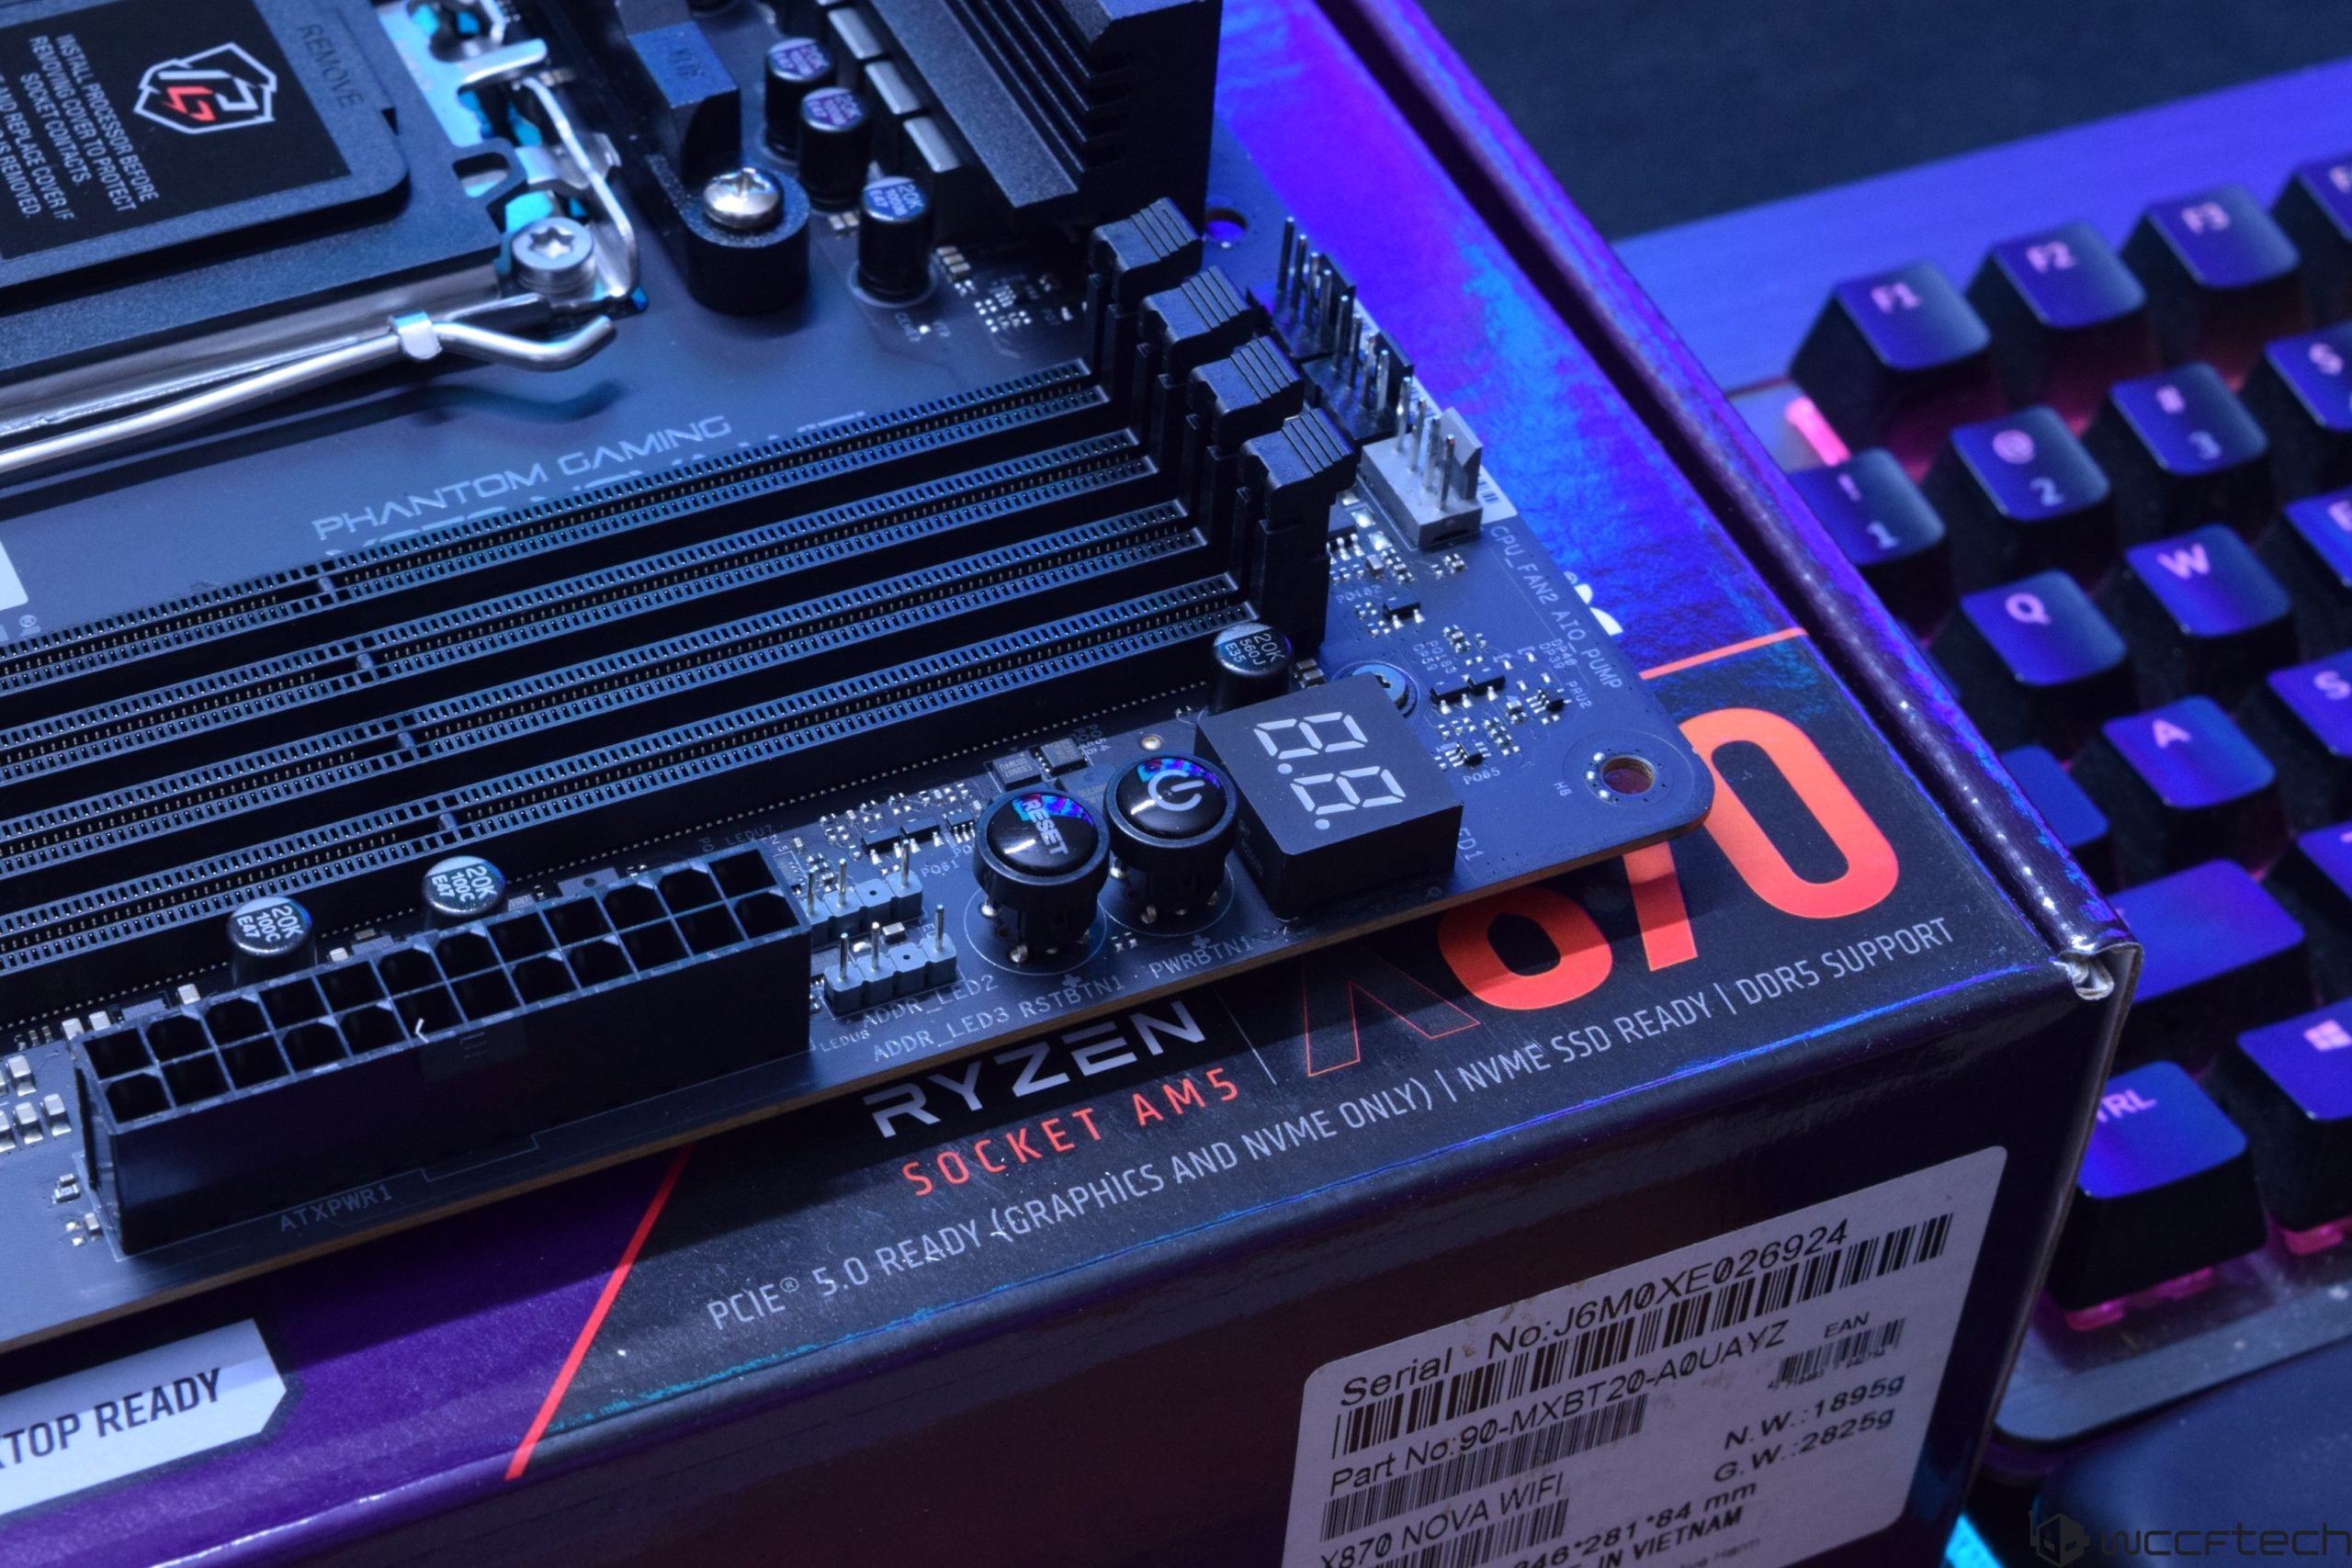
Today, DDR5‑6000 is the mainstream sweet spot for gaming RAM rather than a luxury speed, so aim for a 32GB kit at that frequency and make sure your motherboard supports it. Nvidia’s RTX 50‑series GPUs ship with a redesigned 12V‑2×6 power connector, which means your power supply needs an appropriate cable or adapter. On the tools side, you need a Phillips #2 screwdriver, ideally magnetic, an anti‑static wrist strap or the habit of touching the case chassis to discharge static, and some zip ties or hook‑and‑loop straps for cable management. According to one build guide, half of the frustration in a first PC build comes from discovering you forgot a cable or USB stick mid‑assembly, so lay everything out before you touch a screw.
12 Ordered PC Building Steps (90-Minute Assembly)
Once your parts and tools are ready, you can follow a 12‑step sequence that takes you from empty case to a benchmarked, driver‑updated desktop in about 90 minutes of physical work. The order below is designed so you do most fiddly tasks while the case is still open and easy to reach, which cuts down on mistakes and rework. A couple of common builder errors to keep in mind: RAM that is not fully seated is one of the top reasons a new PC refuses to boot, and using too much thermal paste can leave excess around the CPU socket. Take your time on those steps and you avoid two headaches that have wasted many Saturday afternoons.
- Prep the case and install the power supply: remove both side panels, pull any unused drive cages, slide in the PSU with the fan oriented toward a vent or the case interior as required, and secure it with four rear screws. Thread the 24‑pin and CPU 4+4/8‑pin cables through routing cutouts now, while the interior is wide open.
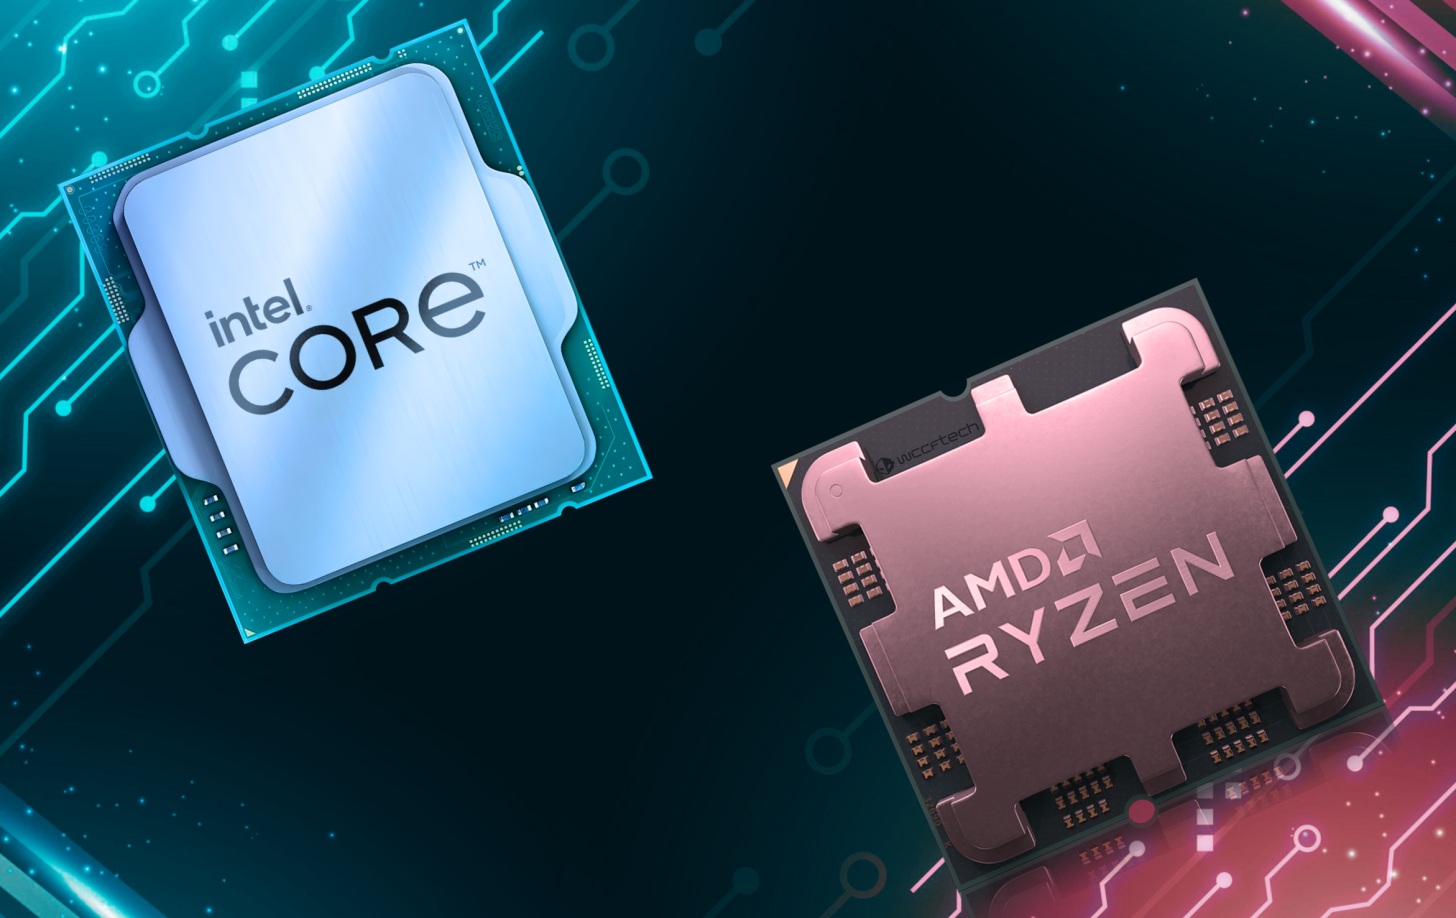
- Install the CPU on the motherboard outside the case, using the box or an anti‑static bag as a work surface. For Intel LGA1851, lift the load lever, open the retention bracket, remove and keep the plastic socket cover, align the CPU by its notches, lower it straight down, then close the bracket and clip the lever back under its tab. AM5 uses a similar hinged retention system; follow your board’s diagram.
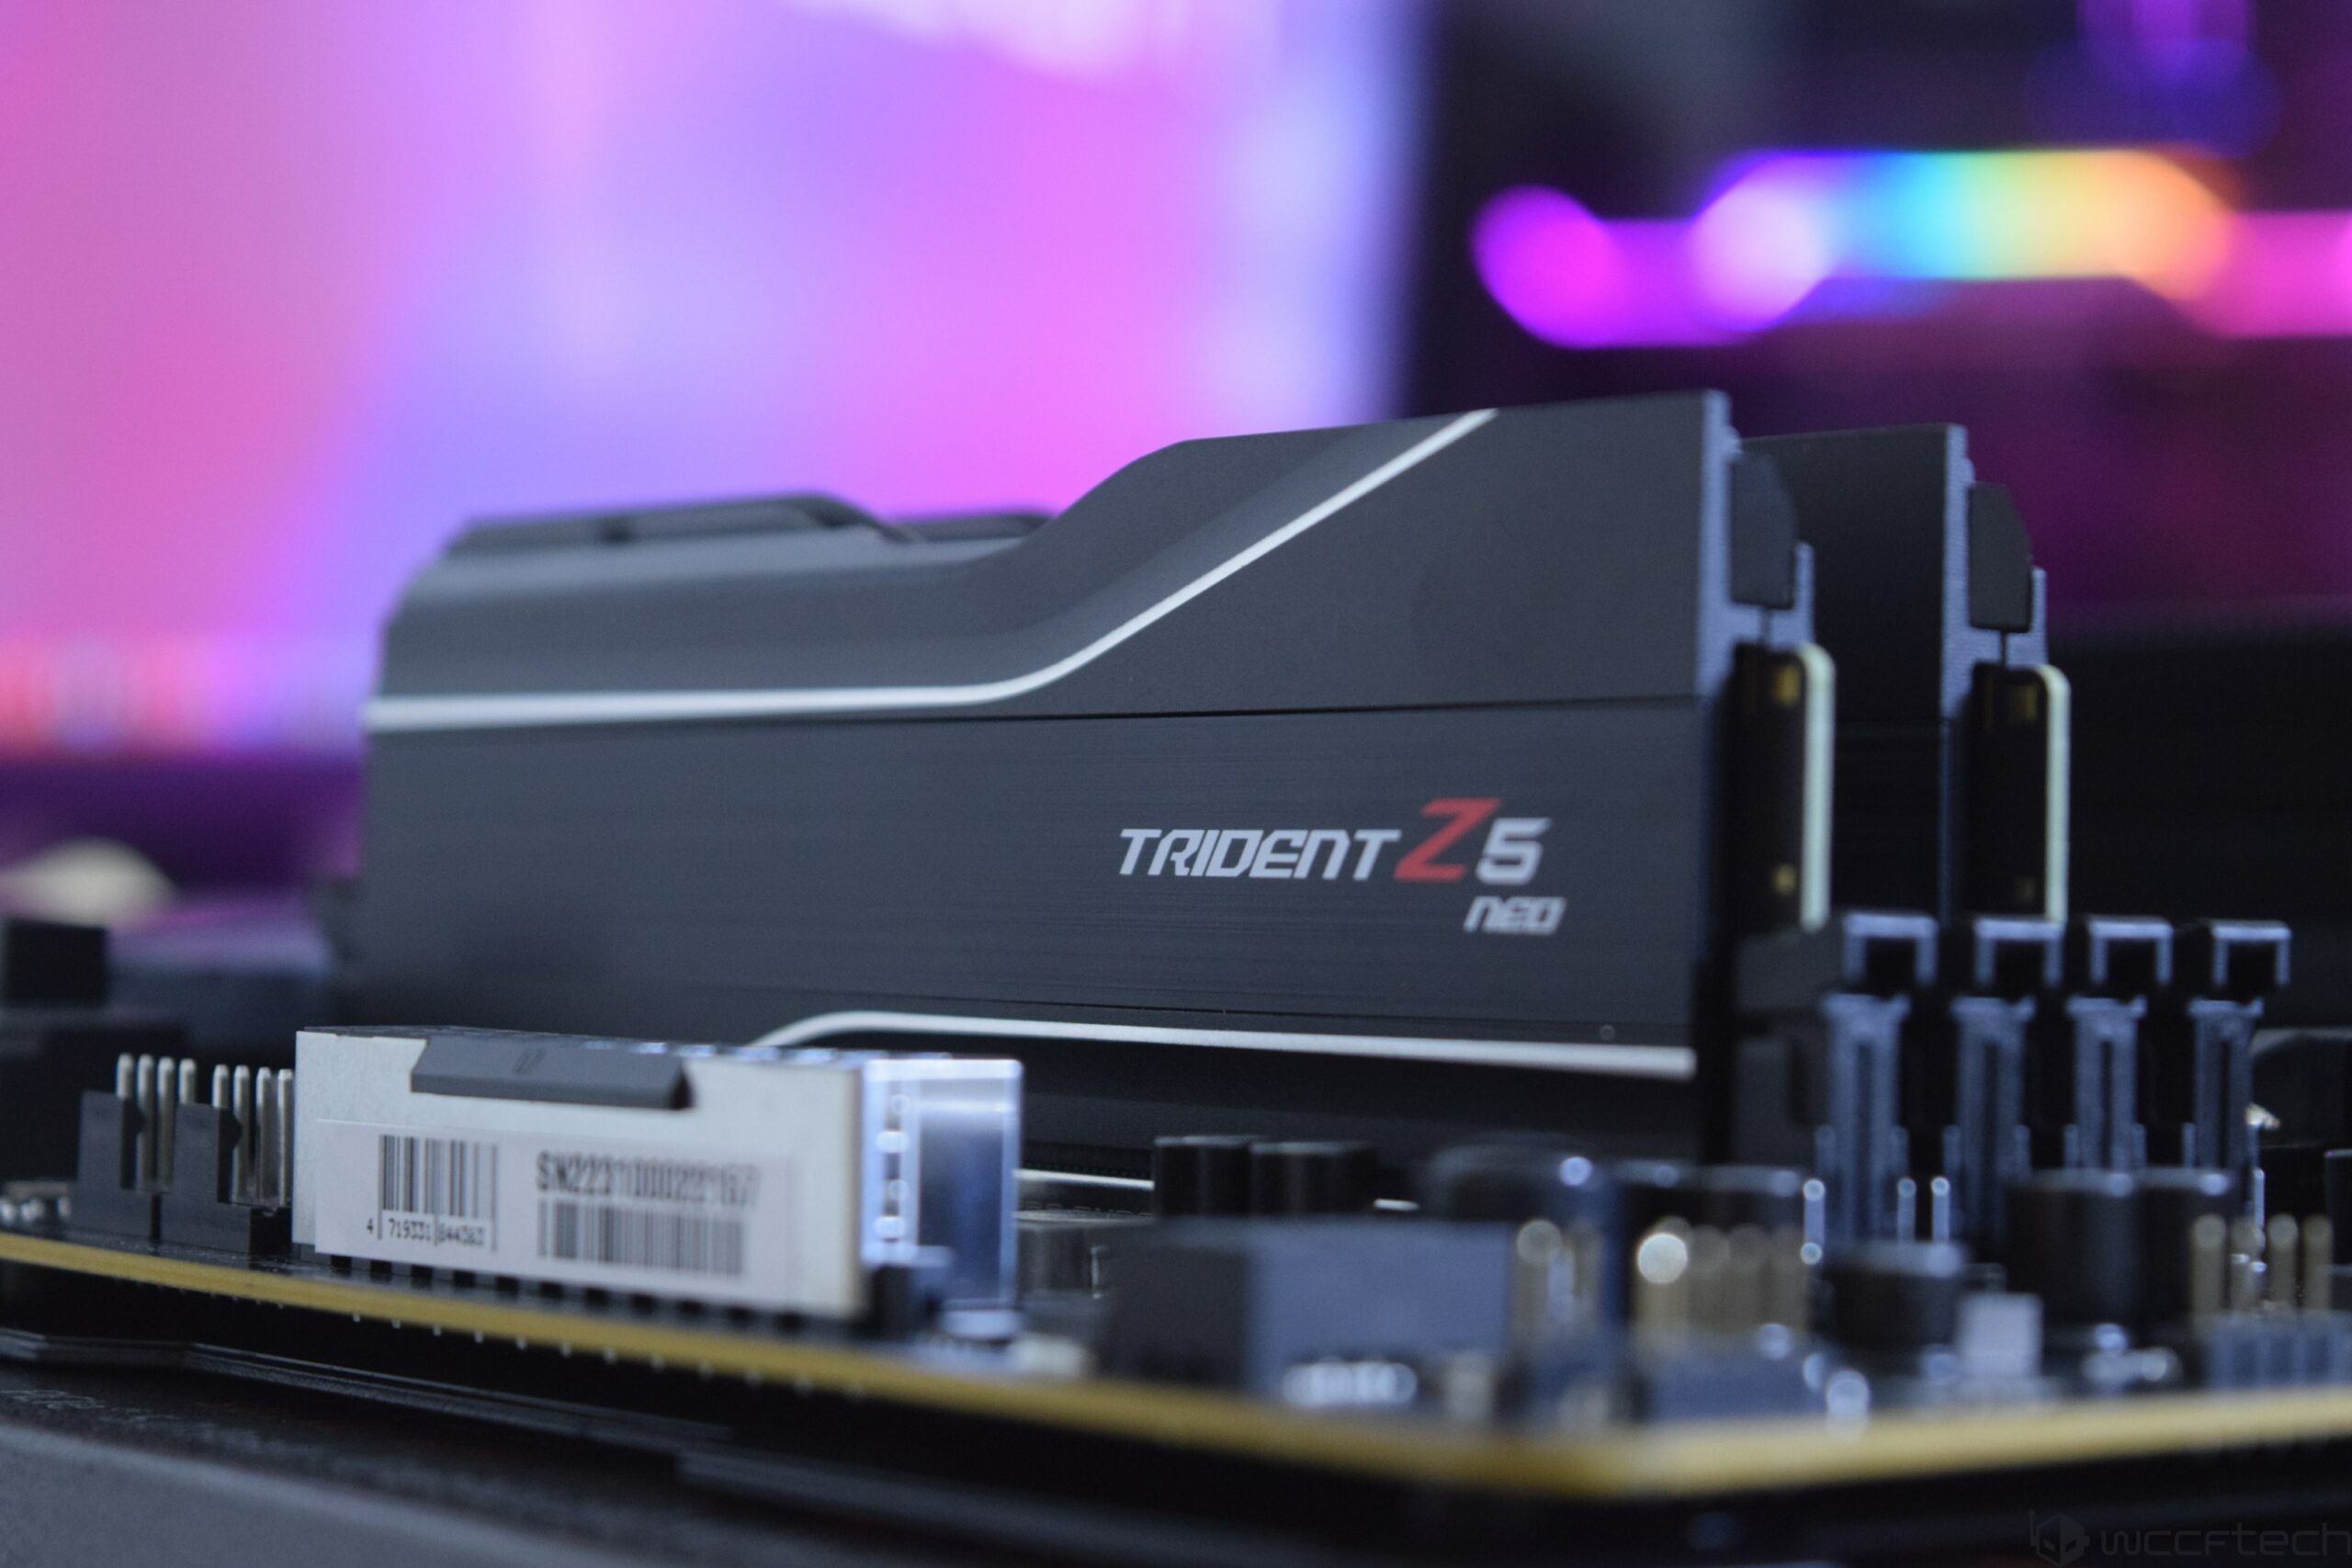
- Install RAM in the recommended motherboard slots (usually A2/B2) to enable dual‑channel mode. Push each DDR5‑6000 stick down firmly until both latches click. If you can still see gold contacts or a latch is half‑open, it is not seated and may cause a no‑boot.
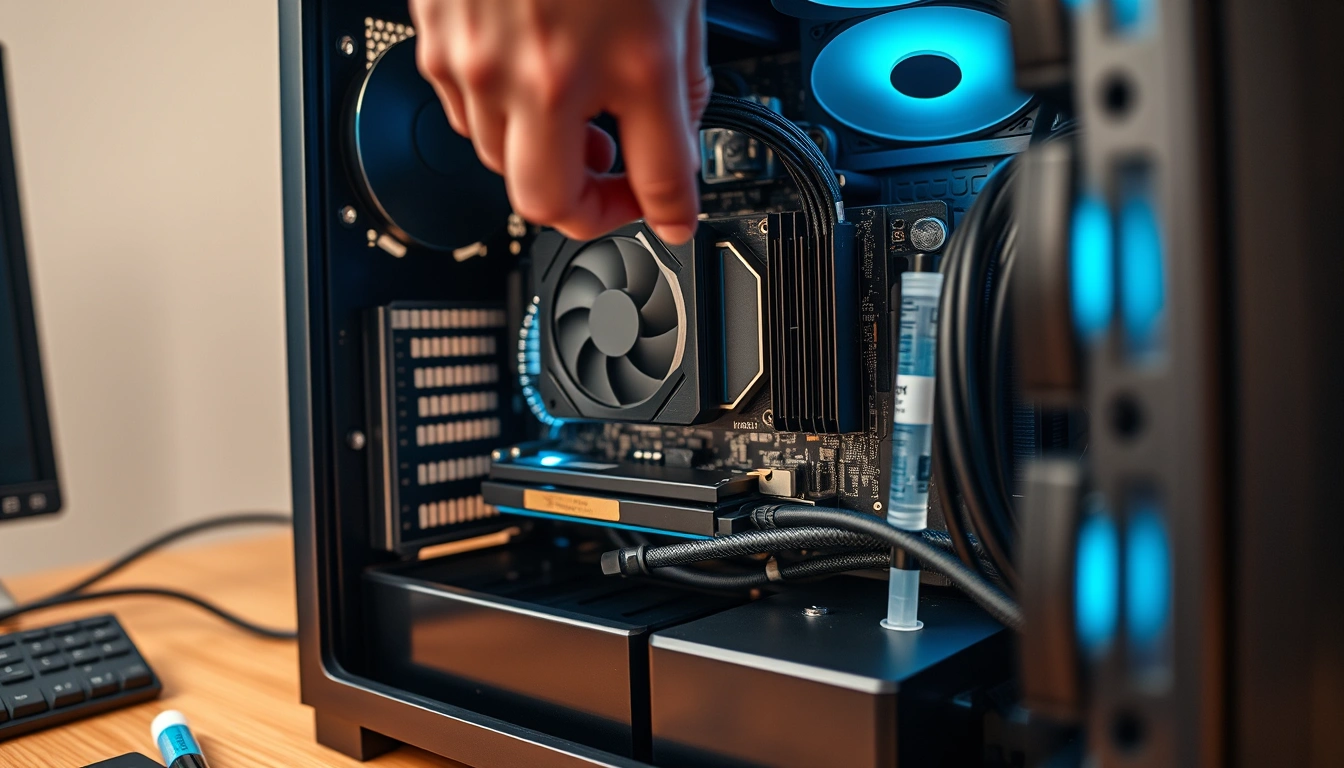
- Mount the CPU cooler. If it ships with pre‑applied paste, you can place it directly; if not, add a pea‑sized dot of thermal paste in the center of the CPU heat spreader. Avoid spreading or piling on paste, since applying too much is a common source of it squeezing out onto the socket. Tighten the cooler screws evenly in a cross pattern.
- Install the motherboard in the case. Check that standoffs match the board’s mounting holes, then angle the board under rear I/O shield tabs and lower it into place. Add screws starting from the center to avoid flexing. Do not overtighten; snug is enough.
- Install NVMe SSD storage in the designated M.2 slot. Line up the notch, slide the drive in at a slight angle, press it flat, and secure it with the tiny screw or latch. If your board has a heatsink, attach it per the manual so the drive stays cool.
- Install the GPU and connect power. Seat the card in the top PCIe x16 slot, press until the latch clicks, and fasten it with rear screws. For RTX 50‑series or similar cards with the new 12V‑2×6 connector, plug in the matching cable, ensuring it clicks firmly so it does not loosen under load.
- Handle cable management and front‑panel headers. Connect the 24‑pin and CPU power to the motherboard, SATA or additional device power as needed, and then the case’s front‑panel leads (power switch, reset, LEDs, USB, audio) to the labeled header pins. Use zip ties or straps to keep cables away from fans and to maintain airflow.
- Perform the first boot and basic BIOS setup. Connect a monitor and keyboard, turn on the PSU, and hit the power button. If the system POSTs, enter BIOS to confirm the CPU, RAM amount, and NVMe drive show up, and set your DDR5‑6000 profile (XMP or EXPO) after checking that your motherboard BIOS version supports it.
- Install Windows 11 and drivers. With version 25H2 on an 8GB+ USB flash drive created using the latest Media Creation Tool, boot from USB, install to your NVMe SSD, and set up your account. Then install chipset, GPU, LAN, and audio drivers from each vendor’s site so all hardware runs properly.
- Stress‑test and benchmark your build using diagnostic tools such as CPU‑Z, HWiNFO64, and MemTest86 downloaded from their official sites. Check that CPU temperatures stay healthy, RAM passes a short stability test, and your GPU performs in line with reviews.
- Apply post‑build software and performance tuning. Enable game platform clients, refine fan curves, update Windows, and consider modest tuning like EXPO memory profiles or mild GPU power limits once the system proves stable.
The gotcha many first‑time builders hit is skipping verification between steps. Don’t install Windows until you’ve seen a clean POST and confirmed that CPU, RAM, and storage all appear in BIOS at the expected values. If something is wrong, re‑check seating: RAM slightly out of its slot or a power cable not fully clicked in accounts for a huge share of no‑boot issues. Catching these problems now is far less painful than discovering them after you’ve spent an hour installing games.
Troubleshooting Common First-Build Problems
Even with careful PC building steps, it is normal for a first rig to throw a curveball. The good news is that most issues are simple: a loose cable, mis‑seated RAM, or an outdated BIOS holding back DDR5‑6000 memory. If your system does not boot at all, start by checking the basics: is the PSU switch on, are both 24‑pin and CPU power cables fully clicked, and are front‑panel connectors on the right pins? A dead‑silent system usually points to power delivery or the case power button wiring, not a bad CPU.
If fans spin but you see no display, reseat the RAM and GPU. RAM that isn’t fully seated is a common no‑boot cause, and a GPU sagging a millimeter out of the slot can prevent POST. For memory instability, confirm your board is running the latest BIOS before enabling an XMP or EXPO profile, since early firmware is a frequent reason RAM refuses to run at full speed. If Windows installs but behaves oddly, tools like HWiNFO64 and MemTest86 help confirm that thermals and memory are stable before you blame any game or driver. A structured troubleshooting list may feel tedious, but it saves hours compared with random part swaps.
Installing Windows 11, Drivers, and Final Checks
Once the hardware is solid, installing Windows 11 and drivers is where your new gaming PC becomes a usable machine. Use version 25H2 on an 8GB or larger USB drive created via the current Media Creation Tool, since earlier builds reach end of service sooner and are not ideal for a fresh system. Boot from the USB, select your NVMe drive, and complete setup. After the desktop appears, install motherboard chipset, storage, LAN, and audio drivers, then your GPU driver from the vendor’s site. Skipping this step can leave performance and features on the table, especially with new GPUs and platforms.
When drivers and Windows updates are done, do one more round of checks: confirm your DDR5‑6000 kit is running at its rated speed via CPU‑Z, monitor temperatures in HWiNFO64, and let MemTest86 run a quick pass to catch any lurking memory faults. Then install your favorite games and a few benchmarks to test the GPU. If everything looks healthy, you now have a system built to your exact spec that can be upgraded piece by piece as prices and parts evolve. It takes more thought than buying a prebuilt, but you end up with better parts for the money and the confidence to fix or improve the machine yourself.