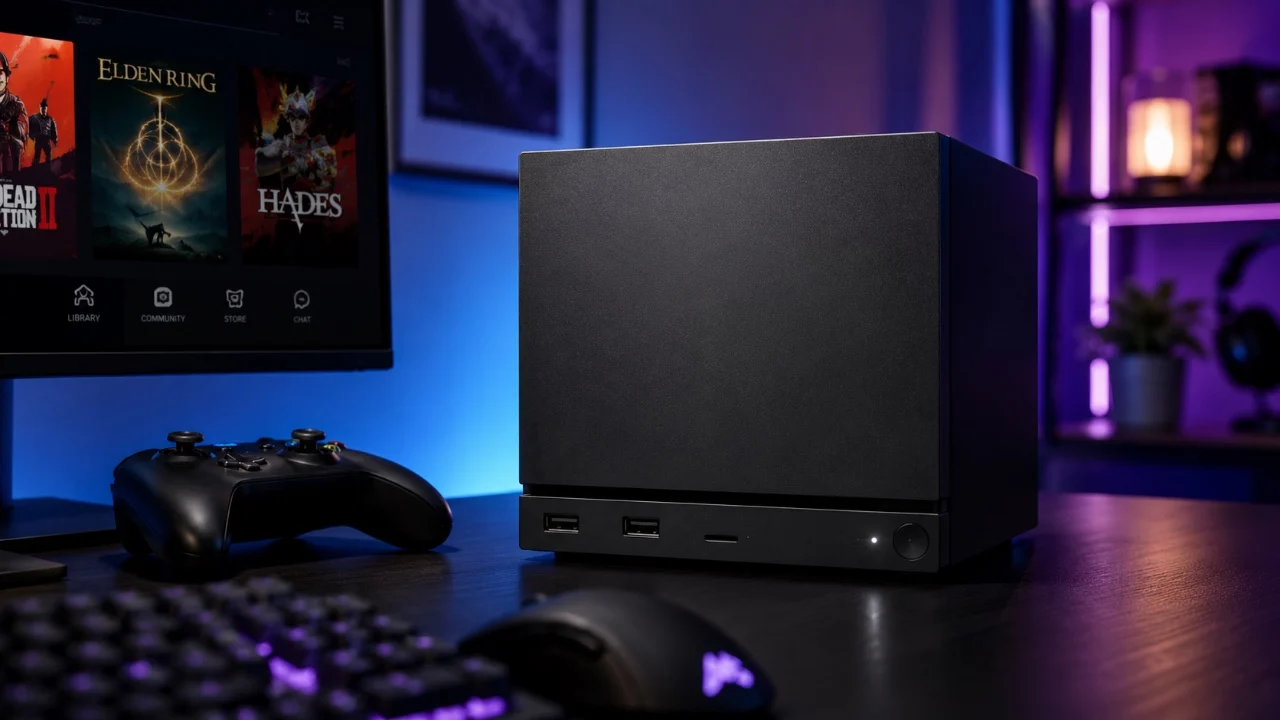

Understand Your Steam Machine and Why Optimization Matters
Steam Machine optimization means configuring SteamOS settings, hardware, and accessories so your small desktop gaming PC runs games smoothly, stays cool, and uses power efficiently over long sessions. This matters whether you play occasionally or daily, because good setup avoids performance dips, noisy fans, and storage headaches while keeping the system responsive and comfortable to use. Think of your Steam Machine as a compact desktop rather than a fixed game console: it offers customizable features, extensive storage options, and compatibility with third‑party tools. That flexibility is great, but it also means you have more knobs to turn — and more ways to get sub‑par results if you ignore them. Before you start tweaking, keep one caveat in mind: the hardware is powerful but thermally dense. Any change that affects airflow, storage, or external peripherals can slightly shift temperatures and noise. The goal of this guide is to walk you through a sensible Steam Machine setup that keeps performance high without turning your living room into a wind tunnel.
Step-by-Step Steam Machine Setup Checklist
Treat this checklist like sitting down with a friend who has already lived with the cube for a while. We’ll focus on SteamOS basics, power habits, and gaming performance tuning, not obscure tweaks that break more than they fix. According to one detailed performance guide, the Steam Machine is “more than just a gaming console; it’s a customizable and adaptable platform that caters to a variety of gaming needs.” That flexibility is your advantage, as long as you move through changes in a clear sequence.
- Start with stock SteamOS and basic account setup, then explore desktop mode once the console interface feels familiar.
- Connect your preferred third‑party controller via Bluetooth or USB and confirm all buttons respond correctly in Steam’s controller test screen.
- Configure customizable LED lighting effects for status feedback, not only aesthetics, so you can see game loading progress or account notifications at a glance.
- Plan storage expansion early using internal SSD, external SSD or HDD, and microSD cards to avoid constant uninstalling and reinstalling of games.
- Route display output through a reliable HDMI cable with the length and spec you need for your setup, keeping cable runs tidy to avoid strain.
- Add a performance‑oriented faceplate and cooling‑friendly accessories if you notice high temperatures or fan noise under load.
- Regularly review Steam Machine optimization tips and tutorials so your settings evolve with new games and software updates.
The sequence is important because each step depends on the previous ones. For example, exploring desktop mode before you trust your controller setup can turn simple tasks into a juggling act with the virtual keyboard. Likewise, changing faceplates or cables before you have a sense of typical temperatures and frame rates makes it hard to tell whether an accessory helps or hurts. Move steadily, test in a few known games after each change, and you’ll avoid the most common gotcha: mixing several tweaks at once and not knowing which one caused new stutters or thermal spikes.
Smart Storage Choices and Display Connections
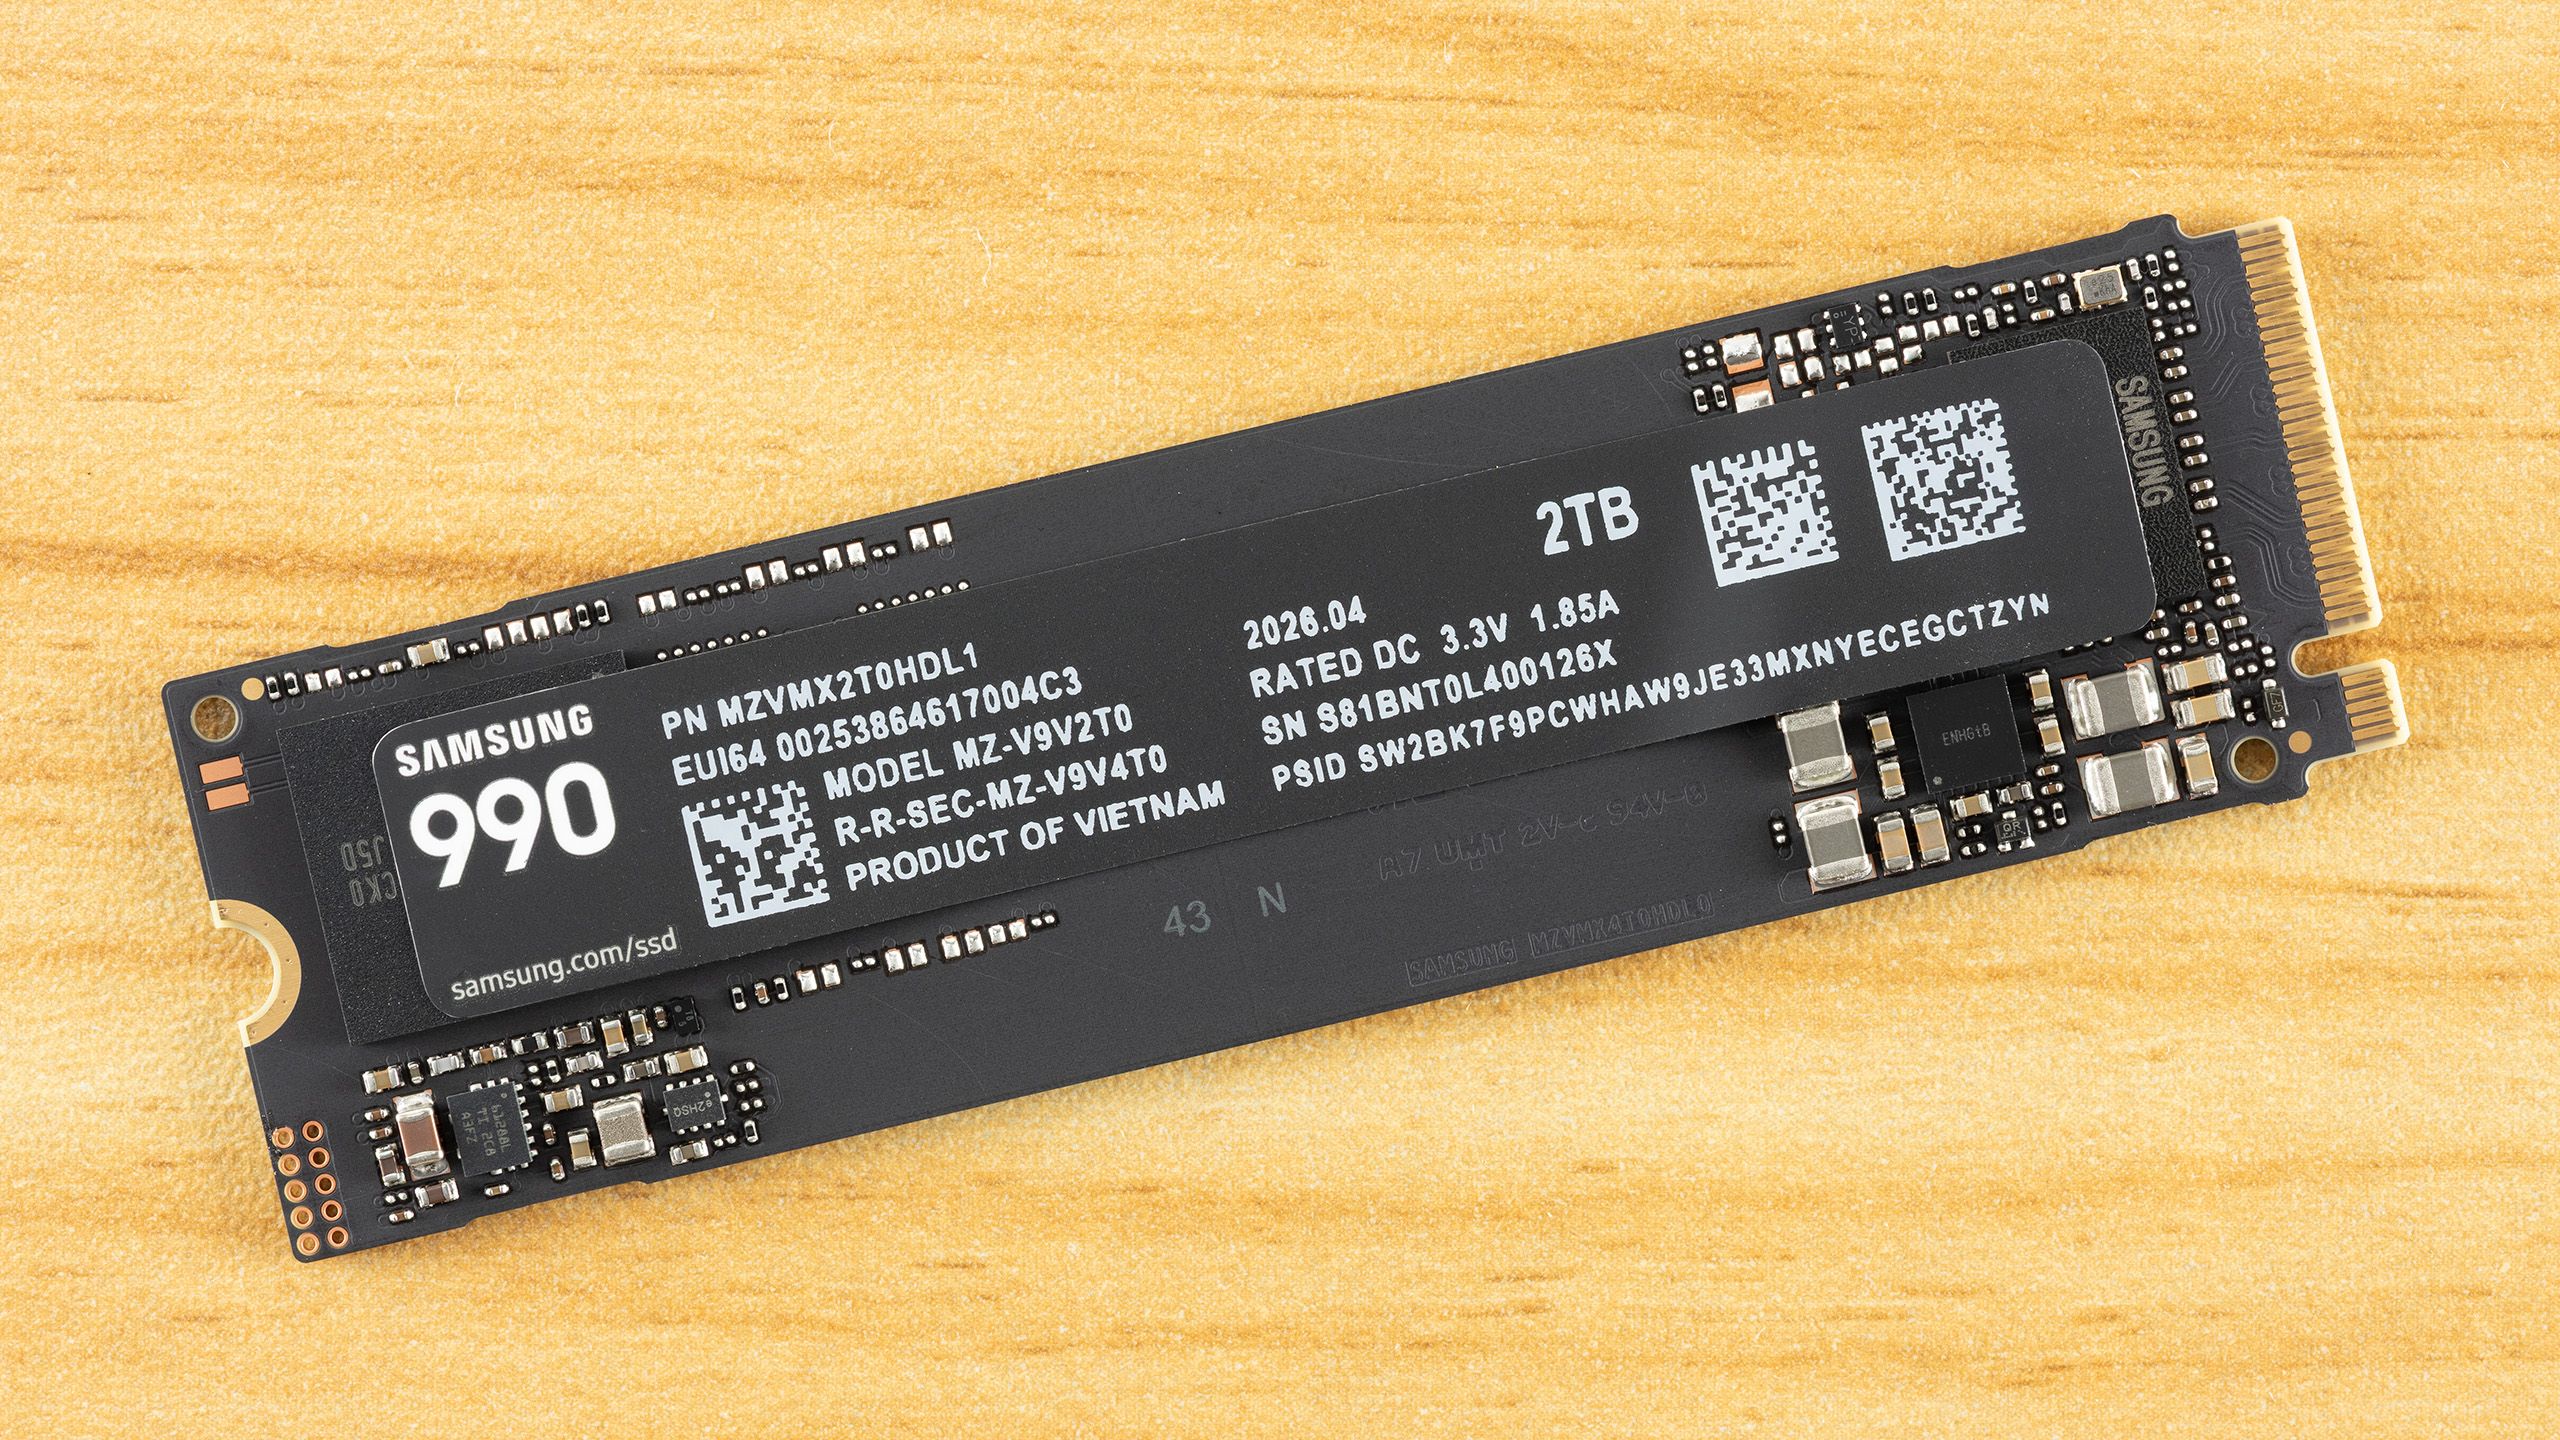
Storage and display might sound boring compared to frame rates, but they quietly shape everyday performance. The Steam Machine supports external SSDs, HDDs and microSD cards, so you can expand storage as needed and move files between systems through SD cards. That flexibility lets you keep a large library installed without hammering one small internal drive. Internally, the system can support up to 4TB via an M.2 NVMe SSD, and one recommended option offers up to 7,000MB/s sequential read and 6,700MB/s sequential write speeds for sustained gaming loads. Faster internal storage helps with level loads and texture streaming, while external drives are useful for less demanding titles or backups. On the display side, the Steam Machine outputs 4K resolution video at a 120Hz refresh rate while using the HDMI 2.0 spec, and ships with a serviceable cable. If you need more reach, a pack of longer Ultra High Speed HDMI cables provides added capability and distance so you can place the cube where airflow is best instead of right next to the screen.
Cooling, Thermals, and Accessories That Help
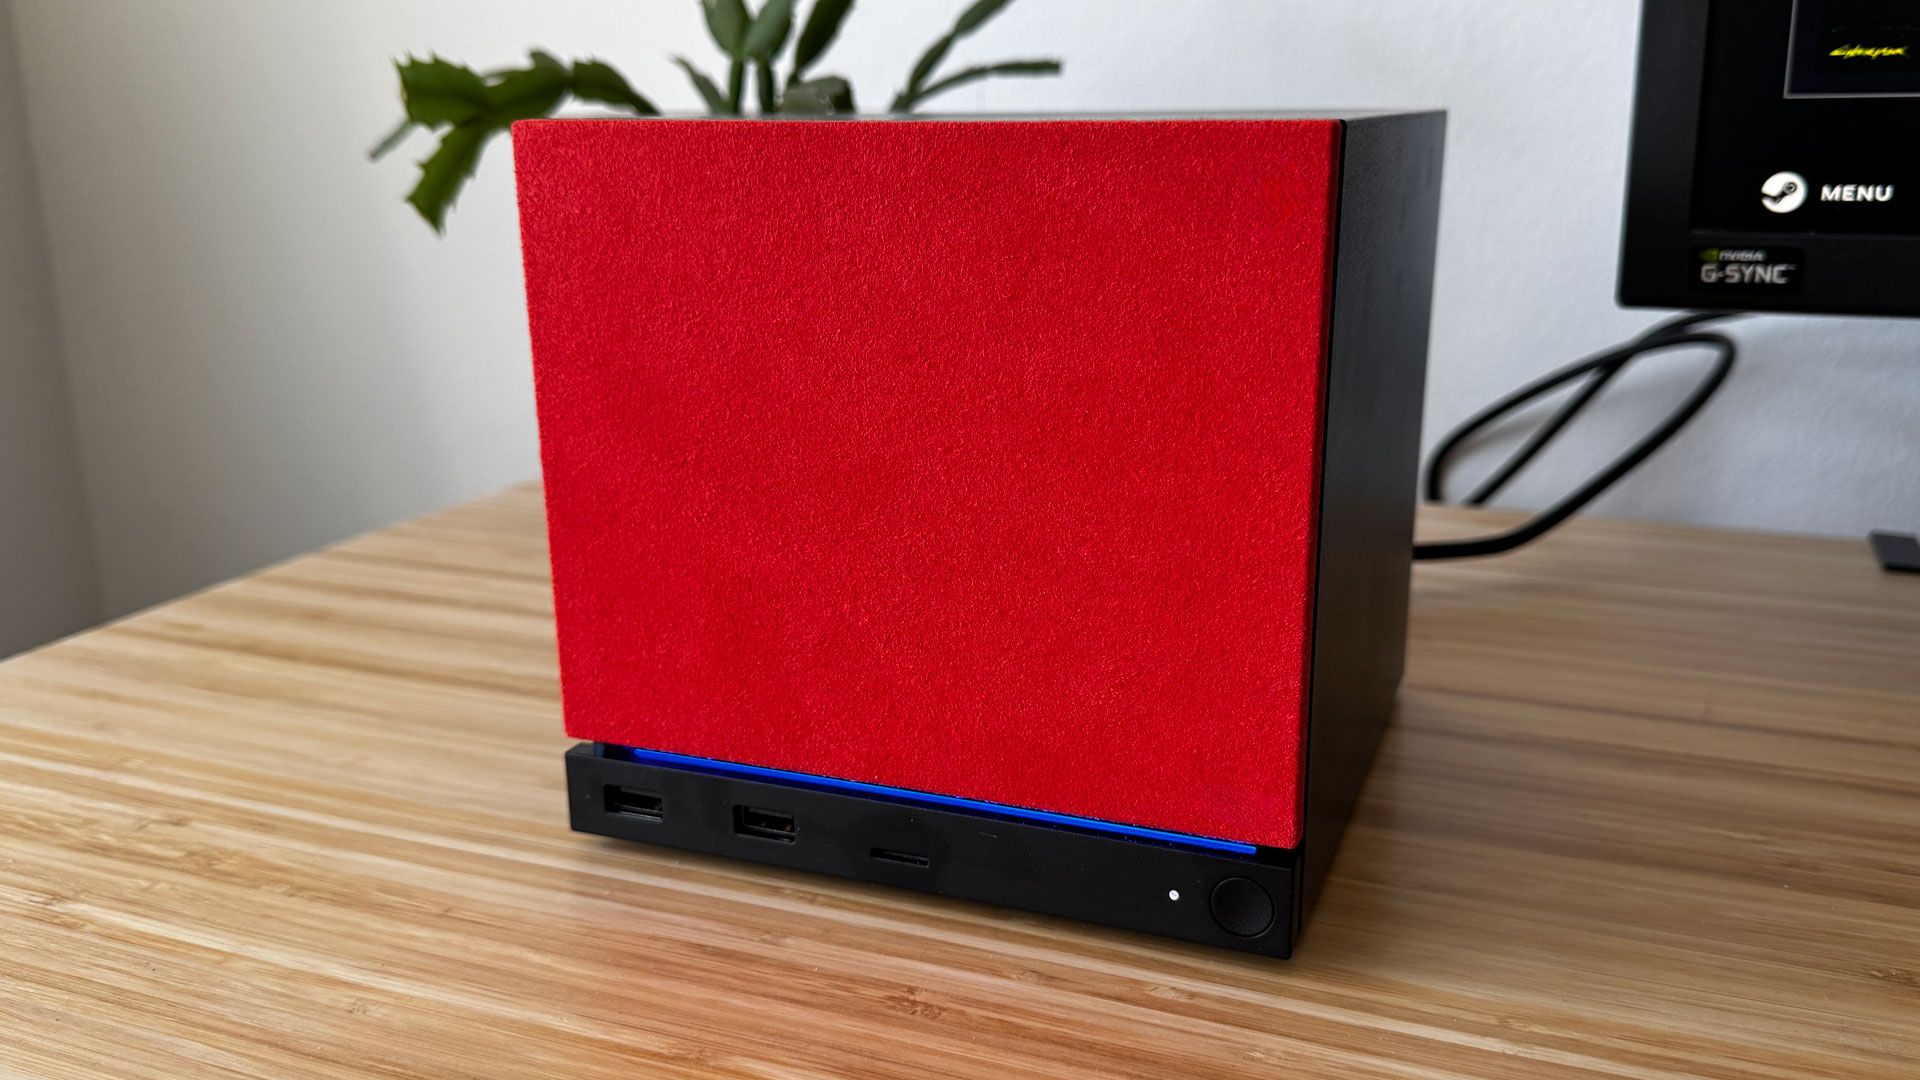
Because the Steam Machine is a dense 6‑inch cube, cooling is central to gaming performance tuning. The stock case looks clean but limits how much fresh air hits the components. One standout accessory is the SteamVent Downpour faceplate, described as “more than a cosmetic upgrade” that can improve CPU and GPU thermals compared to the stock panel. It is available in several colors and can include an optional dust filter, so you can trade a bit of cleaning effort for better airflow. There is a catch: by letting more air in through the front, less goes up through the bottom vents, which can lead to a warmer SSD. That trade‑off is a classic cooling puzzle — lower chip temperatures at the expense of storage warmth. If you use a fast internal SSD and store many big titles there, keep an eye on drive health with periodic checks. Beyond faceplates, the cube’s boxy sides invite skins that do not block vents, and you can add stands or mounts that lift the machine slightly to improve bottom airflow. Think of accessories as fine‑tuning tools: they cannot fix poor room ventilation, but they do help you push peak performance without sacrificing stability.
Make the Most of SteamOS Features and Ongoing Optimization
SteamOS is at the center of your Steam Machine setup, and its extra modes are there to keep the hardware useful beyond full‑screen gaming. Switching to desktop mode turns the system into a fully functional PC, where you can install third‑party launchers, browse the web, or use productivity tools with a virtual keyboard or plugged‑in peripherals. Third‑party controller support covers Xbox, PlayStation and Nintendo models over Bluetooth or USB, with clear pairing steps in settings so you can match the feel you prefer. Customizable LED lighting offers both decorative and functional benefits, from “breathe” and “rainbow” effects to indicators that show game loading progress or account events. Using these cues makes it easier to see at a glance whether the system is busy, which helps you avoid interrupting updates or downloads. Over time, plan to revisit Steam Machine optimization resources and tutorials whenever you notice new bottlenecks or add hardware. The takeaway: it is worth the effort to tune your setup gradually. Watch for changes in thermals when you alter faceplates or storage, keep cables and controllers reliable, and let SteamOS features work for you instead of fighting them.