
What Building Your Own Gaming PC Gets You
A gaming PC build is the process of choosing individual gaming PC components, assembling them into a case, configuring the BIOS and operating system, and tuning performance profiles so that your custom machine delivers better value, upgrade flexibility, and gaming speed than most prebuilt desktops at the same price point. If you enjoy understanding your hardware and don’t mind some light gaming PC troubleshooting, building your own rig is worth the effort. You pick the exact CPU, GPU, storage, and case instead of accepting whatever a prebuilt bundle includes, and you can swap parts later instead of replacing everything. The trade-off is responsibility: if the system refuses to boot, there’s no single support line to call. As one source puts it, “a self-built machine is usually cheaper than an equivalent prebuilt, since system integrators charge for assembly and support on top of parts cost.”
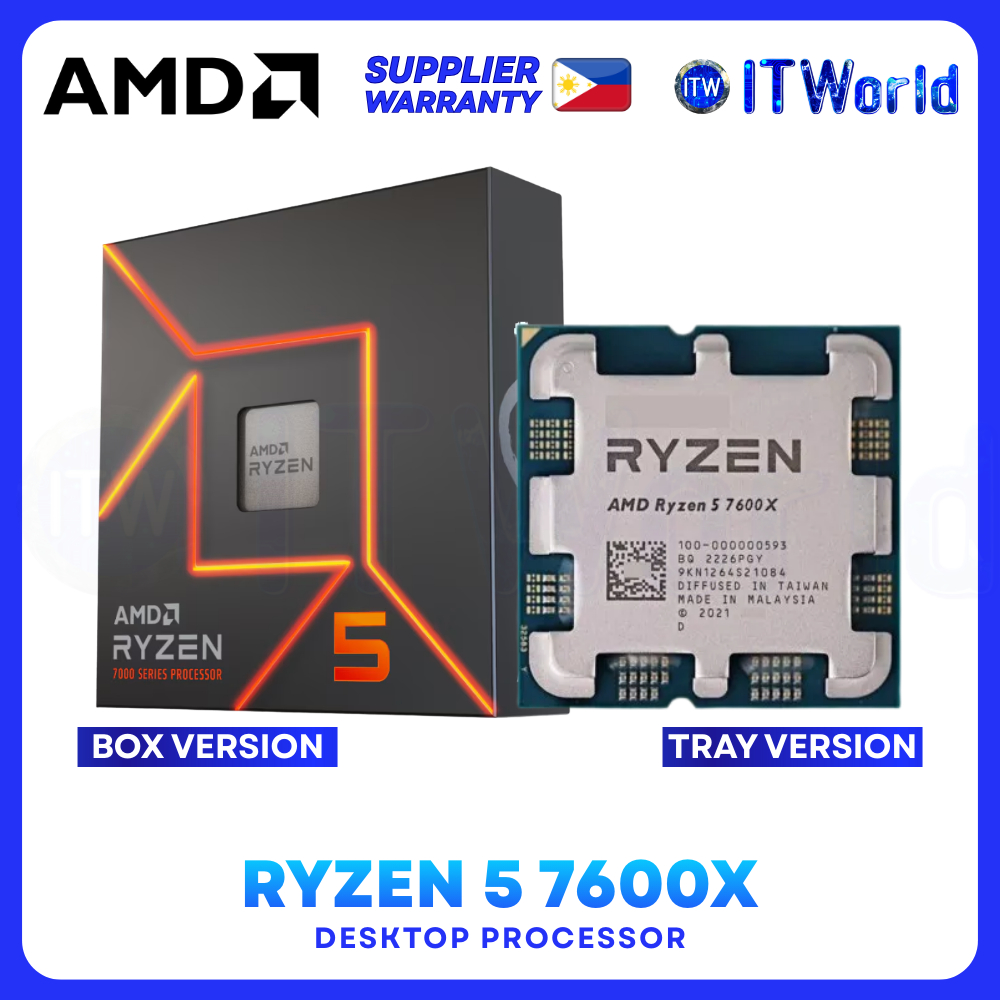
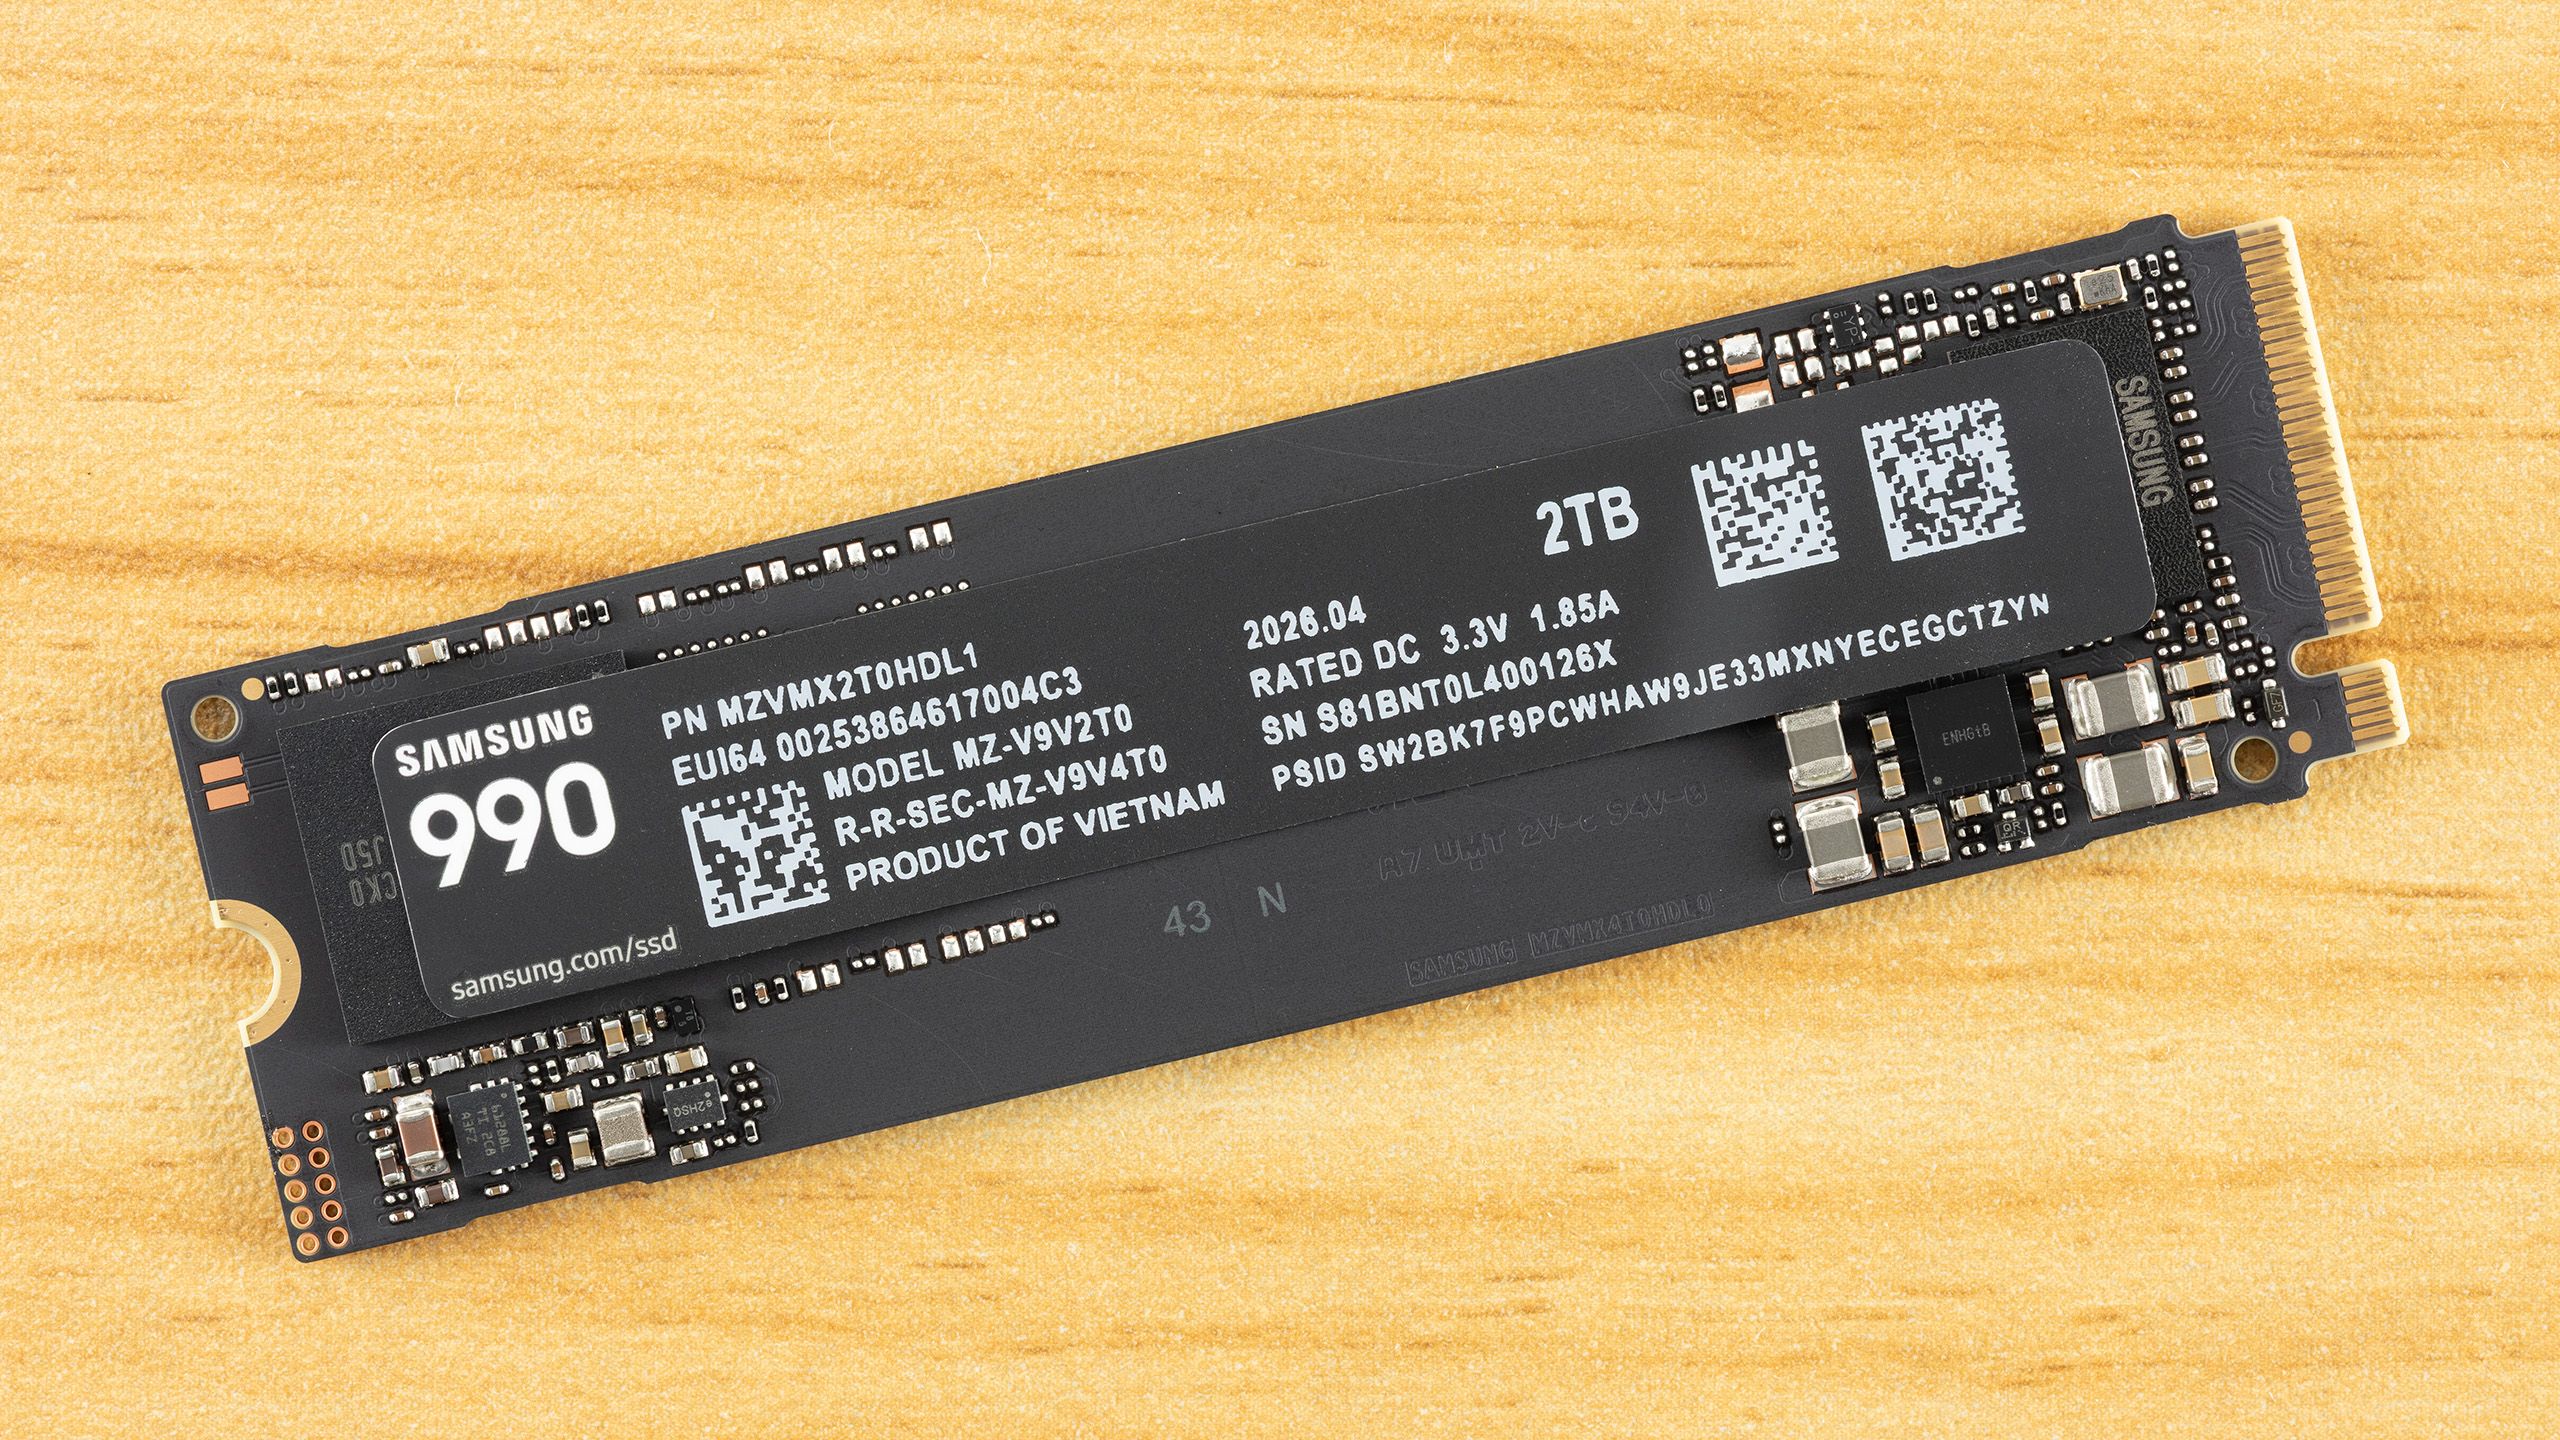
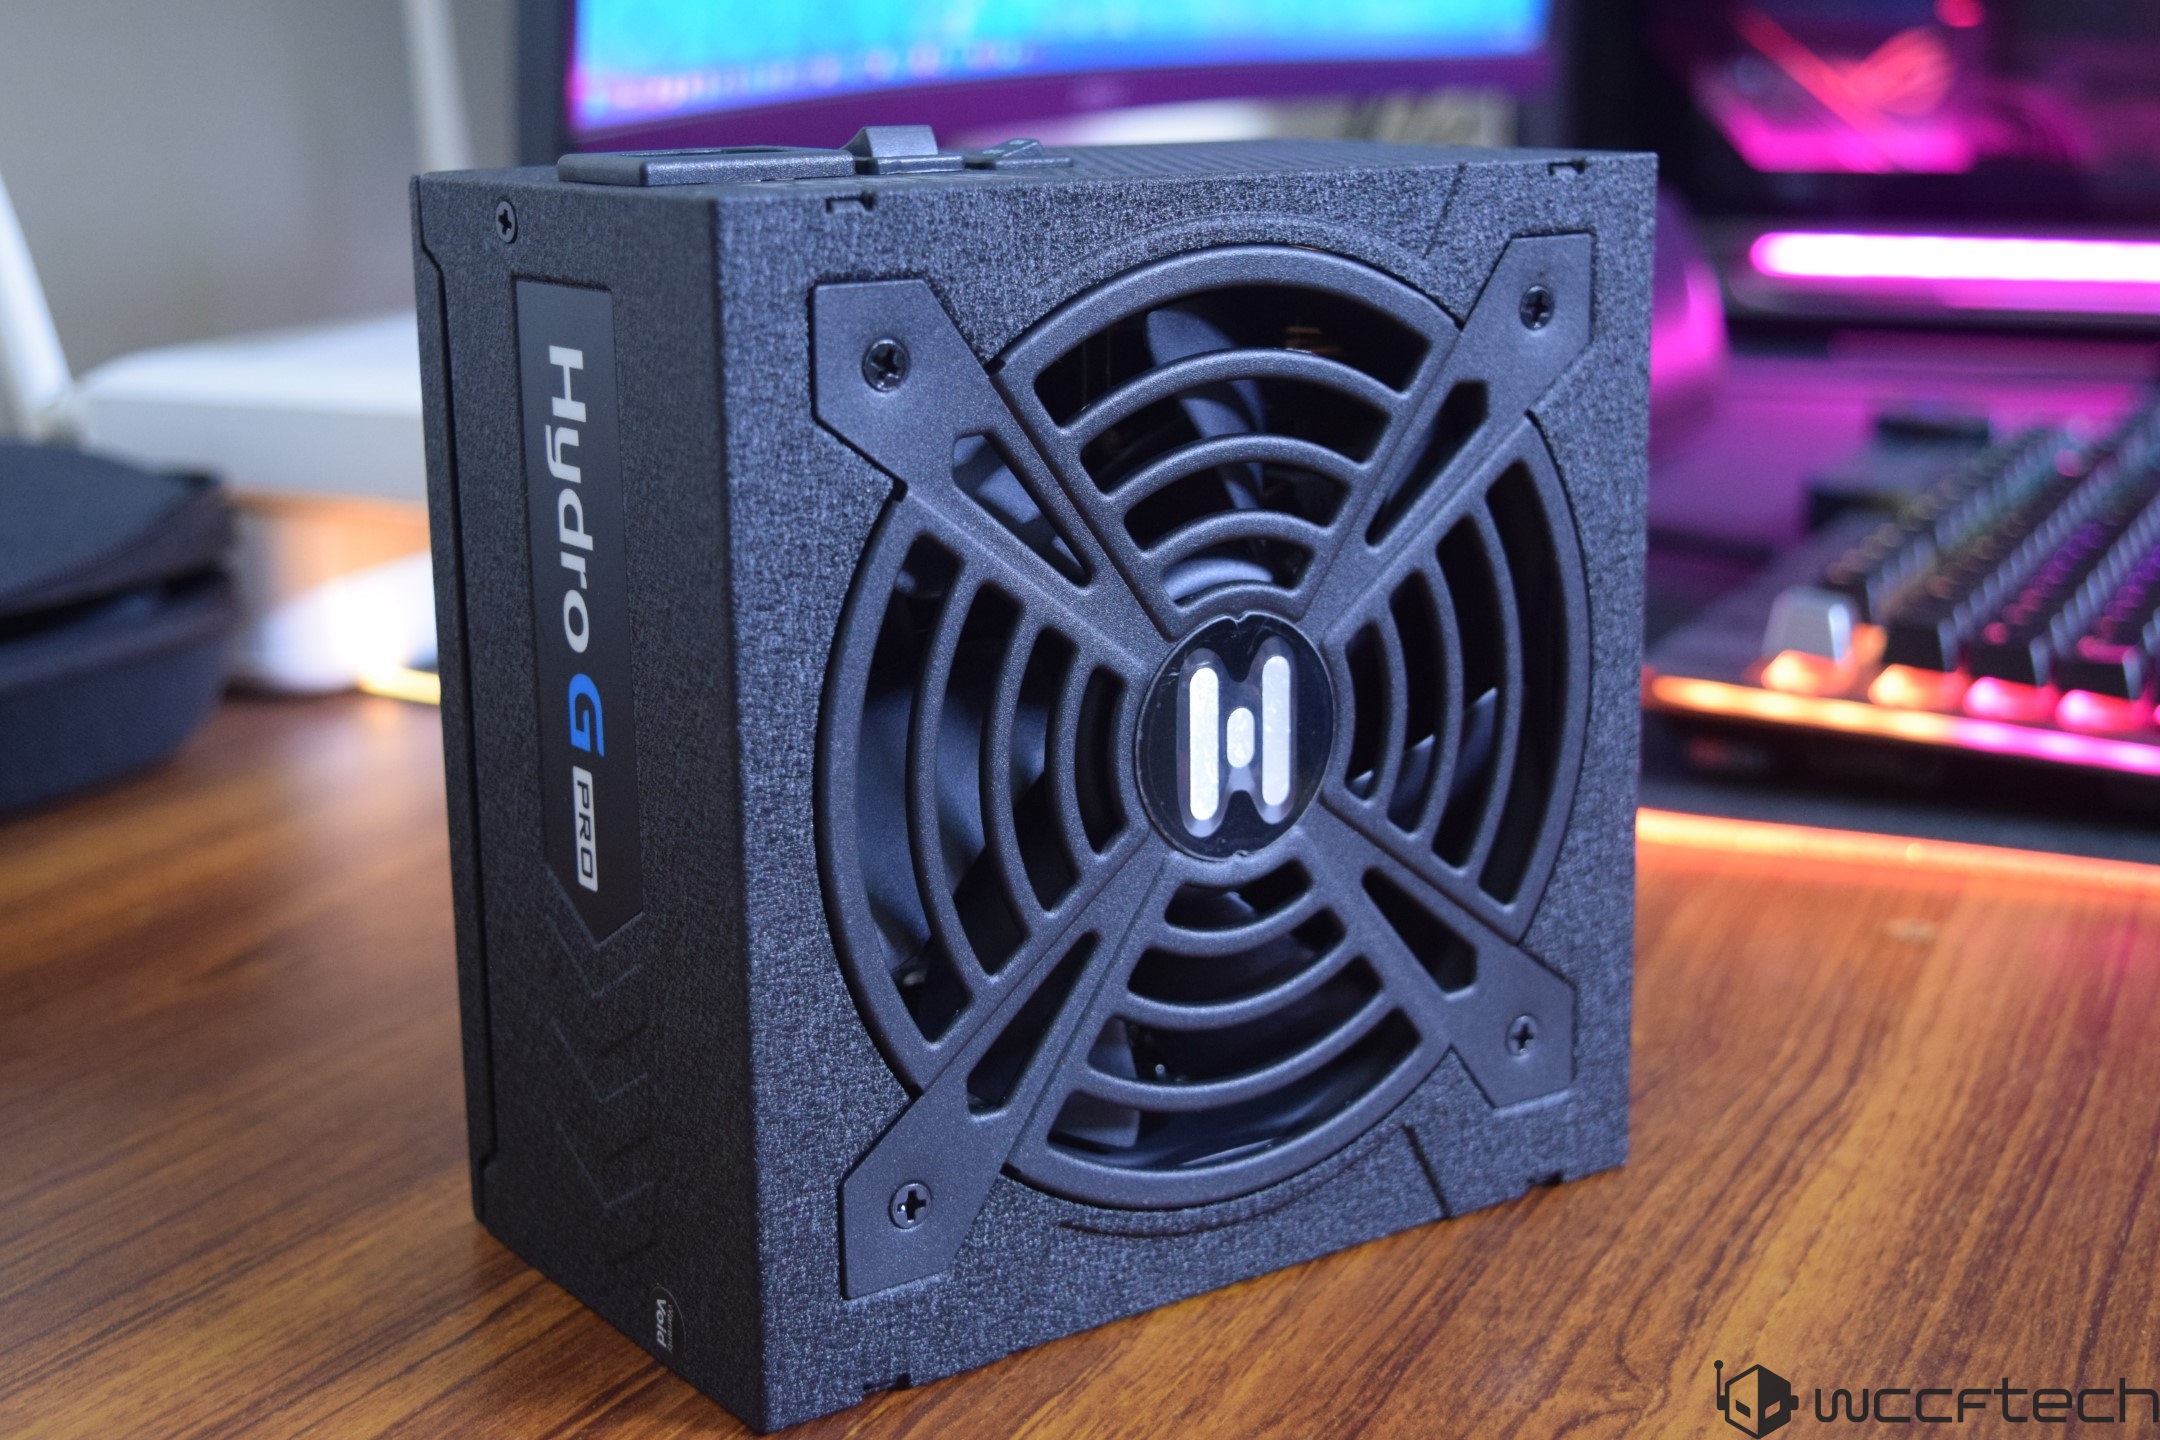
Before you think about PC build guide steps, line up the prerequisites. You’ll want Windows 11 version 25H2 on an 8GB+ USB drive created with the current Media Creation Tool so your new system targets the longer-supported release instead of older builds. Download diagnostics like CPU-Z, HWiNFO64, and MemTest86 straight from their vendors to validate component speeds later. Hardware-wise, a solid budget example is a Ryzen 5 7600X gaming CPU at around USD 176.99 (approx. ₱9,900) paired with an RTX 5060 GPU around USD 329.99 (approx. ₱18,500), a B650M AM5 motherboard at about USD 99.99 (approx. ₱5,600), 32GB of DDR5-6000, a 1TB NVMe SSD at USD 134.99 (approx. ₱7,600), a 750W PSU for roughly USD 59.99 (approx. ₱3,400), and a micro-ATX case near USD 28.99 (approx. ₱1,600). Clear a bright, uncarpeted workspace, keep anti-static bags, sort screws by type, and keep your case and motherboard manuals open.
Choosing Gaming PC Components And Budget Tiers
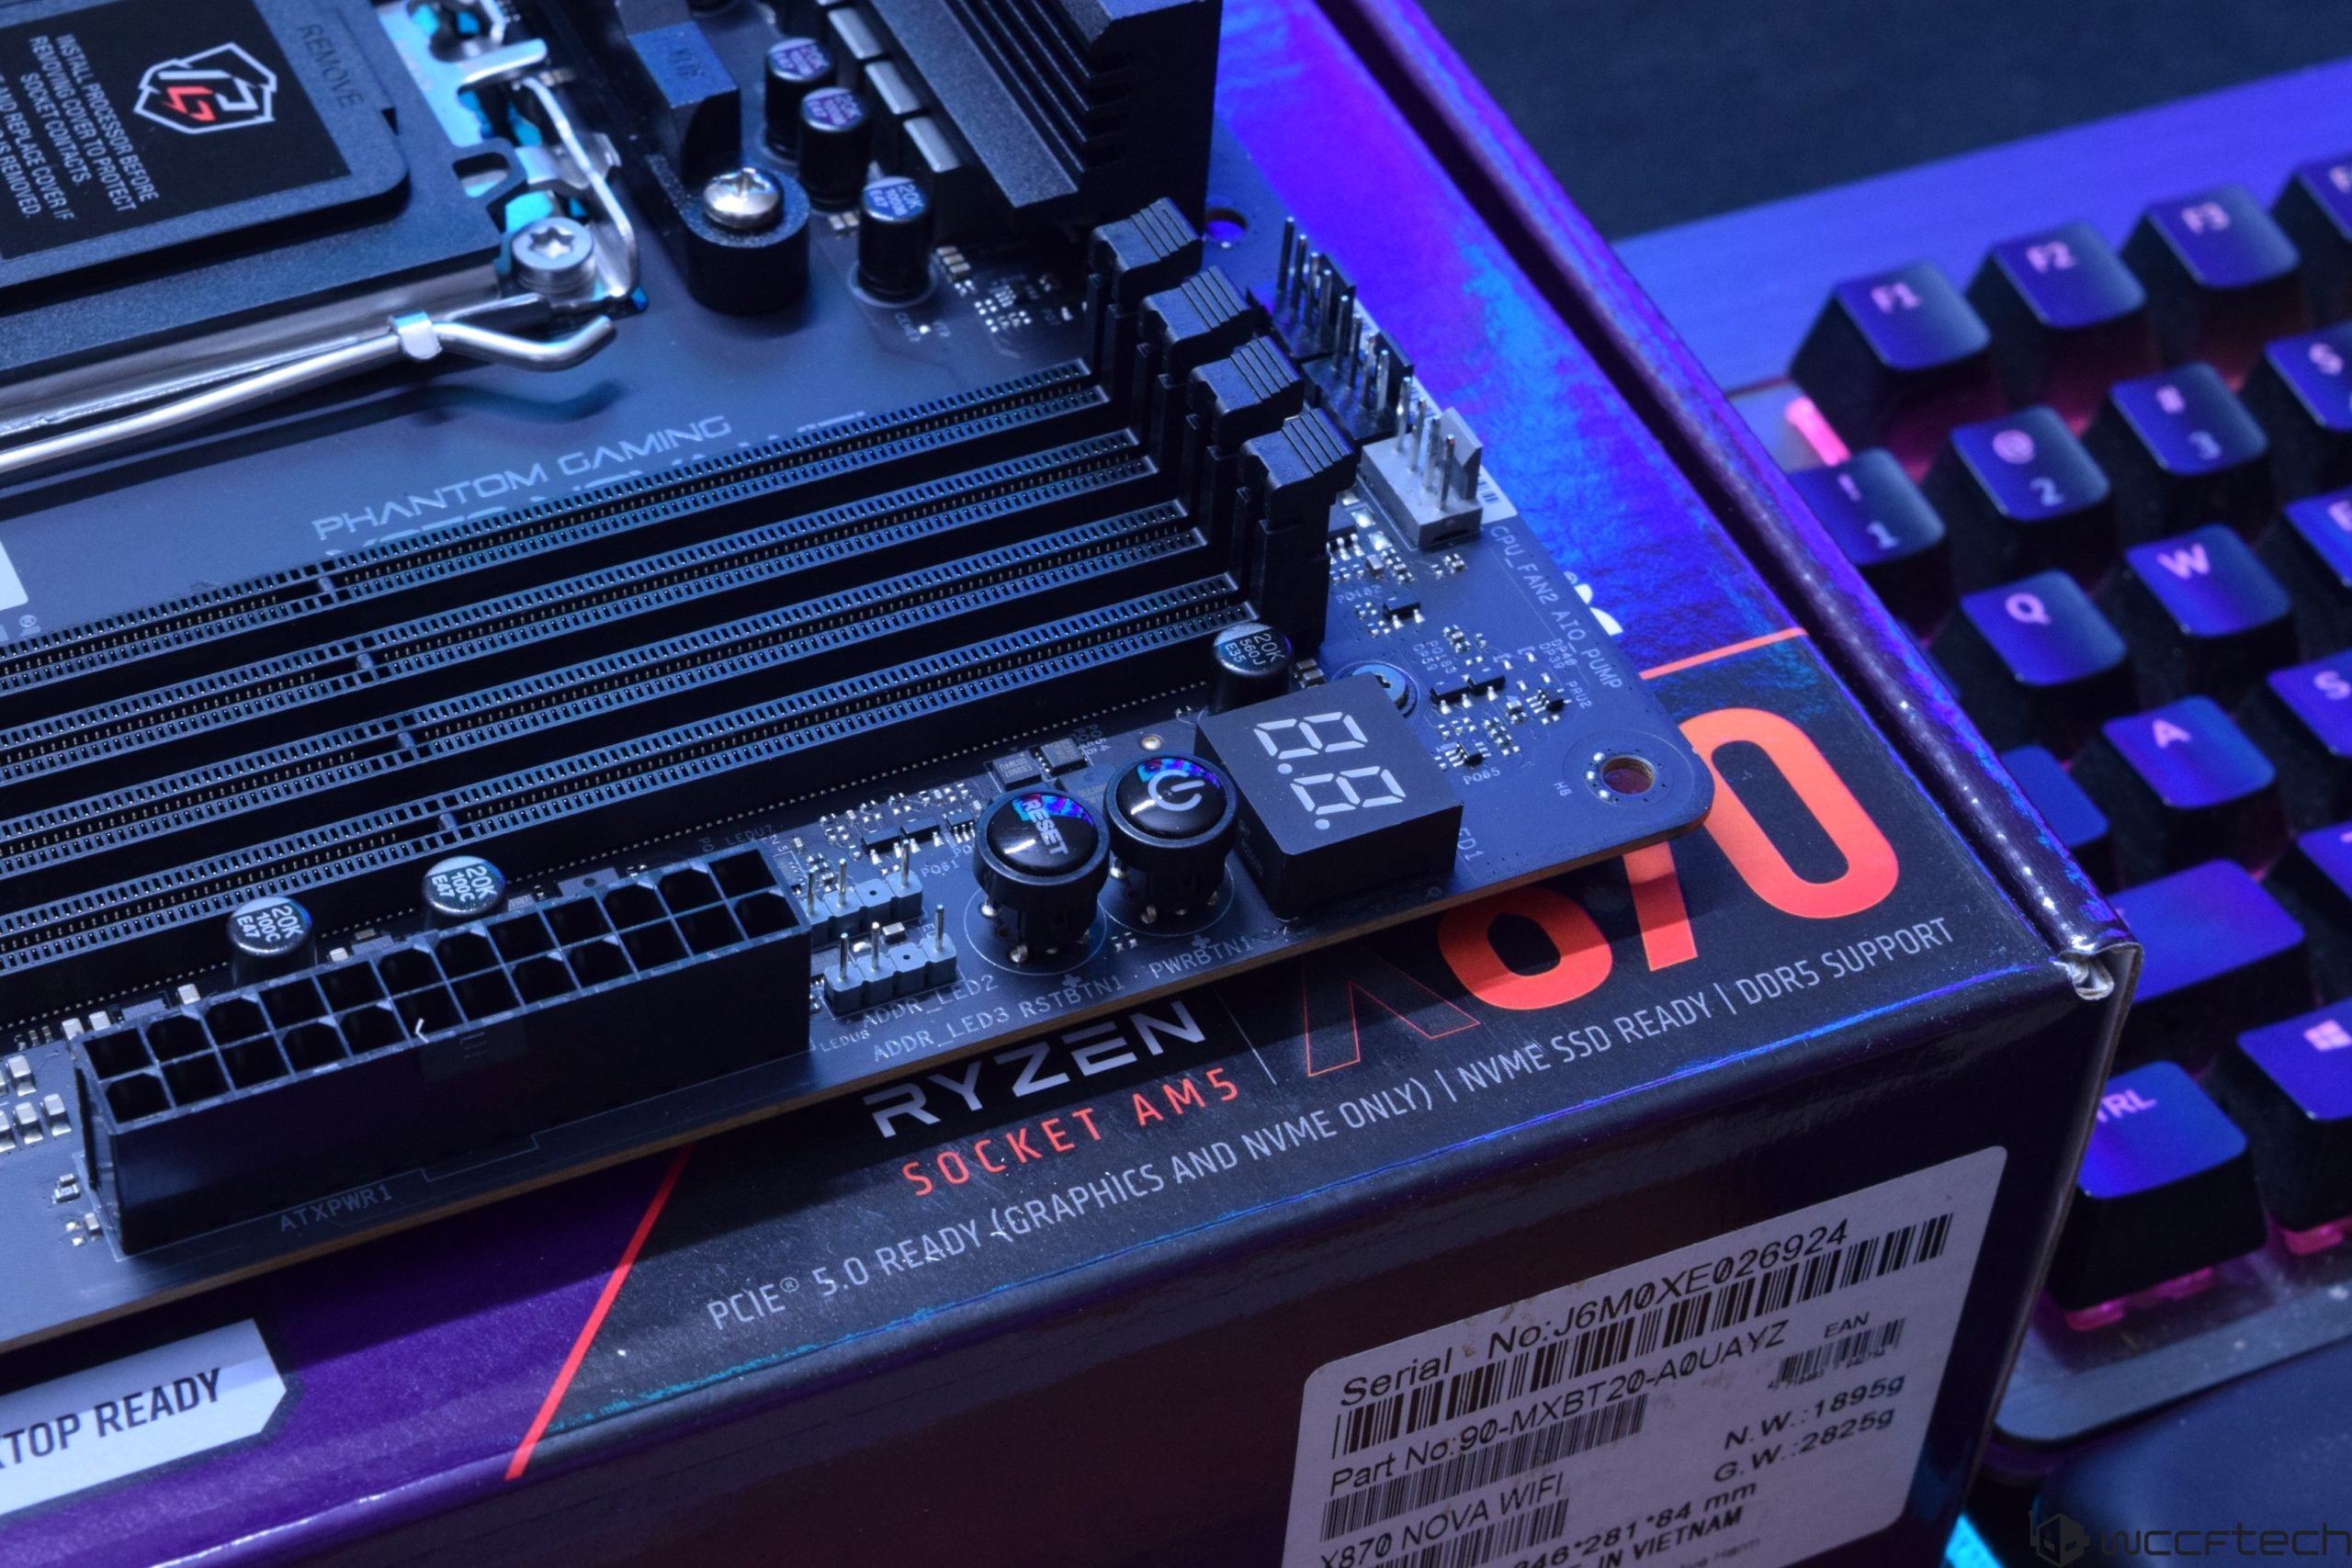
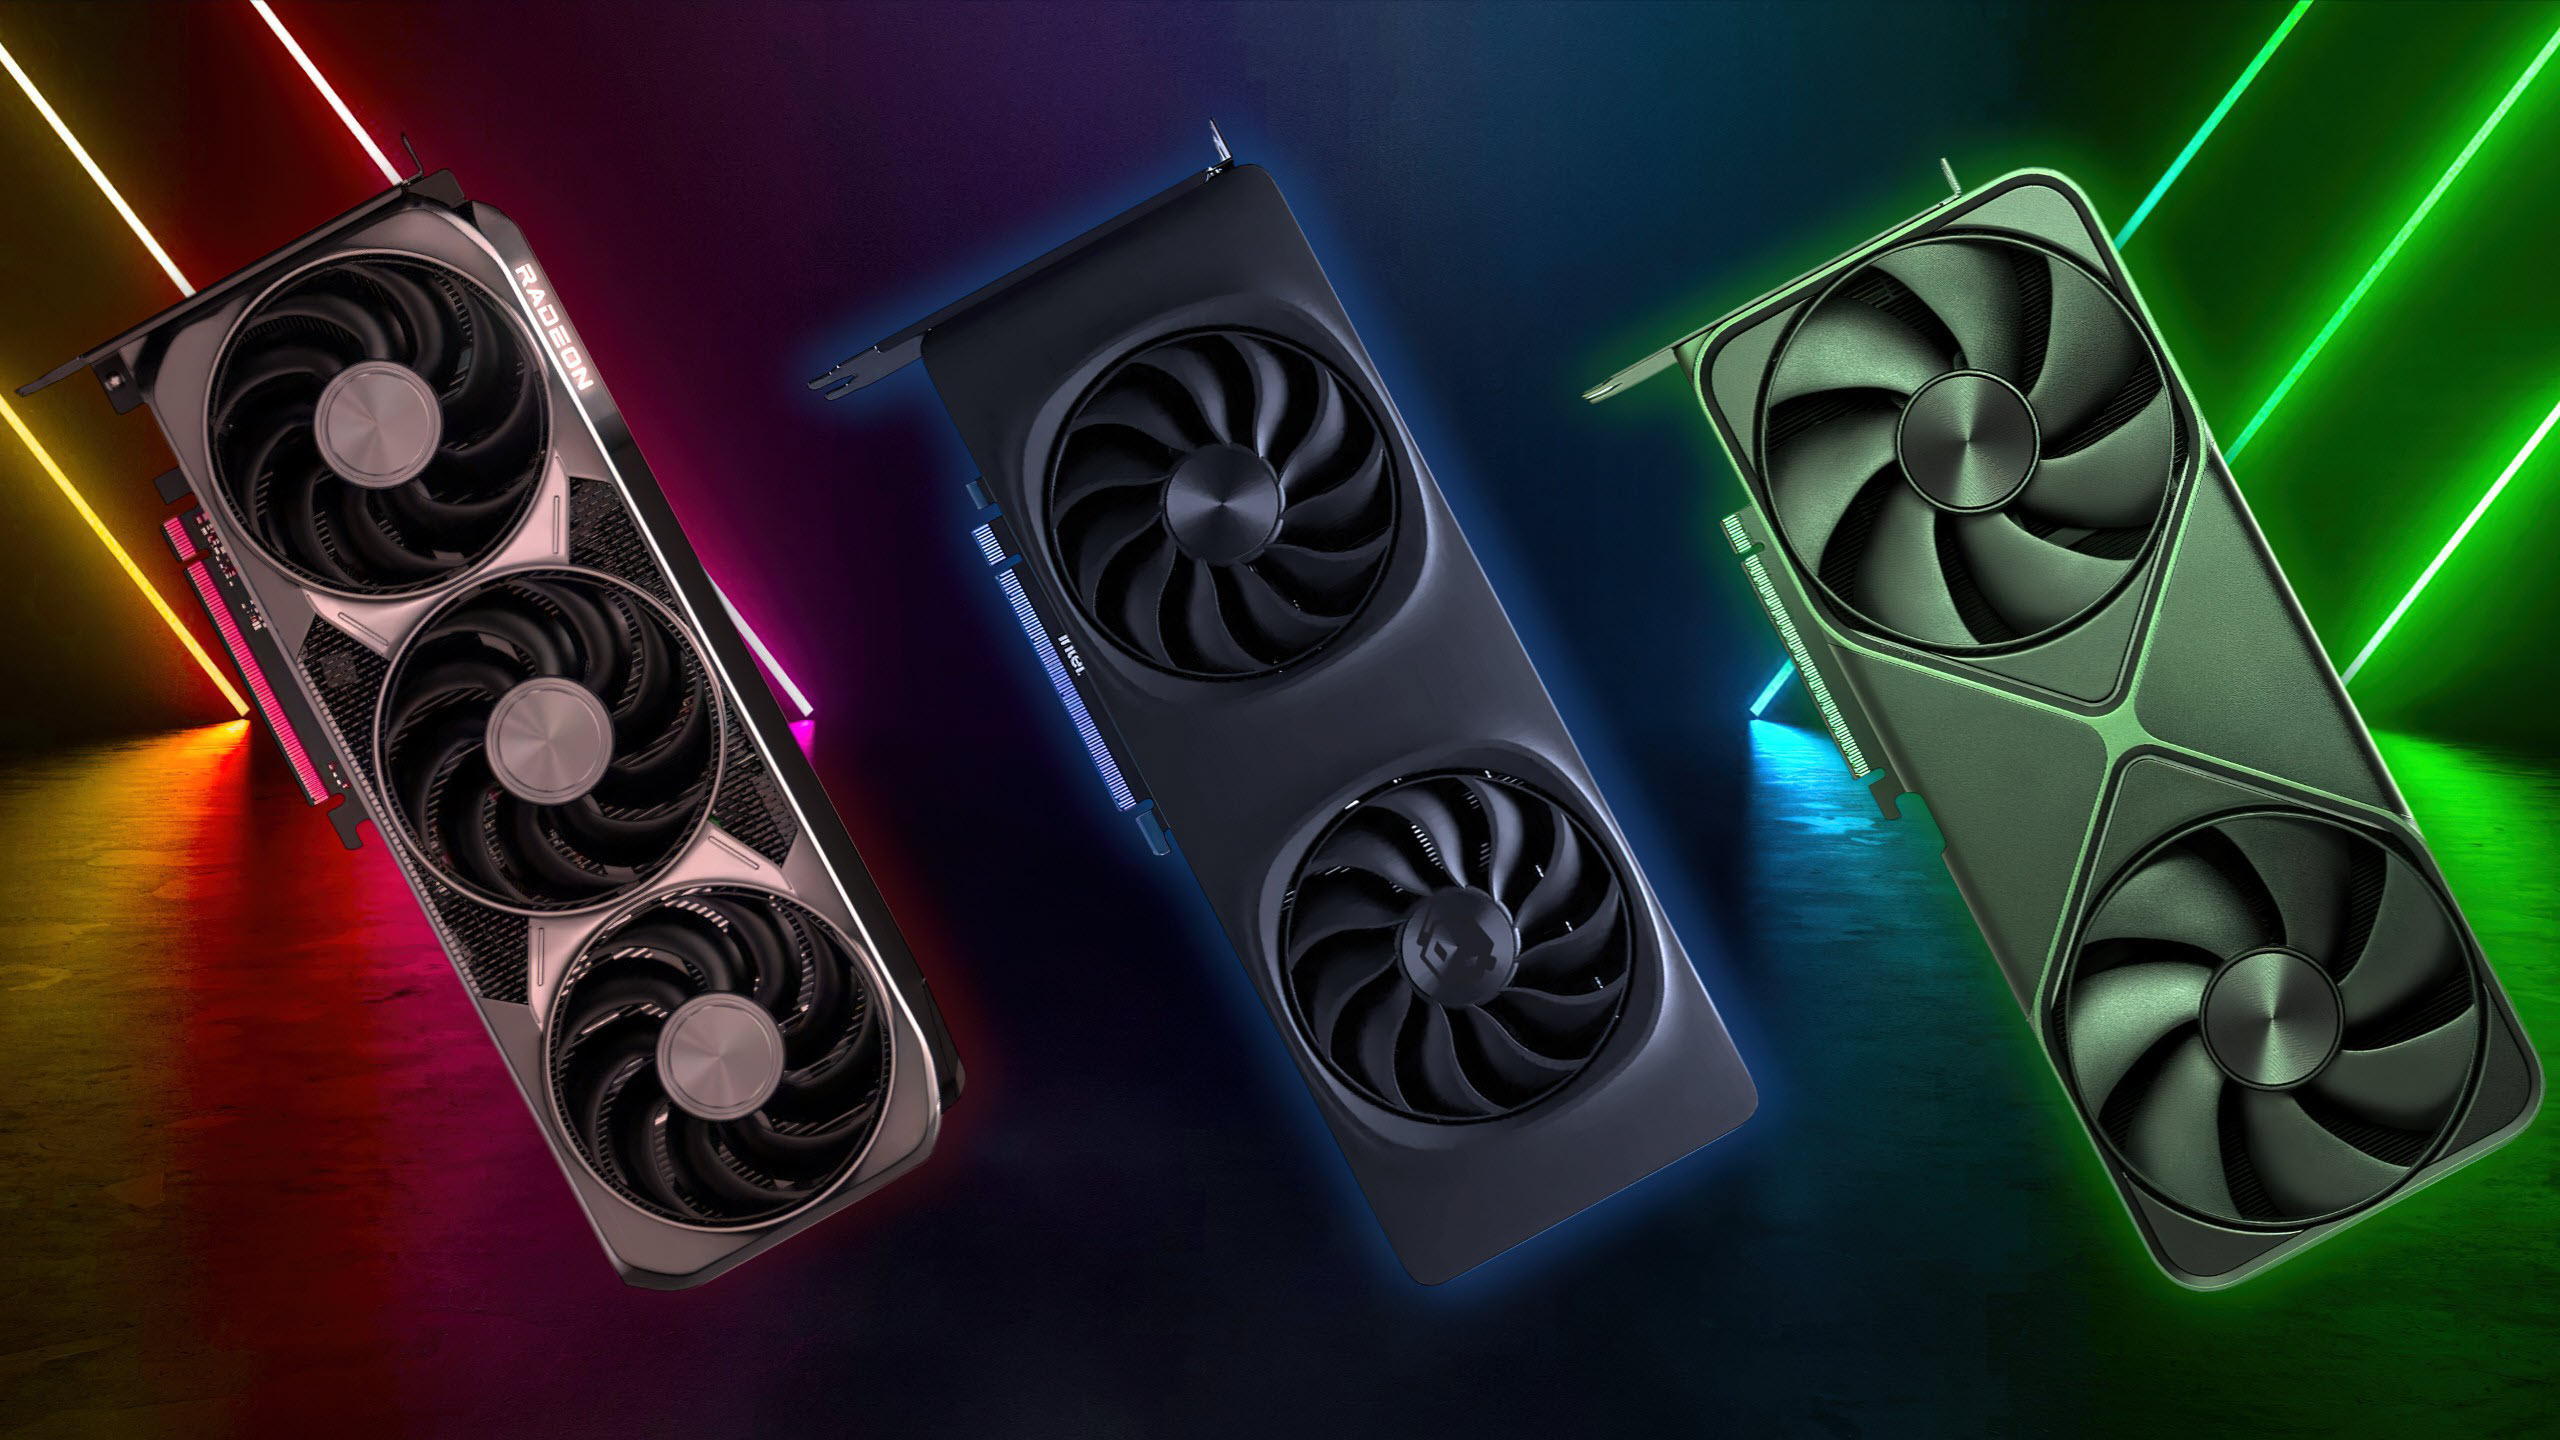
Component choice is where how to build gaming PC decisions start paying off. In 2026, gaming PC components gravitate around two main CPU platforms: AMD’s AM5, which is upgradeable, and Intel’s LGA1851, which offers strong performance but has more limited future upgrades. According to one deals round-up, “the best CPU deals currently span AMD’s upgradeable AM5 platform and Intel’s heavily discounted (though non-upgradeable) LGA1851 platform.” Pair a midrange chip like the Ryzen 5 7600X with DDR5 memory and a current-gen GPU for a well-balanced rig. On the graphics side, RTX 50-series cards require the new 12V-2×6 connector, so you must account for PSU compatibility and cabling. With the ongoing memory shortage raising DRAM and NAND prices, sources peg around USD 1,000 (approx. ₱56,000) as a realistic floor for a decent gaming PC, with higher tiers around USD 1,500 and USD 2,500+ (approx. ₱84,000–₱140,000+) as performance climbs.
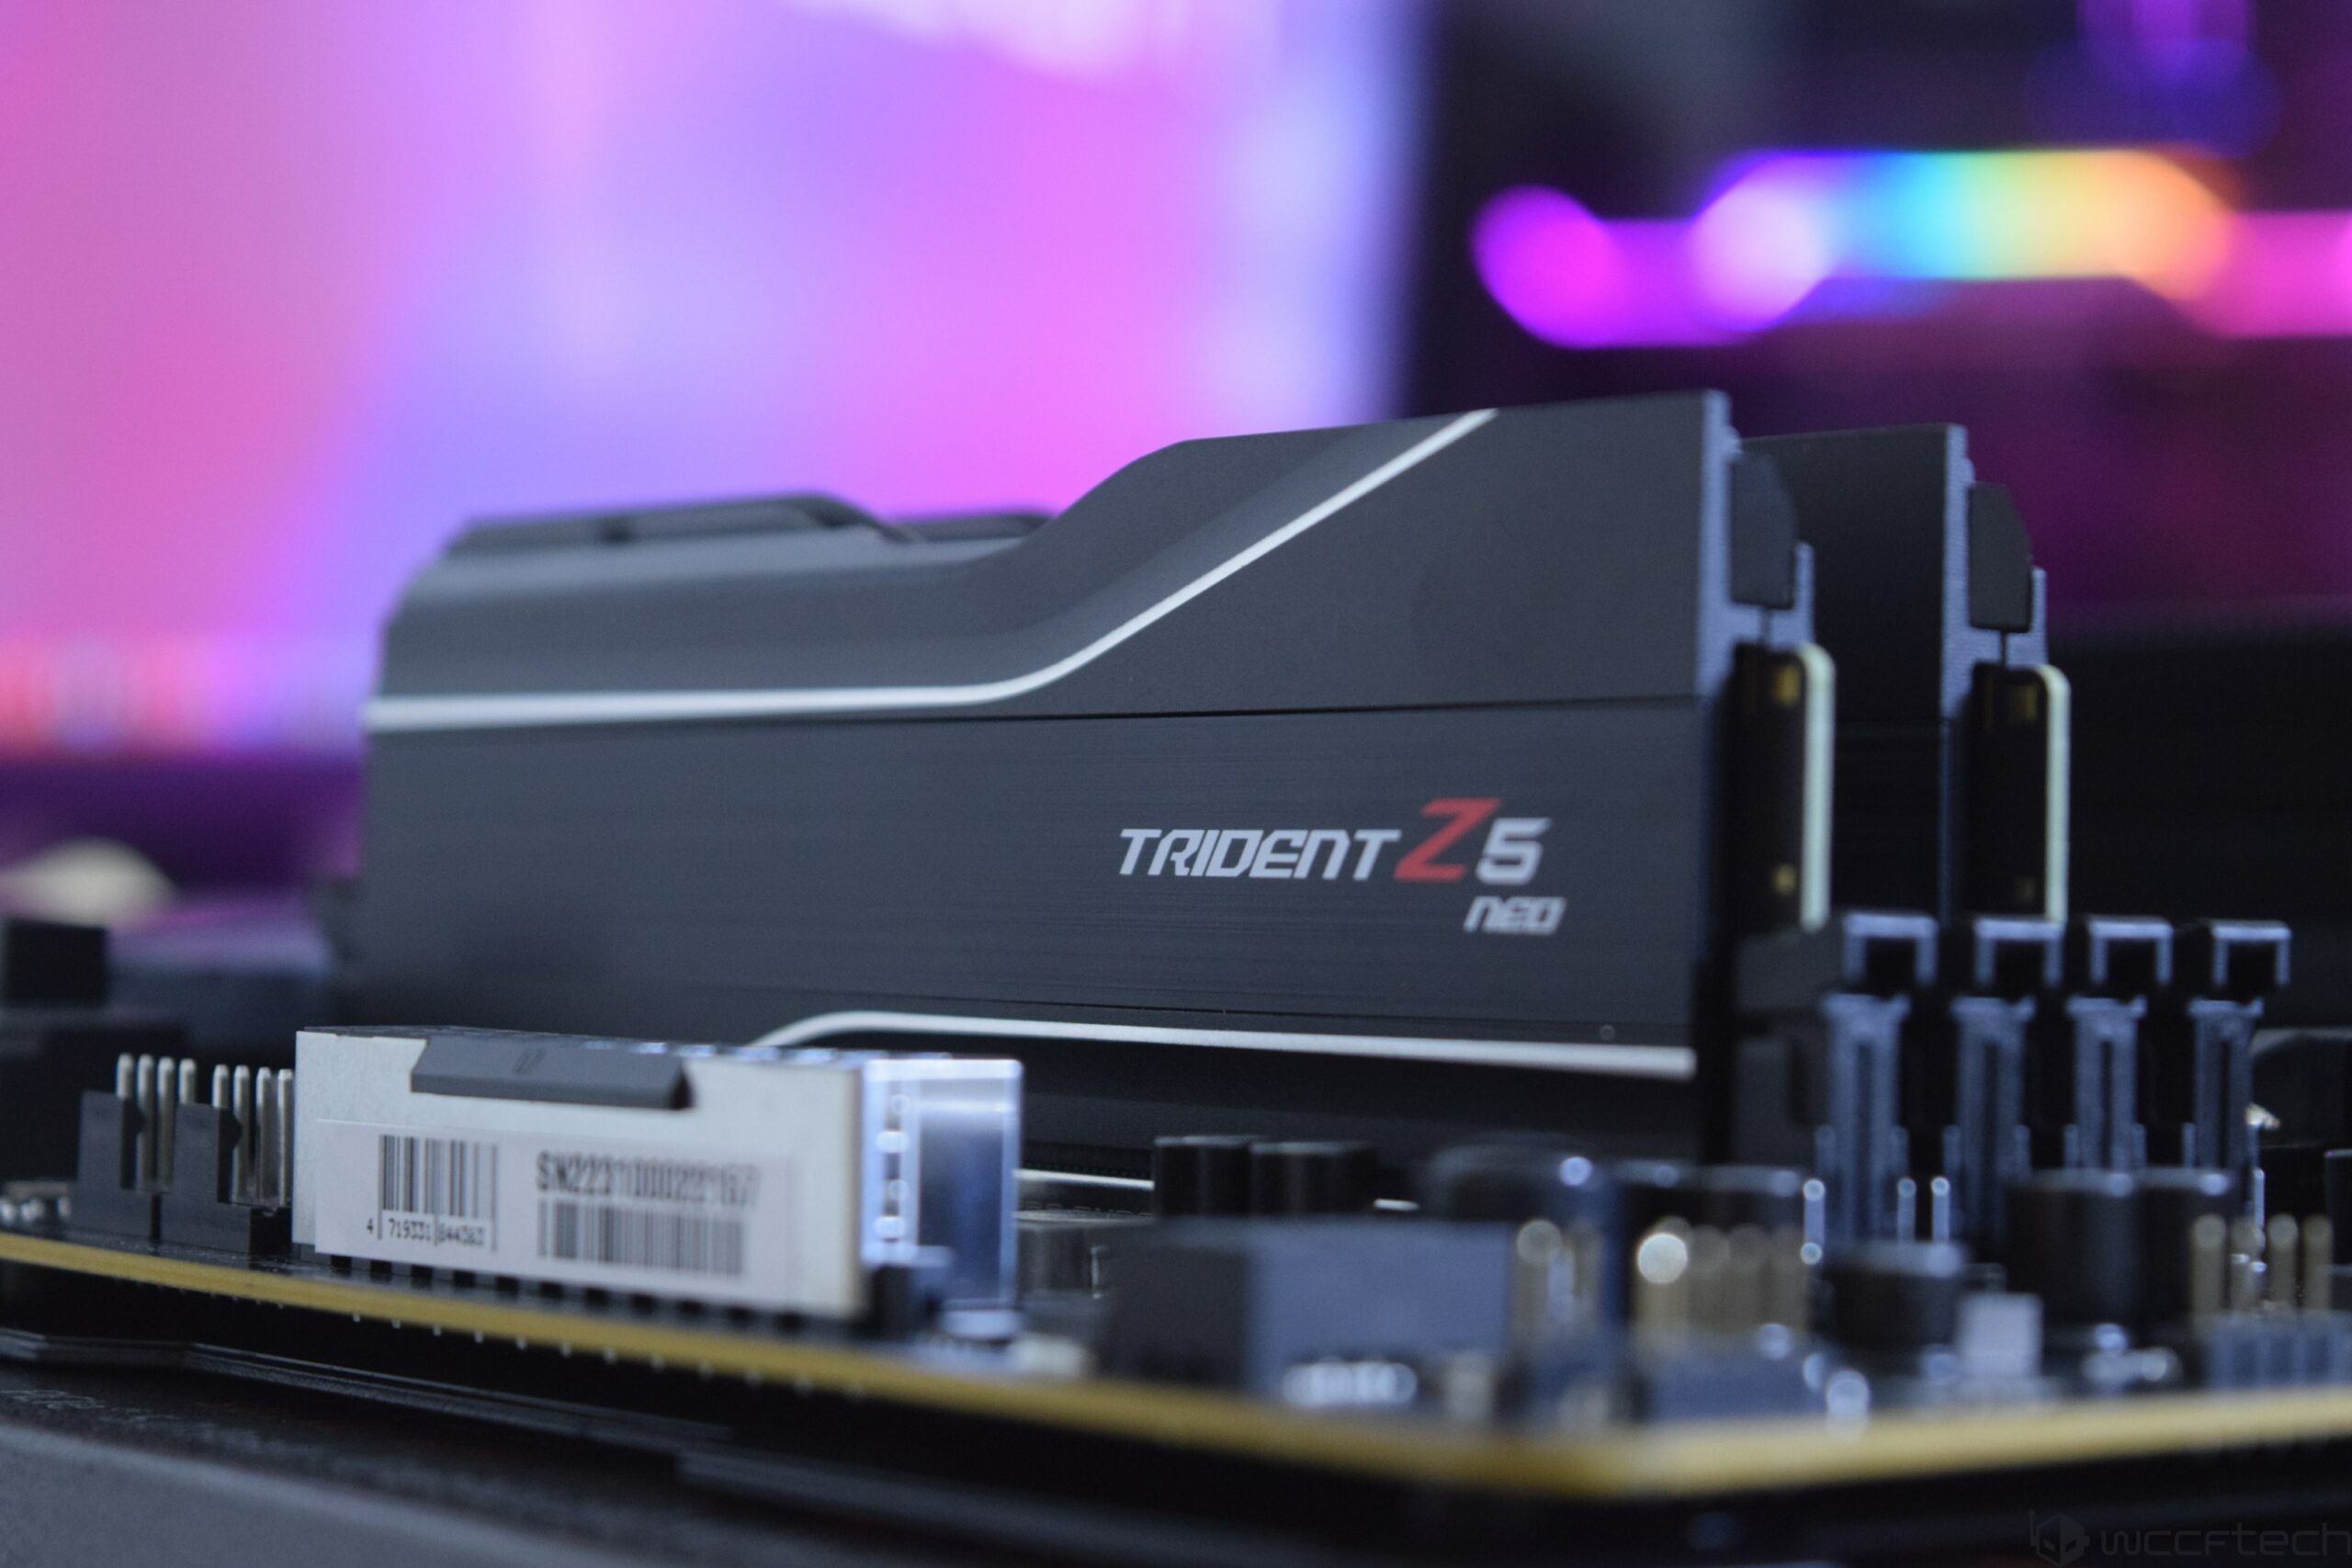
Think in tiers instead of chasing every expensive part. An entry build near the lower end focuses on a six-core CPU, an RTX 5060-class GPU, and a 1TB NVMe SSD for game storage. A mid-tier around USD 1,500 (approx. ₱84,000) can bump the GPU up within the RTX 50-series stack, add more SSD capacity, and step up cooling. Premium systems above USD 2,500 (approx. ₱140,000+) often revolve around high-end GPUs such as an RTX 5080 and larger, faster storage arrays. Across all tiers, DDR5-6000 is now the mainstream sweet spot instead of a luxury, and it pairs well with both AM5 and LGA1851 platforms when configured with EXPO or XMP profiles in the BIOS. The real gotcha is overspending where it doesn’t help gaming: once your CPU and RAM are strong enough, extra cores or slightly faster kits offer smaller gains than better graphics or more SSD space.
12-Step PC Build Guide: From Empty Case To First Boot
- Prep the case and install the power supply.
- Install the CPU on the motherboard (AM5 or LGA1851).
- Install DDR5 RAM, ideally a 32GB DDR5-6000 kit.
- Mount the CPU cooler and apply thermal paste if needed.
- Install the motherboard into the case on its standoffs.
- Install NVMe SSD storage in the M.2 slots.
- Install the RTX 50-series GPU and connect the 12V-2×6 power cable.
- Connect front-panel headers and complete cable management.
- Power on for first boot, enter BIOS, and confirm POST.
- Install Windows 11 25H2 and essential drivers.
- Run stress tests and benchmarks to validate performance.
- Enable and tune EXPO/XMP and other performance settings.
These PC build guide steps take you from an empty case to a benchmarked, driver-updated gaming desktop in 12 sequential stages. Start by removing both case panels, removing unused drive cages, and installing the PSU with the fan oriented toward a vent or into the case interior, then pre-route the big 24-pin and CPU cables; forgetting this is a common annoyance later. Install the CPU while the board rests on its box, aligning the AM5 triangle or LGA1851 notches and lowering it without force. Click DDR5 modules into the recommended A2/B2 slots; RAM not fully seated is a classic no-boot mistake. Mount the cooler, bolt down the motherboard, add NVMe drives, and slot in your RTX 50-series GPU before wiring the new 12V-2×6 connector. Finish with tidy cable management and front-panel connectors, then boot into BIOS and confirm POST before installing Windows and drivers.
Windows 11 25H2 Setup, EXPO/XMP Tuning, And Troubleshooting
Once your system powers on reliably, the last stretch of how to build gaming PC work is software. Target Windows 11 version 25H2 on your installer USB, since older 24H2 releases reach end of service for Home and Pro on October 13, 2026. After the OS finishes installing, add chipset, GPU, audio, and network drivers using fresh downloads from each vendor, then install tools like CPU-Z, HWiNFO64, and MemTest86 to confirm that clock speeds and memory are behaving. In BIOS, update to the latest firmware before enabling DDR5-6000 EXPO or XMP profiles; early BIOS versions are a common reason high-speed RAM refuses to POST. Once the profile is active, run MemTest86 to check stability and use HWiNFO64 during game sessions or stress tests to watch temperatures and power draw. This is also the point where you can explore advanced tuning, like AMD Curve Optimizer undervolting, once the system is stable.
Expect some gaming PC troubleshooting, especially on a first build. Common pitfalls include missing cables, incorrectly wired front-panel headers, mixed-up screws that strip threads, and RAM that isn’t fully clicked into place. Half of the frustration in a first PC build comes from discovering you forgot a cable, drive, or USB stick mid-assembly, so double-check parts and tools before you start. If the system refuses to boot, retrace the basics: re-seat RAM and GPU, confirm the CPU 8-pin and 24-pin are locked in, and check that the RTX 50-series 12V-2×6 connector is fully engaged. For intermittent crashes, run MemTest86 on your EXPO/XMP configuration, then back off to a lower memory speed or update BIOS if errors appear. With methodical checks and good diagnostic tools, most of the eight common build problems described in expert guides are solvable without replacing hardware.
Is Building Your Own Gaming PC Worth It?
By the time you finish these PC build guide steps, you’ll have a custom gaming rig that boots cleanly, runs Windows 11 25H2, and pushes your chosen RTX 50-series card and DDR5-6000 memory to their intended performance levels through EXPO or XMP tuning. In practical terms, you’ve built what sources describe as a machine that can span mainstream to premium 4K gaming, depending on how far up the CPU and GPU tiers you go. You’ve also learned your system inside-out: where every cable runs, how to swap a drive, and what BIOS options affect stability. It is more expensive now than in past years thanks to higher memory and storage prices, and a decent gaming PC often starts around USD 1,000 (approx. ₱56,000) before peripherals. But in exchange, you get better long-term flexibility than most prebuilts and the confidence to upgrade or troubleshoot without fear.
The big things to watch for are preparation and patience. Make sure you have every component, tool, and USB installer ready before opening the case, since stopping mid-build to order a missing cable or stick is one of the most common and annoying mistakes. Keep your manuals handy, respect static precautions, and sort your screws to avoid stripped standoffs later. When issues appear, use a calm checklist rather than panic: re-seat parts, confirm power connectors, and use diagnostics rather than trusting a quick BIOS splash. Building a gaming PC is no longer the cheapest hobby, but for anyone who cares about value, control, and understanding their hardware, it remains worth it. Once you see your first game benchmark run on a system you assembled yourself, the 90 minutes of assembly and extra time for tuning feel well spent.