
Why Docker Makes a Low Power Home Server Worth It
Running a homelab with Docker containers on a compact mini PC means using lightweight, isolated services that share the same hardware, so you can self-host storage, smart home control, and productivity tools on one low power home server while keeping full control of your data and avoiding the need for expensive, server-class machines.
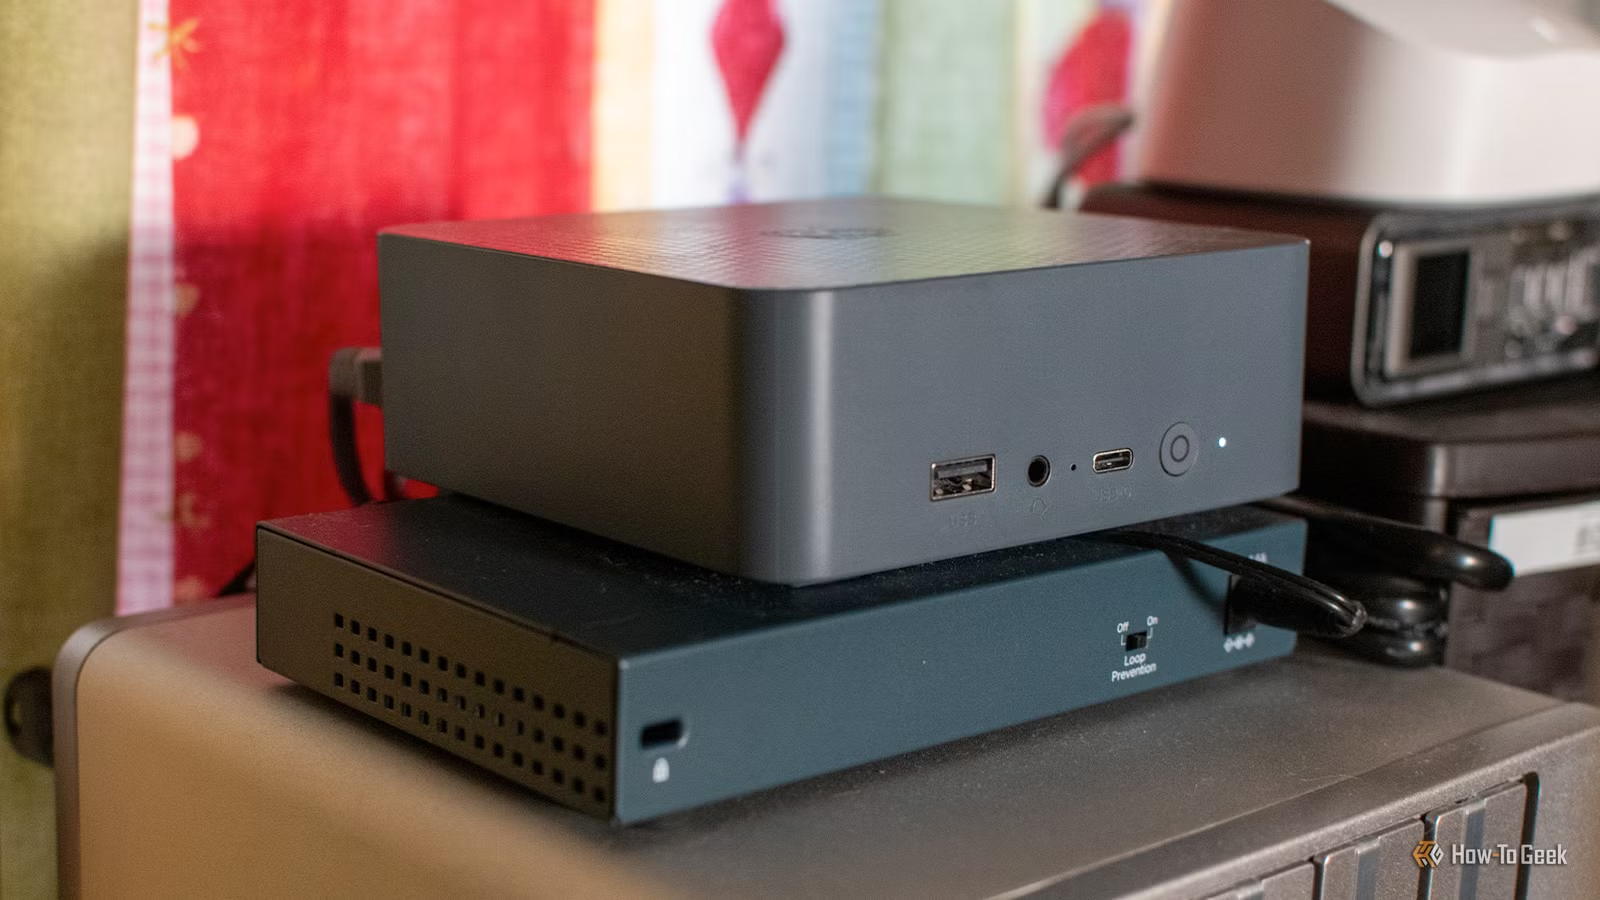
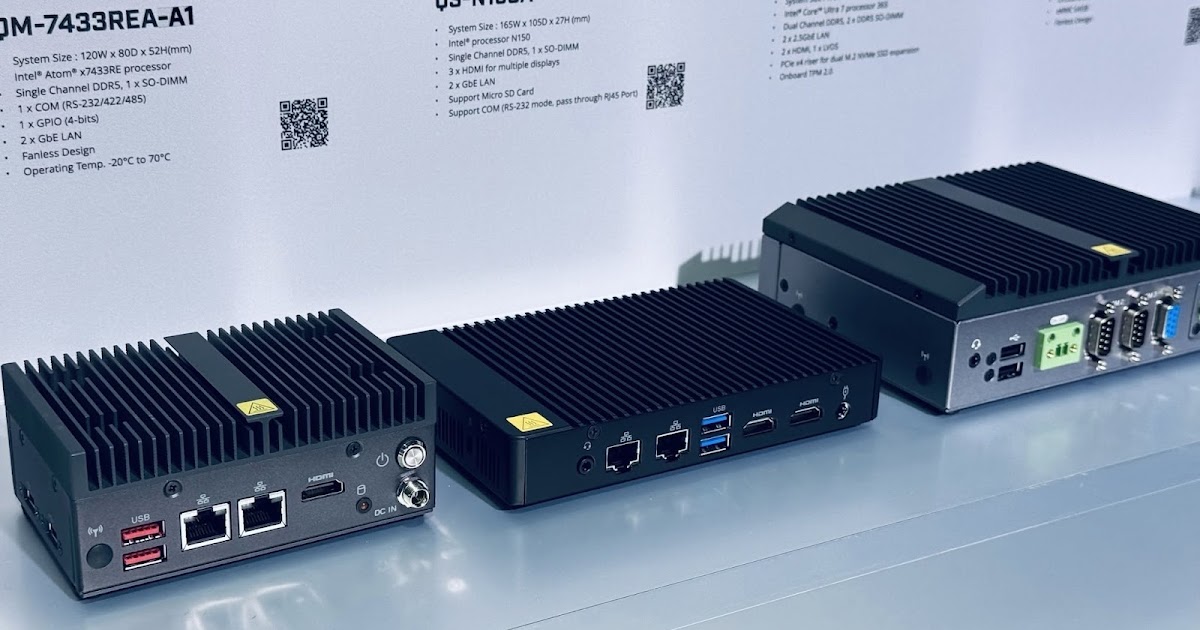
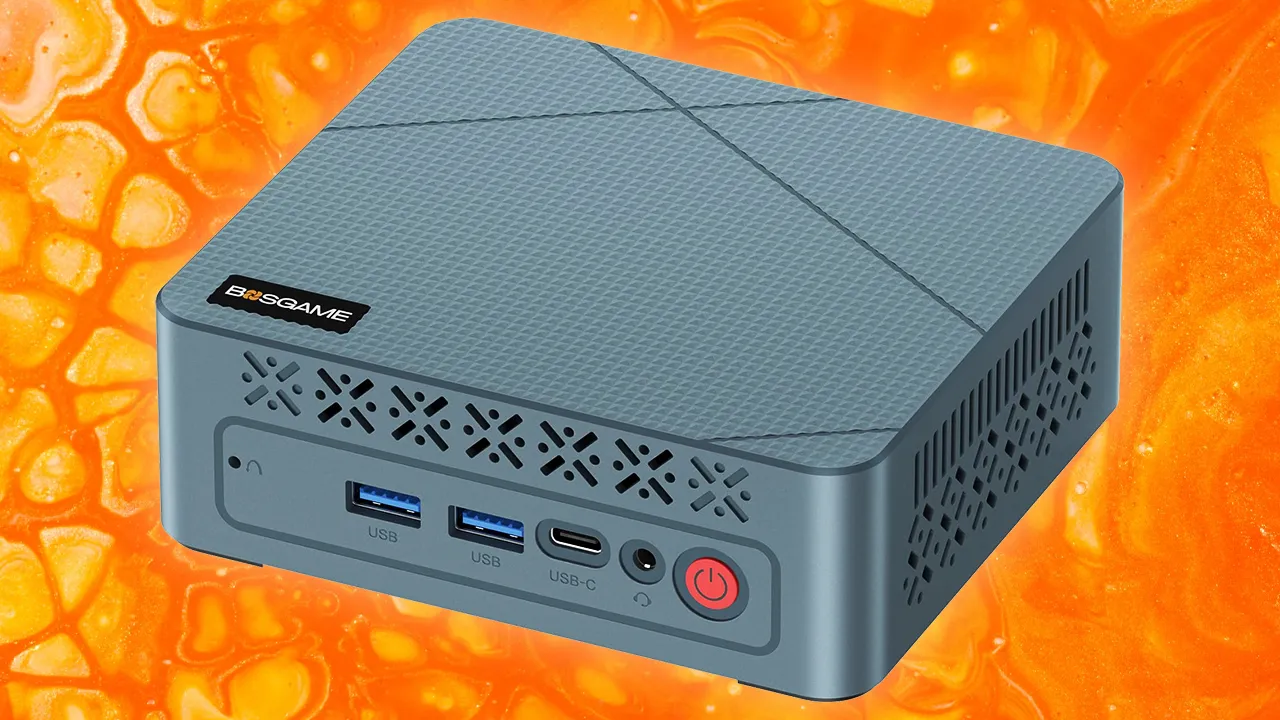
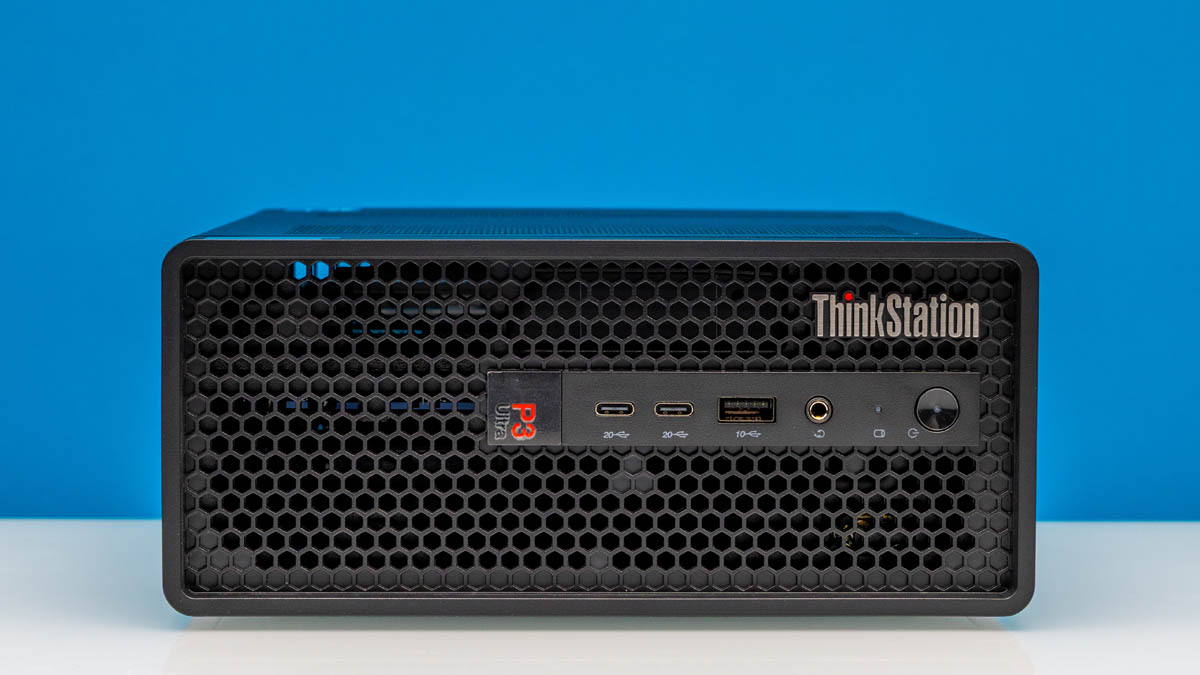
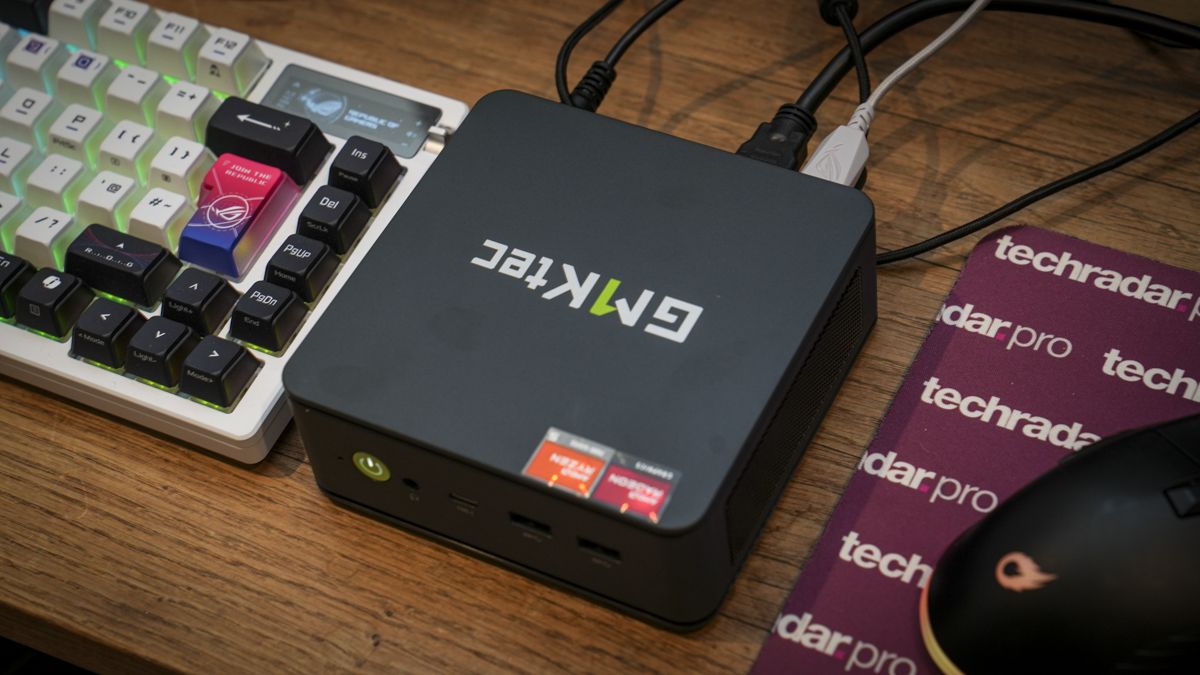
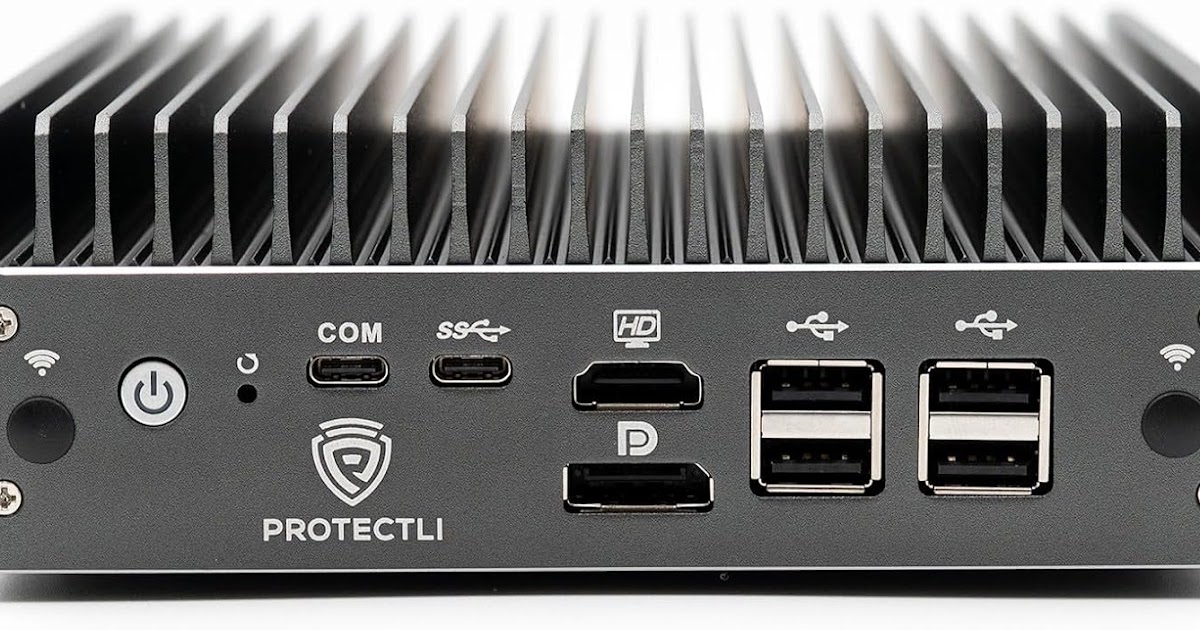
If you have a quiet mini PC, an old desktop, laptop, or even a Raspberry Pi, that is enough to start a Docker containers homelab. Many homelab services are optimized to run on as few resources as possible, so they fit well on compact systems with modest CPU and RAM and modest idle power draw. The real prerequisite is comfort with basic command-line work: you install Linux, get Docker up and running, and deploy your first container. In return, a handful of self-hosted containers can turn that machine in the corner into something you depend on every day for storage, automation, and privacy. The main caveat: be intentional about what you deploy so you do not overload limited hardware.
Core Containers: Home Assistant, Files, and Your Second Brain
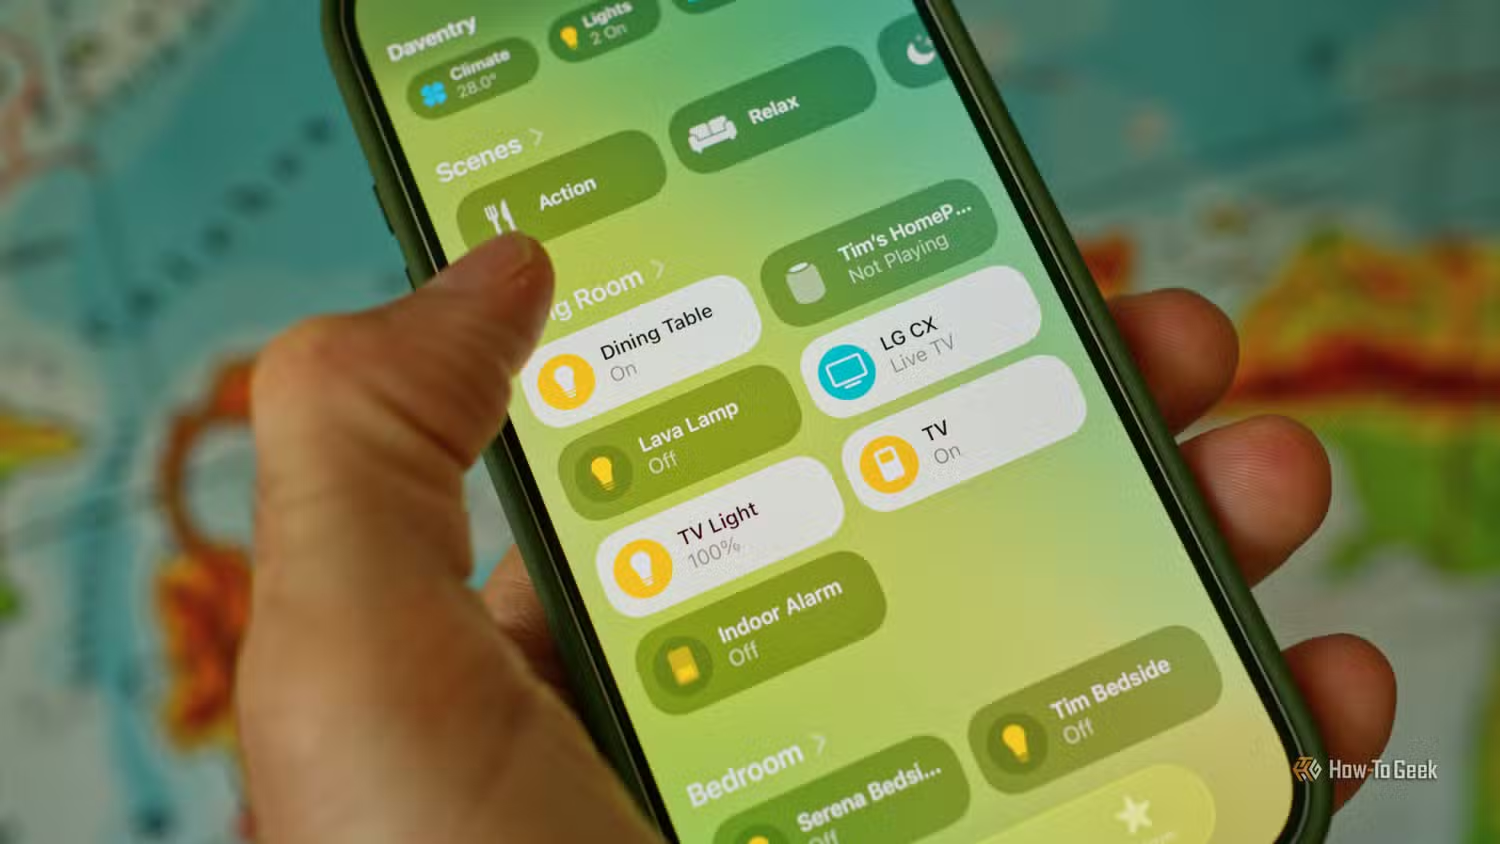
Start by deciding which services make the mini PC feel useful day to day. Home Assistant is one of the best homelabbing projects to start with, and it runs fantastically inside Docker. It does not need a ton of power: unless you have hundreds of devices and wild automations, you can run Home Assistant on almost any hardware, so a Home Assistant mini PC is a natural fit. Deployed as a Docker container, it lets you pull Tuya and other cloud-focused devices onto your local network, disable external access, and avoid smart home outages when the internet goes down.
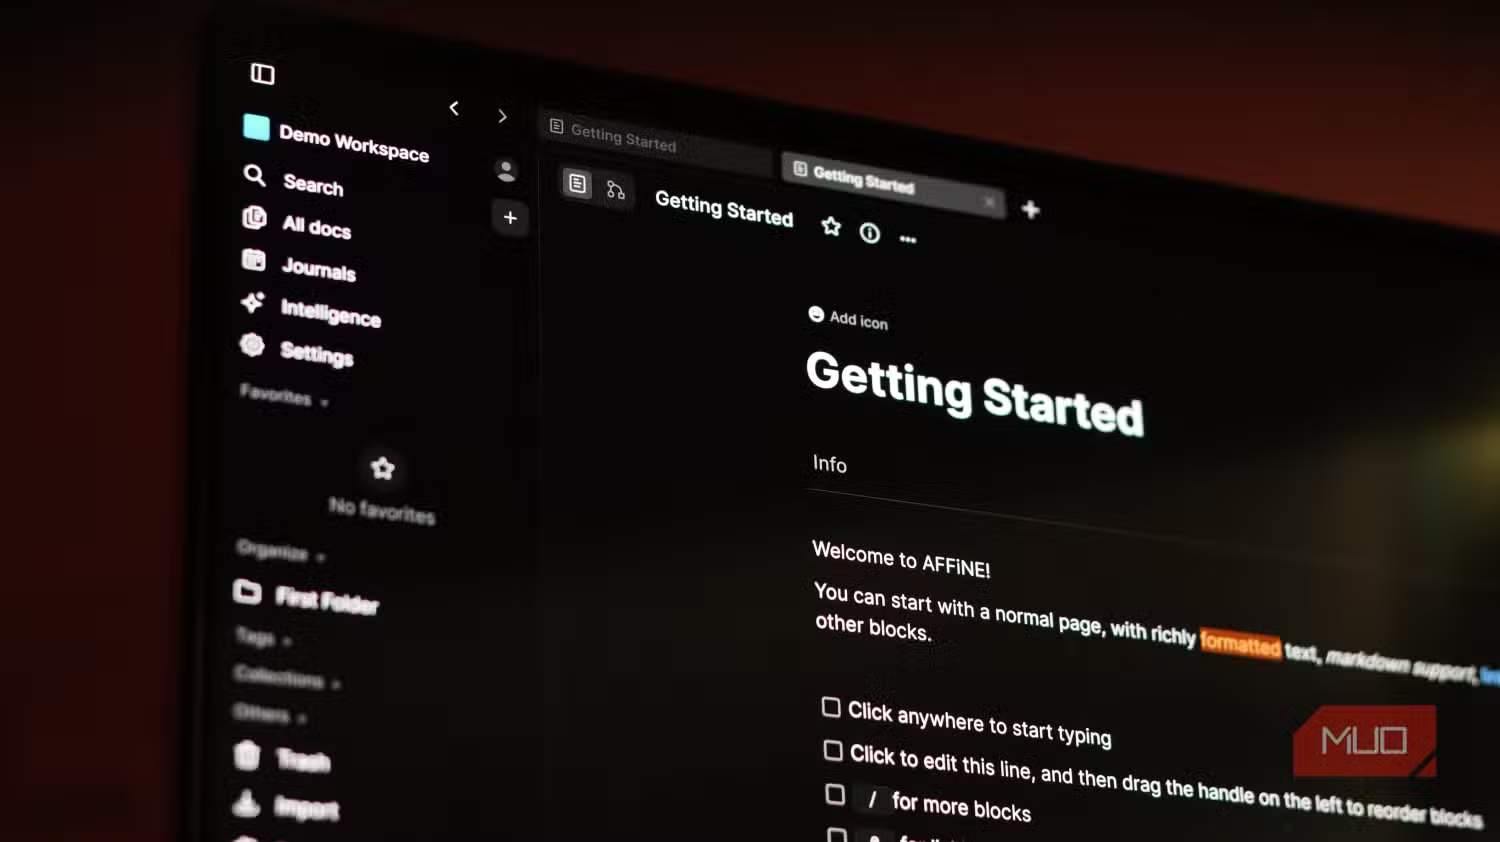
For personal cloud storage, containers like Nextcloud are designed to run in Docker and can be set up on almost any PC without needing beefy hardware. This handles your files while keeping them on your own disks. To organize your notes, tasks, and documents, a self-hosted container such as AFFiNE gives you a local-first Notion-style workspace that combines docs, whiteboards, and databases, and is among the best Notion alternatives you can self-host. According to the AFFiNE developers, deployment is straightforward with Docker Compose and requires PostgreSQL and Redis for storage. These three—smart home, files, and workspace—are enough to make the server feel like part of your daily workflow.
Privacy and Utility: Ad Blocking, Photos, and Images
Once the basics are running, add containers that quietly improve life across your whole network. Pi-hole is a self-hosted, open-source application that acts as a DNS sinkhole for your entire home network, blocking many ads and trackers at the DNS level. It, along with similar options like AdGuard Home, takes up basically no resources and runs perfectly in Docker on low-powered hardware. These tiny services fit the compact server setup idea well: they sit on the same mini PC, reduce bandwidth waste, and increase privacy without extra machines.
For photos, containers such as Immich benefit from powerful hardware but do not require it; you can run them on almost anything that has at least 6GB of RAM, making a spare laptop or desktop a perfect candidate. To process images, an open-source, self-hosted toolkit like SnapOtter packages resizing, cropping, compression, conversion, watermarking, and many more tools into a single Docker image that needs no external databases. SnapOtter’s stack compiles into one container, which suits limited-resource hardware well. Together, these self-hosted containers save subscription costs, keep personal data on your own disks, and support a low power home server that stays useful around the clock.
Step-by-Step: Turning a Mini PC into a Docker Homelab
Treat the mini PC like a shared appliance: one box, many services. Keep the steps simple and sequential so you do not paint yourself into a corner. The gotchas: disk layout (you will want space for containers and backups) and network access (plan where you need HTTPS or VPN). Assume you are comfortable following basic Linux tutorials; anything deeper, save for later. Here is one clean path that works for most compact server setups and keeps the machine efficient.
- Install a lightweight Linux distribution on your mini PC, using full-disk encryption if you care about physical security, and set a strong admin password.
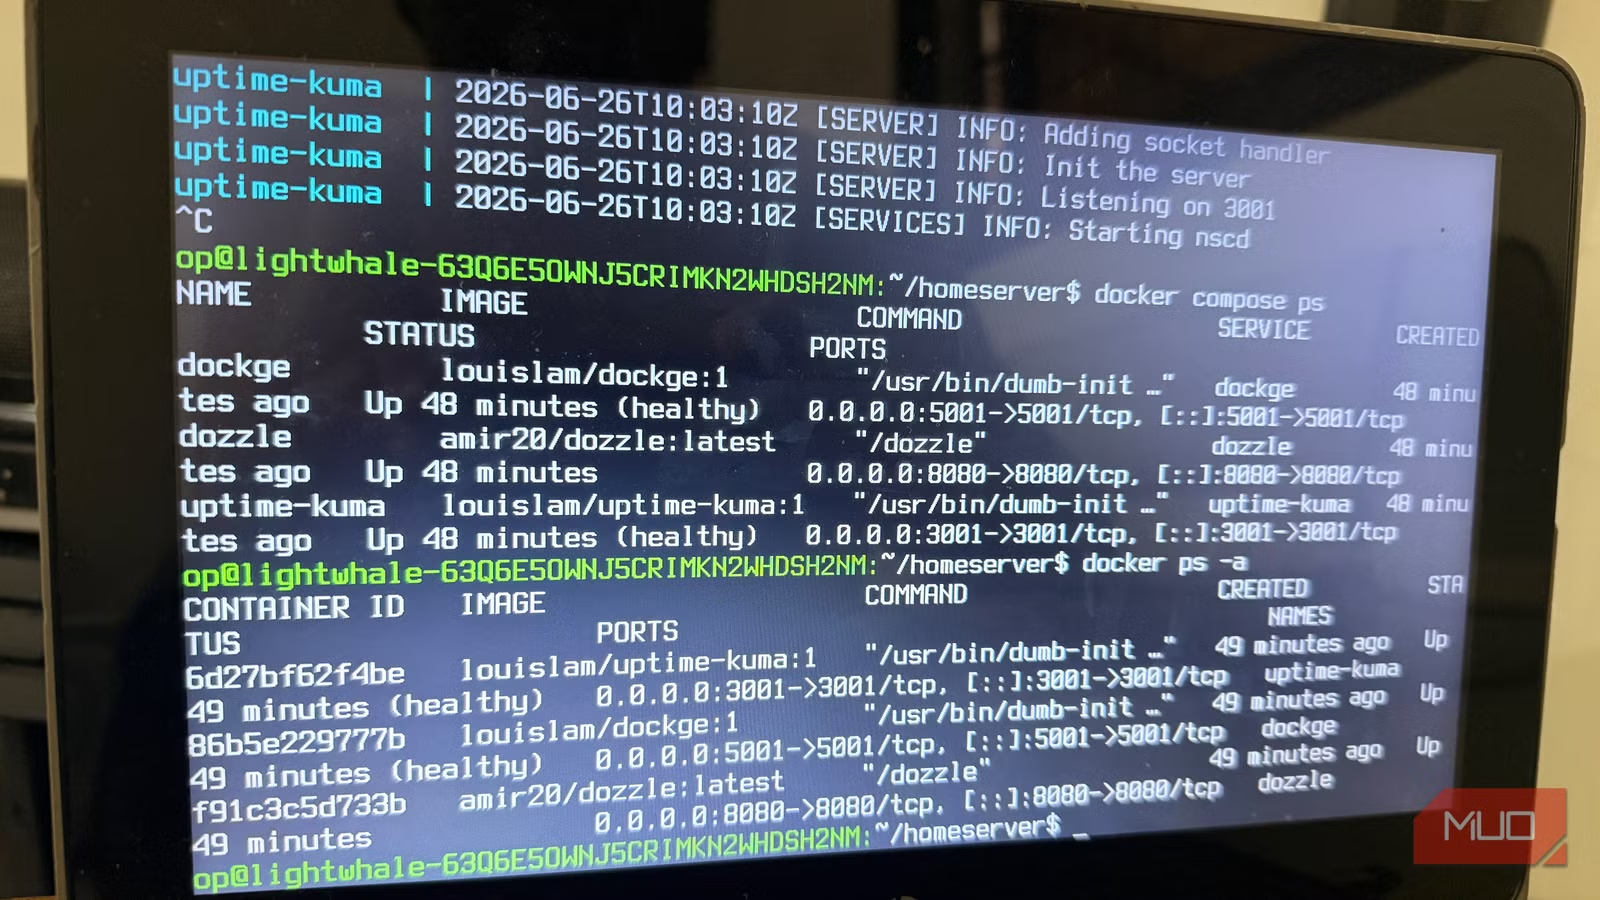
- Update the system packages, then install Docker and Docker Compose so you can manage multiple self-hosted containers from the command line or compose files.
- Create a dedicated "homelab" user and a base directory (for example /srv/containers) with subfolders for configs, data, and backups to avoid scattering files across the system.
- Deploy Home Assistant as a Docker container with mapped configuration storage so you can back up and later restore it to a dedicated system if you upgrade.
- Add a Dockerized file cloud like Nextcloud, pointing it at a data volume on a larger disk, and configure HTTPS via a reverse proxy container if you plan remote access.
- Use Docker Compose to deploy AFFiNE with PostgreSQL and Redis in the same stack so your notes, boards, and databases live locally on the mini PC.
- Attach a Pi-hole or similar DNS sinkhole container to your network, then point your router’s DNS to the mini PC to protect every device with low resource use.
- If your hardware has at least 6GB of RAM, deploy a photo container like Immich and an image toolkit container such as SnapOtter, placing their data on fast storage.
- Set up regular backups from your container data directories to an external drive, then monitor CPU, RAM, and disk usage so you know when to remove or tune containers.
Follow this order and you will grow the homelab in layers: platform first, daily services next, then nice-to-have extras. The sequence prevents a common problem where people start with heavy media stacks before securing storage and backups, which can overwhelm low-power hardware.
Is a Compact Docker Homelab Worth It Long-Term?
A home server is only as valuable as the services running on it, and these containers turn a hobby box into useful infrastructure. Many homelab services are optimized to run on few resources, so your compact mini PC can stay on 24/7 without acting like a space heater. The payoff is control and privacy: you host your smart home locally, keep files and notes on your disks, and filter network traffic at the DNS level, all without dedicated server-class hardware.
Self-hosting has never been this approachable: "these Docker containers don't just save money or help me avoid subscriptions; they allow control, privacy, and building a system that actually fits how you work and live." The main thing to watch for is scope creep. Docker containers enable resource-efficient self-hosting on compact systems with minimal power draw, but only if you resist piling on heavy, unnecessary services. Start simple, grow slowly, and your low power home server will remain stable, quiet, and worth the effort.