
Night Landscapes That Look Like Daylight: What’s Really Going On
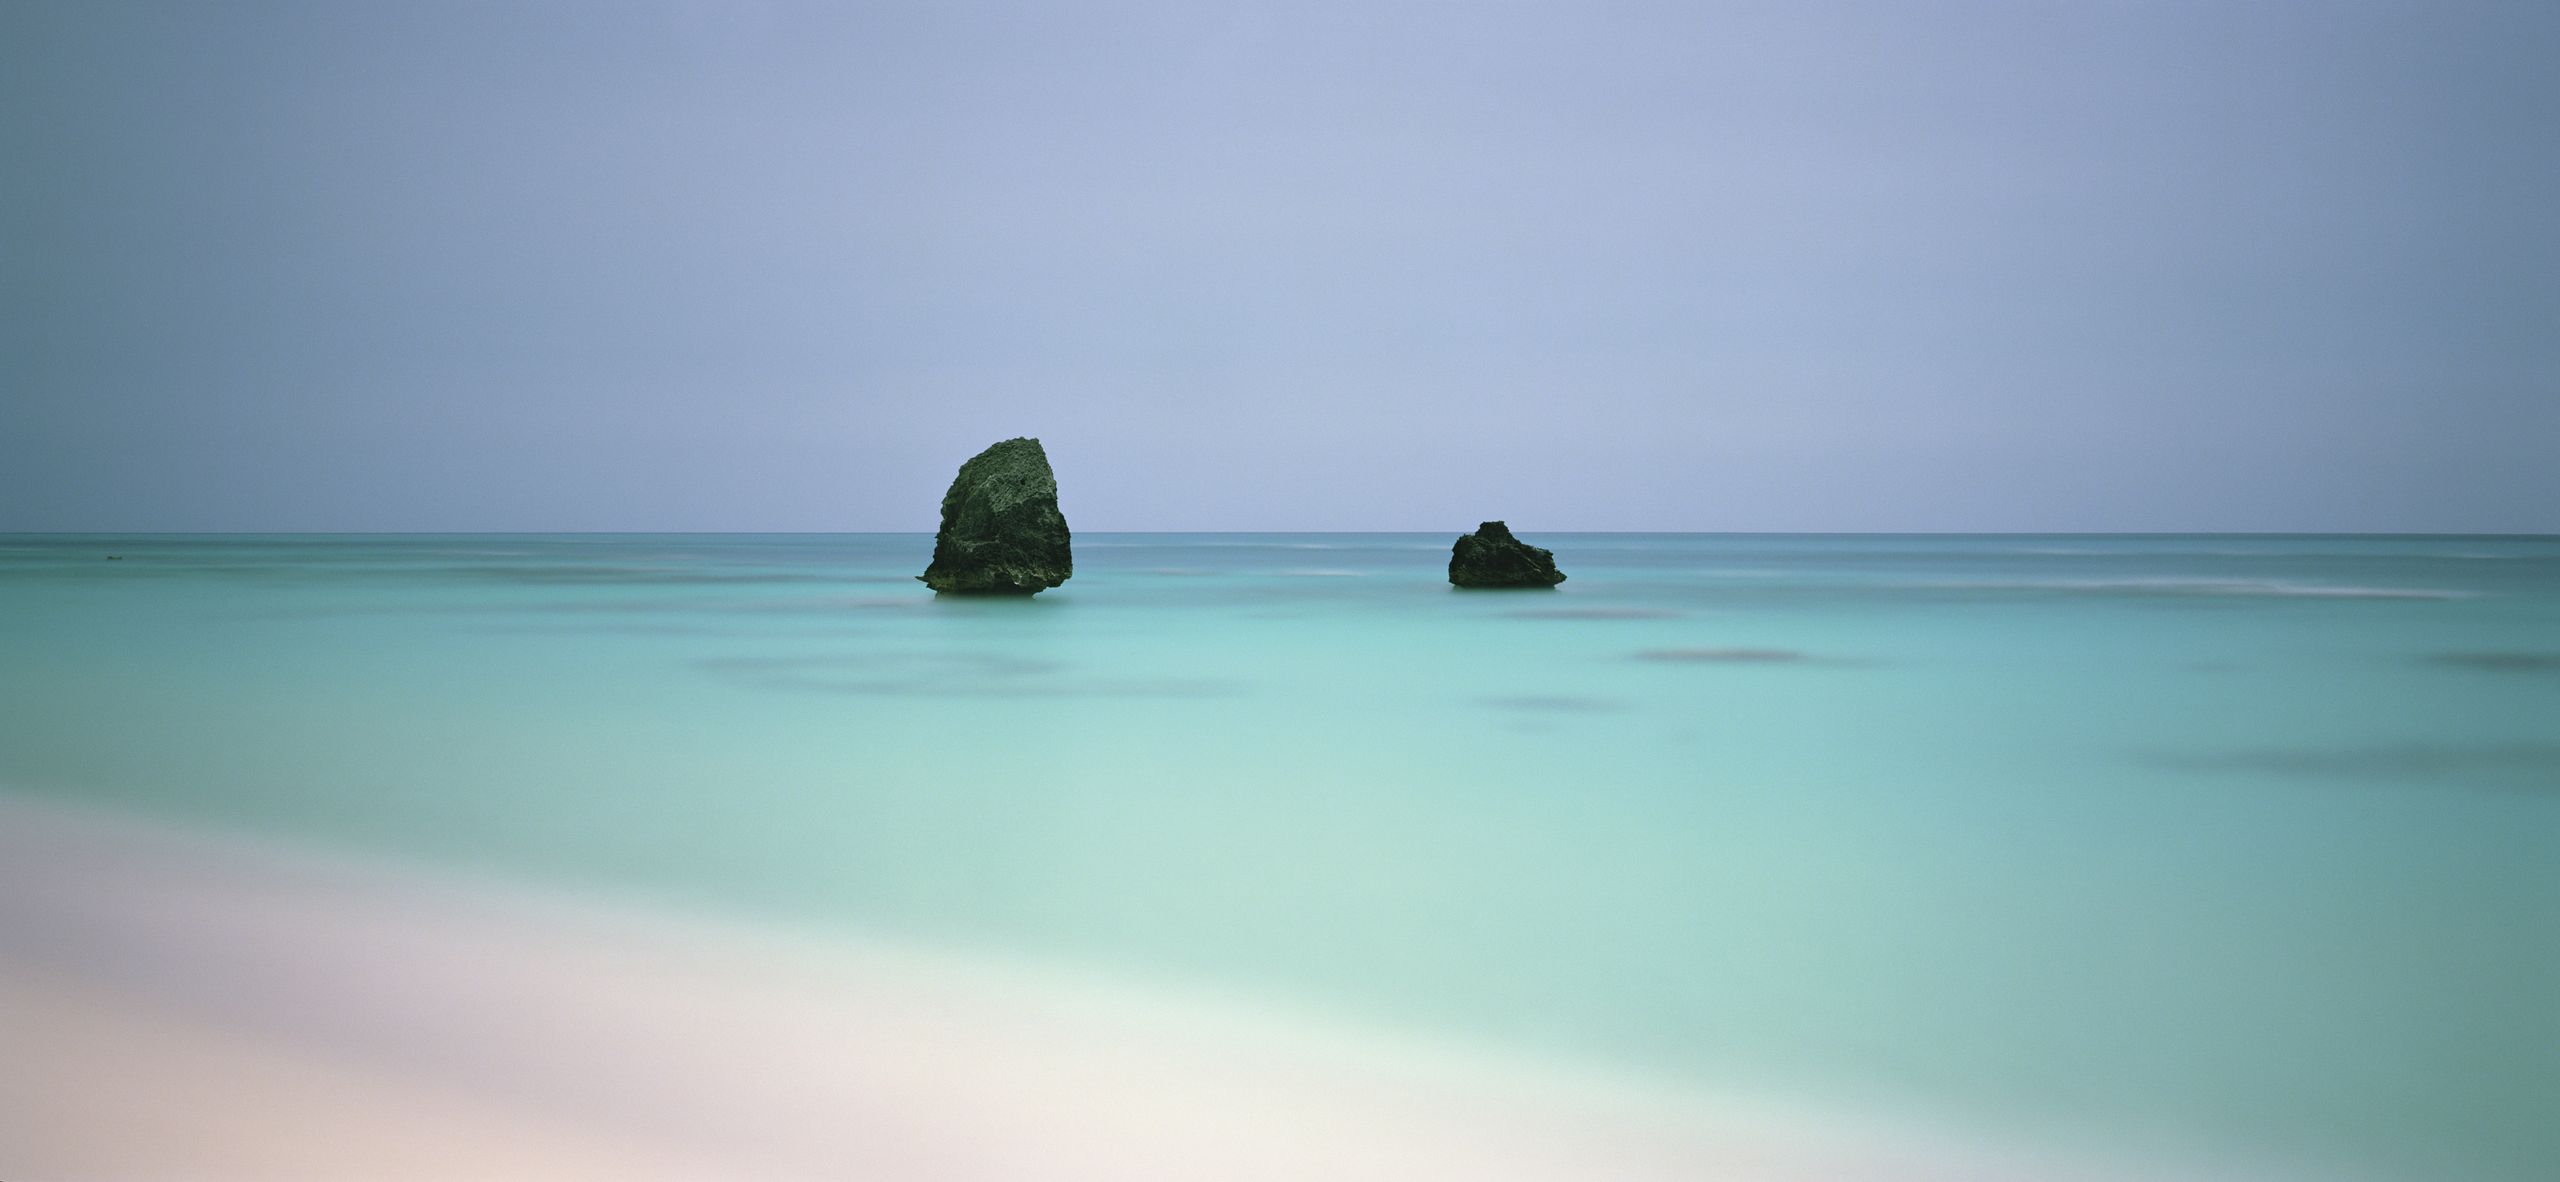
Night landscape exposure techniques use extended shutter times, carefully chosen apertures and controlled ISO to gather enough moonlight or starlight for full color, detailed images that appear daylit while still preserving the atmosphere of the night scene. Instead of accepting black frames, photographers exploit the camera’s ability to collect photons over time, turning faint nocturnal illumination into bright, readable landscapes. This approach demands patience, deliberate composition and precise timing, but it unlocks a visual world your eyes never see unaided. If you point a camera at a landscape lit only by the moon, the intuitive expectation is a near‑black image. Yet Darren Almond’s long exposure techniques prove the opposite: with quarter‑hour exposures or longer, the sensor keeps collecting light until the scene builds full color and tonal range, much like in daytime. The full moon becomes a usable light source rather than a distant subject, because exposure is ultimately a question of time, and time is free if you are willing to stand in the dark and wait.
The Daylight Illusion: Learning from Darren Almond’s Full Moon Method
If your night landscape exposure doesn’t aim for drama, it risks being nothing more than a technical exercise. Almond’s work shows why intent matters: he uses long exposure techniques to make famous landscapes under moonlight look as if they were shot in soft, overcast midday sun, even though they were captured in darkness. That illusion is not magic; it’s disciplined exposure and planning. His typical exposures run to around fifteen minutes or more, giving film or a sensor time to collect enough moonlit photons for full tonal range and color. According to the book description, "a full moon is a usable light source, not just a subject," weakened compared with sunlight by a factor of about 400,000. The catch is that tiny intrusions—a single set of car headlights or a drifting cloud—can wreck the frame with no chance of recreating that exact tide, season and moon position. This level of risk forces you to treat each shot as a one‑take performance: pre‑visualize the composition, lock down your tripod, and commit to waiting out the entire exposure without flinching.
Astrophotography Exposure Tricks: Separating Sky and Foreground
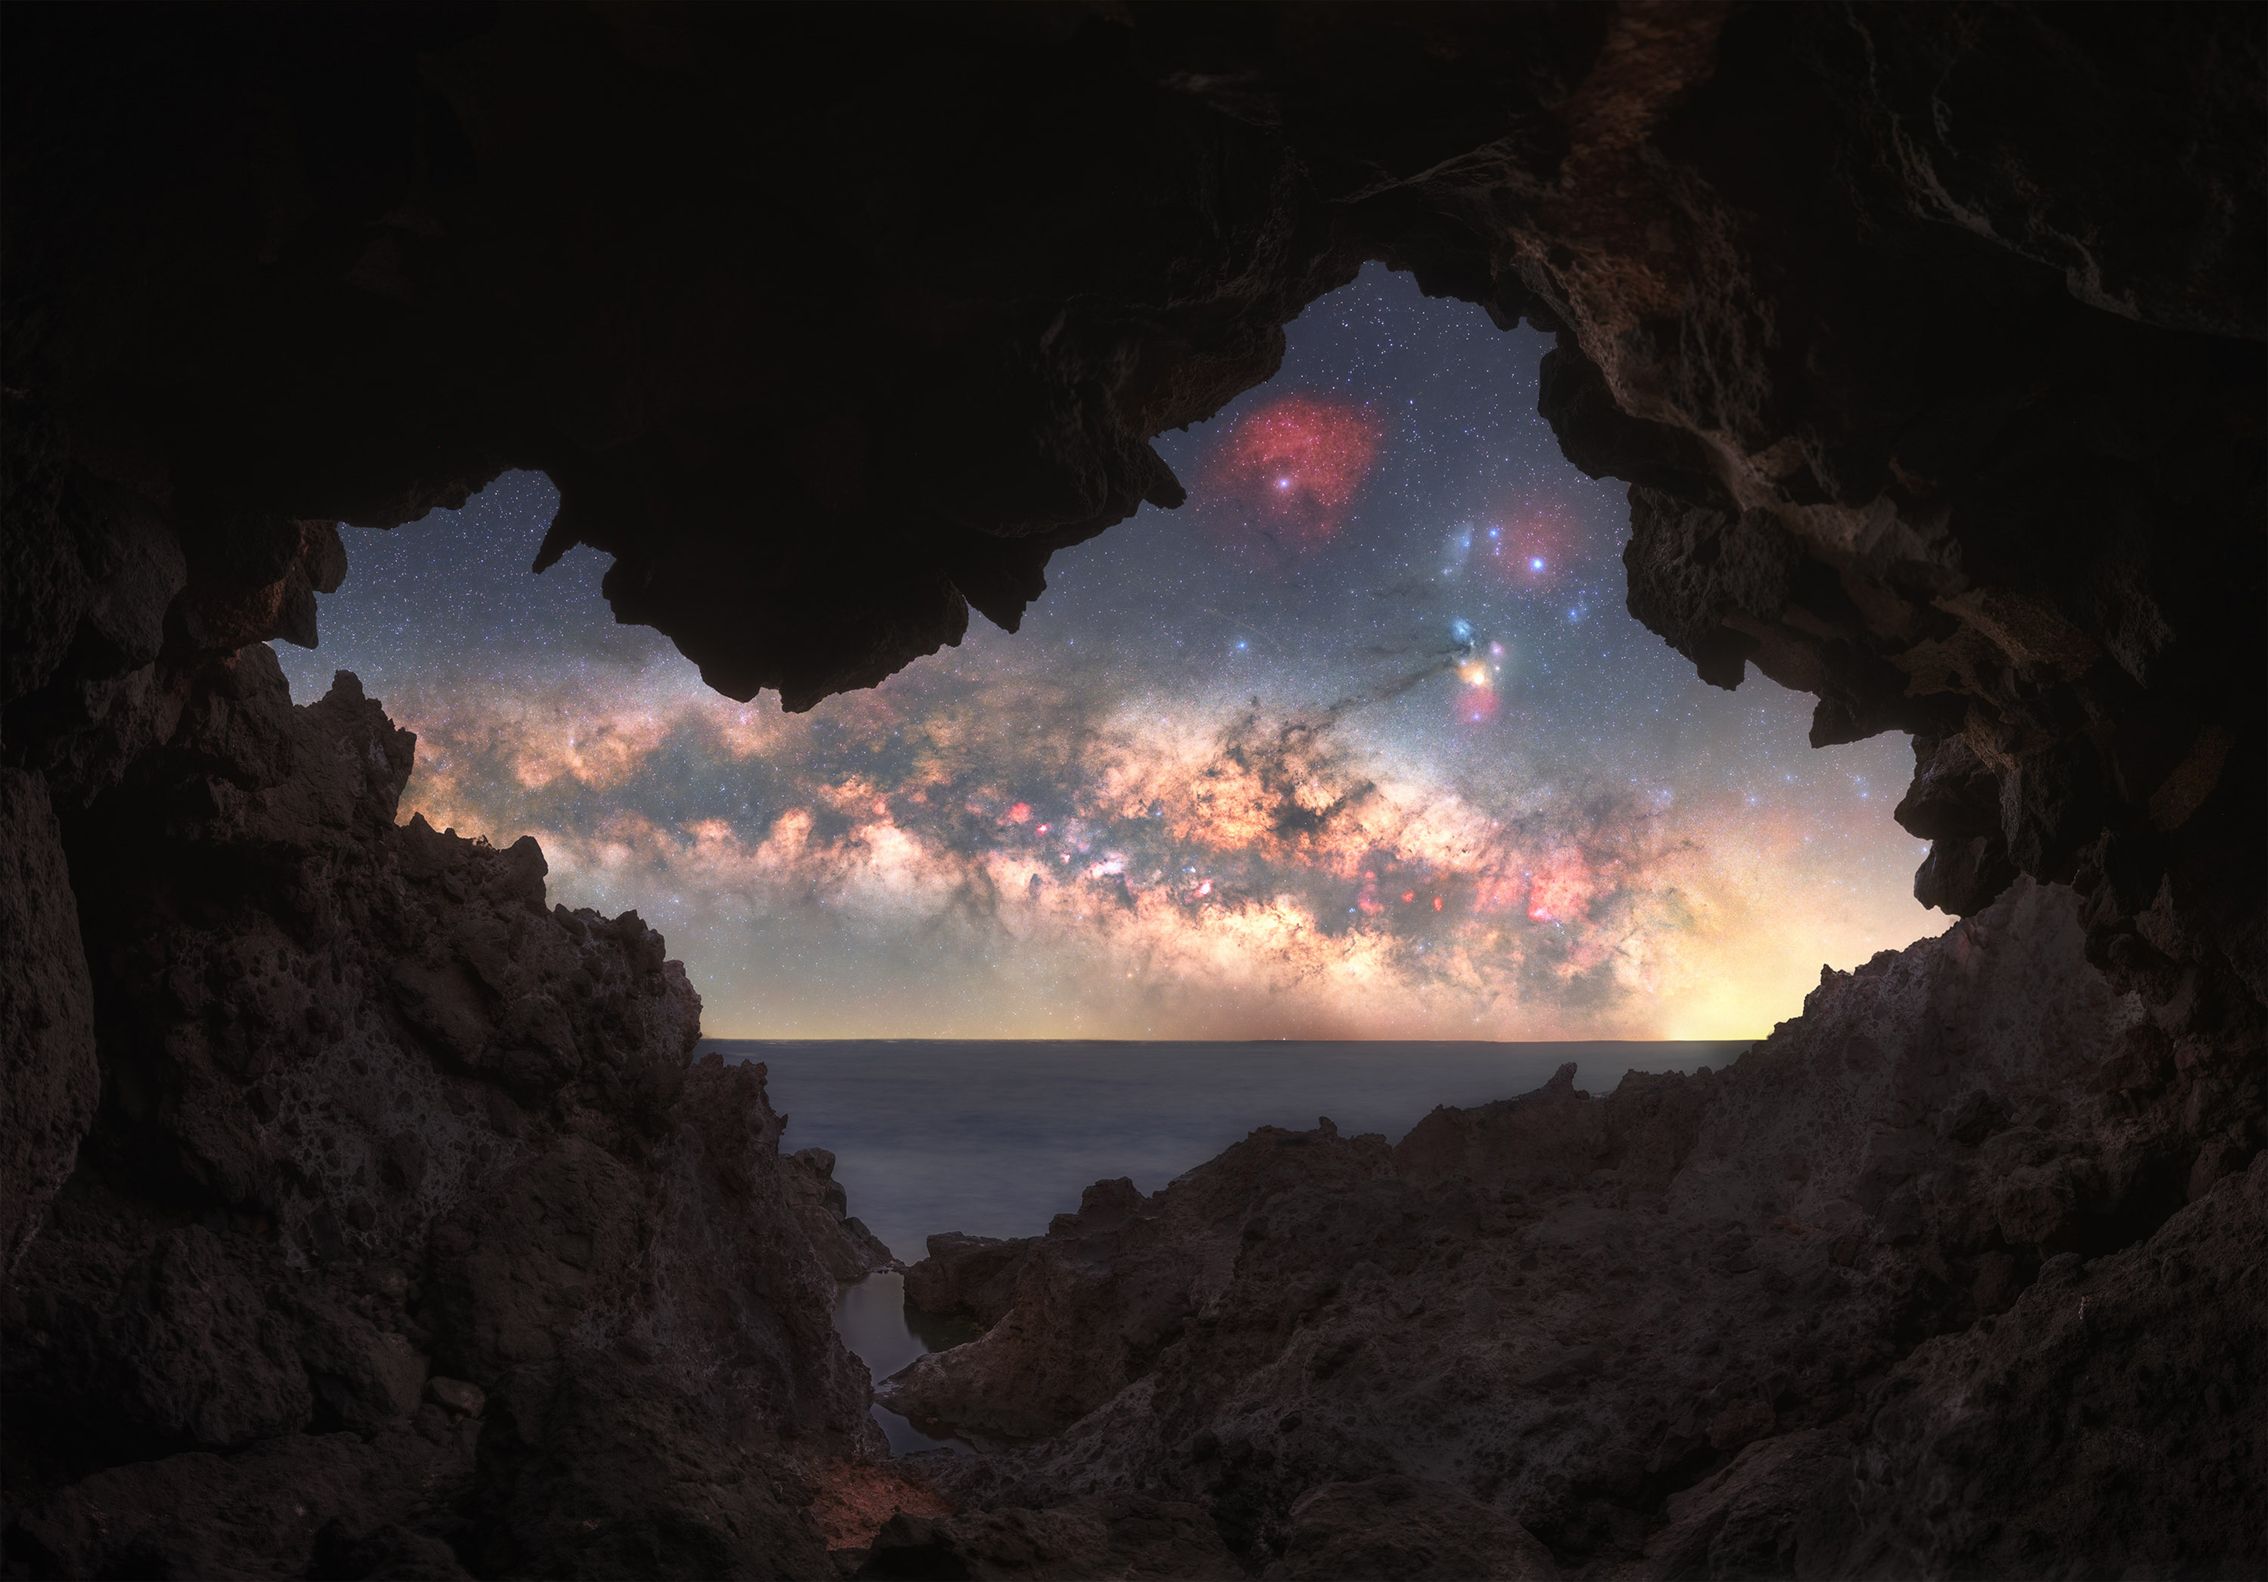
Serious long exposure techniques in astrophotography go beyond a single frame. Anastasia Gulova’s Milky Way image in a hard‑to‑find cave shows how separating sky and foreground lets you brighten the scene without flattening its night character. For the sky, she built a panorama of one row, six panels, and four frames per panel at 60 seconds, 35mm, f/1.8 and ISO 800. For the cave foreground, she used another panorama at 60 seconds, 16mm, f/4 and ISO 100, combining focus stacking and bracketing. Those astrophotography exposure tricks give independent control over texture in the rock and clarity in the Milky Way. Working in near‑total darkness, she stacked focus across the upper edge of the cave, the horizon, and the lower foreground, while the very brief blue hour offered little help. With the Milky Way low on the horizon, more effort in both capture and processing was needed to reveal its color and detail. Her method argues against relying on one “magic” night photography setting; instead, you build a scene from multiple, purpose‑driven exposures, each tuned to either stars or landscape.
Location Scouting: Why Unique Night Landscapes Matter More Than Gear
Exposure tricks alone won’t make your work memorable if you aim them at generic views. Both Almond and Gulova prove that location choice amplifies every technical decision. Almond’s project is elevated beyond a clever technique by his commitment to historically loaded sites: Alpine viewpoints sketched by Turner, mountains painted by Cézanne, Antarctic terrain crossed by Scott, volcanic islands studied by Darwin. Moonlit, those places gain a strange, unfamiliar presence that broad daylight has worn thin through endless repetition. Gulova pursued a cave that felt "unique and relatively undiscovered," spending almost four hours in intense heat and strong winds before finally finding it. She nearly abandoned the search, but that cave became the foreground for one of her most memorable Milky Way images. The lesson is blunt: if you are not prepared to suffer a little for a distinctive location, your night landscape exposure will likely resemble everyone else’s. Extended exposure settings let you sculpt light, but original compositions come from scouting, persistence and a willingness to walk away from the obvious viewpoint.
Finishing the Illusion: Post‑Processing That Respects the Night
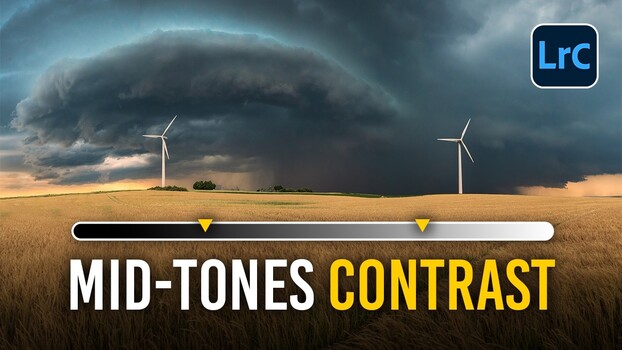
Extended exposure can make moonlit scenes look like daylight, but without thoughtful post‑processing, you risk bleaching away the night’s character. Gulova’s cave image under a low Milky Way demanded more effort not only at capture but also in processing to bring out color and detail. That is where careful luminance and tonal adjustments matter: lifting shadows to reveal foreground structure, easing highlights in the sky, and nudging color without turning the scene into a garish fantasy. The point is not to fake daytime but to reveal what the sensor recorded over those long seconds or minutes. When you treat moonlight as reflected sunlight gathered slowly, your night photography settings in‑camera and your choices at the computer form a single workflow. Respect the subtle gradients, keep star colors believable, and avoid crushing blacks out of habit. Do that, and your long exposure techniques will create landscapes that glow with an apparent daylight clarity while still feeling unmistakably nocturnal.