

What White Balance Does and Why It Matters
White balance in photography is the process of adjusting your camera or editing tools so that neutral areas appear without unwanted color casts, which restores realistic color or creates a deliberate mood by controlling how warm (yellow/orange) or cool (blue) the image looks in relation to the actual scene.
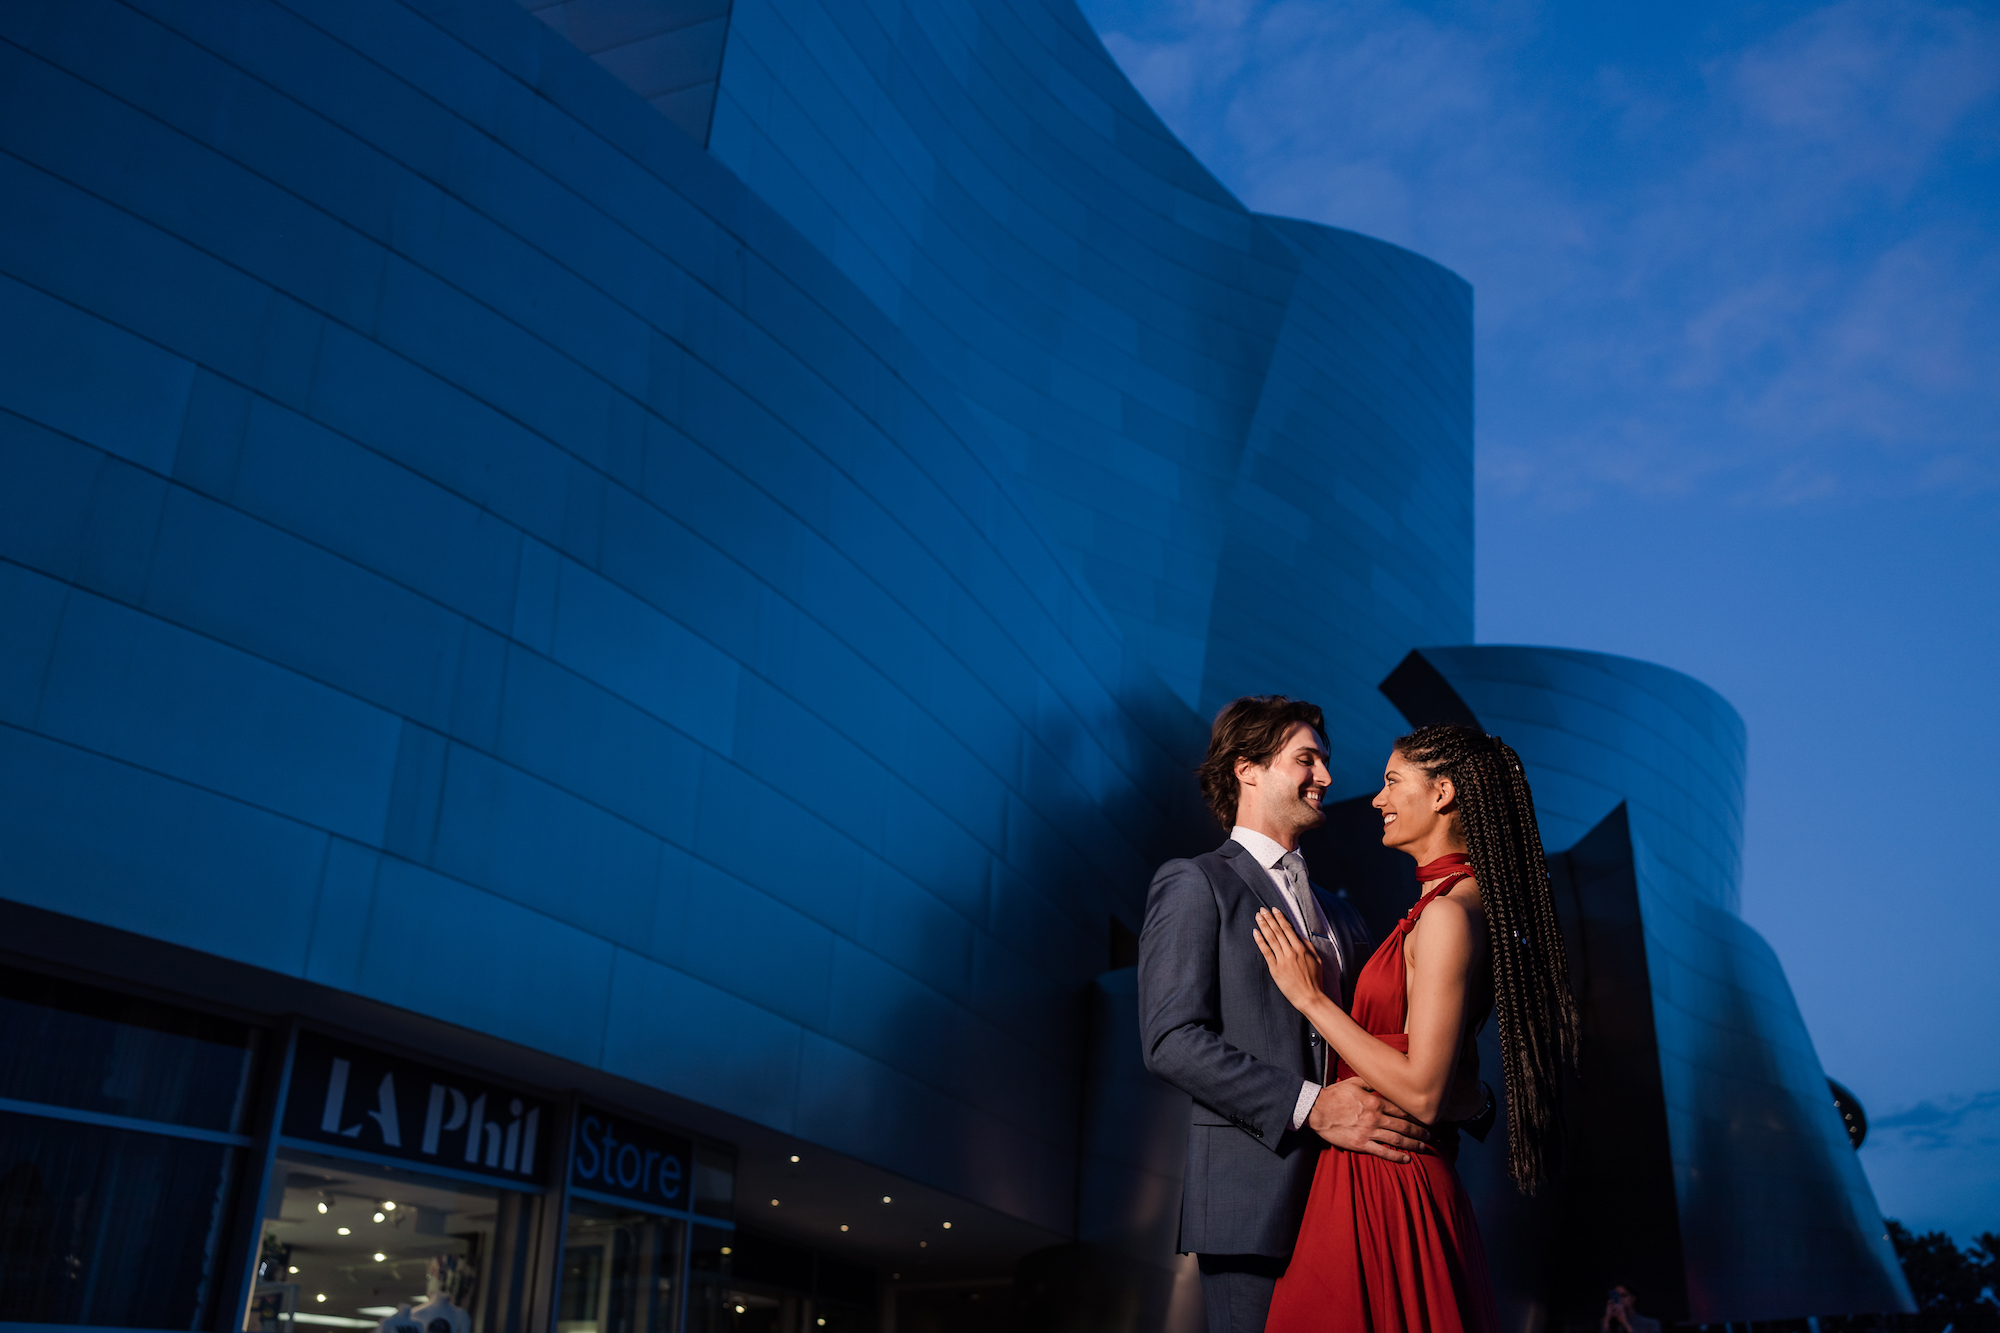
Think of white balance as the fourth key setting after shutter speed, aperture, and ISO, because it defines the neutral point from which all other colors are judged. Different light sources have different color temperatures, measured in Kelvin: low values (around 3000 K) look warm and yellow, midday sun around 5000 K looks neutral, and shade or heavy cloud above 6000 K looks cool and blue. Warm tones feel cozy and intimate; cool tones feel crisp or distant. You can use that for mood, but if you want a scene to look as the eye saw it, you need accurate color temperature control.
To follow this guide properly, two things help: you should be comfortable changing basic camera settings, and you should shoot RAW whenever possible. For complete white balancing flexibility in editing, you must shoot in RAW, because JPEGs allow limited adjustments while RAW files let you completely set and reset white balance without destroying the file.
Dialing In In-Camera White Balance for Cleaner Files
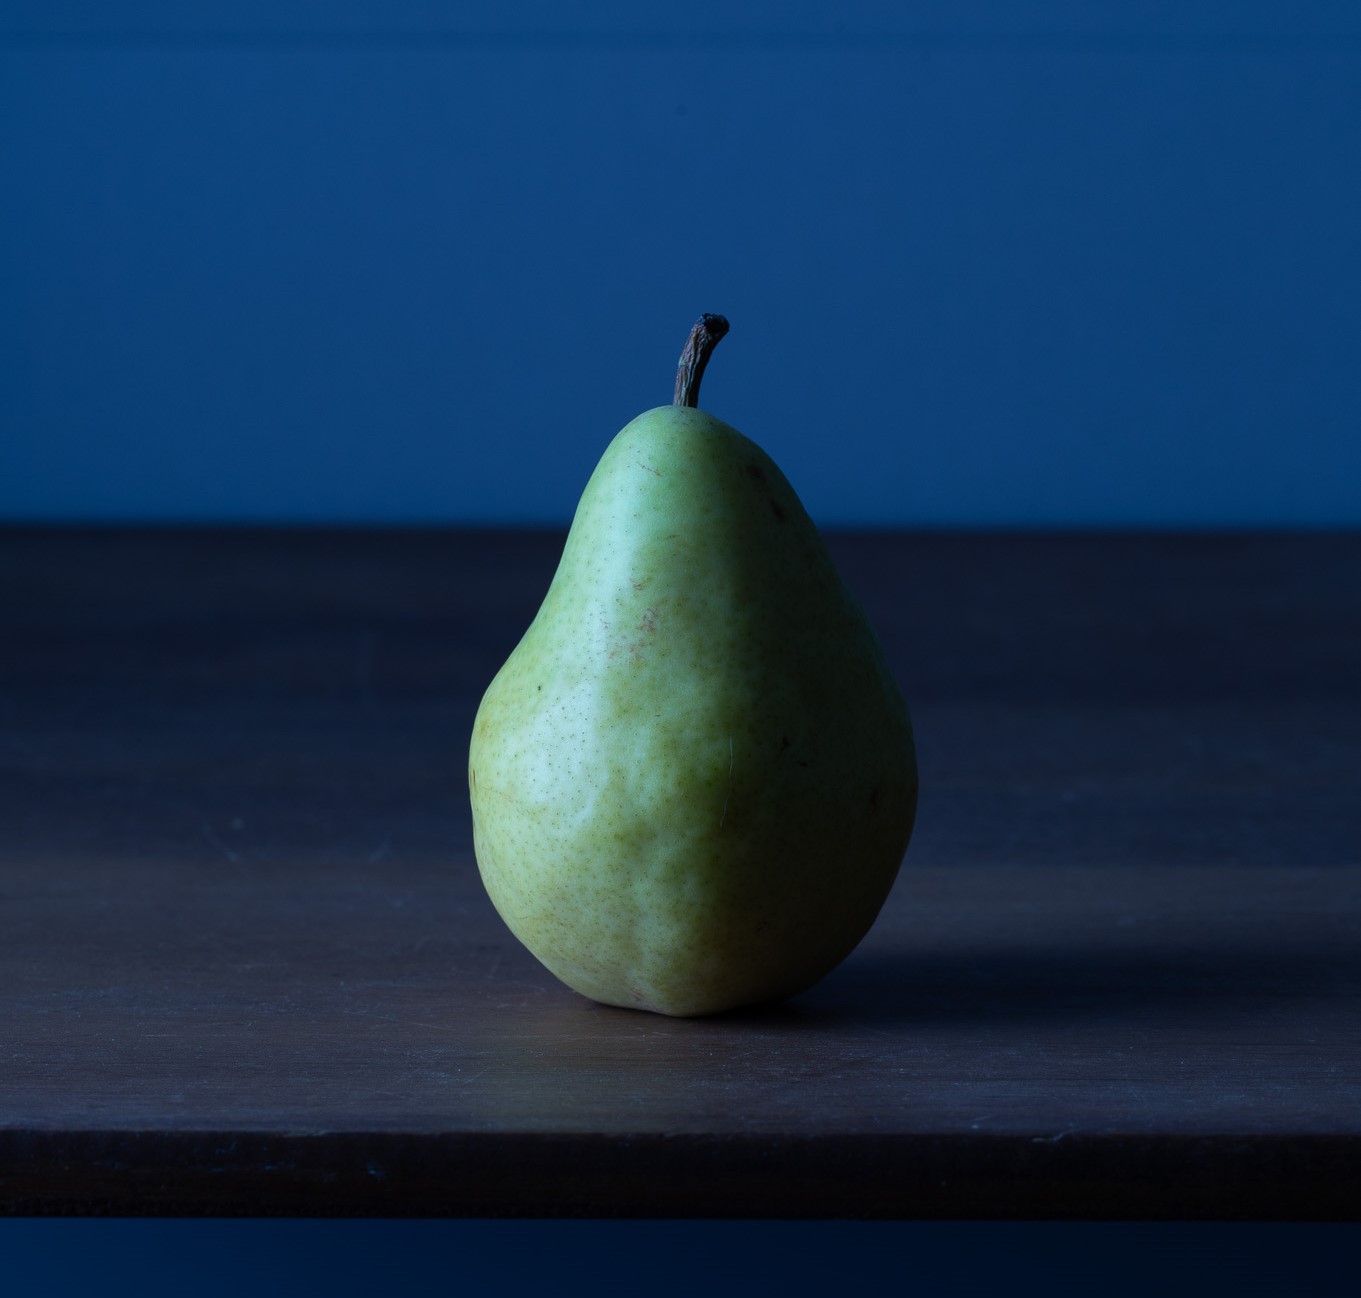
Even though you can correct color later, getting close in-camera saves time and keeps your previews accurate for you and for any client peeking at the back of the camera. Most cameras let you change in-camera white balance via a menu or shortcut button. You’ll see icons for common situations plus options for custom presets and a Kelvin (K) scale. The K setting is key for precise color temperature control, because raising the Kelvin value makes the image more orange, while lowering it makes the image more blue.
Start by matching presets to your light: Sunny for clear midday, Cloudy for overcast, Shade under trees, Tungsten/Incandescent indoors with warm bulbs, and Flash when your strobe dominates. These modes tell the camera what color the light is so it can compensate. When you need finer control, switch to Kelvin and nudge up or down until whites look neutral. Remember that in mixed lighting (for example, window light plus orange lamps) no single setting will be perfect everywhere in the frame, so decide which area matters most and prioritize that.
Step-by-Step Workflow: Camera → Lightroom → AI
Here is a practical end‑to‑end workflow that takes you from setting in-camera white balance through correcting it in Lightroom and finishing with AI photo correction when needed. Follow these steps in order; each stage builds on the previous one.
- Set in-camera white balance: On your camera, open the white balance menu and choose the preset that matches your light (Sunny, Shade, Cloudy, Flash, etc.), or choose Kelvin and adjust until whites look neutral on the LCD.
- Shoot RAW files: Enable RAW capture so you can change white balance freely in post without degrading the file and handle mixed lighting more flexibly.
- Import into Lightroom (or similar): Bring your RAW files into your editor. In the Develop module, use the white balance eyedropper on a neutral gray or white area, then fine-tune using the Temperature and Tint sliders to remove color casts.
- Sync white balance across similar images: Once one photo looks right, apply or sync that white balance to matching shots from the same scene so everything stays consistent.
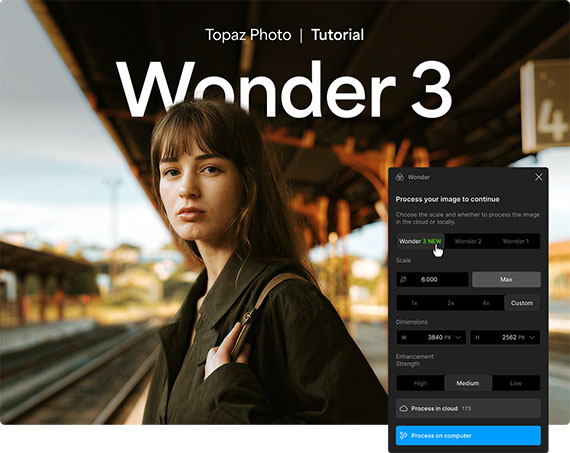
- Launch Topaz Photo AI: Open Topaz Photo AI on your computer and confirm you’re using the latest version so the Wonder 3 model is available.
- Import the corrected image: Drag and drop your photo into Topaz Photo AI or click Browse to select it from your drive; RAW files are supported.
- Select the Wonder 3 model: From the enhancement models, choose Wonder, then Wonder 3, which combines upscaling, sharpening, and noise reduction into one workflow.
- Adjust enhancement settings: Set the Scale slider if you want to enlarge the image and use the Strength control to fine-tune the effect, checking the before-and-after preview for a natural look.
- Process and export: Click Process to run the enhancement locally or in the cloud, then save your final image with both color and detail cleaned up.
Done well, the expected result is that white balance corrections remove unwanted blue or yellow casts so colors match real life, and the Wonder 3 model makes photo enhancement straightforward: you sharpen, denoise, and upscale in one step while preserving realistic detail. The main gotcha is relying on a single tool to fix everything. If you ignore in-camera white balance and shoot JPEG, you’ll have far less room to fix color later, and no amount of AI can fully recover detail or color that was never recorded.
When to Use Camera, Lightroom, or AI for White Balance
You now have three layers of control: in-camera white balance, editing tools like Lightroom, and AI photo correction. Each suits different situations, and learning when to lean on which one will keep your workflow efficient. According to one updated guide, white balance used to be a purely manual decision, but AI assistance now plays a bigger role in how photographers handle color across large sets of images.
Use in-camera white balance when you want good-looking previews, fast turnaround, or you are shooting JPEG-only. Use Lightroom when you care about consistent, accurate color across a session and want the control of eyedroppers, Temperature, Tint, and batch syncing to fix white balance in Lightroom for whole shoots. Use AI photo correction tools when you also need to fix noise, softness, or low resolution along with subtle color issues, as Topaz Photo AI’s Wonder 3 can sharpen, reduce noise, and increase resolution in a single pass. So while both post-processing and in-camera white balancing are valid, you’ll end up choosing the mix that fits your shooting conditions and how much time you want to spend at the computer.
The takeaway: learning white balance photography is worth the effort because it gives you control over whether a scene looks natural or stylized. Think of in-camera settings as your foundation, Lightroom corrections as your fine-tuning, and AI tools as your problem-solver when files are noisy, soft, or small. If you stay mindful of color temperature and shoot RAW when you can, you’ll have all the flexibility you need to keep your images looking the way you intended.