
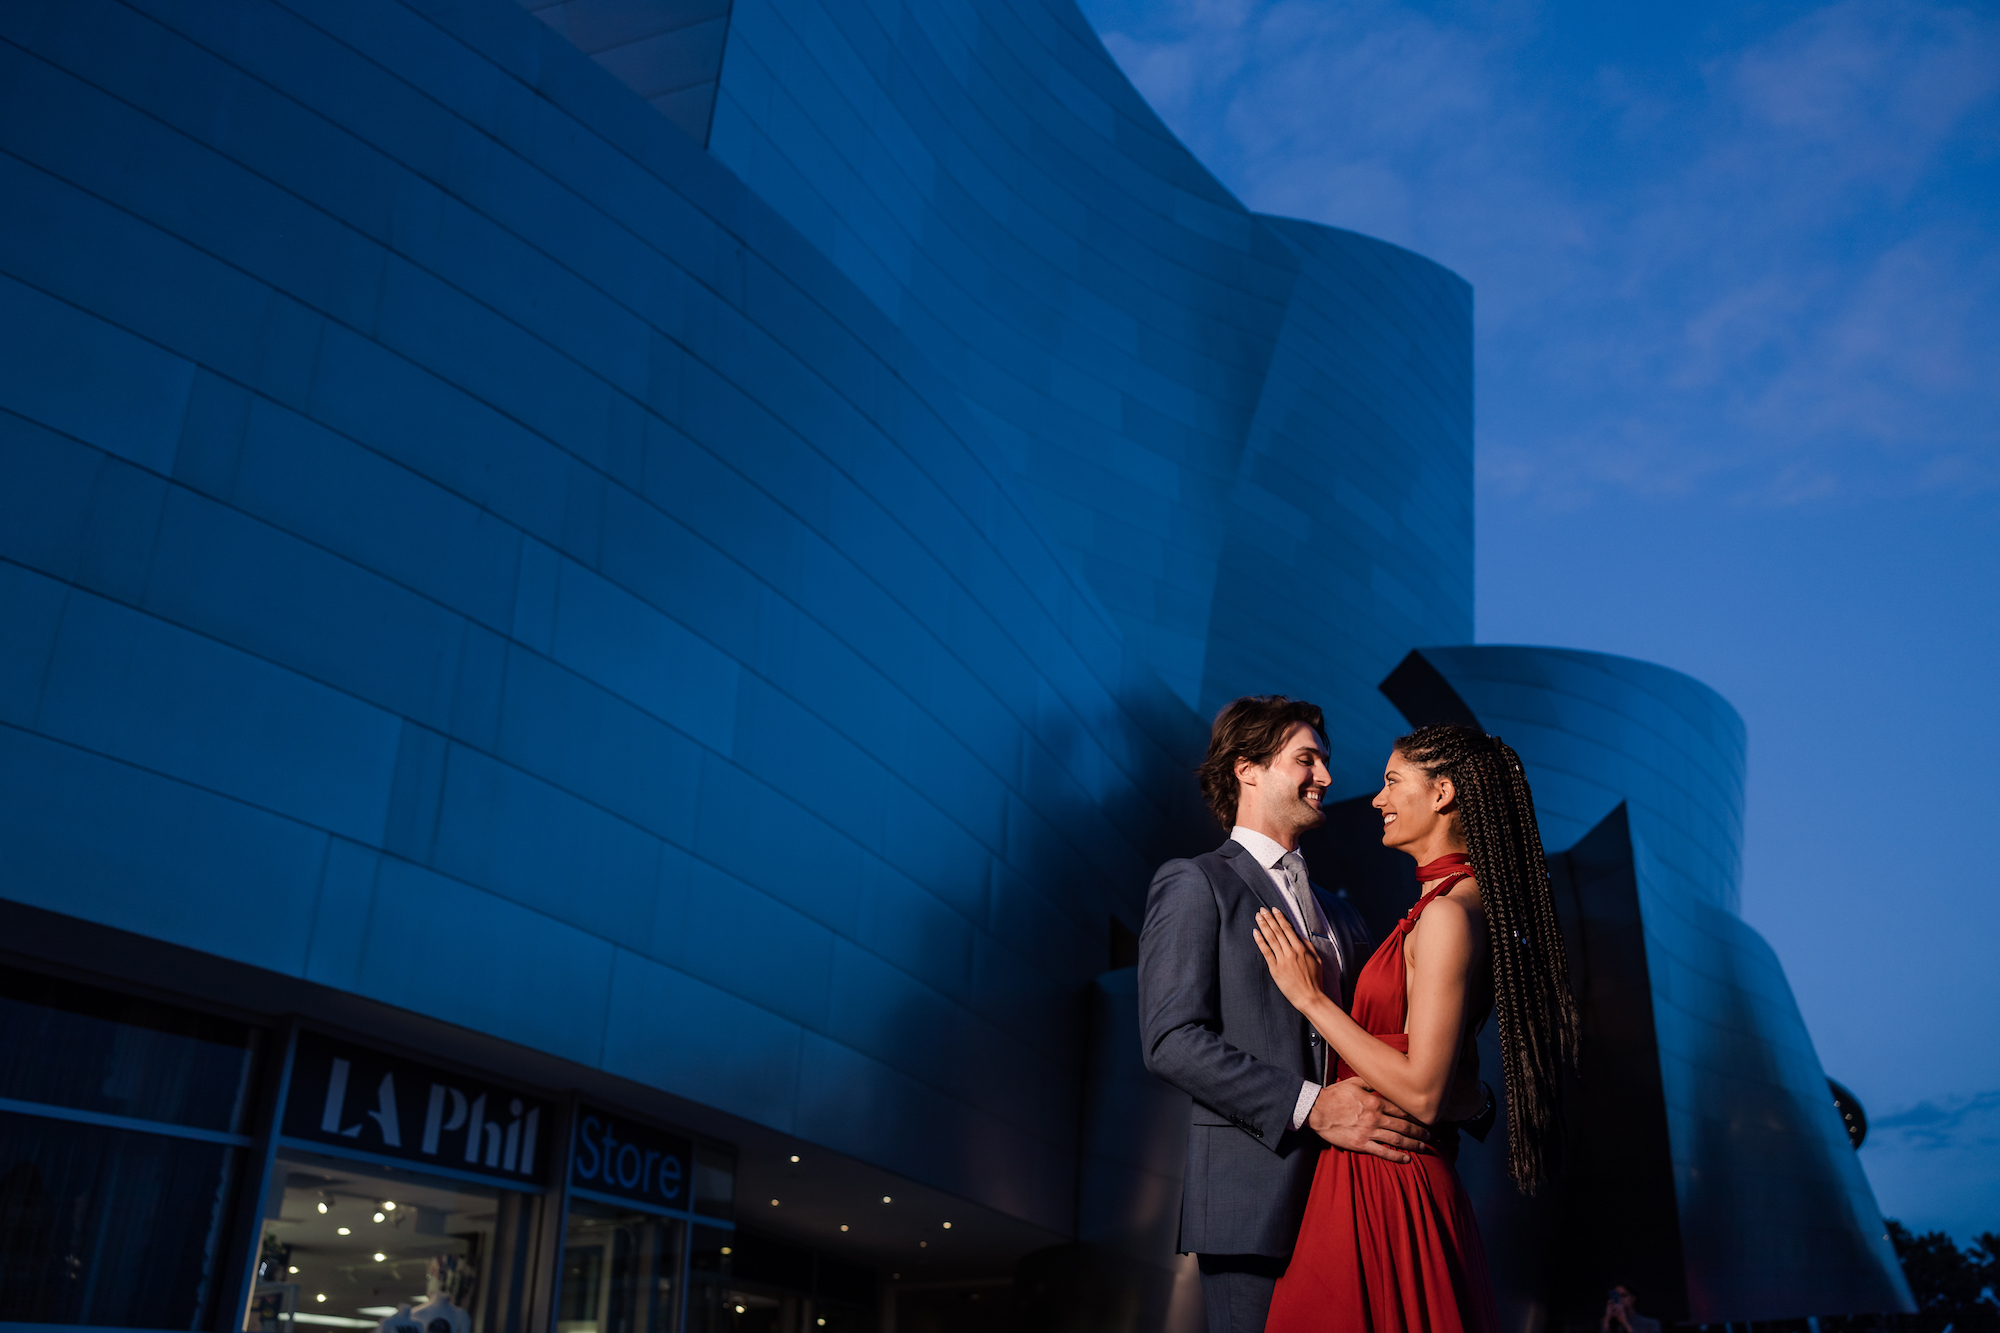

What White Balance Is and Why It Matters
White balance in photography is the process of neutralizing color casts from different light sources so that whites look neutral and all other colors appear as they do to the human eye, instead of turning too orange, yellow, or blue.
If you have ever shot indoors under orange household bulbs or in a blue-looking patch of shade and wondered why your photos do not match what you saw, you have run into white balance. Cameras are smart, but Auto White Balance (AWB) is not magic and does not always give the look you want, especially indoors or at night. For full control in post, you also need to shoot RAW, because RAW files let you reset white balance completely, while JPEGs offer only limited correction and can break down if you push them too far. Think of white balance as the “fourth” core setting after shutter speed, aperture, and ISO: it decides the neutral point that everything else in your image is built on.
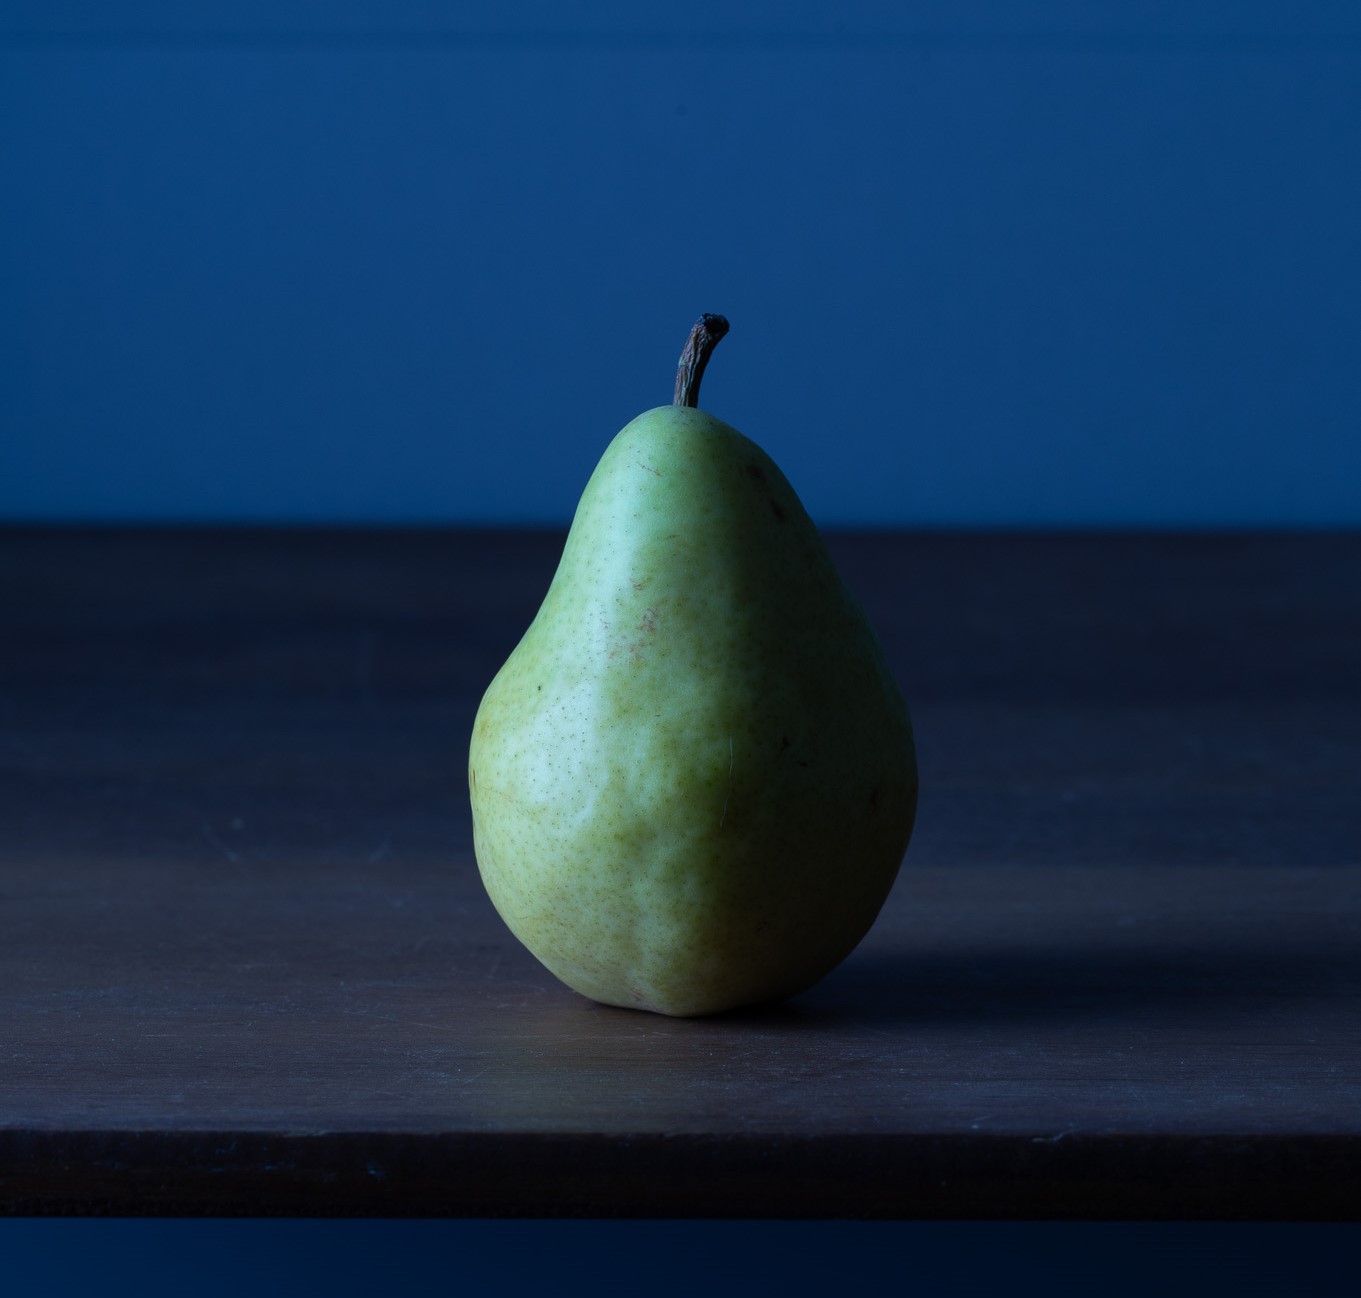
Understand In-Camera White Balance Settings and Kelvin
Before touching Lightroom, you need to know what tools your camera gives you. Most cameras let you choose in-camera white balance settings such as Auto, Daylight, Cloudy, Shade, Tungsten, Fluorescent, and Flash. In their simplest use, you match the icon to your scene: sun for midday sun, cloud for overcast, the bulb for tungsten lamps, and so on. These white balance presets are fast and often good enough for casual work, but they are only approximate and will not always produce a perfect result. The big trap is relying on AWB for everything; it tends to work in daylight but can fail badly indoors or at night, giving you strange color shifts and extra work later.
For more precise color temperature control, cameras add a Kelvin (K) mode, which is the unit used to describe the color of light. Warmer sources like candles or a setting sun sit around 3000 K, neutral midday sun is roughly 5000 K, and cooler light from clouds or shade runs 6000 K and beyond. It feels backwards, but lower numbers look warm and orange, while higher numbers look cool and blue. If you scroll your camera’s K setting down toward 2500 K and shoot, you will see a blueish frame; push it up to around 10,000 K and your image will go very orange, depending on the scene light. Learning this relationship turns white balance from a fight into a creative choice—whether you prefer your photos slightly warmer or cooler than “accurate.”

Step-by-Step: Set White Balance In-Camera and Fix It in Lightroom
Here is a simple, practical sequence you can follow from shooting to editing so that your white balance photography workflow stays under control instead of turning into a rescue mission.
- Set your camera to shoot RAW so you have complete flexibility to set and reset white balance during editing, instead of being limited by the small adjustment range of JPEGs.
- Before each scene, pick the closest preset in your in-camera white balance settings (Daylight, Cloudy, Shade, Tungsten, Fluorescent, or Flash) rather than relying blindly on Auto, especially indoors or at night.
- For tricky or mixed lighting, create a custom white balance by photographing a white or neutral gray target and selecting that image in your camera’s custom WB menu; on some bodies you can even white balance directly off a gray card in front of the lens.
- If your camera supports Kelvin, dial in an approximate color temperature—around 5000 K for midday sun, higher K for cooler-looking light, lower K for warmer-looking light—then shoot and refine based on how neutral or creative you want the result.
- During the shoot, leave AWB enabled only when you know Lightroom will handle the final look, and you do not mind spending extra time on batch correction later; remember the more post-processing correction you need, the longer your workflow becomes.
- Back at your computer, import the RAW files into Lightroom and use its white balance eyedropper on a neutral area in one frame to remove obvious color casts, then fine-tune with the Temperature (blue–yellow) and Tint (green–magenta) sliders.
- Use Lightroom’s AI-assisted white balance fix tools such as Match Color and subject-aware features to sample skin tones or neutrals across a whole shoot, then sync that correction across similar images so you avoid repeating the same manual slider moves over and over.
The main gotcha in this flow is mixed lighting: for example, tungsten lamps plus window light or flash in a tungsten room. No single white balance setting can make every part of that scene perfect, so your aim is to get close in-camera—so the client preview on the back of the camera looks good—and then let Lightroom’s AI tools and local adjustments handle the remaining compromises. You can also white balance one or a few key shots and then sync those settings across the rest, which is far more efficient than fixing each image by hand.
Common Mistakes and How to Avoid Them
Two mistakes show up again and again. First, leaning on Auto White Balance for everything. Cameras are good at guessing daylight color temperature but far less reliable indoors or at night, where AWB can produce unstable or ugly results from frame to frame. The second mistake is treating post-processing as an unlimited safety net. While shooting in RAW does give you full control later, heavy color correction stretches your workflow and can be tedious across hundreds of files.
White balance presets tempt you to stop learning because they do an “okay” job with one click, yet they are only approximate and often do not give truly accurate color. A better habit is to start with the closest preset, refine with Kelvin when needed, and only then use Lightroom to make targeted refinements. Remember, white balance is not only technical: “Having said that, there is indeed such a thing as ACCURATE White Balance. Colors that appear to correctly represent what the human eye thinks it is seeing.” Once you can hit accurate color on demand, any warm or cool bias you add becomes a deliberate stylistic decision instead of an accident.
Putting It Together: Creative Control from Capture to Final Image
When you combine thoughtful in-camera white balance with modern Lightroom white balance fix tools, you gain full control over both technical accuracy and creative style. You can set a neutral baseline during capture so clients and collaborators see realistic color on the camera screen, then use RAW-based editing to fine-tune or stylize those colors without quality loss. You can also white balance in two broad ways—before shooting or afterward—and both are valid, as long as you understand their trade-offs and pick the one that fits the job.
Understanding Kelvin values gives you an intentional way to steer your images warmer or cooler instead of fighting random color shifts. AI-assisted tools do not replace that understanding; they complement it, handling repetitive corrections and batch work more reliably than older manual methods. The payoff is simple: your photos show accurate, true colors when that is the goal, or consistent, expressive color when you choose to push the mood. Keep an eye on mixed lighting and on how much you are asking software to fix after the fact, and white balance will become something you control instead of something that surprises you.