
Why Build a Modern Gaming PC Yourself
A modern gaming PC build is the process of selecting compatible parts, assembling them into a case, configuring firmware and software, and tuning performance so that you end up with an upgradable desktop that matches your budget and gaming needs better than most prebuilts. Learning how to build gaming PC hardware today gives you full control over component quality, future upgrades, and performance tuning from day one.
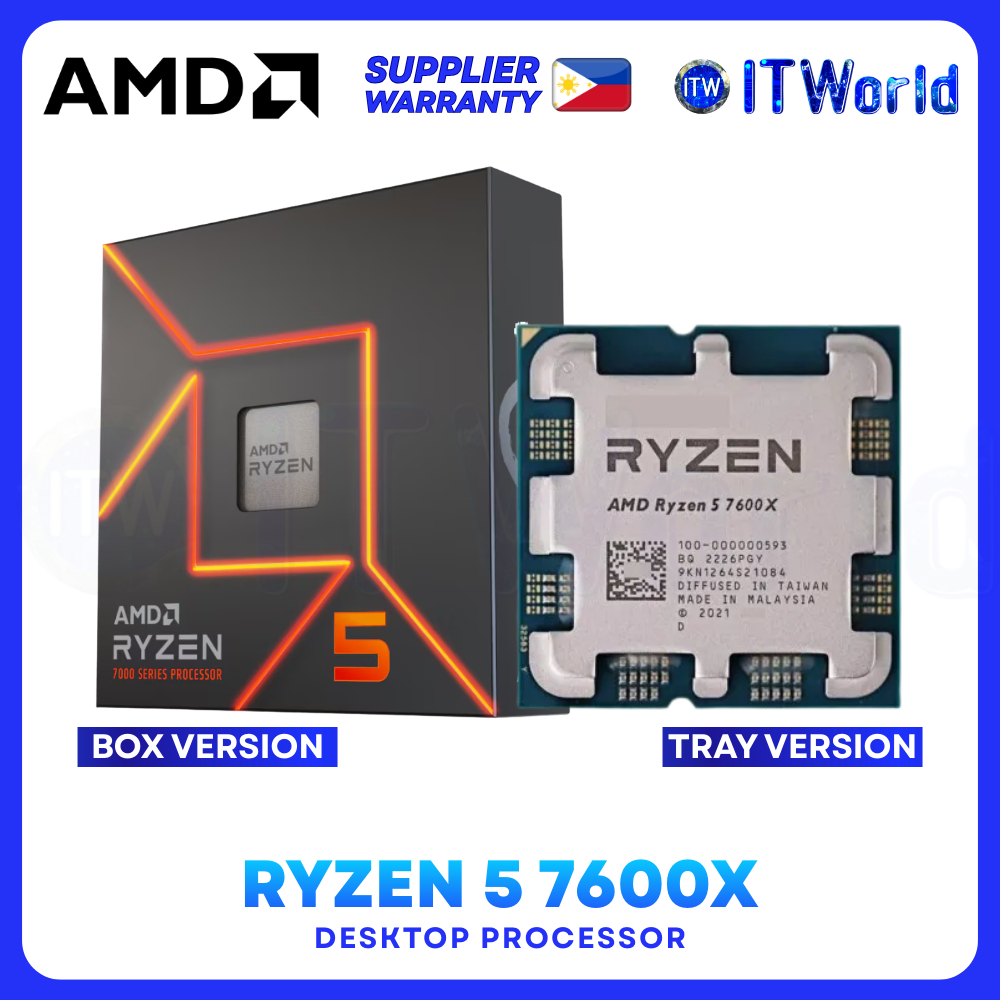
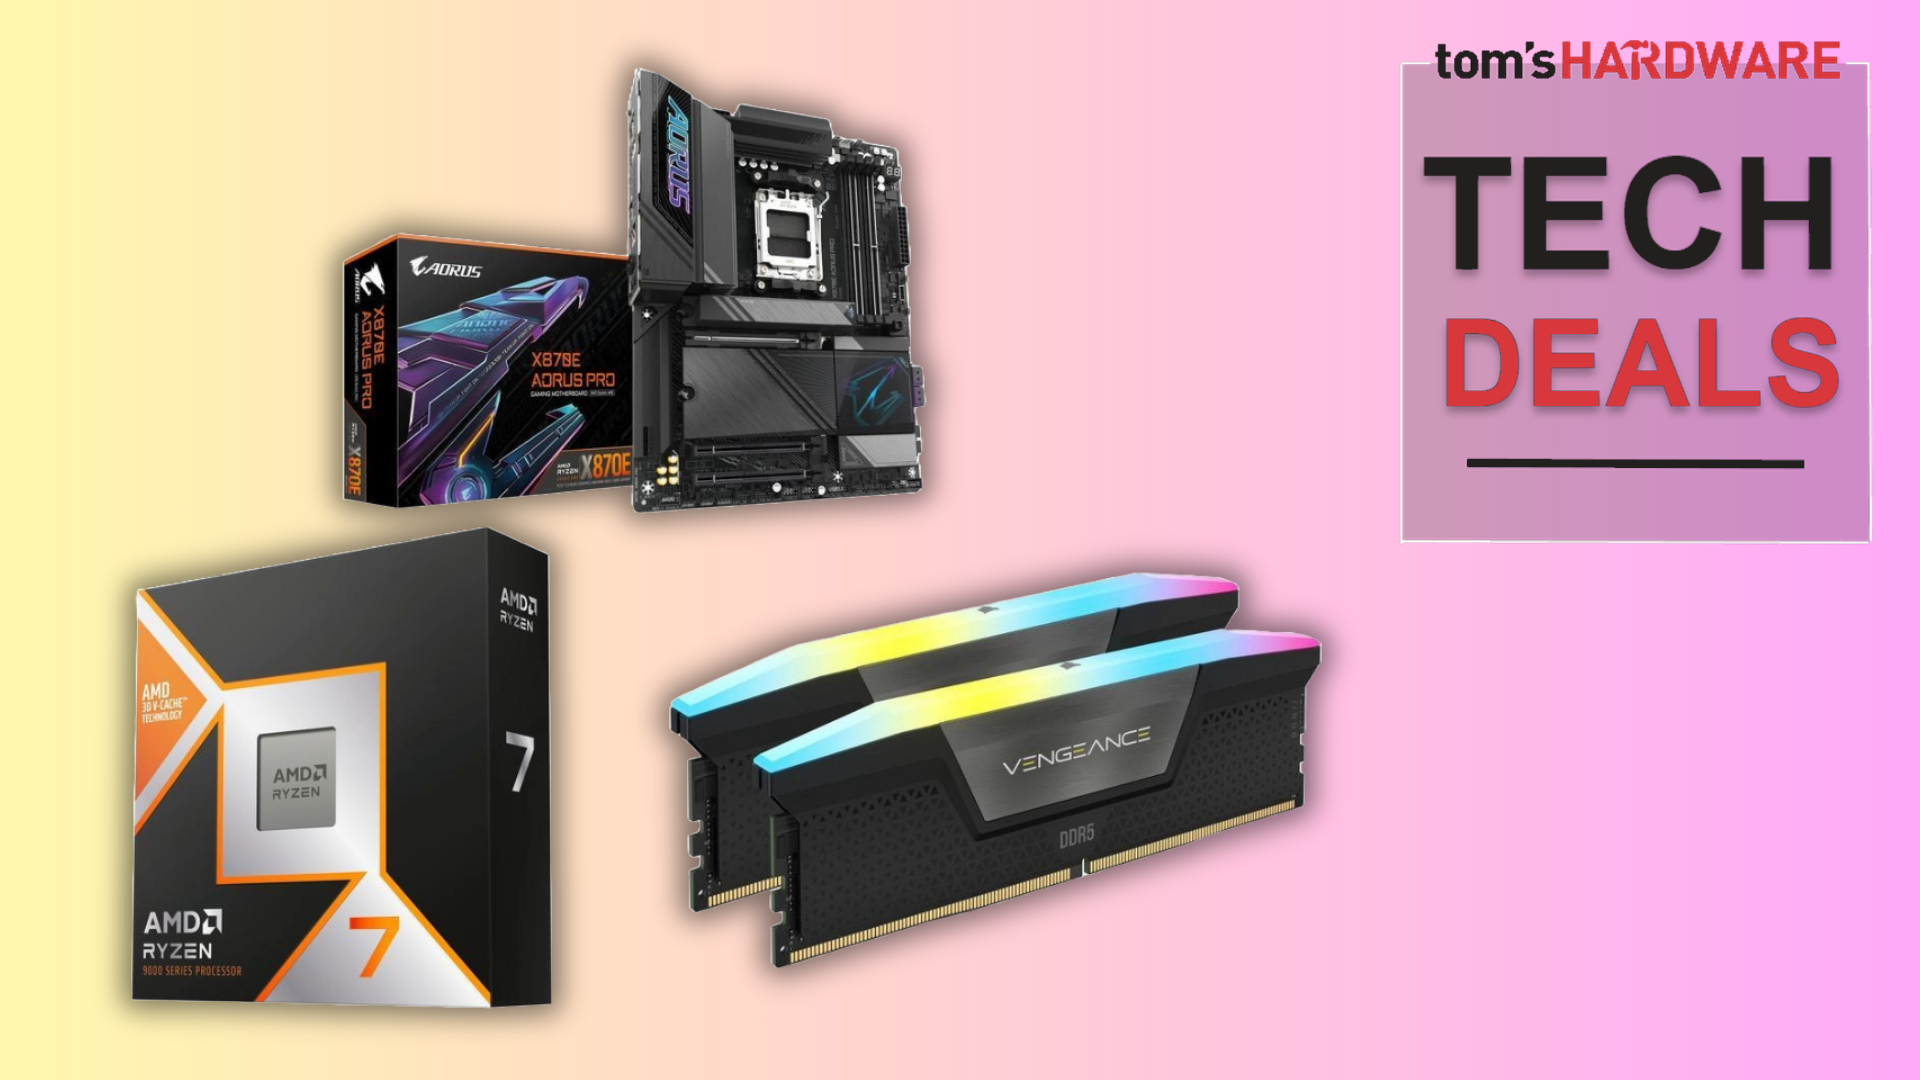
If you want high frame rates without paying for prebuilt markups, this gaming PC assembly guide is for you. You trade a bit of screwdriver work for more performance per dollar and the ability to swap parts later instead of replacing an entire system. The real prerequisite is patience: you should be willing to troubleshoot a no-boot, follow a checklist, and read a motherboard manual when needed. Entry CPUs like the AMD Ryzen 5 7600X at USD 168 (approx. ₱9,400) show how affordable a strong gaming platform can be when you buy parts yourself. According to one hardware deal tracker, “approximately USD 1,000 (approx. ₱56,000) is the realistic starting point for a decent new gaming PC” in mid-2026.
Parts, Tools, and Smart Component Choices
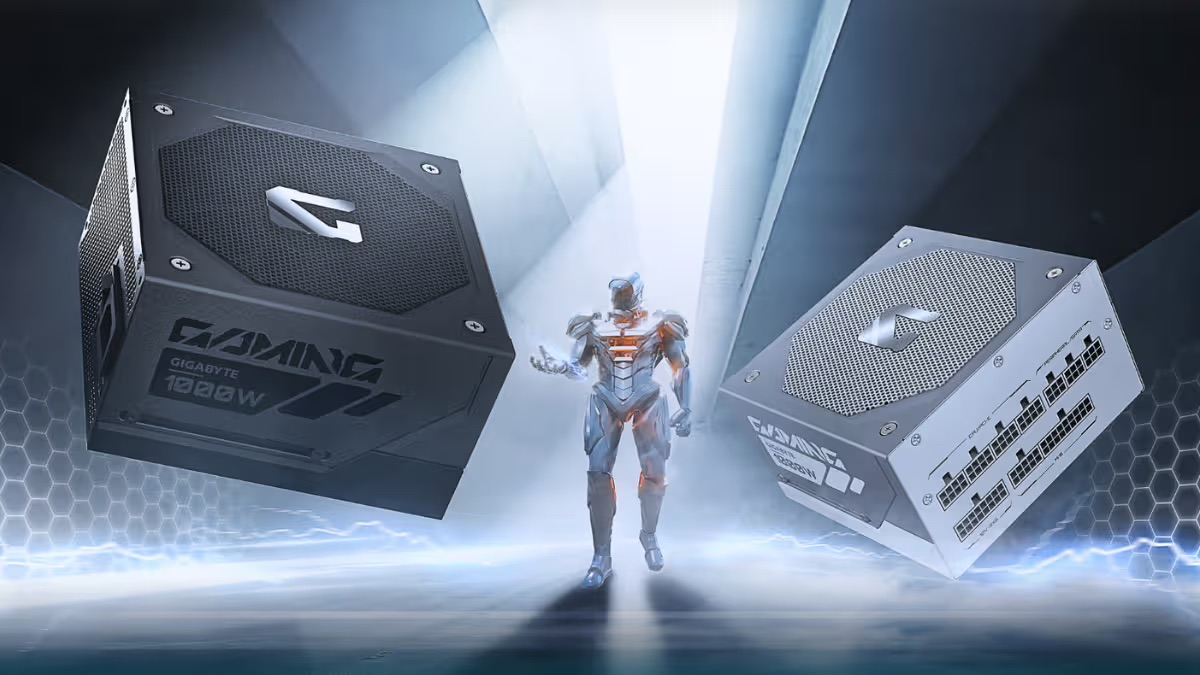
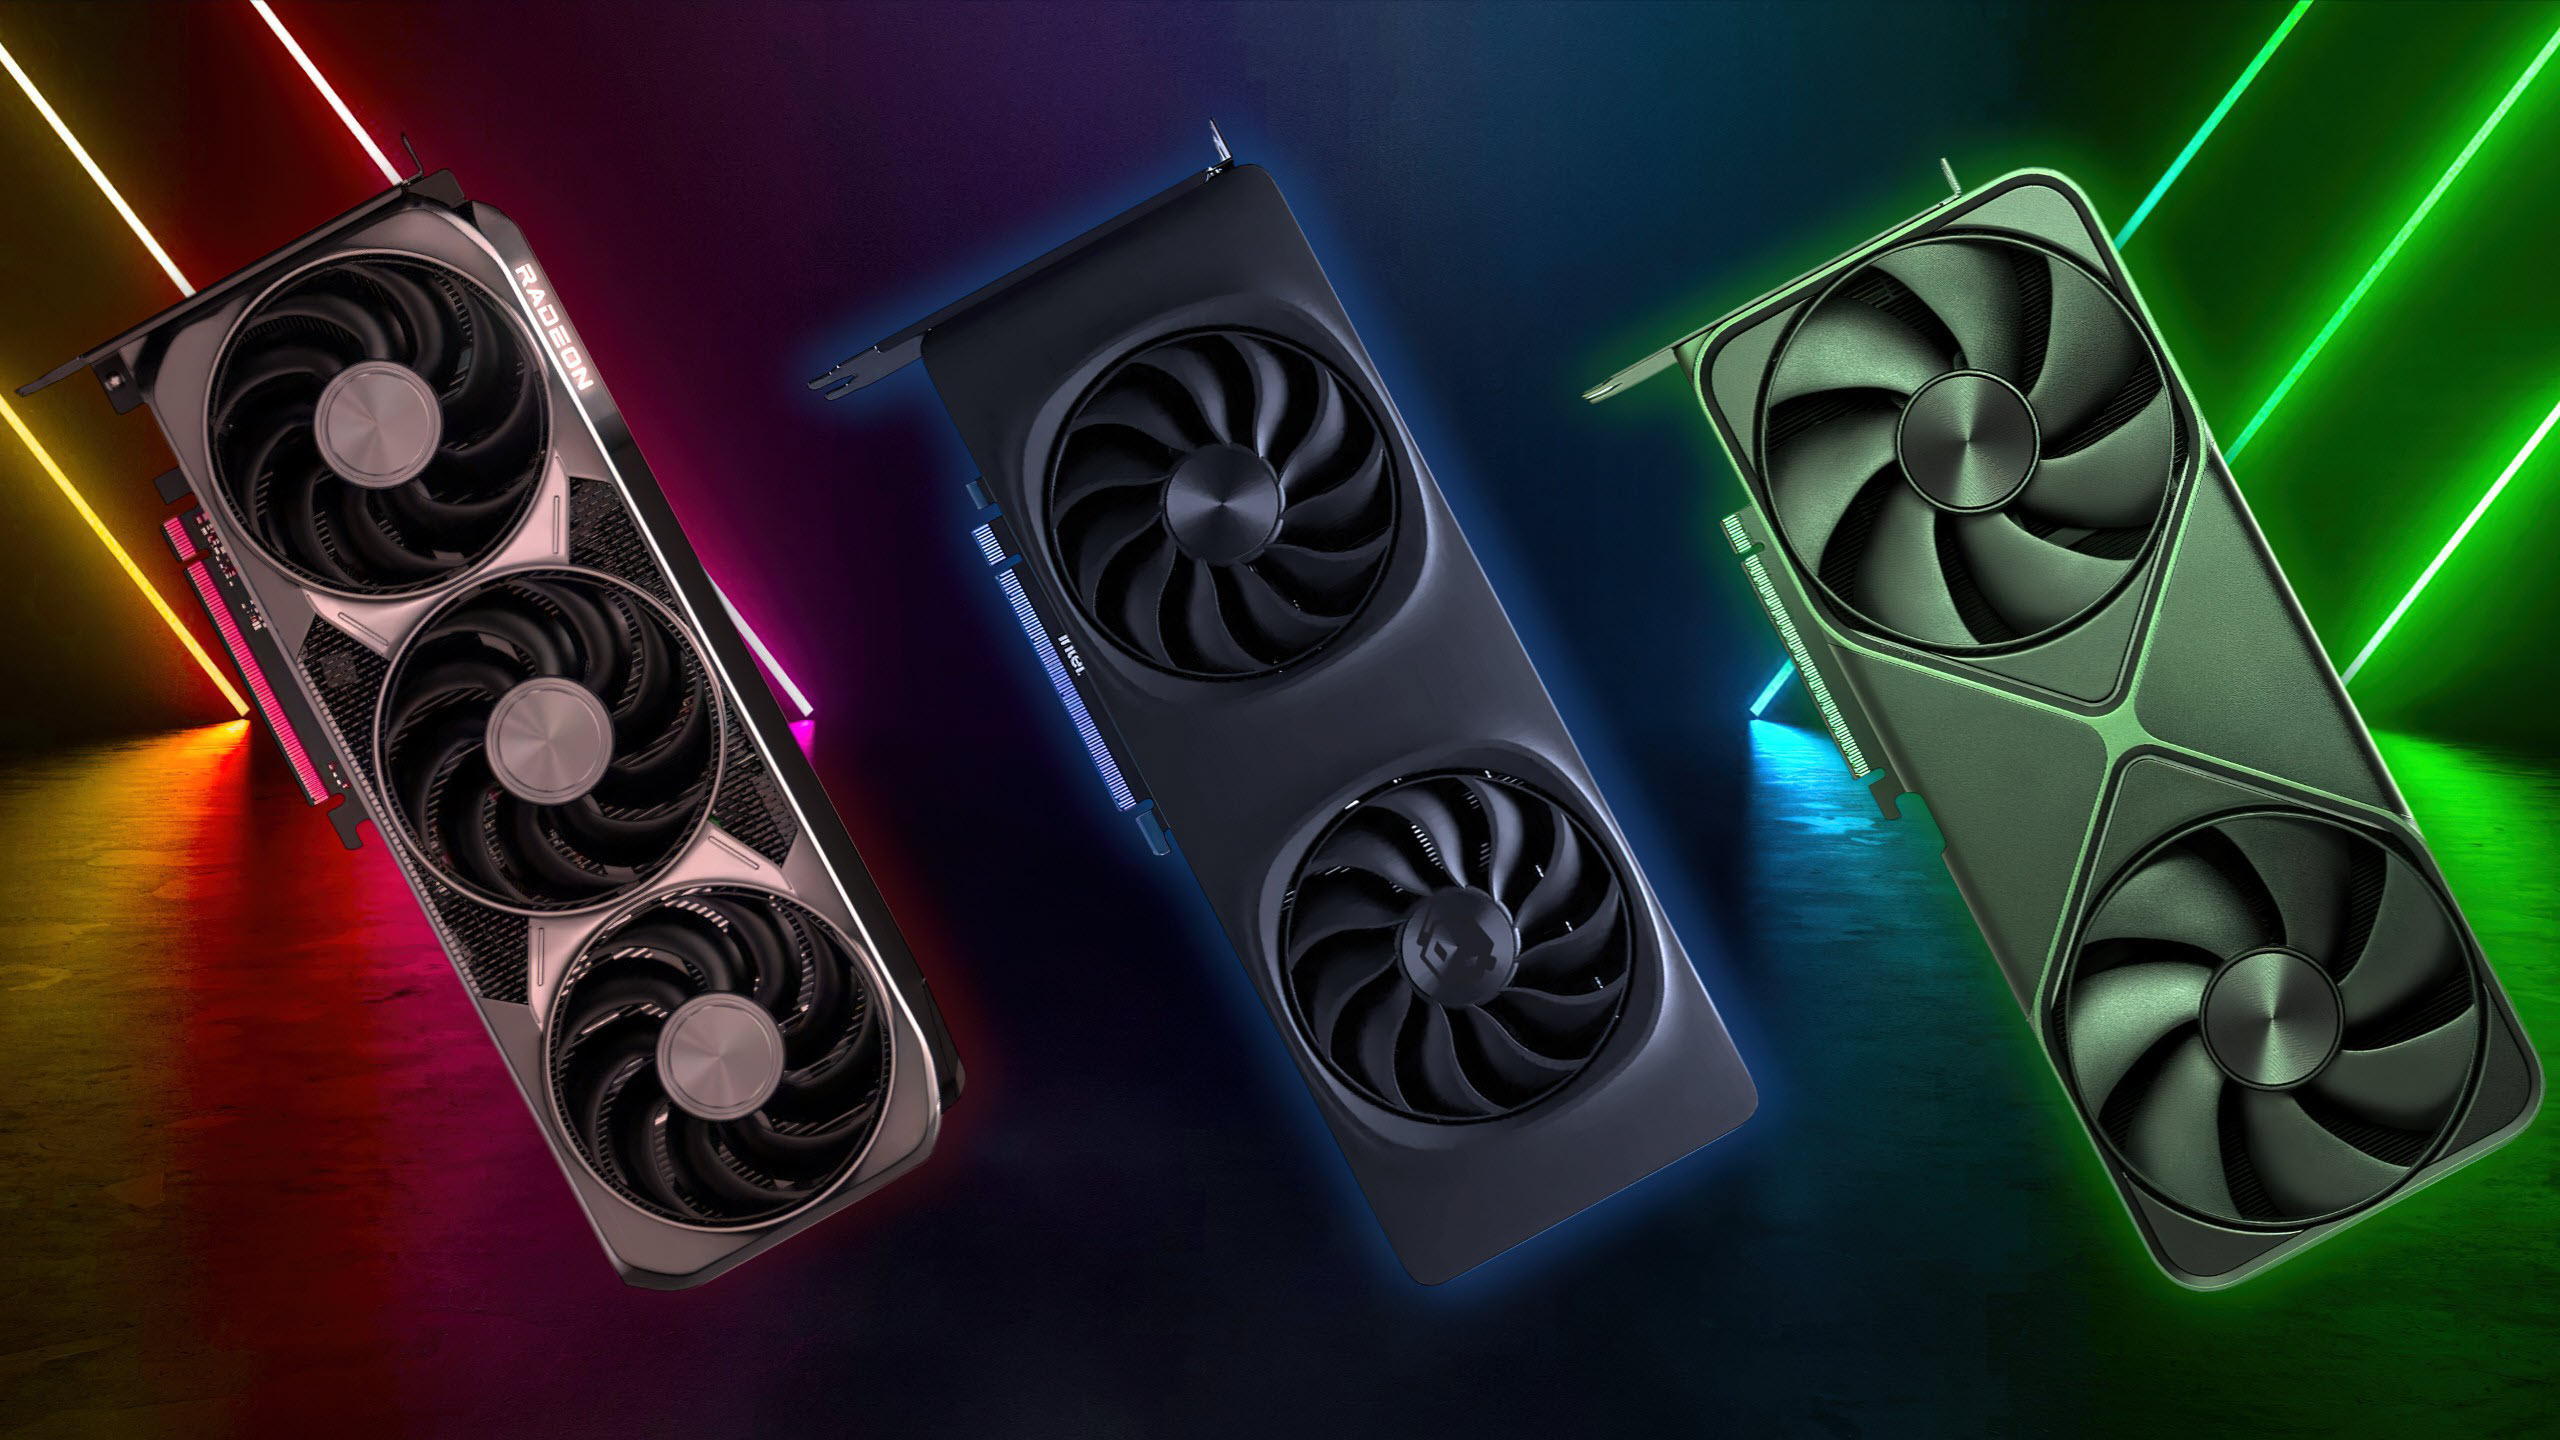
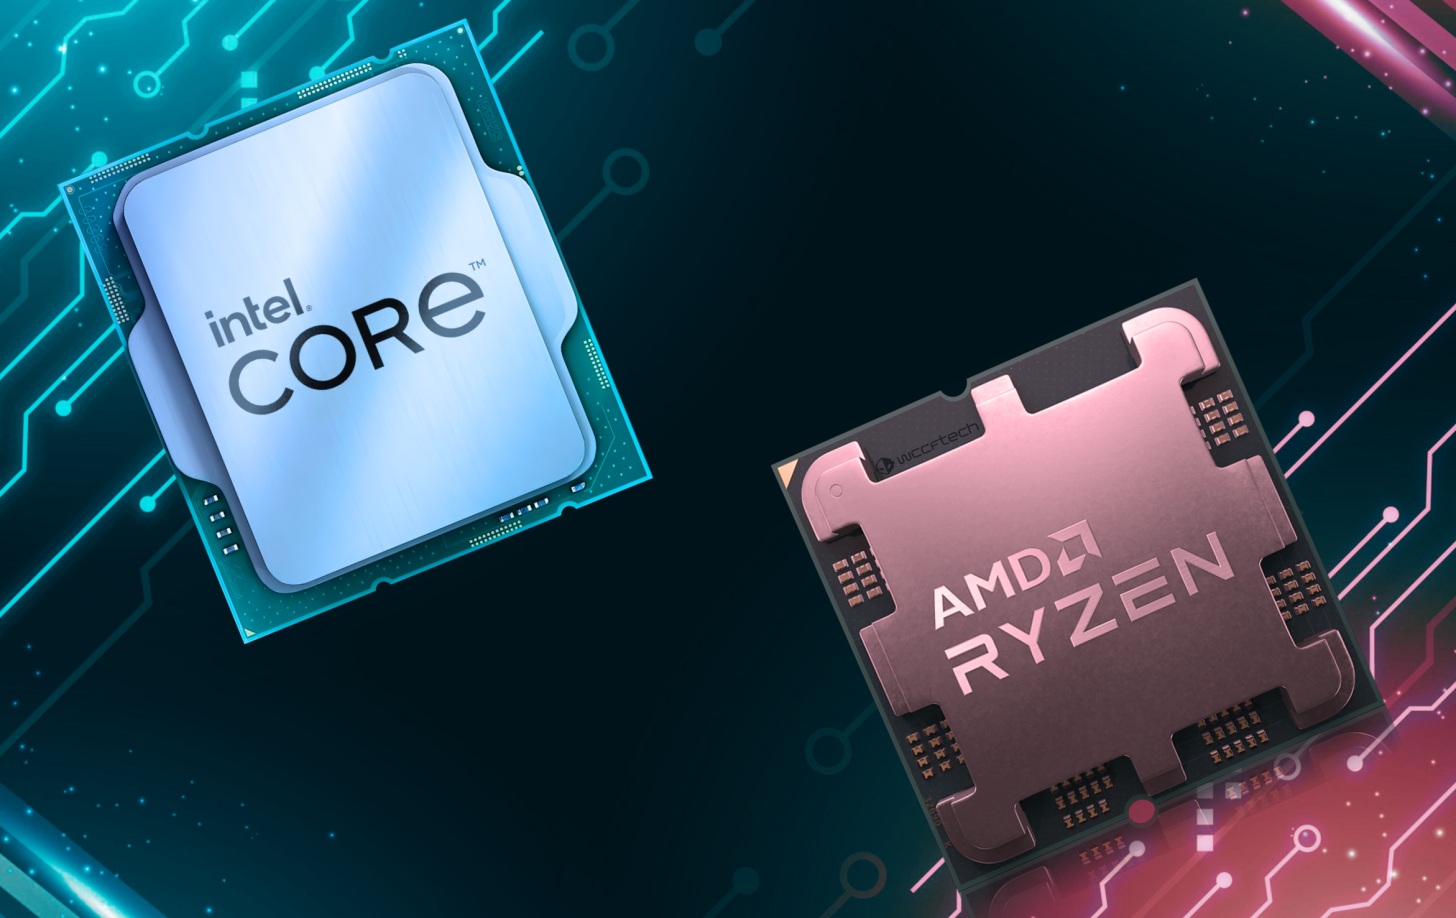
Before you touch a screw, line up your parts and tools. Half of the frustration in a first PC build comes from stopping mid-assembly to order a missing cable or a driver USB stick. At minimum, you need a CPU, GPU, motherboard, DDR5 RAM, NVMe SSD, power supply, case, and a cooler. A realistic starting point is pairing a value CPU such as the AMD Ryzen 5 7600X at USD 168 (approx. ₱9,400) with either an RTX 50 series build or a capable card like the PowerColor Reaper Radeon RX 9070 XT 16GB at USD 689.99 (approx. ₱38,600) for high-refresh 1440p and 4K gaming.
You also need Windows 11 version 25H2 installation media on an 8GB+ USB drive, since 25H2 is the safer target than 24H2 for long-term support. For tools, grab a magnetic Phillips #2 screwdriver, a small tray or magnetic mat for screws, an anti-static wrist strap (or remember to touch bare metal on the case often), cable ties, and thermal paste if your cooler does not include it. Spend where it matters: graphics performance first, then a competent CPU, enough DDR5, and a reliable PSU and SSD.
The 12-Step Assembly: From Empty Case to First Boot
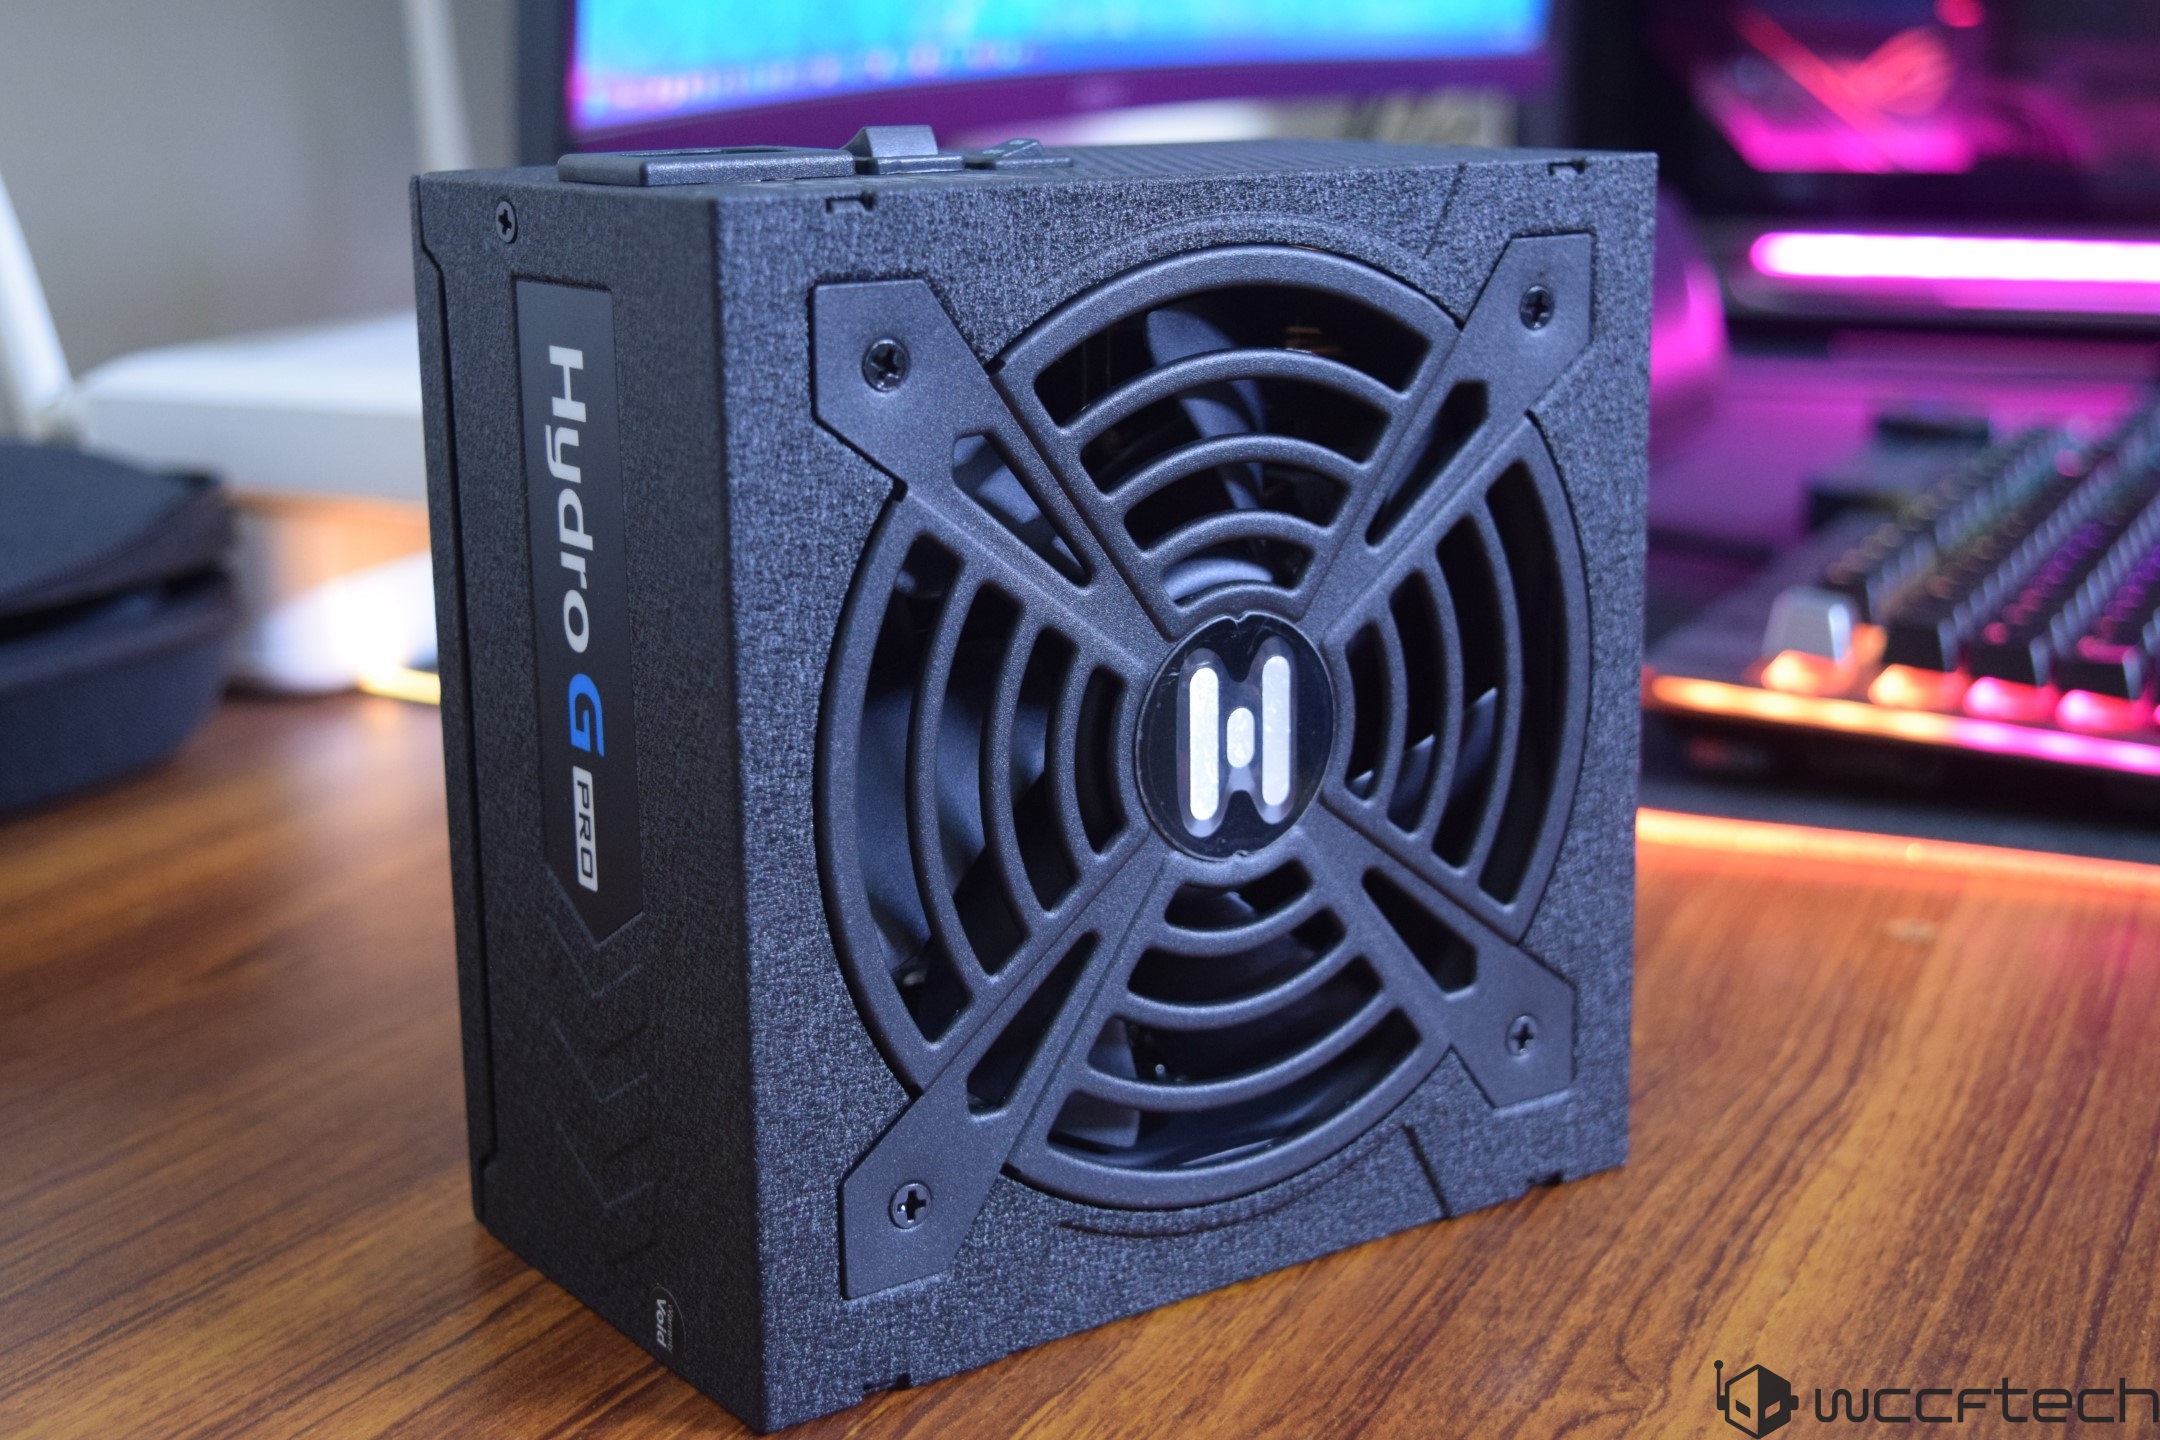
This 12-step how to build gaming PC walkthrough assumes you already chose compatible parts. Work on a clear table, keep drinks away, and take your time with each connection. Sort screws by type as you remove them from packaging — mixing motherboard, case, and M.2 screws is a common source of stripped threads later. The main gotchas: forgetting standoffs under the motherboard, not fully seating DDR5, and rushing the new RTX 50-series 12V-2×6 power plug.
- Prep case and install PSU: Remove both side panels, pull out unused drive cages, and slide the power supply into its bay before the interior gets crowded.
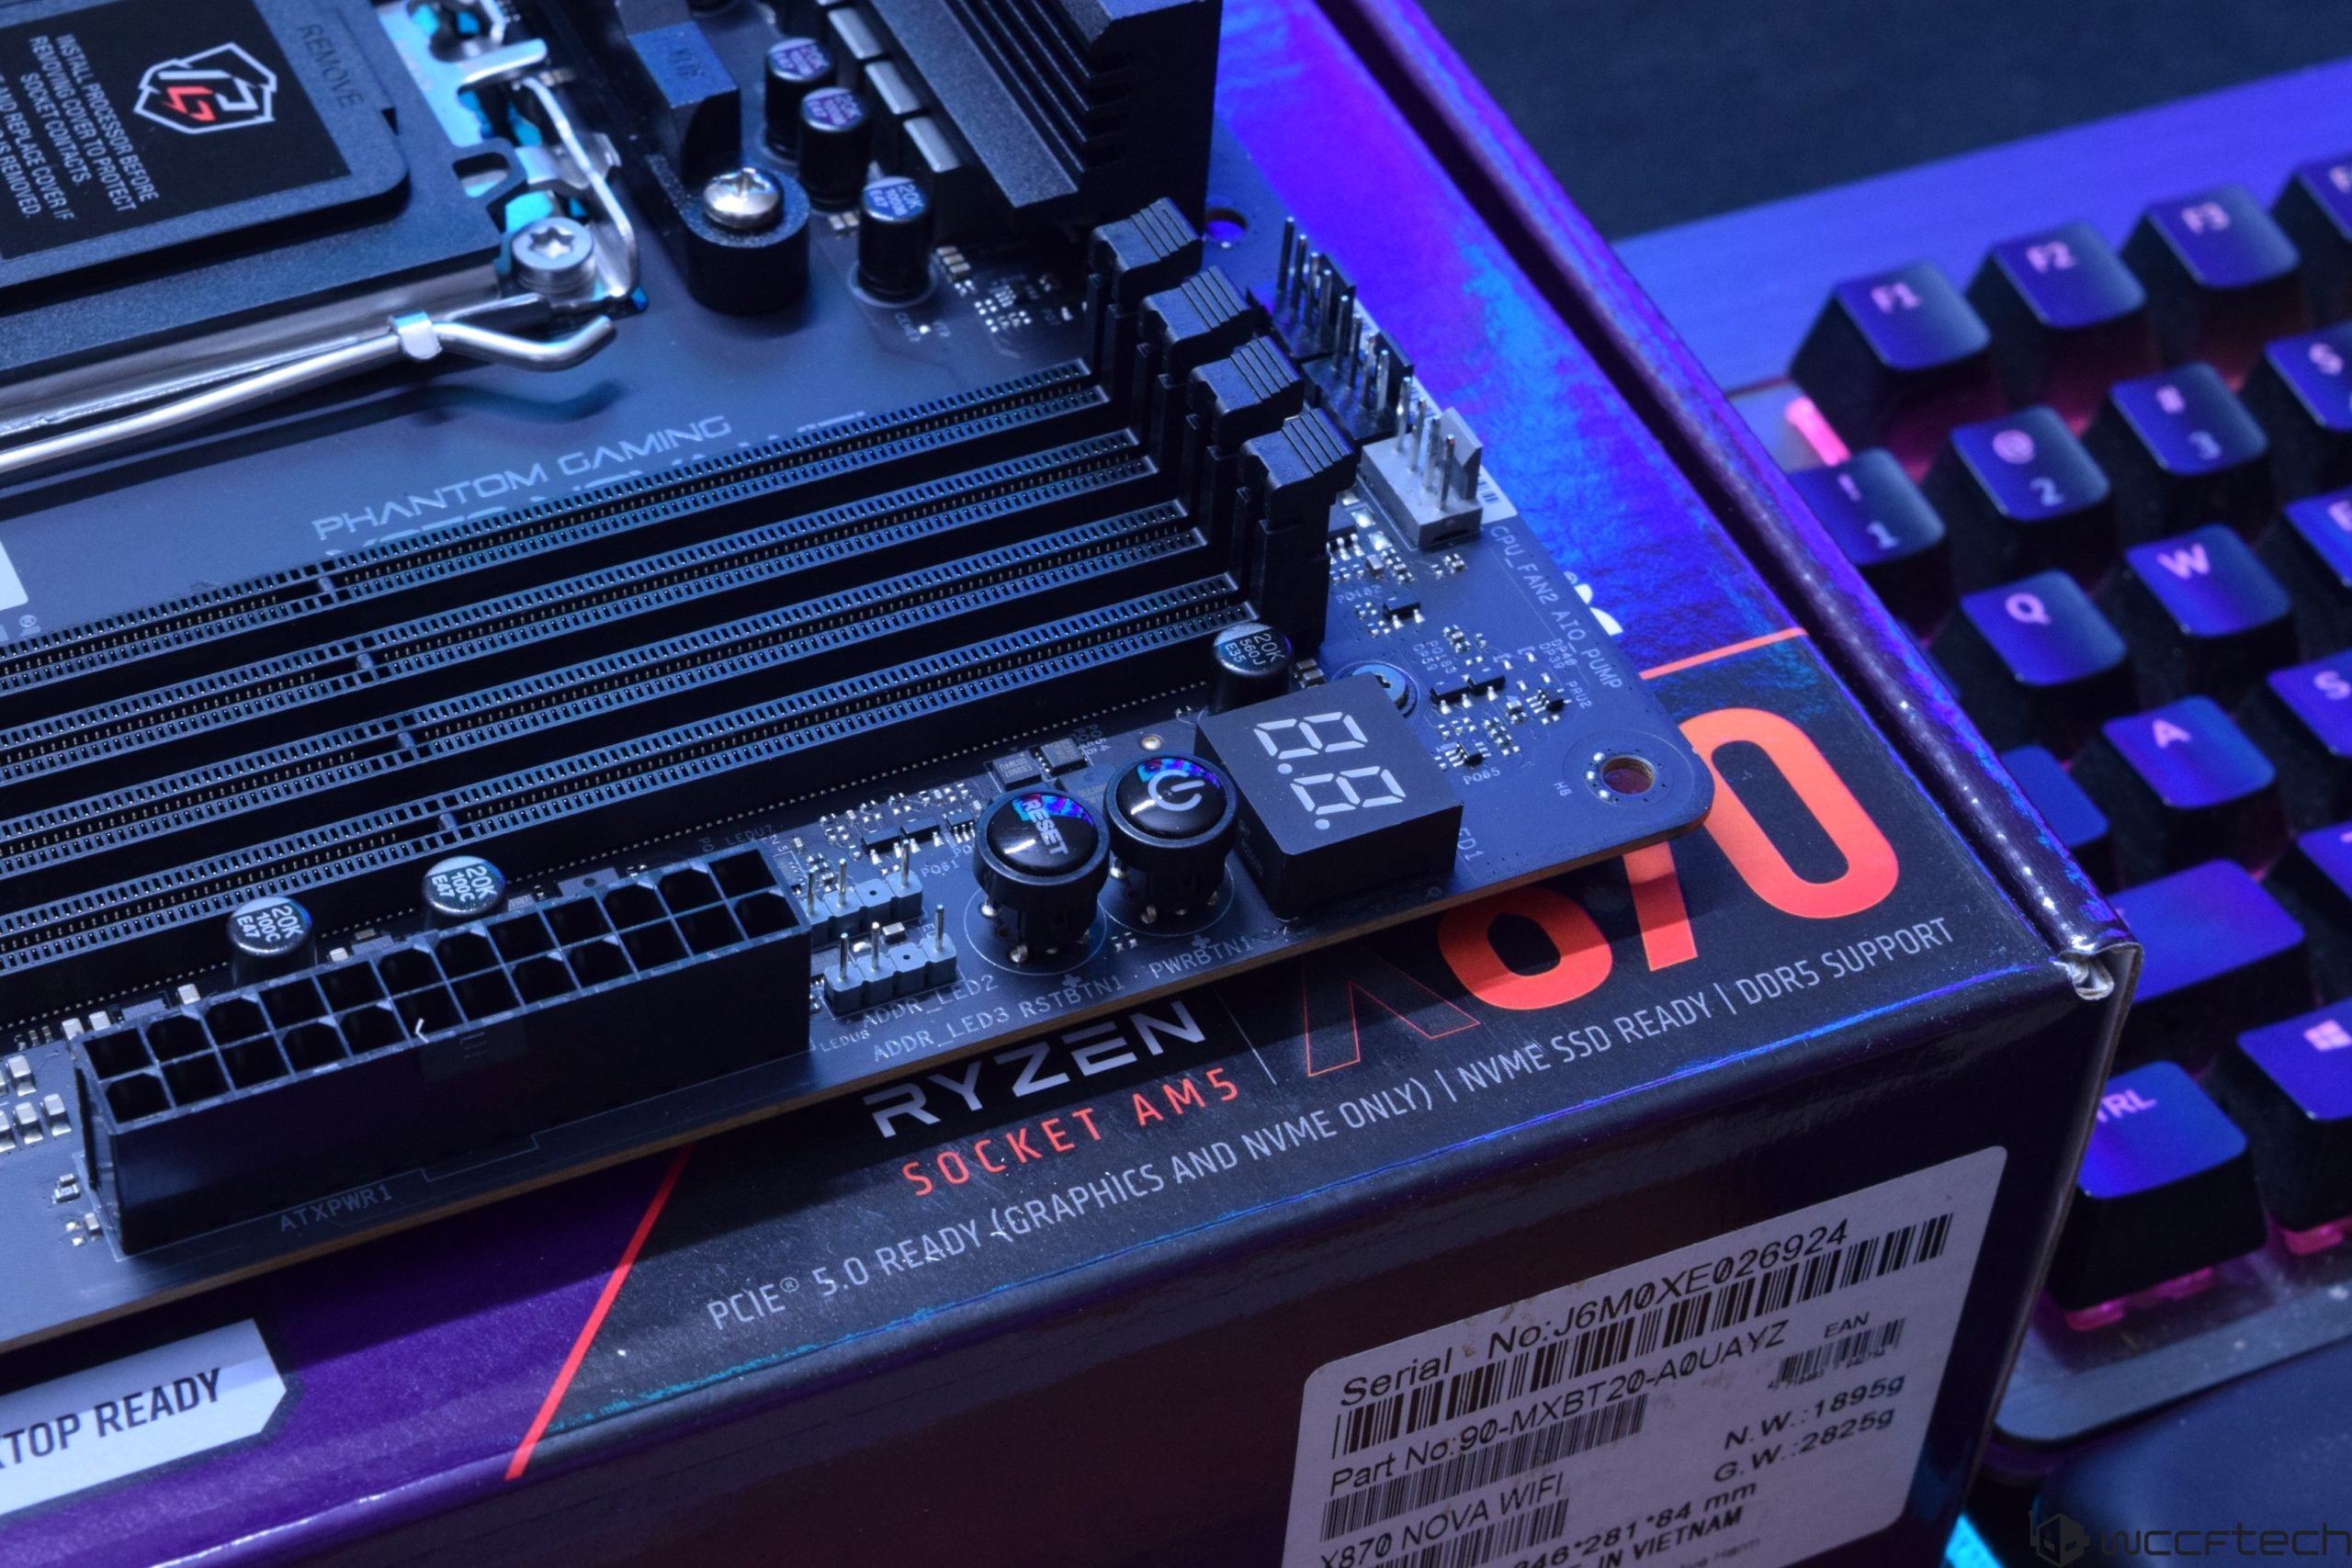
- Install the CPU on the motherboard outside the case, using the correct AM5 or LGA1851 socket instructions, while the board rests on its box or anti-static bag.
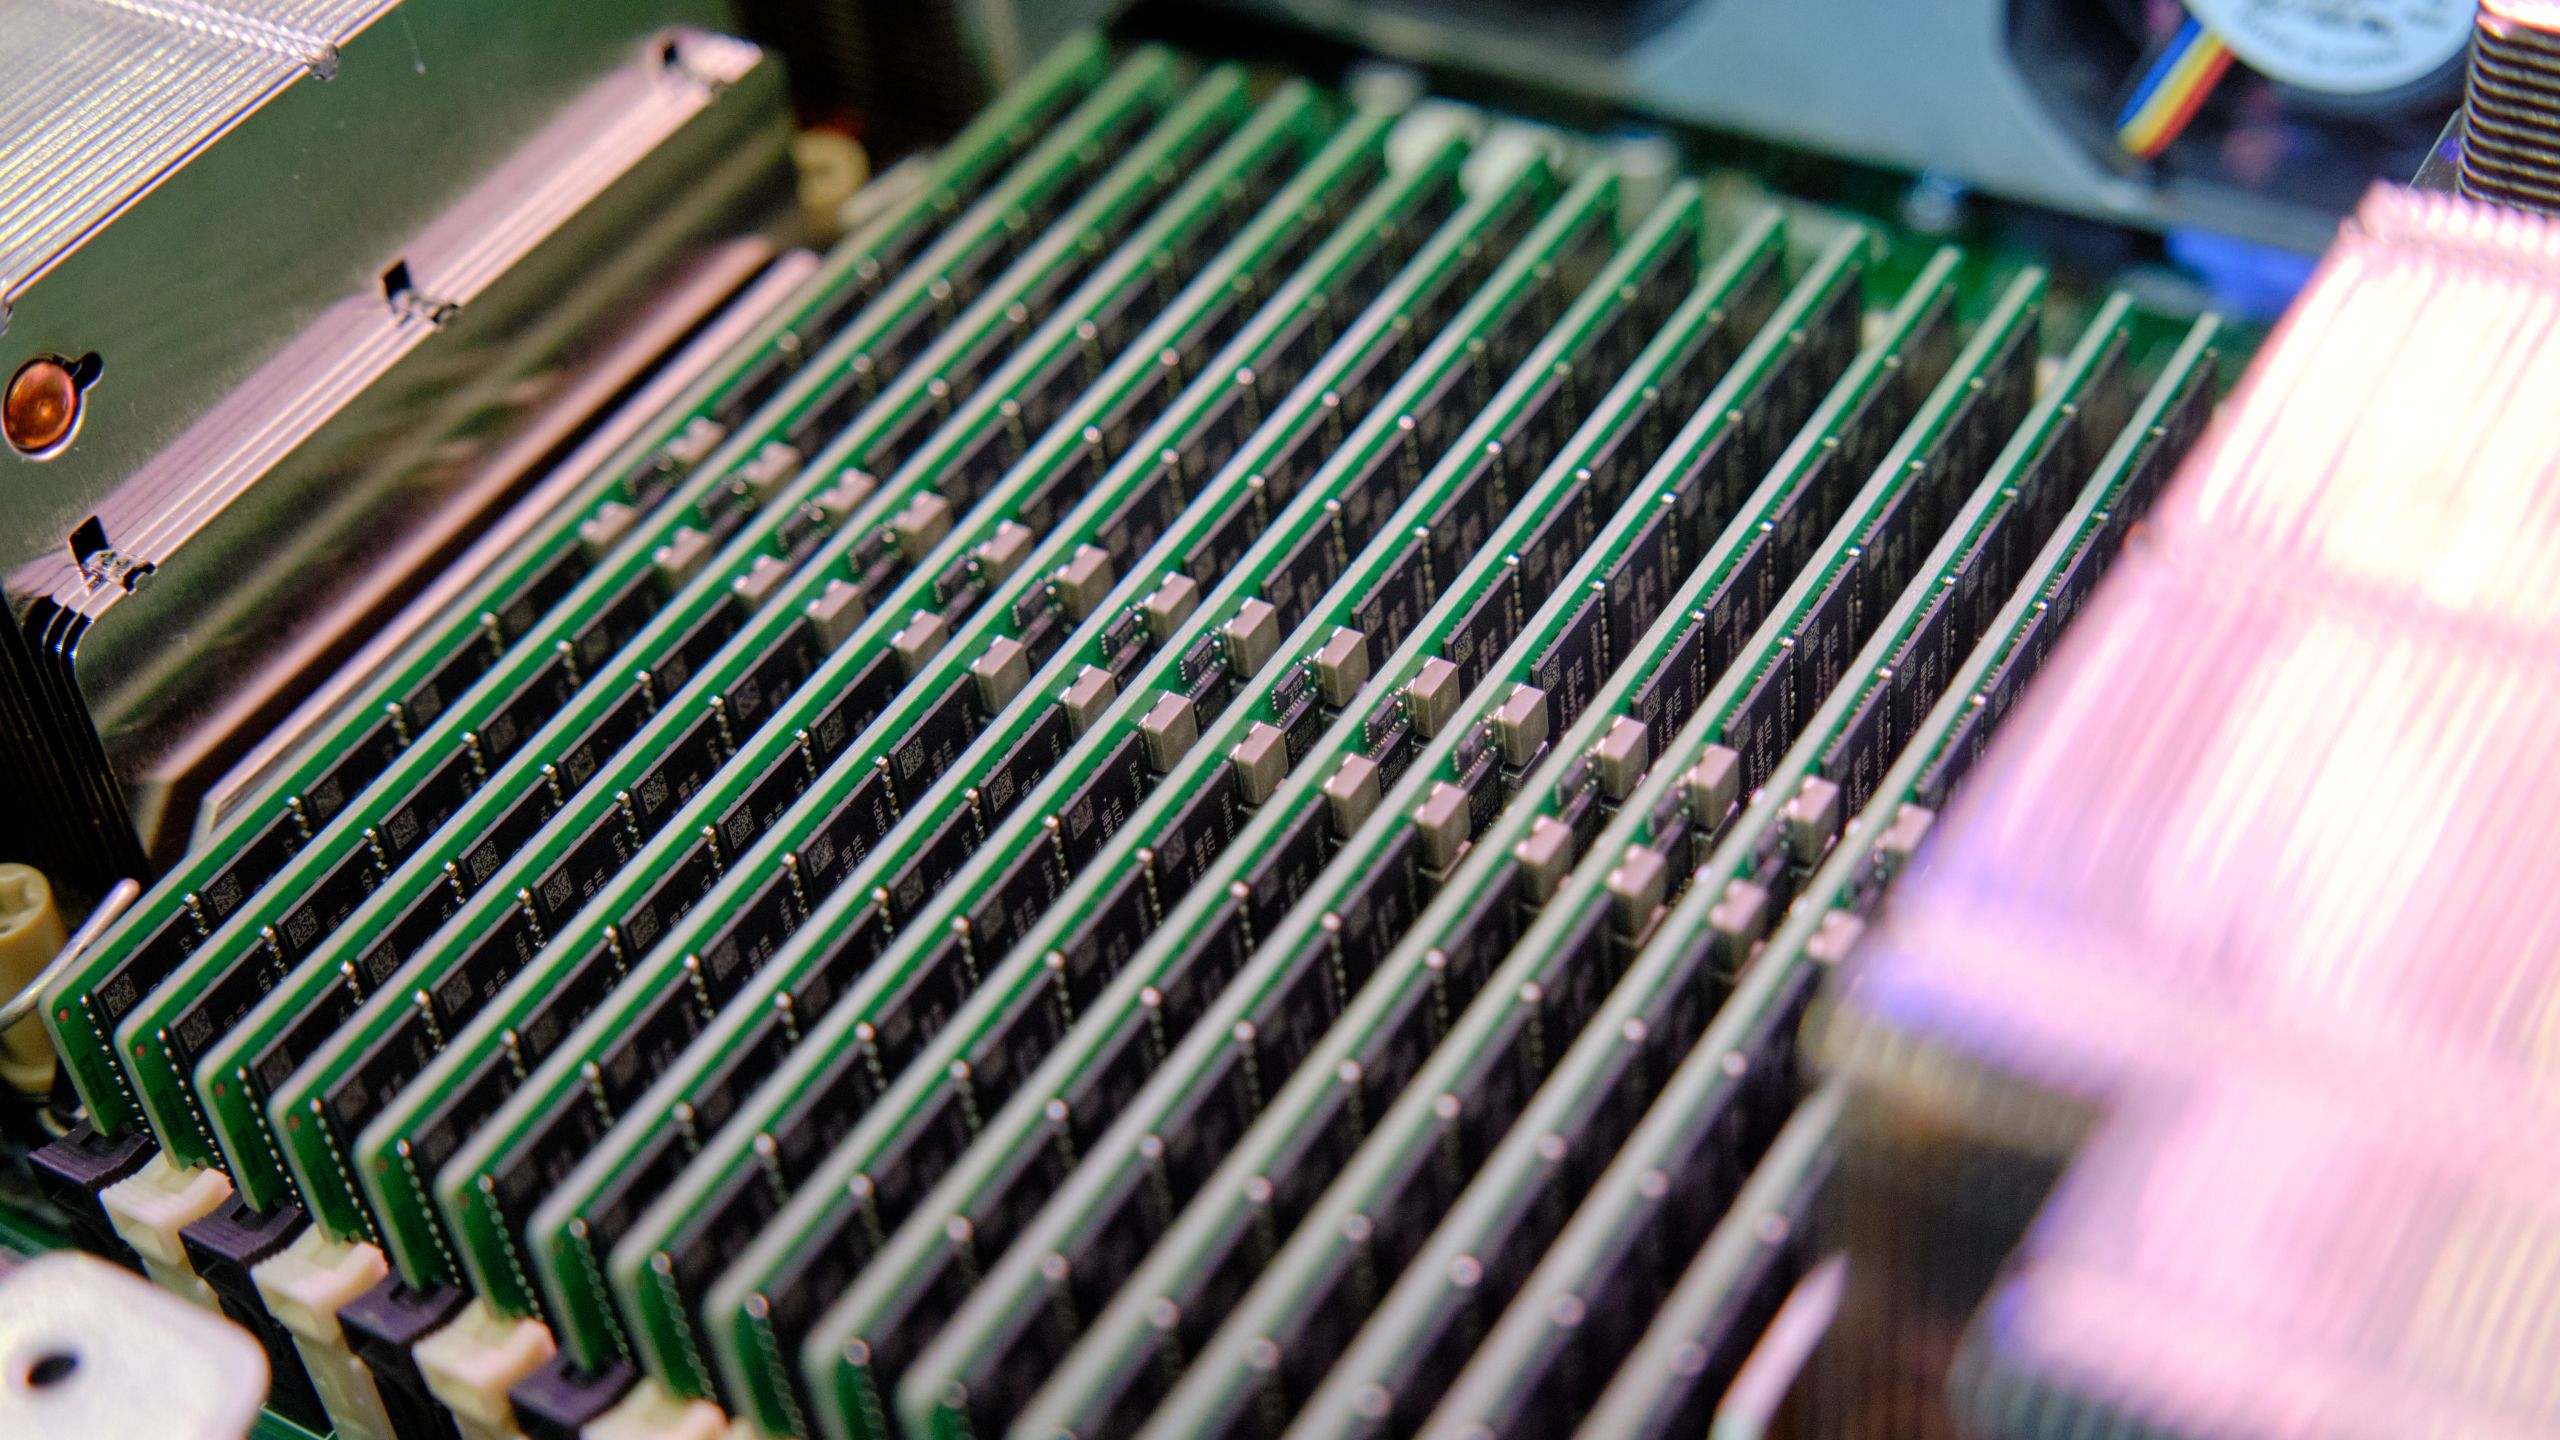
- Install DDR5 RAM in the recommended A2/B2 slots; press until both latches click, because RAM that is not fully seated is a common no-boot cause.
- Mount the CPU cooler, applying thermal paste if needed, and connect its fan or pump header on the motherboard.
- Install motherboard into the case on standoffs, lining up the rear I/O with the shield, and secure it with the correct motherboard screws.
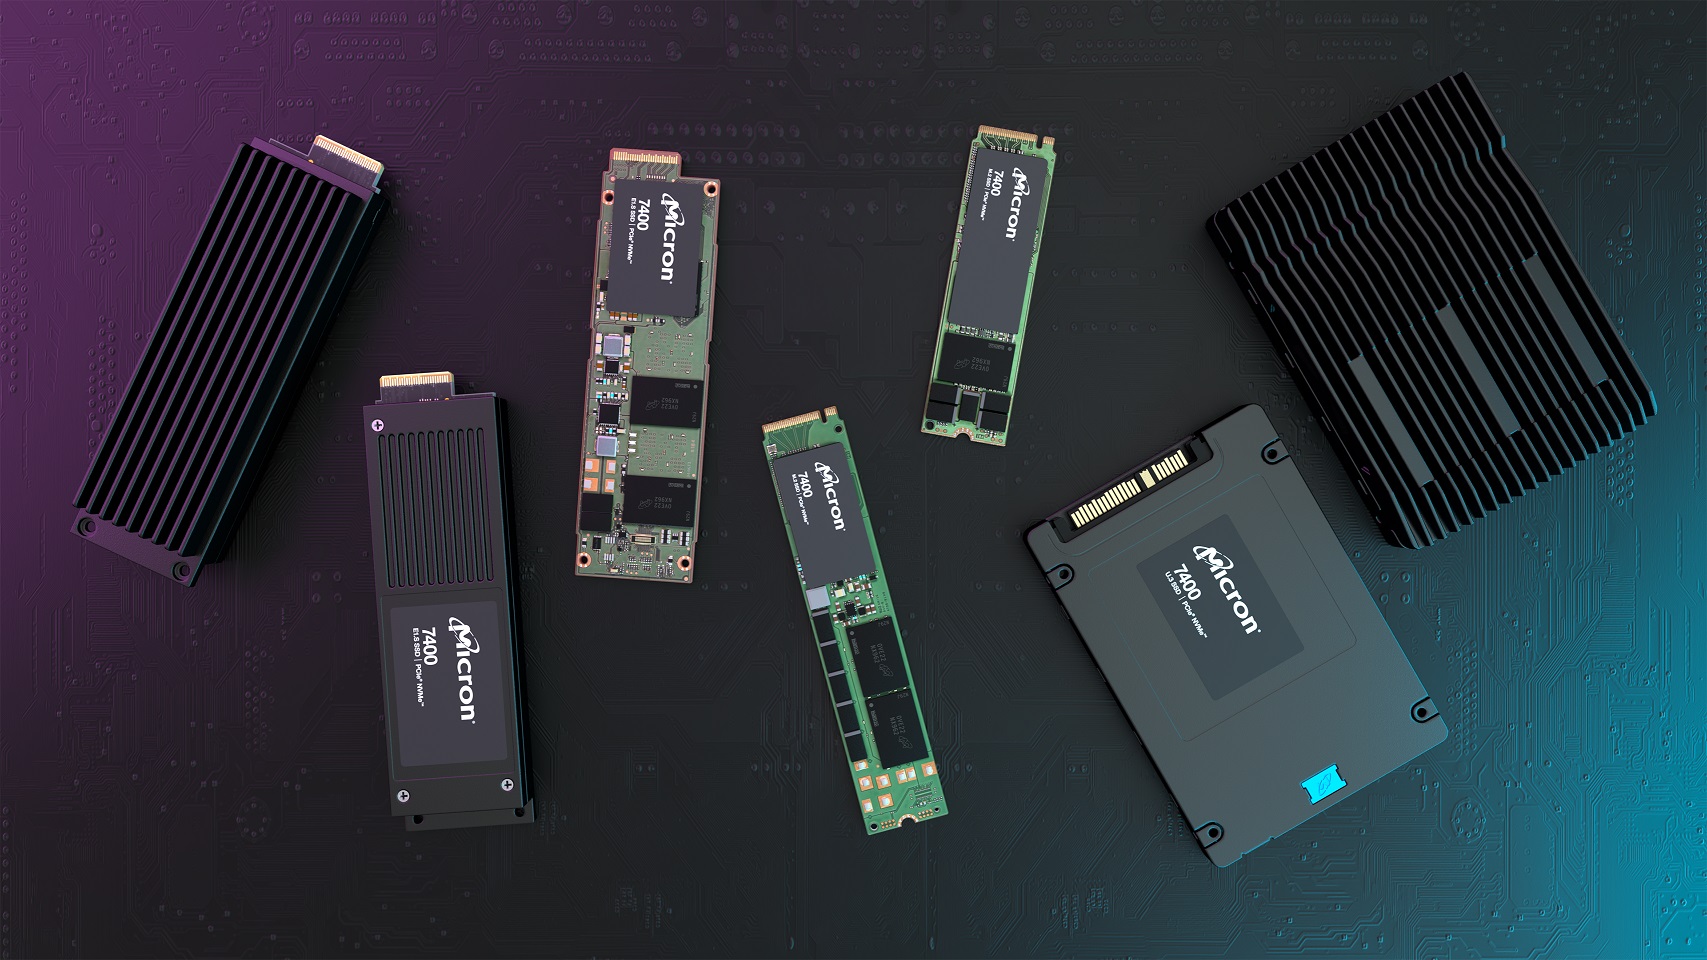
- Install NVMe SSD storage into the M.2 slot, securing it with the tiny M.2 screw so it sits flat for best contact and cooling.
- Install the GPU in the top PCIe x16 slot and connect the new 12V-2×6 PCIe power connector on RTX 50-series cards, ensuring it clicks in fully with no visible gap.
- Connect front-panel headers (power switch, reset, LEDs, USB, audio) and route all power and data cables with basic cable management for airflow.
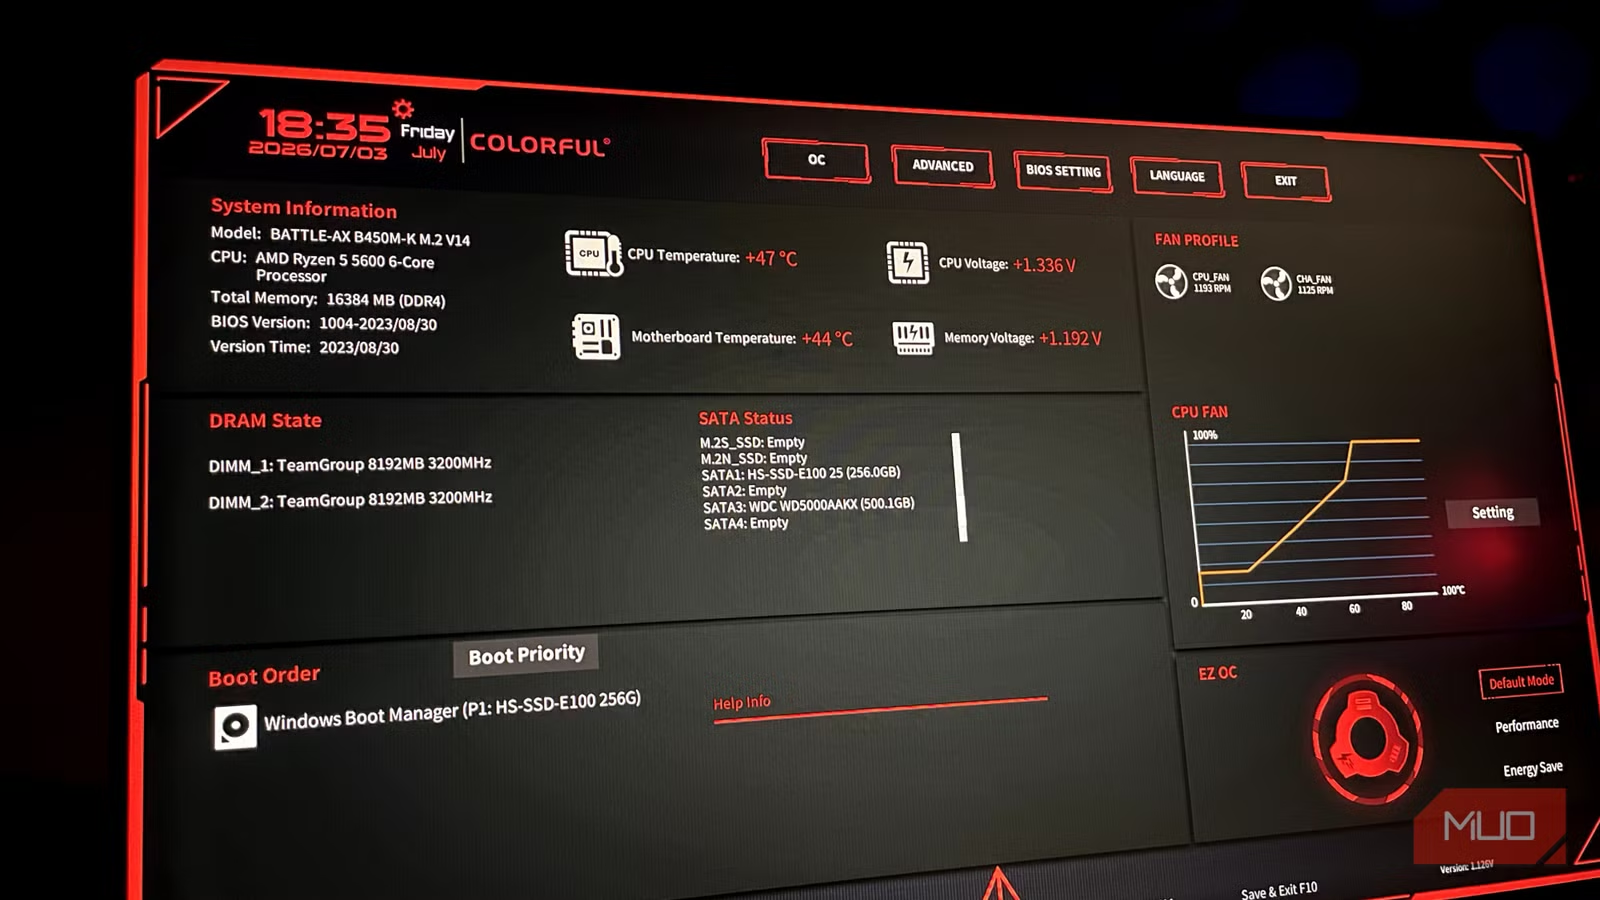
- First boot and BIOS: power on, enter BIOS, confirm all components detect, and update to the latest BIOS so DDR5-6000 EXPO/XMP profiles will work reliably.
- Install Windows 11 25H2 from your USB drive, following prompts until you reach the desktop, then connect to the internet.
- Install motherboard chipset, GPU, and other drivers, then run stress tests and basic benchmarks to confirm stability and expected performance.
- Apply post-build tuning: enable the DDR5-6000 EXPO/XMP profile, check temperatures, and optionally refine fan curves or mild CPU undervolting on supported platforms.
During BIOS setup, remember that DDR5-6000 is the mainstream performance sweet spot, but memory initially runs at slower JEDEC speeds until you enable EXPO or XMP. Motherboard vendors recommend updating to a recent BIOS before locking in a DDR5-6000 profile because early revisions are a common reason full-speed RAM refuses to boot. Once those 12 steps are complete, you go from an empty case to a benchmarked, driver-updated desktop ready for games.
Configuring DDR5, RTX 50-Series Power, and Windows 11 25H2
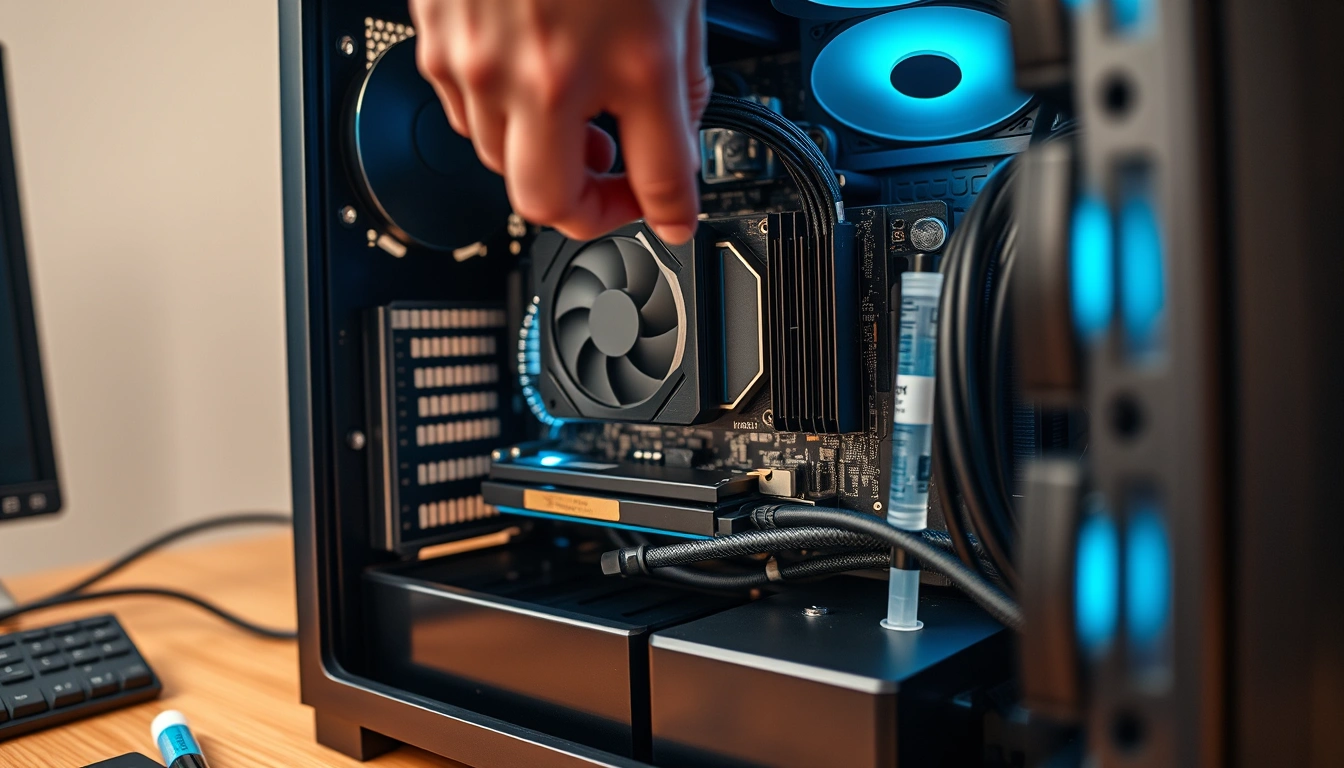
After the first successful POST, it is time for DDR5 PC configuration and power sanity checks. In BIOS, load the EXPO or XMP profile that matches your kit’s rated DDR5-6000 speed; this is where you unlock the performance you paid for. If the system fails to boot after enabling the profile, clear CMOS, update the BIOS to the latest version, then retry — early firmware is a frequent culprit. Keep an eye on temperatures with tools like HWiNFO64, and confirm frequencies with CPU-Z once in Windows.
For an RTX 50 series build, double-check the redesigned 12V-2×6 connector at the GPU: the plug should seat fully with no metal showing, and the cable should not be sharply bent at the housing. A loose or strained connector can cause shutdowns under load. With hardware verified, install Windows 11 25H2 from a freshly made USB stick using the current Media Creation Tool, then add chipset, GPU, audio, and LAN drivers in that order. Stress-test the finished system so each configuration prioritizes graphics first, then CPU, memory, storage, cooling, and the rest of the platform.
Common First-Build Problems and Final Takeaway
Most first-time issues fall into a few predictable buckets. No power at all usually points to the PSU switch, a missing 24-pin or CPU 8-pin cable, or front-panel header miswiring. A system that powers on but shows no display often has unseated RAM, a forgotten GPU power plug, or a monitor connected to the motherboard instead of the graphics card. Remember that RAM that is not fully clicked in is one of the most common no-boot causes, so reseat it before assuming something is dead.
Software snags tend to be easier: a missing driver, outdated BIOS that resists DDR5-6000, or a Windows installer USB made from an old image instead of the current tool. When in doubt, strip back to basics: one RAM stick, CPU, GPU, and SSD, then add parts as you confirm stability. Building your own rig takes an afternoon, but you end up with a PC that you understand from the inside out, tuned for your games, and ready for cheap CPU or GPU upgrades later instead of a whole new system.