
What BIOS performance settings do—and why they matter more than Windows
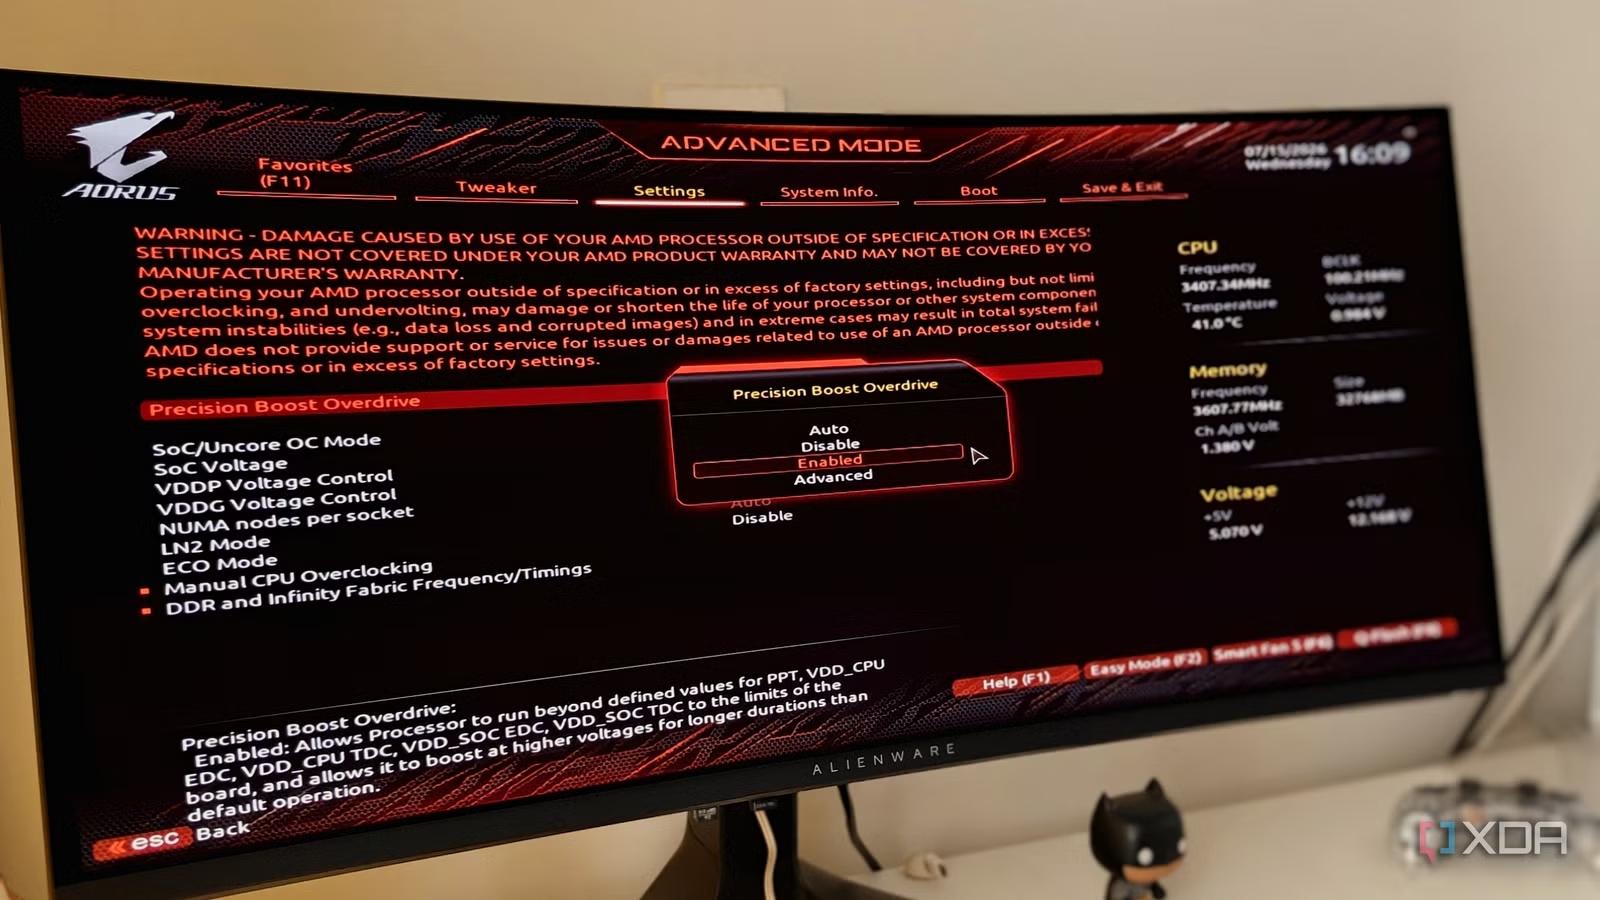
Hidden BIOS performance settings are configuration options in your motherboard’s firmware that control CPU boost behavior, memory speed, fan curves, and device bandwidth, and when left at conservative defaults they can quietly throttle gaming framerates, responsiveness, and SSD throughput long before Windows starts, so you must inspect and tune them directly in BIOS/UEFI instead of relying only on operating system tools.
If your games feel slower than you expected or your expensive SSD doesn’t feel "snappy," it might not be Windows’ fault at all. Your BIOS/UEFI is one of the biggest determinants of your PC’s performance and stability because it defines CPU boost behavior, power limits, memory speed, system temperatures, and even GPU performance. The catch: BIOS defaults are deliberately conservative. They aim for safe, quiet operation, not maximum performance, which means you can leave a lot of speed unused without realizing it.
Many gamers never change the BIOS defaults after building a PC, unknowingly throttling their system’s performance. Before you start killing background tasks or blaming Windows updates, it’s worth spending 10–20 minutes in firmware to see whether your hardware is being held back at a very low level. The real prerequisite here is simple: know your motherboard model, and have its manual handy—every quirk and bandwidth compromise is documented there, even if most people never read it.
Step-by-step: Find BIOS bottlenecks and fix CPU throttling and SSD speed
- Identify your motherboard model in Windows (System Information or vendor utility) and download or grab the manual; keep it open at the storage and BIOS sections.
- Run CrystalDiskMark, note your SSD’s sequential read speeds, and compare them to the rated spec printed on the box or in the manual to spot anomalous SSD behavior.
- If the SSD benchmark is at half or less than half of the rated speed, open HWiNFO and check the drive’s PCIe link speed and width to see which slot and lane configuration it is using.
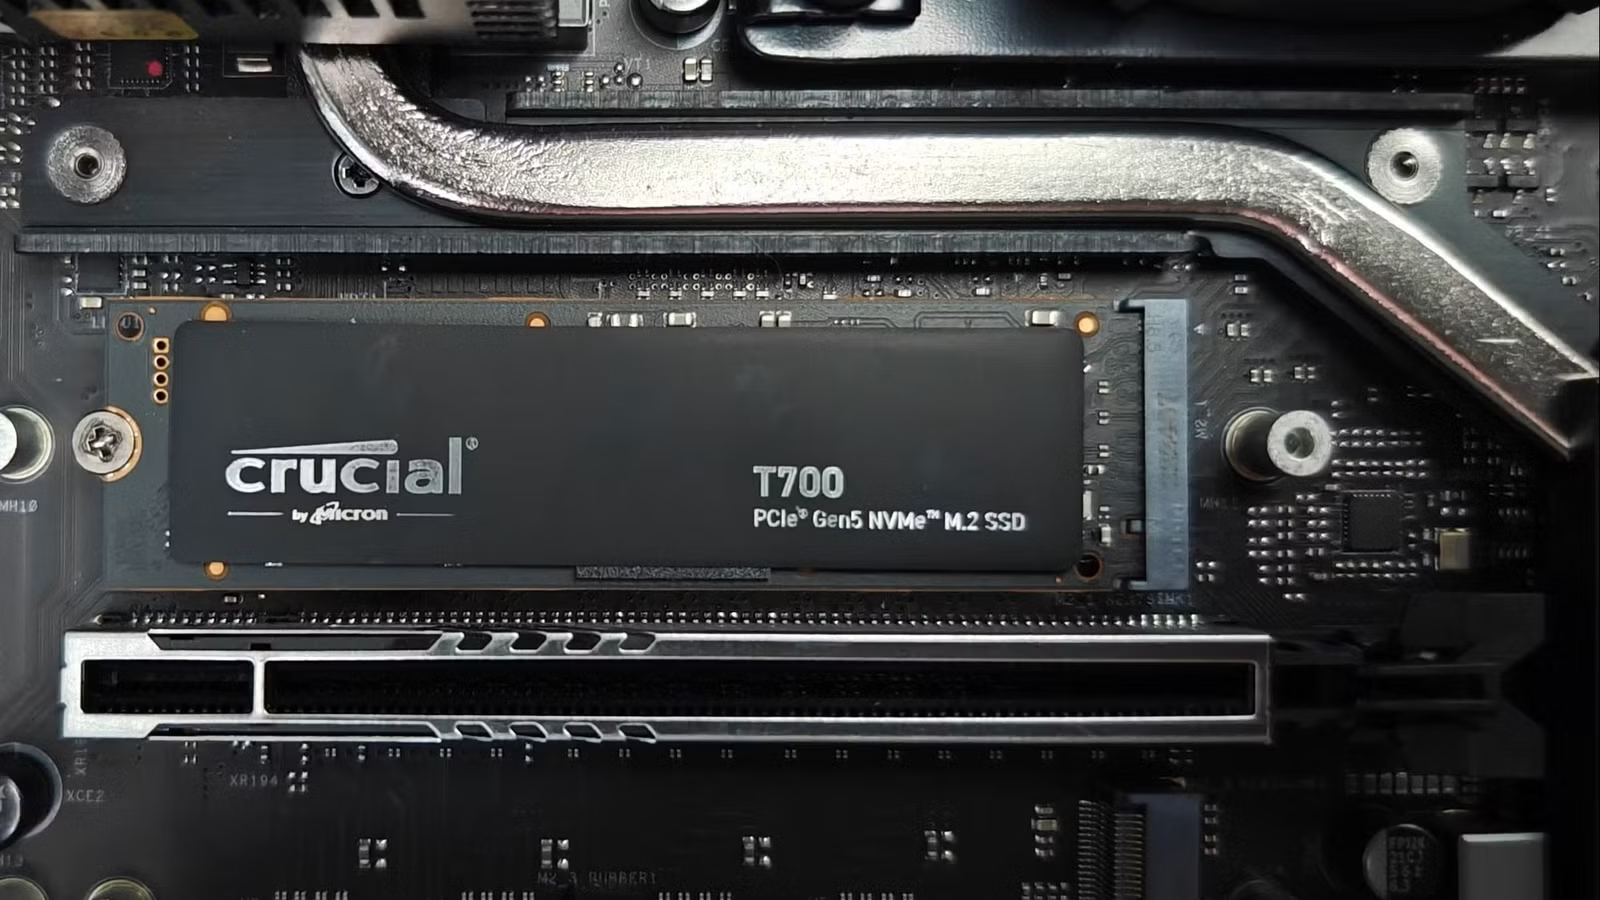
- Power down, move your fastest NVMe SSD to the CPU-connected primary M.2 slot, and relocate any lesser-rated drive to a chipset-connected slot so the flagship drive gets the best lanes.
- Enter BIOS/UEFI, enable XMP or EXPO for your memory so RAM runs at its advertised frequency and timings instead of slow JEDEC defaults.
- In BIOS, switch from default fan profiles to custom fan curves that ramp case and CPU fans earlier under load to avoid the CPU creeping up to throttling temperatures.
- Still in BIOS, review PCIe and related options (like Resizable BAR) and confirm they are enabled and in UEFI mode after any recent CPU or storage changes.
- Save BIOS changes, reboot, rerun CrystalDiskMark and your usual games or workloads, and compare performance; if numbers are within 10–15% of rated specs, you are likely no longer bottlenecked.
The order here matters. You start with the motherboard manual because it reveals lane-sharing rules like "When M.2_2 is occupied, PCIEX16 will run at x8 mode"—small lines that explain why a drive or GPU might be slower or a SATA disk disappears. You then use CrystalDiskMark as a quick reality check; all you need to diagnose anomalous SSD behavior is that free utility, plus the rated spec to compare against. If you’re well within 10–15% of the rated speed, you can close the tab and enjoy your day, because nothing mentioned so far applies to you.
If your flagship SSD is closer to half speed, that’s the red flag that it may be sitting behind a shared chipset link, fighting with USB, networking, and other devices. The fix is physical movement: shift it to the CPU-connected primary slot so it gets four dedicated lanes and can approach its advertised throughput. In parallel, enabling XMP/EXPO stops your RAM from running at slow JEDEC baselines—which otherwise can cut framerates on a high-frequency kit. Custom fan curves then tackle CPU throttling: default curves are tuned for silence, meaning the fans ramp too late, and your processor creeps toward throttling temperatures while waiting for airflow.
Common mistakes that silently throttle your CPU, RAM, and SSD
Once you’ve walked through the steps, it’s worth pausing on the usual gotchas so you avoid falling back into them later. The first big one is never touching BIOS defaults. The BIOS defaults ensure stability on a new PC, but they also limit the performance of your system. That’s fine for an office box, but if you built a gaming or creator rig, leaving everything at factory settings often means lower FPS and longer load times than your hardware is capable of.
A second classic mistake is forgetting XMP/EXPO even exists. These memory profiles are disabled by default; unless you manually choose one in BIOS, your fast DDR kit will run at a slower JEDEC baseline, like 4,800 or 5,200 MT/s instead of the 6,000 MT/s you paid for. As a quotable reminder: "Once you know which settings to enable, you can extract more performance without threatening system stability". Not toggling that single option can directly reduce your maximum framerates.
The storage side has its own subtle pitfalls. Many users place a flagship PCIe Gen 5 SSD into a convenient slot without checking the manual, only to discover later that the slot is wired through the chipset or limited to Gen 4. A PCIe Gen 5 SSD rated for up to 14,000 MB/s can’t deliver on its advertised speed when it’s sitting behind a shared link and contending with everything else your system is doing. All of this is documented in the storage section of the motherboard manual, but most users miss it because the system appears to run fine on the surface.
Motherboard firmware tuning vs. Windows tweaks—and the payoff
Here’s the awkward truth: Windows diagnostics alone cannot reveal firmware-level bottlenecks. Task Manager and performance monitors can show high CPU use or disk activity, but they don’t tell you if your drive is stuck on slow lanes or if BIOS has reset a key feature. Some settings, like Resizable BAR, can revert to their default state when you make a hardware change, such as swapping CPUs, which means they silently disable themselves until you re-enable them in UEFI.
Motherboard firmware tuning is about catching these hidden switches and bandwidth trade-offs. Newer systems that support UEFI by default may ship with features like ReBAR enabled, but a CPU swap or storage reconfiguration can push the firmware back to safe defaults. Meanwhile, your motherboard has a fixed bandwidth budget: GPUs, NVMe drives, SATA ports, USB, and networking all draw from the same lane pool. Tuning BIOS performance settings, choosing the right slots, and setting custom thermals is how you make sure the fastest components get the priority, rather than the most recently installed ones.
Is the effort worth it? For most builders, yes. Checking the manual, running CrystalDiskMark and HWiNFO, and nudging a few BIOS options can unlock performance you already paid for, with no hardware upgrade and $0 spent. The main thing to watch for is stability—change one group of settings at a time, test, and keep thermals under control so "more performance" doesn’t mean "more throttling." Once you know where your motherboard hides its compromises, it takes five or ten minutes to correct them and let your CPU, RAM, and SSD run closer to their true potential.