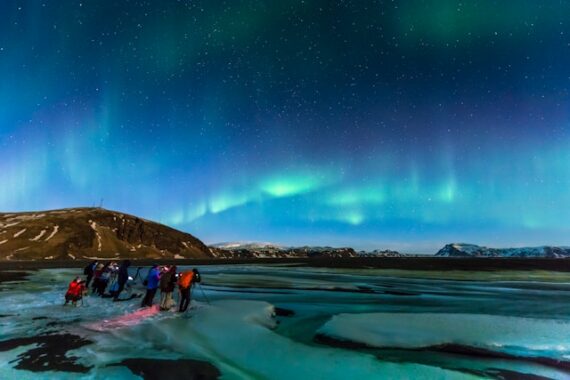

Night Photography Reveals Every Weakness—Not Every Flaw Is Your Camera’s Fault
Night photography tips are practical methods for handling low light, motion blur, color shifts, and exposure problems so your camera produces sharp, accurate images that match your creative intentions instead of the blurry, muddy files that often appear when you shoot after dark. Night photography has a way of exposing every weakness in your technique: shots that looked sharp on the camera screen suddenly appear blurry, colors turn muddy, highlights blow out, and shadows become noisy. The knee‑jerk reaction is to blame the camera or start shopping for a new lens, but usually that is not the real culprit. The bigger problem is the gap between how your eyes and brain perceive a glowing night scene and how a sensor records a single slice of light. Once you accept that your vision is doing heavy editing and your camera is brutally literal, you can start fixing those night photo mistakes on purpose.

Motion Blur: Stop Treating Handheld Shooting as a Night Default
If your night scenes are soft and smeared, your biggest enemy is probably motion blur, not "bad glass." As light levels drop, shutter speeds get longer and even the slightest movement from your hands can soften an otherwise beautiful image. Trying to handhold your camera at night is usually a recipe for blurry images unless you are deliberately shooting fast‑moving street scenes. A stable camera is the foundation of sharp night photos, and you will not get there by trusting your ability to stand still. Use a sturdy tripod whenever possible and trigger the shutter with a remote release or 2‑second self‑timer to avoid vibrations during exposure. And when you do shoot handheld, stop clinging to ISO 100; raising ISO to 800, 1600, or 3200 can produce a cleaner final image because it allows a faster shutter speed and less motion blur.
Low Light Camera Settings: Take Control of ISO, Shutter, and Focus
Auto mode is a liability at night. Your camera has no idea whether you want silky water, frozen traffic, or star points, so it may raise ISO too high, choose an aperture that is too wide or too narrow, or pick shutter speeds that do not match your subject. Night photography almost always benefits from Manual Mode or Priority Modes because you gain control over exposure, motion blur, noise, and depth of field. Many photographers assume ISO 100 is always best, but at night it can force shutter speeds that are far too long; increasing ISO often gives a sharper result because you can shorten the exposure and avoid blur. Autofocus is another silent killer: in low contrast scenes, it may hunt or lock onto the wrong object. Focus before it gets dark, use live view magnification, manually focus on a bright star or distant light, then switch the lens to manual focus so it stays locked. Many blurry night photos are simply the result of missed focus.
Color Mud and Blown Highlights: Fix White Balance, Noise Reduction, and Dynamic Range
One reason your night photos look worse than the scene you saw is that your eyes and brain adapt locally, stitching together a view where both bright lights and deep shadows have detail. A single exposure cannot do that, so the camera must choose: protect the highlights and risk noisy shadows, or lift the dark areas and blow out bright signs or windows. If you want sharp night photos with believable color, you need to expose thoughtfully and avoid heavy‑handed fixes. Shoot RAW rather than JPEG to preserve more tonal information and give yourself room to recover highlight and shadow detail. Protect important highlights, since clipped highlights cannot be recovered, but avoid underexposing so far that shadows fall apart into noise and color shifts when you lift them. Auto white balance often struggles under mixed artificial lighting, so experiment with Kelvin white balance and fine‑tune colors later. Excessive noise reduction and sloppy white balance are why many low‑light images look flat and muddy instead of rich and dimensional.
Stop Trusting Your LCD: Judge Exposure and Composition Like an Adult
Your camera’s LCD is a liar at night. In the dark it often makes photos appear brighter than they really are, so images that look perfect on‑screen turn out underexposed or overloaded with clipped highlights when you open them later. Real‑world output rarely matches the seductive preview, which means you have to stop chimping and start testing. Instead of judging exposure by the screen alone, check the histogram; it shows whether highlights are clipped, whether shadows contain usable detail, and whether the exposure is balanced. According to one guide on low light technique, "The histogram is a much more reliable guide than your eyes in low light". Field testing and minor adjustments beat guessing every time. Slow down, compose with intention, scan the whole frame for distractions, and remember that your brain naturally filtered clutter at the scene while the camera records everything with equal weight. Night photo mistakes are inevitable, but if you shoot deliberately—tripod, manual focus, controlled exposure, and honest histograms—you will produce low‑light images that look far closer to the scene you loved than to the muddy mess you are used to seeing.