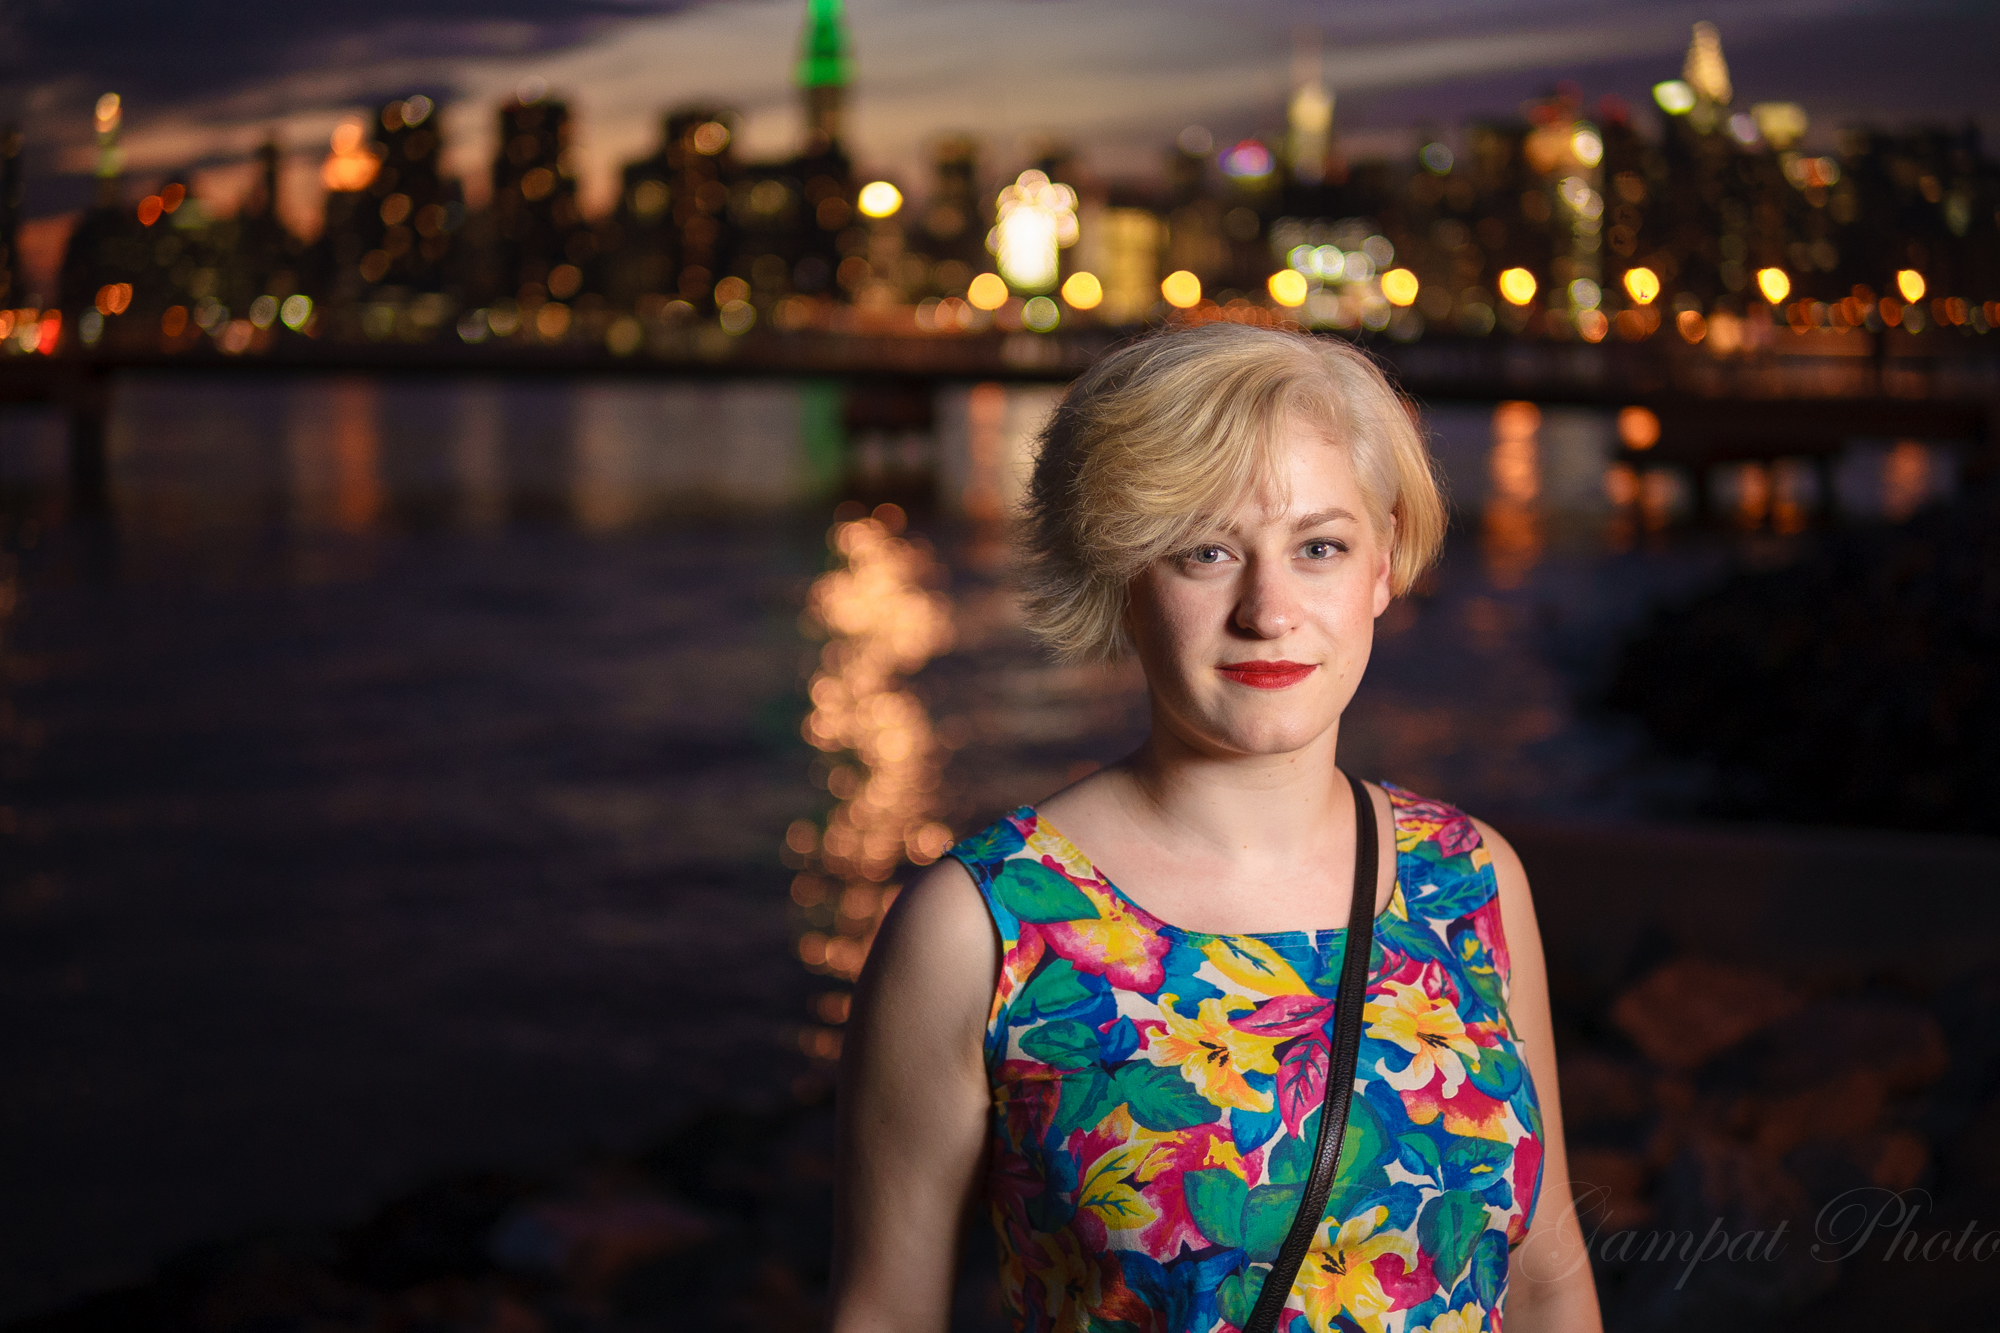

What Soft Light Is—and Why Your Bare Flash Looks Terrible
Soft light photography for portraits means creating light that produces gentle, detailed shadows instead of dark, high-contrast ones, using a flash source that’s made effectively larger through diffusion or bounce so faces look smooth and flattering rather than carved up by harsh lines. If you’ve ever pointed a bare flash straight at someone and wondered why they look like they’re in a police lineup, you’ve met hard light. A small flash head is a small light source, and the smaller the light source, the harder the light and the more unflattering the shadows. Our goal is to turn that tiny, harsh source into something much bigger—without a softbox—so your portraits have soft transitions, open shadows, and believable depth. You’ll need a flash that can go off-camera, a wall or large surface to bounce from, and a reflector or bright surface to fill shadows.
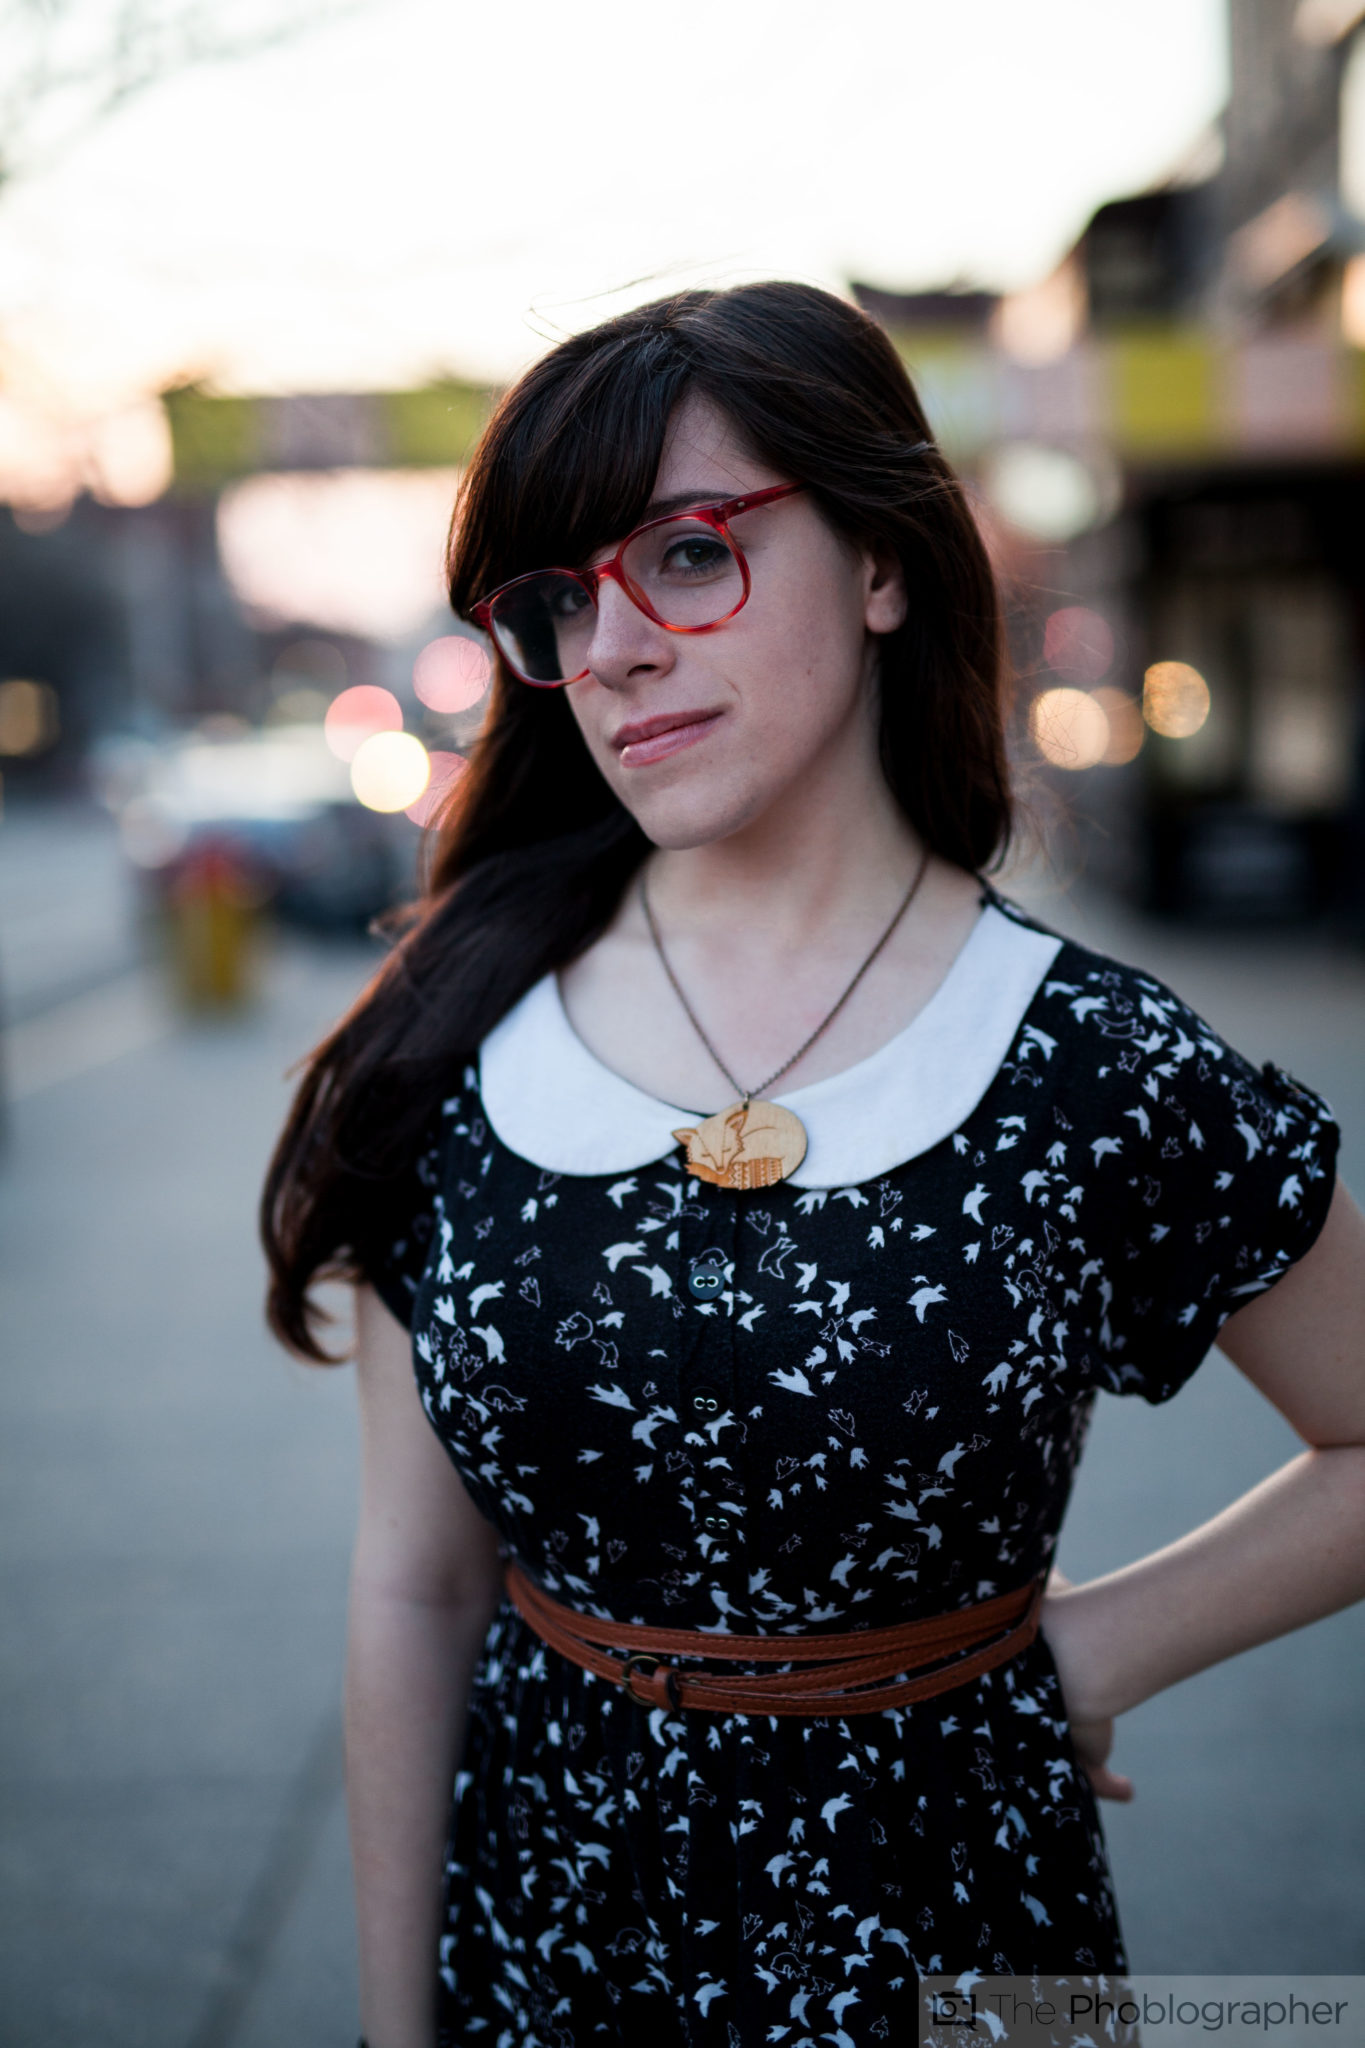
Gear Setup: Off-Camera Flash and Simple Surfaces
Before we get into the step-by-step, set yourself up like you would for a quick portrait in a small room. First, get the flash off the hot shoe. Keeping it locked on top of the camera is common for events, but for portraits it limits your creativity and keeps the light glued to one unflattering angle. Use inexpensive off-camera radio triggers or a TTL cord, which are praised for their reliability. Next, claim a wall or large surface as your DIY light modifier—a plain white wall is perfect, but a big light-colored door, sheet, or foam board also works. Add a reflector on the opposite side of the main light, or use anything large and white to bounce light back into the shadows and make the image look like it has softer light overall. Pro tip: you can create an even, glowing background using two hot shoe flashes, a white backdrop, and two bounce surfaces.
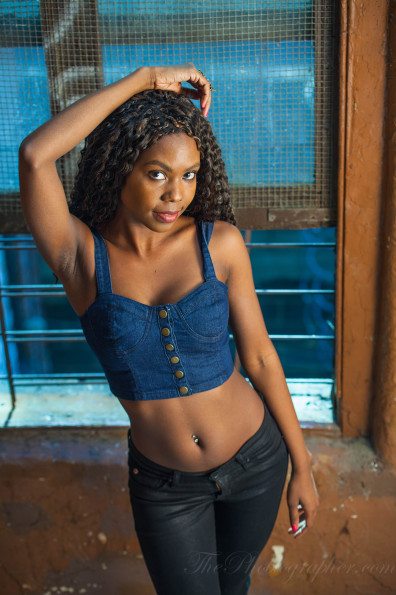
Step-by-Step: Turning Bare Flash into Soft, Flattering Light
- Move your subject into shade or an area dominated by shadows, such as the side of a building, so you start with even, controlled ambient light instead of blown-out highlights and deep, unflattering sun shadows.
- Switch your camera to spot metering and expose for your subject’s skin, accepting that the background may blow out because your priority is getting their face in smooth, even light.
- Place your flash off-camera on a stand or stable surface, taking it out of the hot shoe to free up your lighting angles and avoid the straight-on, harsh look.
- Aim the flash head at a nearby wall or large surface, slightly above and behind your subject rather than straight at the ceiling, to avoid eye sockets going dark and instead send light back toward their face to fill in the shadows.
- Set the flash zoom to its widest setting (often 24mm, or 14mm when you flip out the built-in wide-angle diffuser) so the light spreads over a larger area and bounces off a larger patch of wall, turning that patch into a big, soft light source.
- Adjust flash power and aperture as needed so the bounced light gives you a proper exposure, remembering that a bigger effective source equals softer light but also spreads and weakens the beam.
- Position a large white reflector or surface opposite the wall or on the shadow side of the subject to reflect light back into the darker areas, further softening contrast and making the portrait look like it was lit with a professional modifier.
- Ask your subject to turn toward the wall you’re bouncing from (your effective key light), because facing the light source tends to produce more flattering, softer illumination on their features overall.
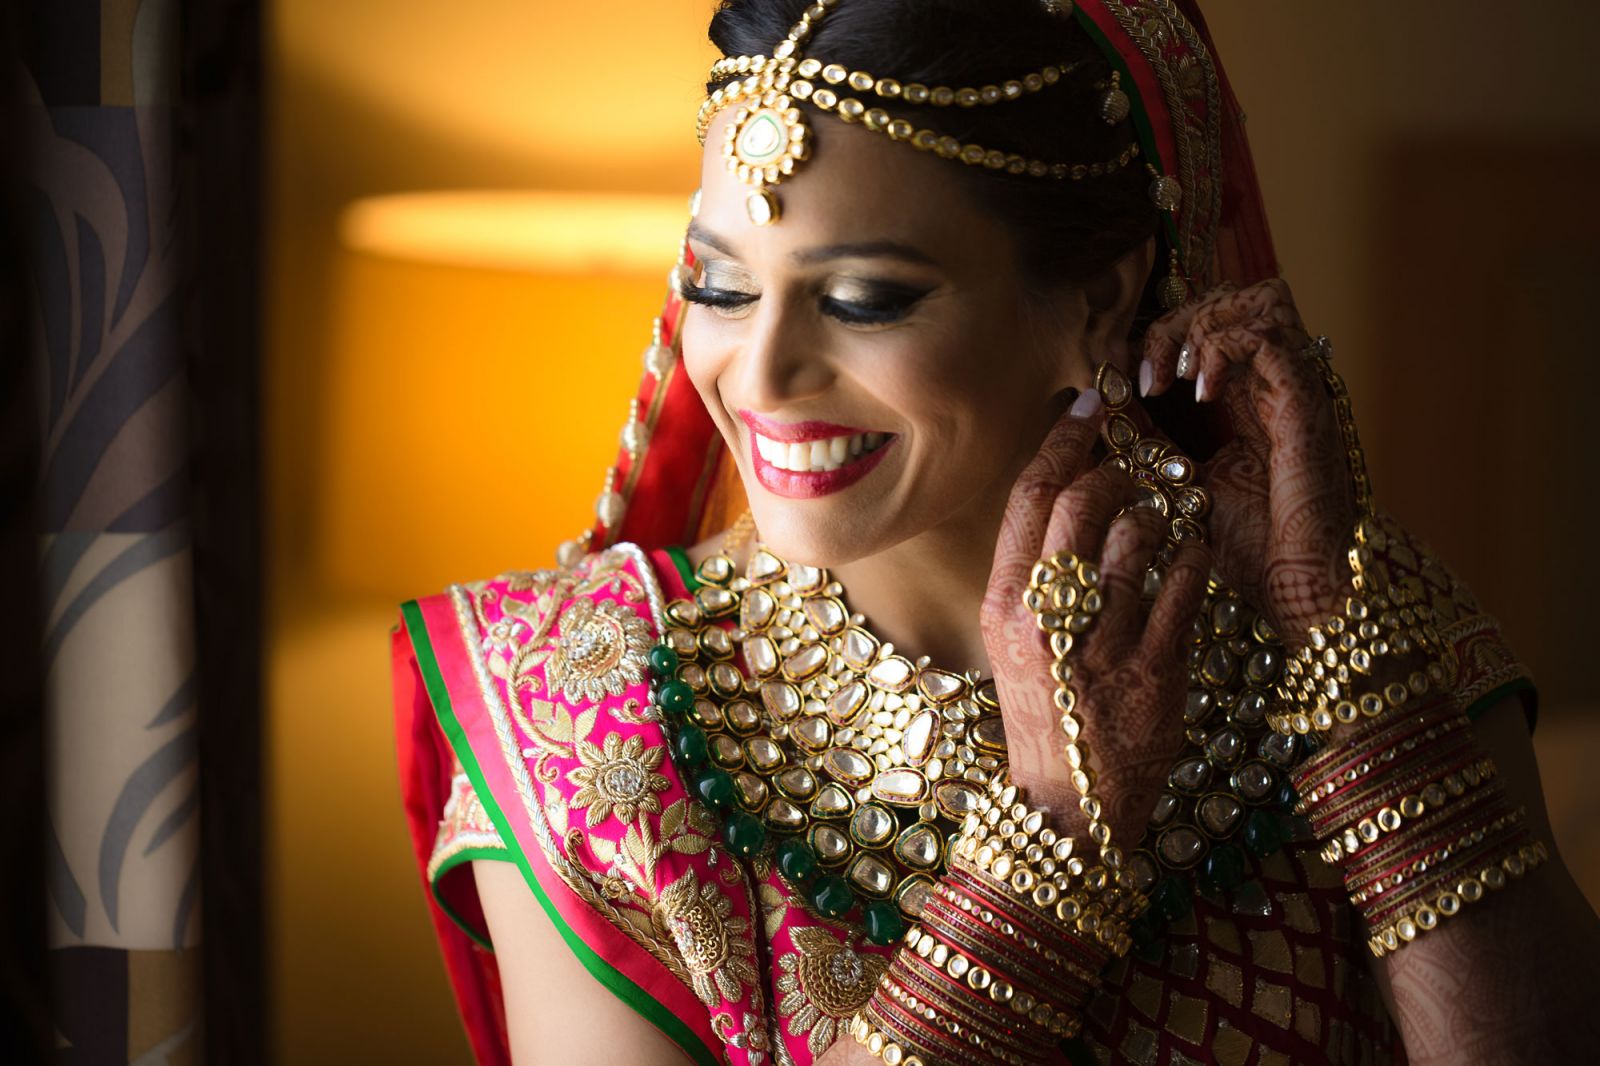
Every step above is about one thing: shadow quality. According to the definition of soft lighting, the lighter and more detailed your shadows, the softer the light appears. When you widen the zoom and bounce off a wall, the light travels to a larger area, then bounces off that larger area and gives the effect of super soft lighting. And when you add a reflector to the opposite side, you fill shadows further so faces don’t look uneven or tired. Take your time with the positioning; small changes in angle and distance have a big impact on how those edges look in the final portrait.
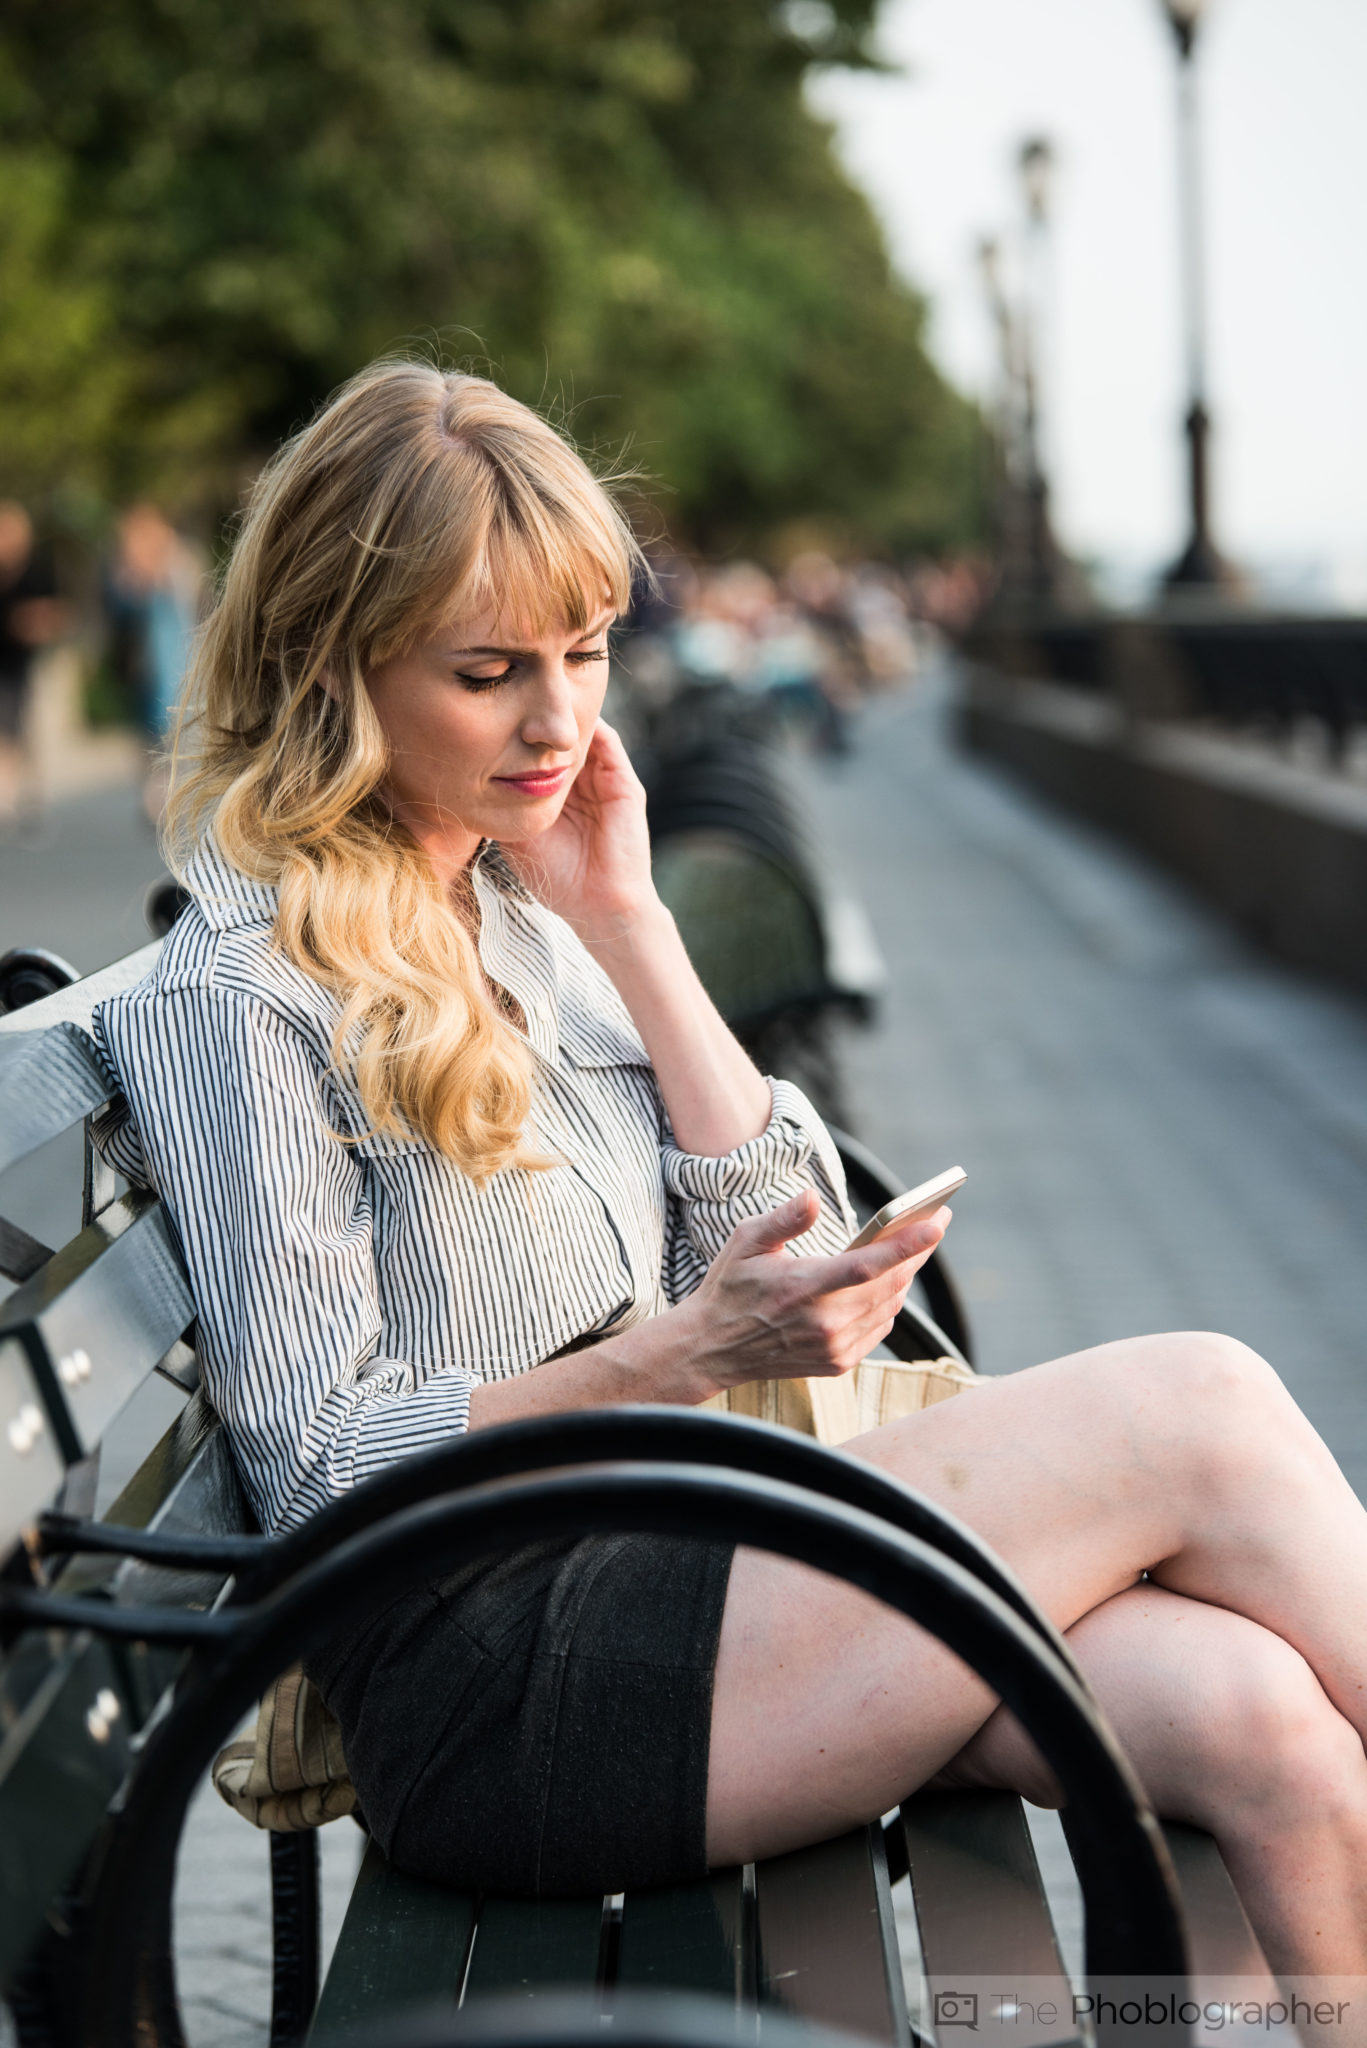
Common Mistakes: Ceiling Bounce and Direct Sun
The first big mistake is relying on ceiling bounce without thinking about where the light lands. Many photographers point their flash straight at the ceiling and discover strong shadows under the subject’s eyes, which is not flattering for portraits. Bouncing slightly above and behind your subject gives them more direct light that fills those shadows instead. Another trap is shooting portraits in bright, cloudless sunlight and then adding flash. Photographing a person in that direct sun gives blown-out areas and deep, unpleasant shadows. Move them into building shade or a shadow-dominated area to gain control over contrast before you add flash. Finally, don’t forget to zoom your flash head wider when bouncing; keep it at a tight zoom and the wall becomes a smaller, harder source instead of the big, soft pseudo-softbox you want.
What You Can Expect—and Why This Is Worth Learning
When you pull this off, your portraits stop looking "flashed" and start looking naturally lit. The bounced light above and behind you gives the subject something more direct that fills in the shadows, leading to softer, more beautiful results. Because the light is coming from a larger area relative to the subject, it wraps around their features and produces the lighter, more detailed shadows that define soft light. The beauty is that most of this look comes from understanding how light spreads and bounces, not from buying gear. Think of your flash like a movable candle in a dark room: once you can move it and decide what surface it lights up, you can light the room—and your subject—differently. Treat walls and reflectors as your DIY light modifiers, watch the shadows, and you’ll get professional soft light photography without a softbox.