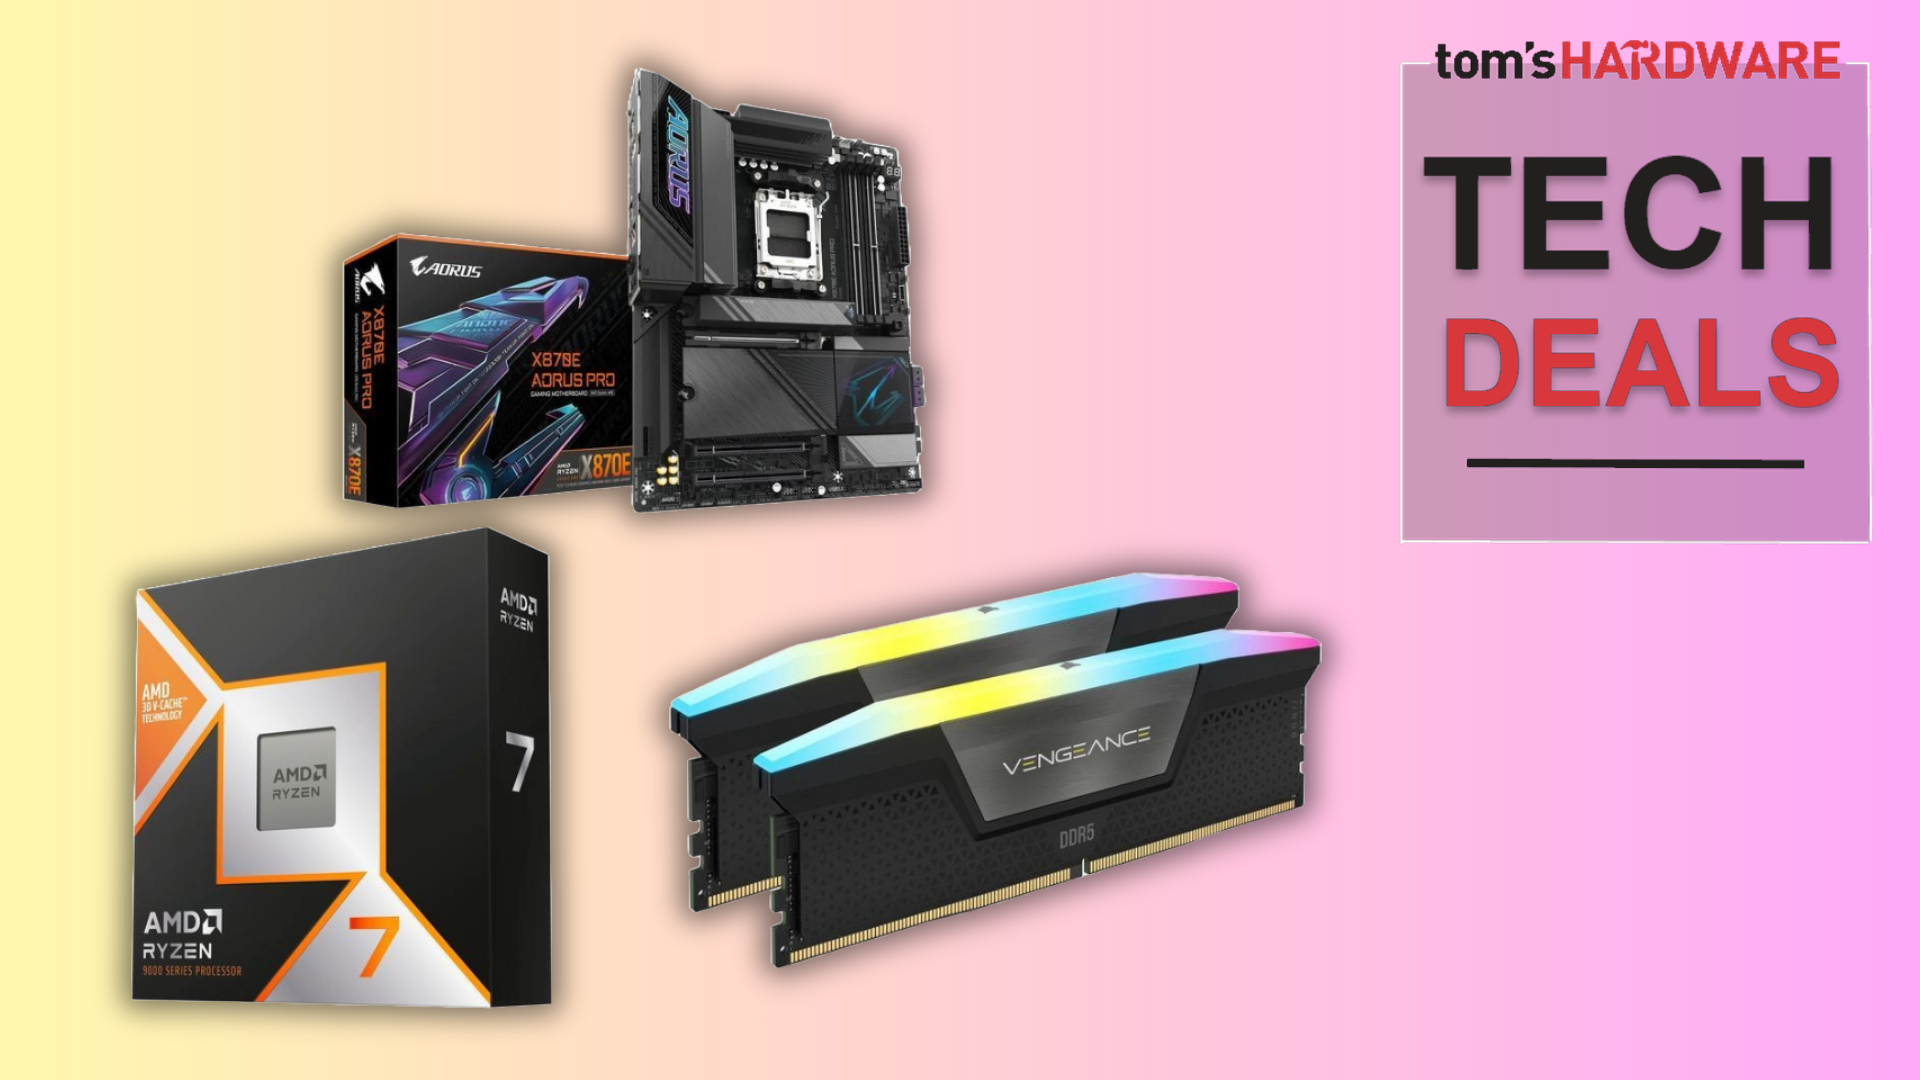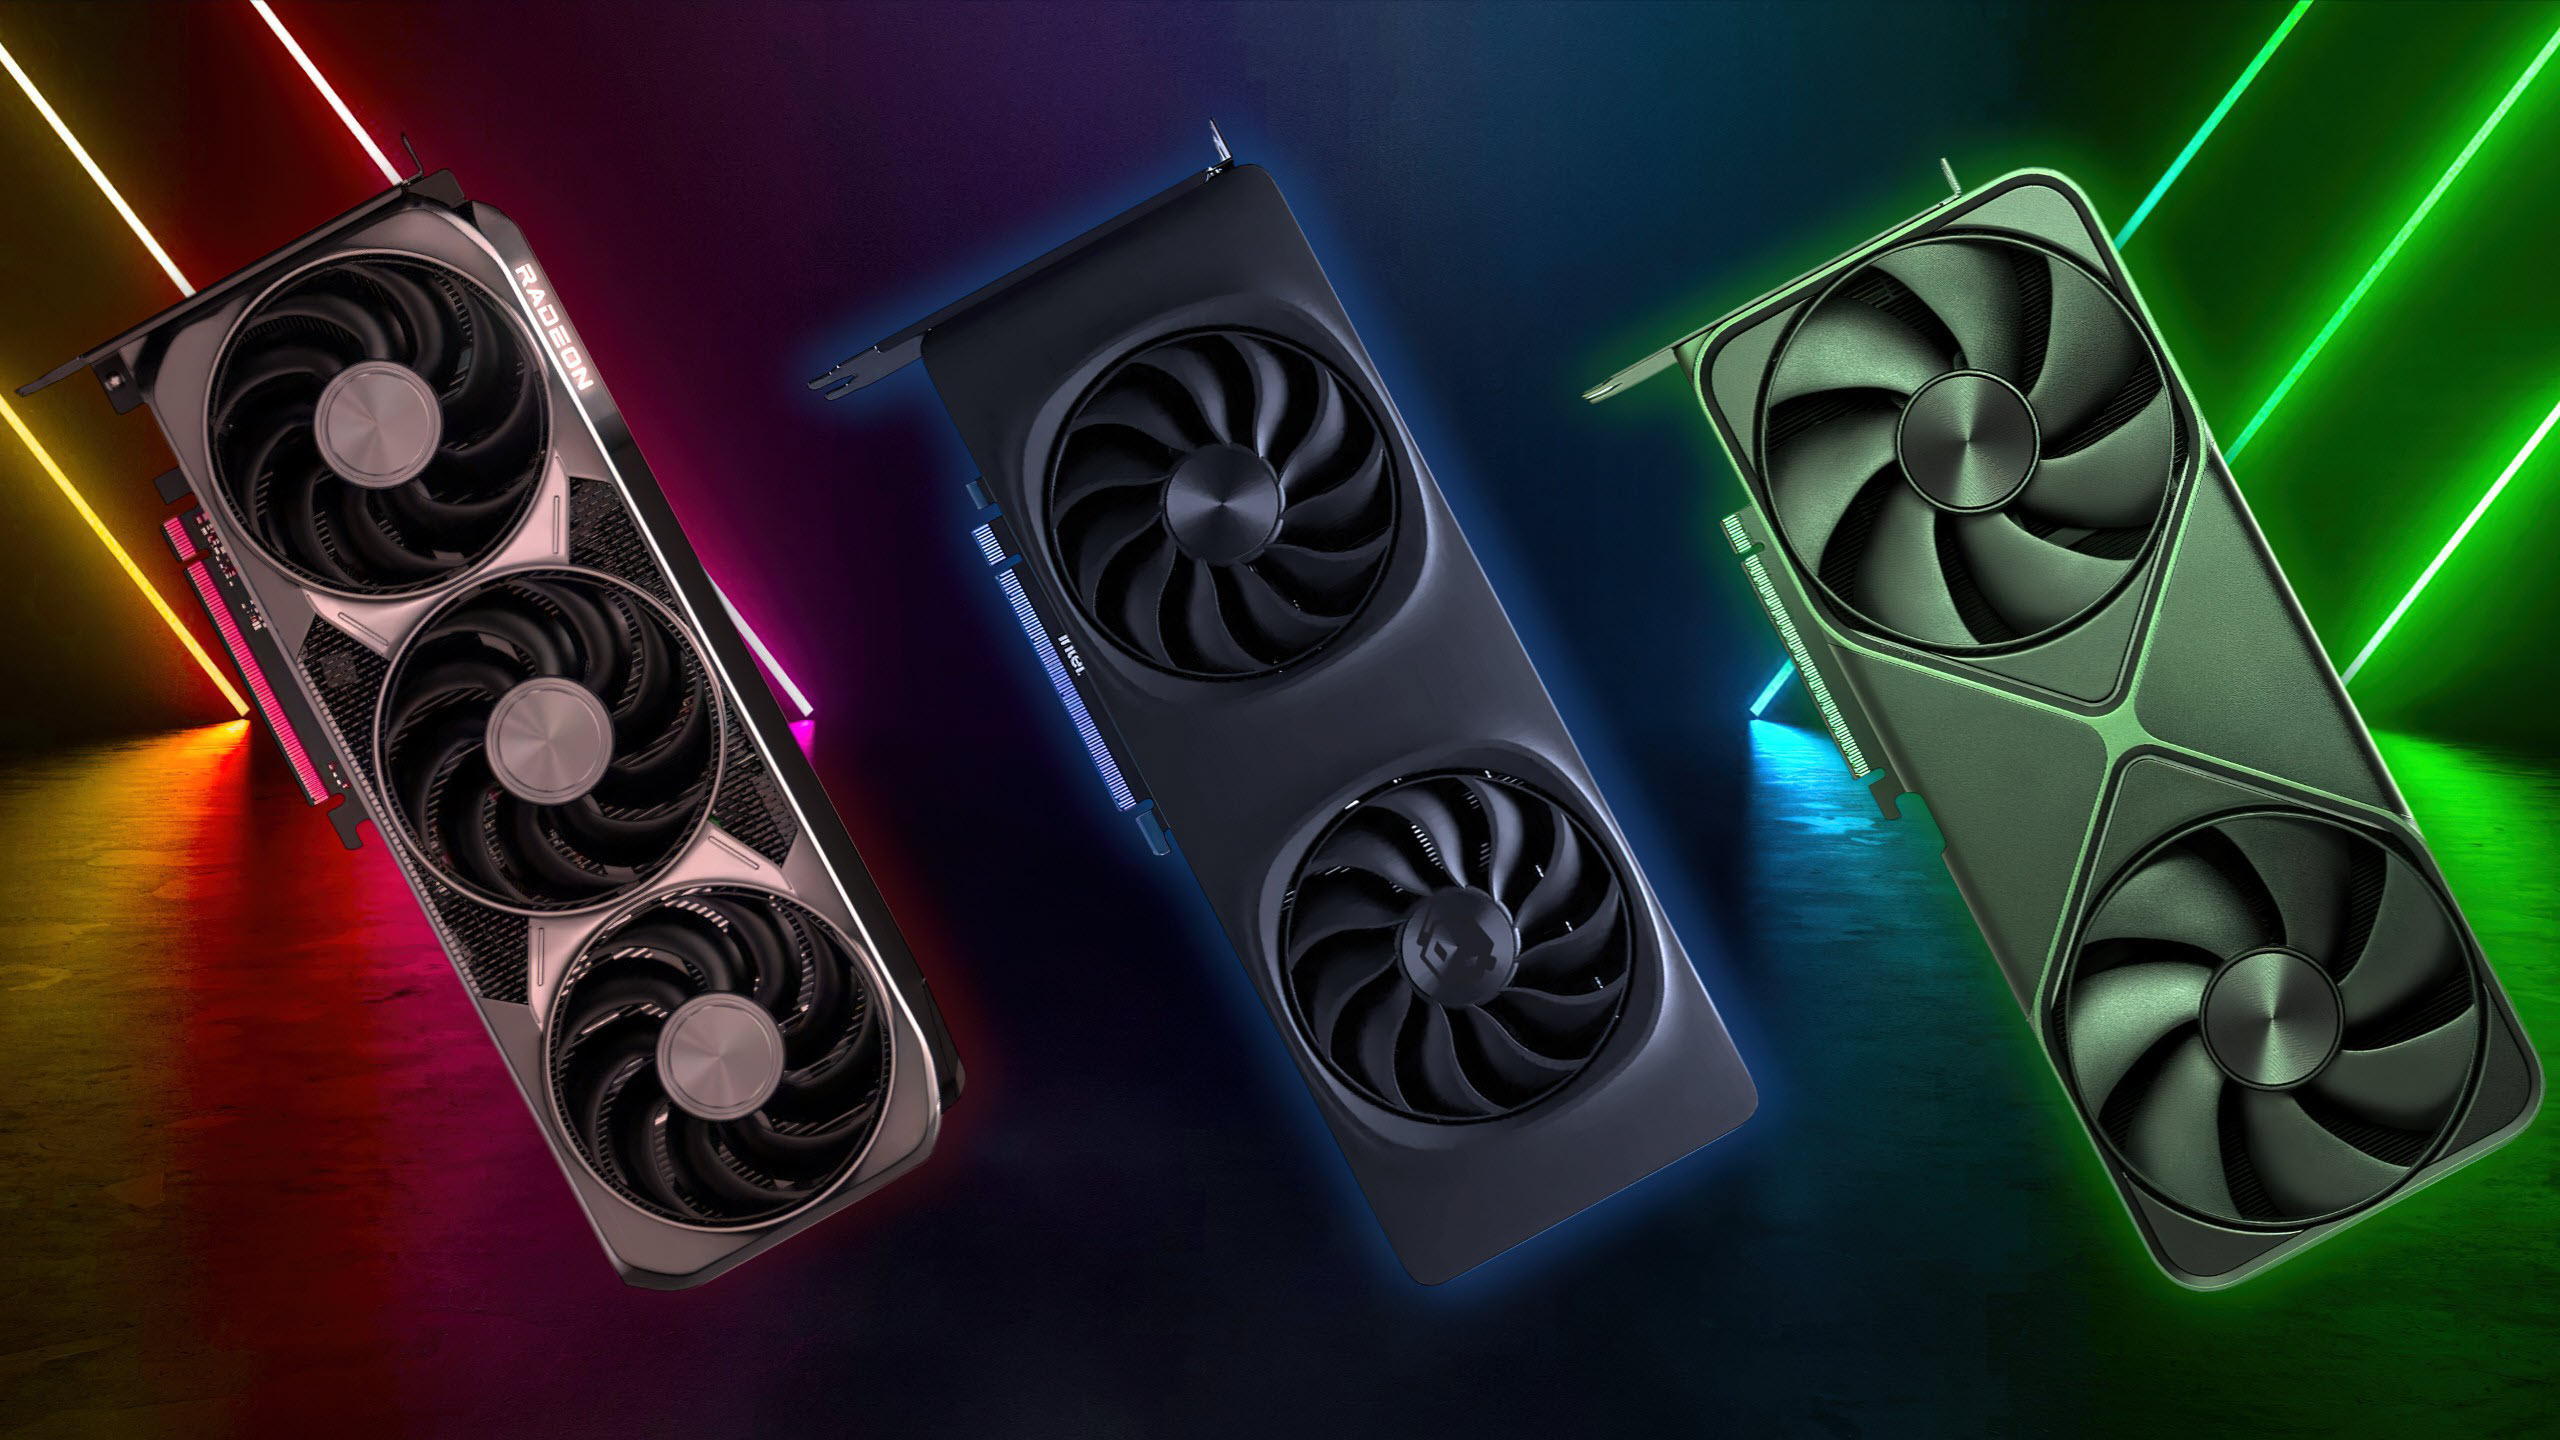
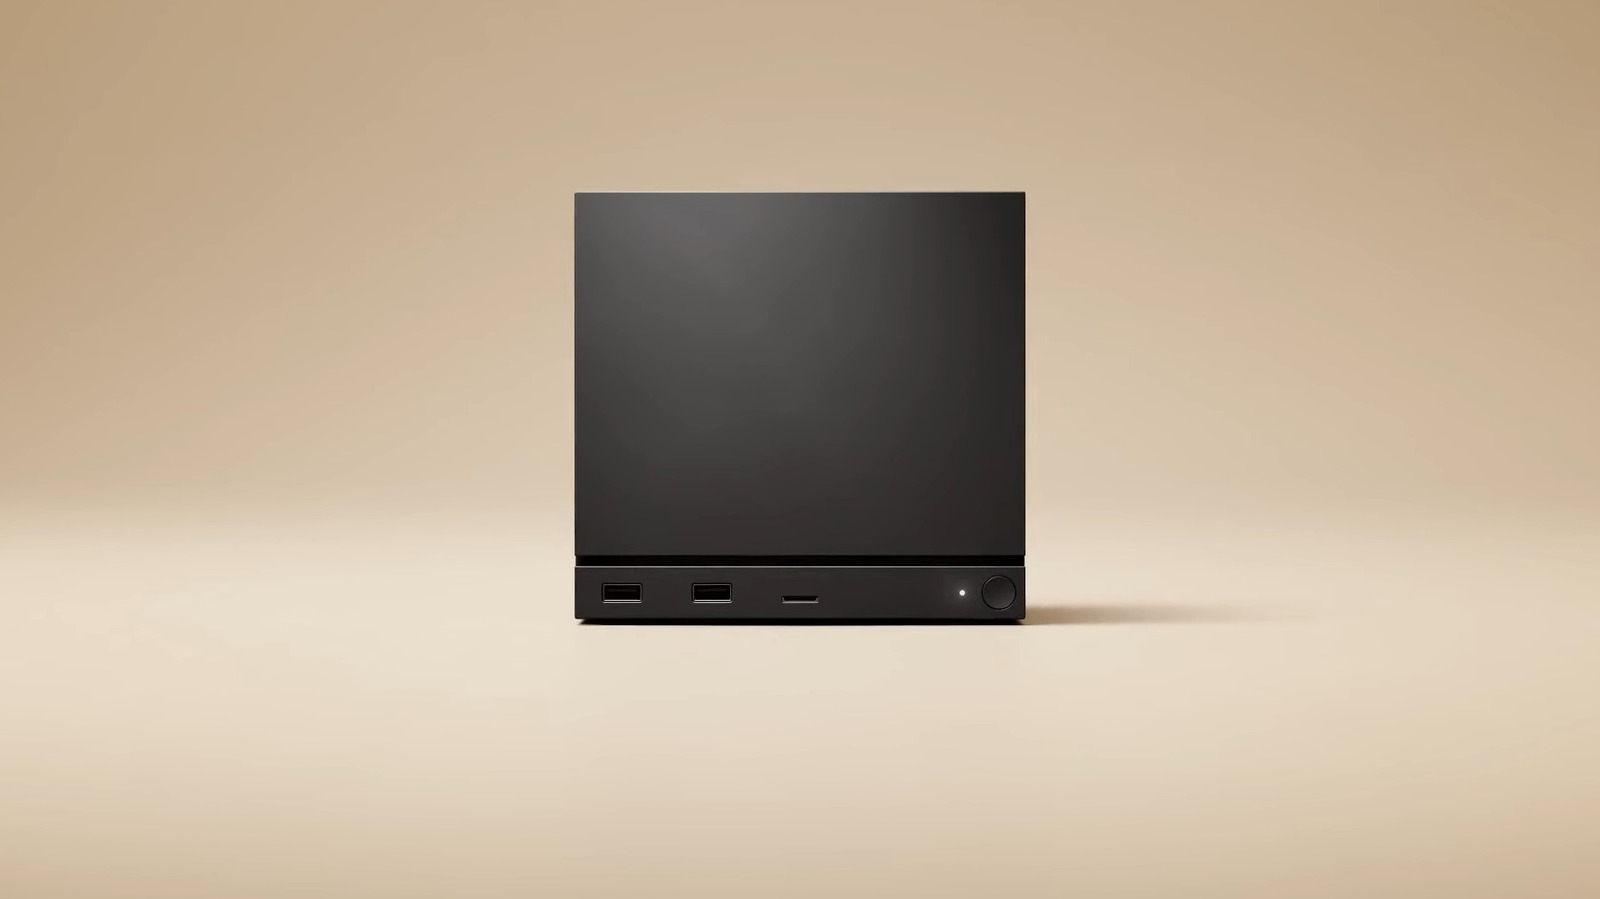

What a DIY Steam Machine Is and Why You’d Build One
A DIY Steam Machine is a custom-built PC designed to run SteamOS or Windows in the living room, using off‑the‑shelf components so you can match or exceed Valve’s console-style Steam Machine while keeping full control over performance, upgrade options, and overall cost for big-screen gaming and media use.
If the official Steam Machine appeals to you but its price and fixed hardware give you pause, a self-built version offers a more flexible path. The retail Steam Machine starts at USD 1,049 (approx. ₱58,700) without a controller, and its semi-custom CPU and GPU cannot be upgraded later, leaving only RAM and SSD as tweakable parts. A home-built system, by contrast, is a regular PC under the hood: you pick every part, can swap out the graphics card or processor in a few years, and avoid paying a premium for factory assembly and support. The real caveat is comfort with tinkering—if opening a case and troubleshooting a boot issue sounds interesting rather than scary, this approach is for you.
Components and Tools You Need Before You Touch a Screwdriver
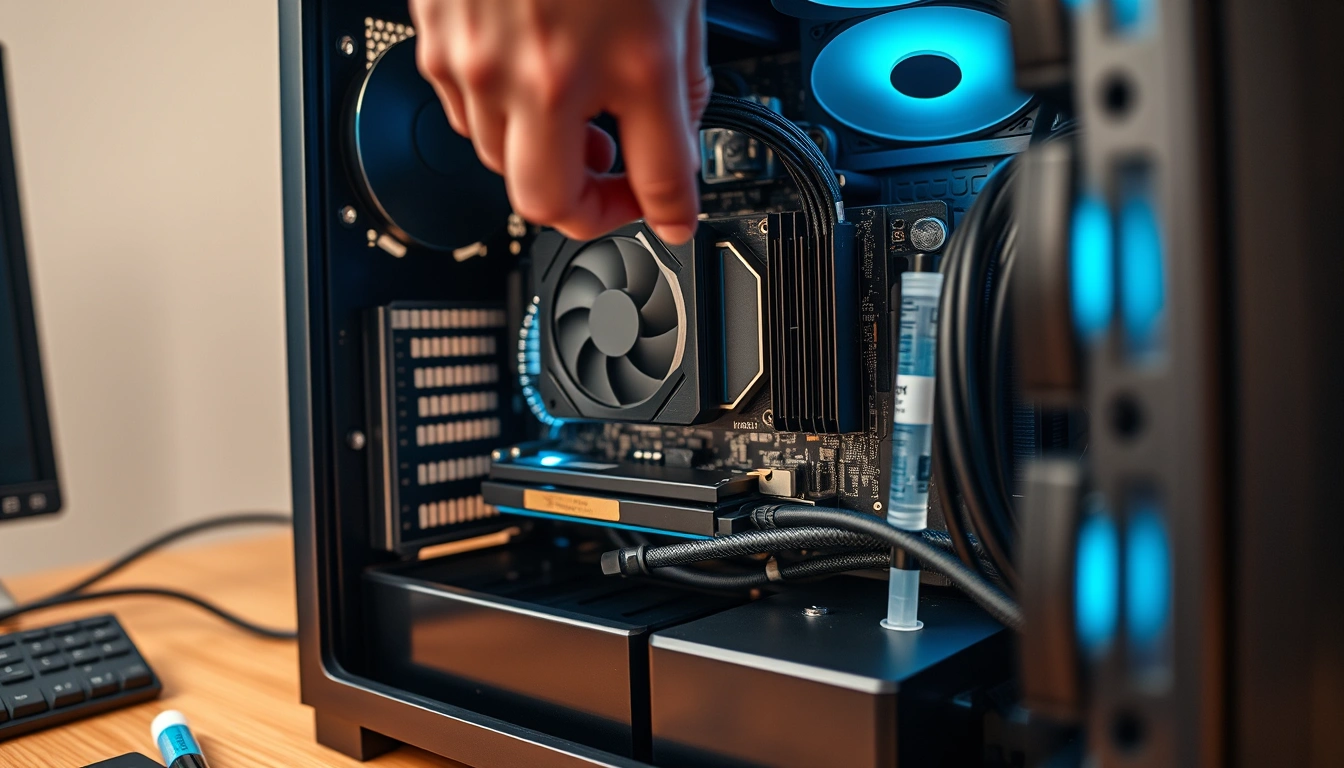
Before you build your own Steam Machine, gather every component and tool so you do not have to stop halfway through to buy a missing cable or USB drive, which is one of the most frustrating and common mistakes in first-time PC assembly. Think of this like staging ingredients before cooking: when everything is on the table, the build feels smooth and much less stressful.
| Component / Tool | Example / Notes | Why It Matters |
|---|---|---|
| CPU | AMD Ryzen 5 7600X (6-core, AM5), approx. USD 176.99 (approx. ₱9,900) | General gaming performance for living room use |
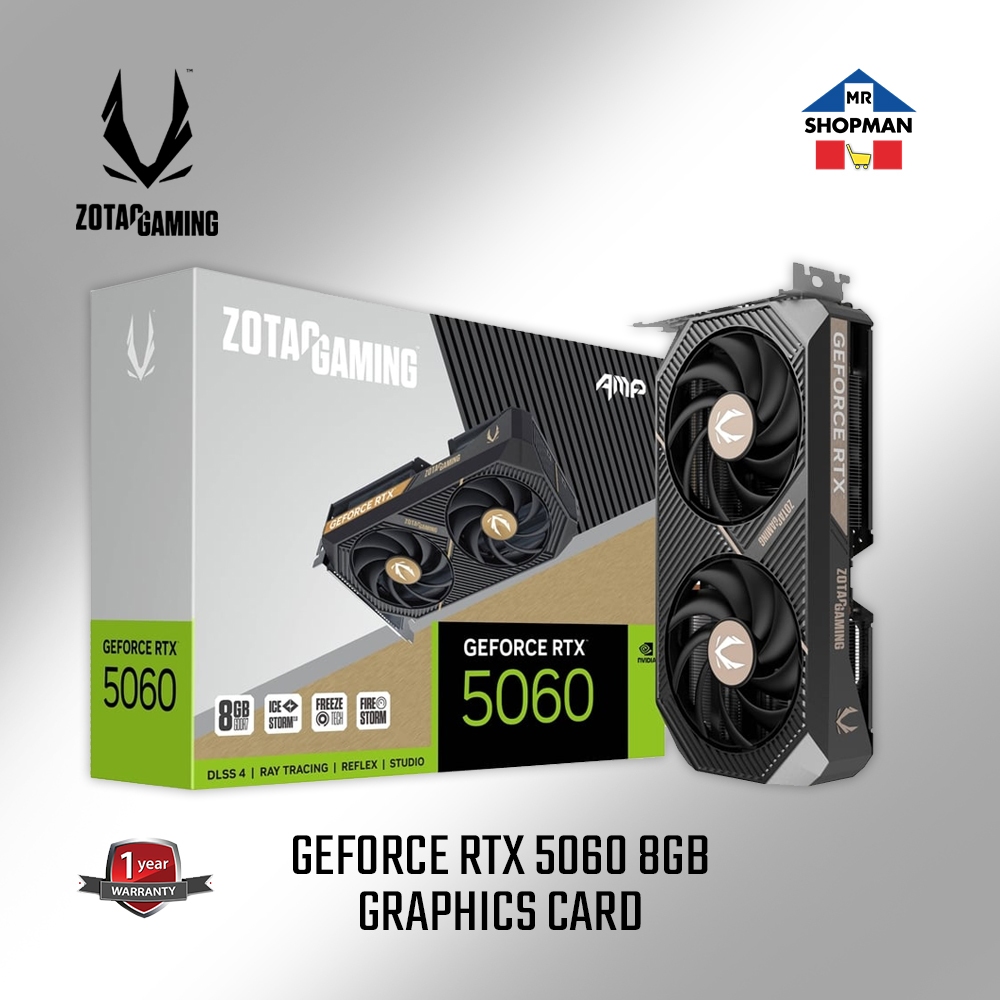
| GPU | Nvidia GeForce RTX 5060 8GB, approx. USD 329.99 (approx. ₱18,400), uses 12V-2×6 power connector | Drives big-screen frame rates and visual quality |
| Motherboard | ASRock B650M Pro RS (AM5), approx. USD 99.99 (approx. ₱5,600) | Connects and powers all components |
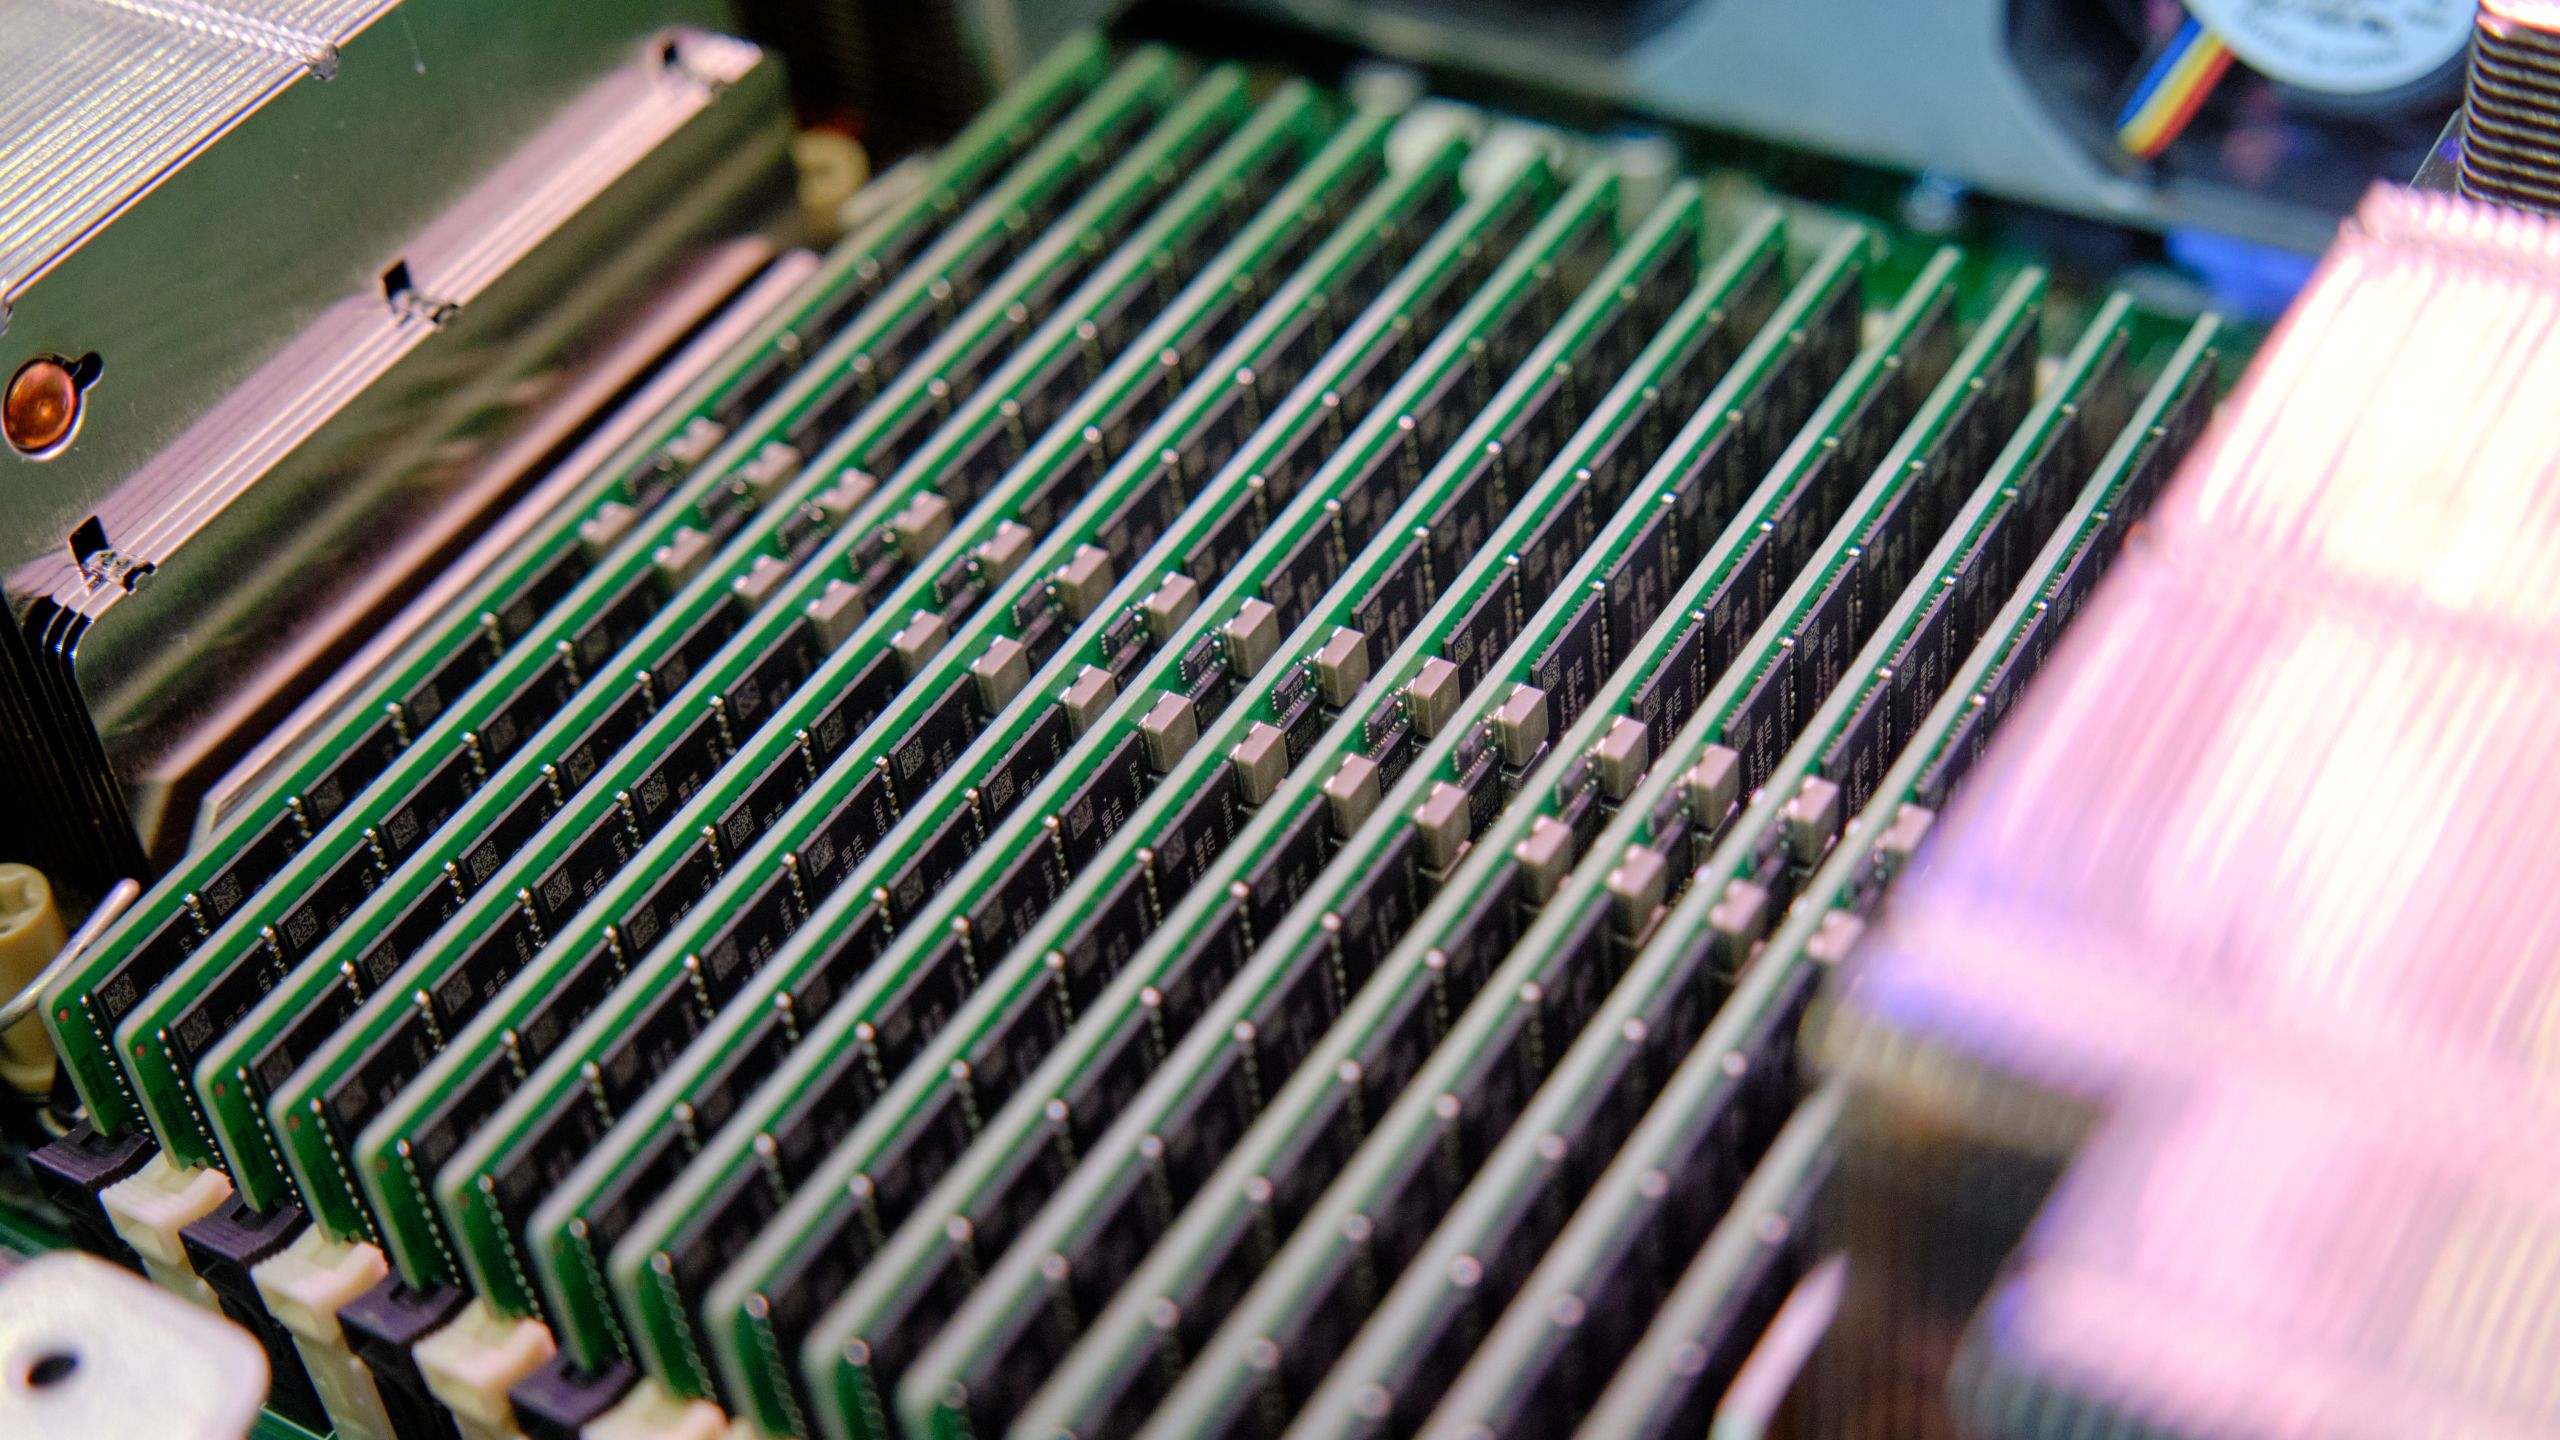
| RAM | DDR5-6000 32GB kit (2×16GB), dual-channel in A2/B2 slots | Keeps SteamOS or Windows and games responsive |
| Storage | 1TB NVMe Gen4 SSD such as Patriot P400 Lite, approx. USD 134.99 (approx. ₱7,500) | Room for OS and game library |
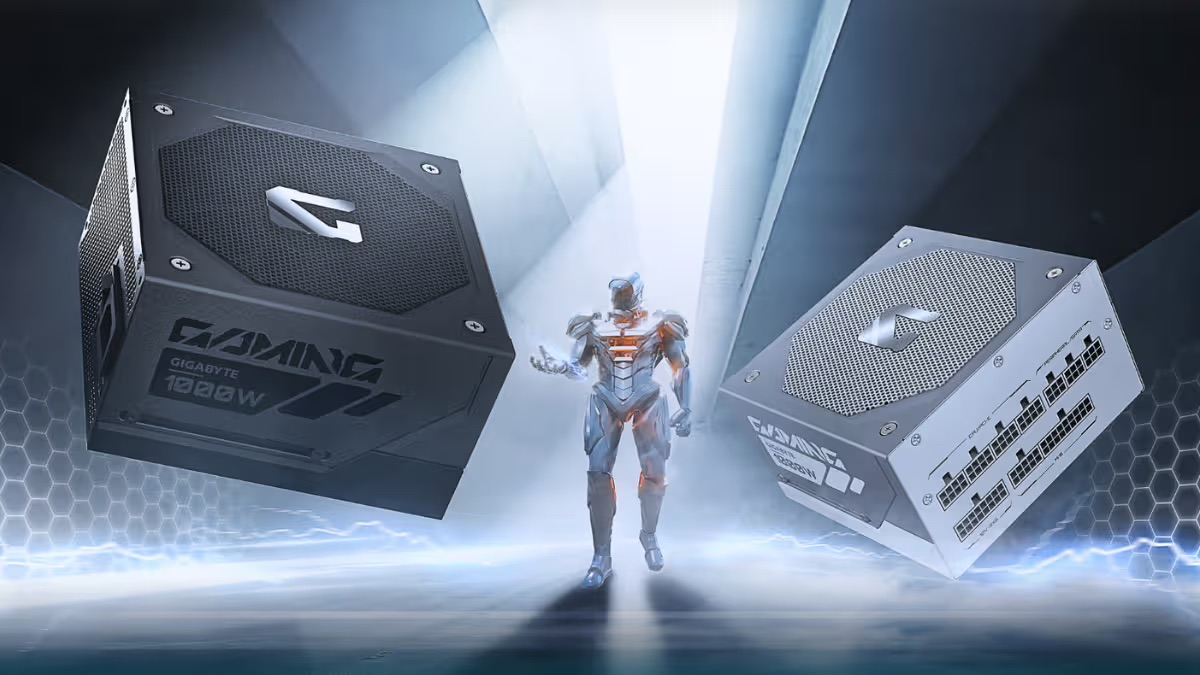
| PSU | 750W 80 Plus Gold unit like CX750M, approx. USD 59.99 (approx. ₱3,400) | Stable power with headroom for mid-range GPUs |
| Case | Compact, high-airflow micro-ATX chassis such as Zalman T6 Mini, approx. USD 28.99 (approx. ₱1,600) | Fits under TV while keeping hardware cool |
| Cooler & Thermal Paste | Air or liquid cooler; paste if no pad is pre-applied | Keeps CPU temperatures in check during long sessions |
| Operating System | Windows 11 version 25H2 for long-term support or SteamOS on top | Makes the PC usable as a Steam Machine |
| Tools & Safety | Phillips #2 screwdriver, magnetic tray, anti-static strap, zip ties for cable management | Prevents dropped screws, static damage, and messy wiring |
Laying this out on a large, well-lit table gives you space to work and reduces the risk of static from carpeted surfaces, which can harm sensitive parts. Keep manuals open on another screen—motherboard and case diagrams make connector placement and front-panel wiring far easier to follow.
Steam Machine Assembly Guide: 12 Sequential Steps
Think of the build as one continuous flow from empty case to fully benchmarked gaming box. The order below follows a proven PC assembly sequence that ends with a stable, driver-updated desktop ready to boot into Steam. Work slowly, check each connection, and do not force any part—most problems come from rushing or misaligned components rather than bad hardware.
- Prep the case and install the power supply: Remove both side panels, pull out unused drive cages for better airflow, and slide the PSU into place with its fan oriented toward a vent or into the case interior as the chassis design requires. Route the main 24‑pin and CPU power cables through cutouts while the case is still relatively empty.
- Install the CPU on the motherboard: Place the board on its box or an anti-static bag instead of inside the case and follow the socket-specific instructions for Intel LGA1851 or AMD AM5. Lock the chip in gently—misalignment here can permanently damage pins.
- Install RAM: Line up the notches, press firmly in the recommended dual-channel slots (often labeled A2 and B2) until both side latches click into place. RAM that is not fully seated is a common no-boot cause, so visually confirm each module is level.
- Mount the CPU cooler: Attach the backplate, apply thermal paste if your cooler does not include a pre-applied pad, and tighten the cooler evenly over the CPU. Uneven pressure or too much paste can hurt thermal performance.
- Install the motherboard in the case: Line it up with the I/O shield, secure it with the correct standoff screws, and avoid over-tightening so you do not strip threads. Check that no cables are trapped under the board.
- Install NVMe SSD storage: Use the dedicated M.2 slot, fasten the drive with its small mounting screw, and add any motherboard-provided heatsink. Overlooking this step leaves you with nowhere to install the OS.
- Install the GPU and power connector: Seat the card in the primary PCIe slot and connect the new 12V‑2×6 cable if your RTX 50‑series GPU requires it. Make sure the latch clicks so the card does not sag or lose contact.
- Handle cable management and front-panel headers: Connect power, reset, and LED leads according to the motherboard pinout diagram, then bundle extra wiring with zip ties. Sloppy cables can obstruct airflow and make later upgrades harder.
- First boot, BIOS setup, and POST: Power on, enter BIOS, verify that CPU, RAM, GPU, and SSD are detected, and ensure the system completes POST without error messages. If it fails, recheck power connections and RAM seating first.
- Install Windows 11 and drivers: Use an 8GB+ USB flash drive created with the current Media Creation Tool to install Windows 11 version 25H2, which has a longer support window than 24H2. Then add chipset, GPU, and device drivers.
- Stress-test and benchmark your build: Run diagnostic tools such as CPU‑Z, HWiNFO64, and MemTest86 to confirm stability under load and verify that your parts perform as expected. This is where you catch cooling or RAM issues before gaming.
- Post-build software and performance tuning: Enable XMP or EXPO profiles once you are sure the BIOS and RAM are stable, adjust fan curves, and install Steam so your new living room machine behaves like a console with your game library.
When you complete these steps, you end up with “a benchmarked, driver-updated desktop” ready for everyday use and gaming in about 90 minutes of physical assembly plus OS setup time. If something does not work along the way, resist the urge to panic; most issues trace back to power leads, RAM seating, or front-panel wiring rather than faulty parts.
Cost, Value, and Long-Term Upgrade Options
Looking at component prices, a DIY Steam Machine built around a Ryzen 5 7600X, RTX 5060, B650M motherboard, 32GB DDR5-6000, 1TB NVMe SSD, 750W Gold PSU, and compact case uses individually affordable parts: the CPU is around USD 176.99 (approx. ₱9,900), the GPU about USD 329.99 (approx. ₱18,400), the motherboard about USD 99.99 (approx. ₱5,600), the SSD about USD 134.99 (approx. ₱7,500), the PSU about USD 59.99 (approx. ₱3,400), and the case about USD 28.99 (approx. ₱1,600). Compared with a fixed Steam Machine starting at USD 1,049 (approx. ₱58,700) without a controller, your self-build can deliver similar or better hardware while staying competitive on total system cost, especially since you control where to splurge or save.
The bigger advantage is long-term flexibility. The official Steam Machine’s semi-custom CPU and GPU cannot be upgraded, and only its RAM and SSD can be swapped later. If new consoles in 2027 outpace it, that fixed hardware could look weak next to the new standard. A DIY living room PC avoids this trap: want smoother 4K in a few years? Replace the GPU. Need more cores for streaming or background tasks? Drop in a new compatible CPU. Thanks to a standard ATX-like design, each component has a clear upgrade path—and your Steam library follows you across every change.
Takeaway: Worth Building Your Own Living Room Steam Machine?
Putting together your own Steam Machine-style PC is less about saving every last cent and more about owning a living room system you can understand, fix, and evolve over time. You trade one-box convenience for the satisfaction of seeing the machine go from empty case to stress-tested, benchmarked desktop under your own hands. The main pitfalls—missing parts mid-build, poorly seated RAM, rushed front-panel wiring—are easy to avoid if you plan ahead and follow a deliberate sequence. If you like the idea of a console-style big-screen experience but want escape hatches for future performance and upgrades, building this system once will pay off every time you decide to swap a part instead of buying a whole new box.