
The Real Reason Your Phone Photos Are Blurry
Phone camera settings are built to impress in demos, not to capture reliable everyday photos, and several default features quietly slow your camera, over-process your images, and introduce blur by merging multiple frames or constantly hunting for focus. Most people blame their shaky hands, but turning off a few aggressive camera features disable options is often the fastest way to stop blurry photos and get sharper phone photos in normal shooting conditions.
The biggest misconception is that blur is mainly your fault: moving too fast, tapping the shutter early, or failing to brace the phone well enough. You can tighten your grip all you like, but if your camera is busy tracking focus, analyzing scenes, and stitching several exposures together every time you shoot, you are fighting the software more than the physics. None of this needs a newer device or a special app; these phone camera settings already exist and are usually turned on because they look good in marketing shots, not because they help when your kid sprints through the frame or the dog refuses to sit still.
1. Turn Off Tracking Auto-Focus So Your Camera Can Shoot Instantly
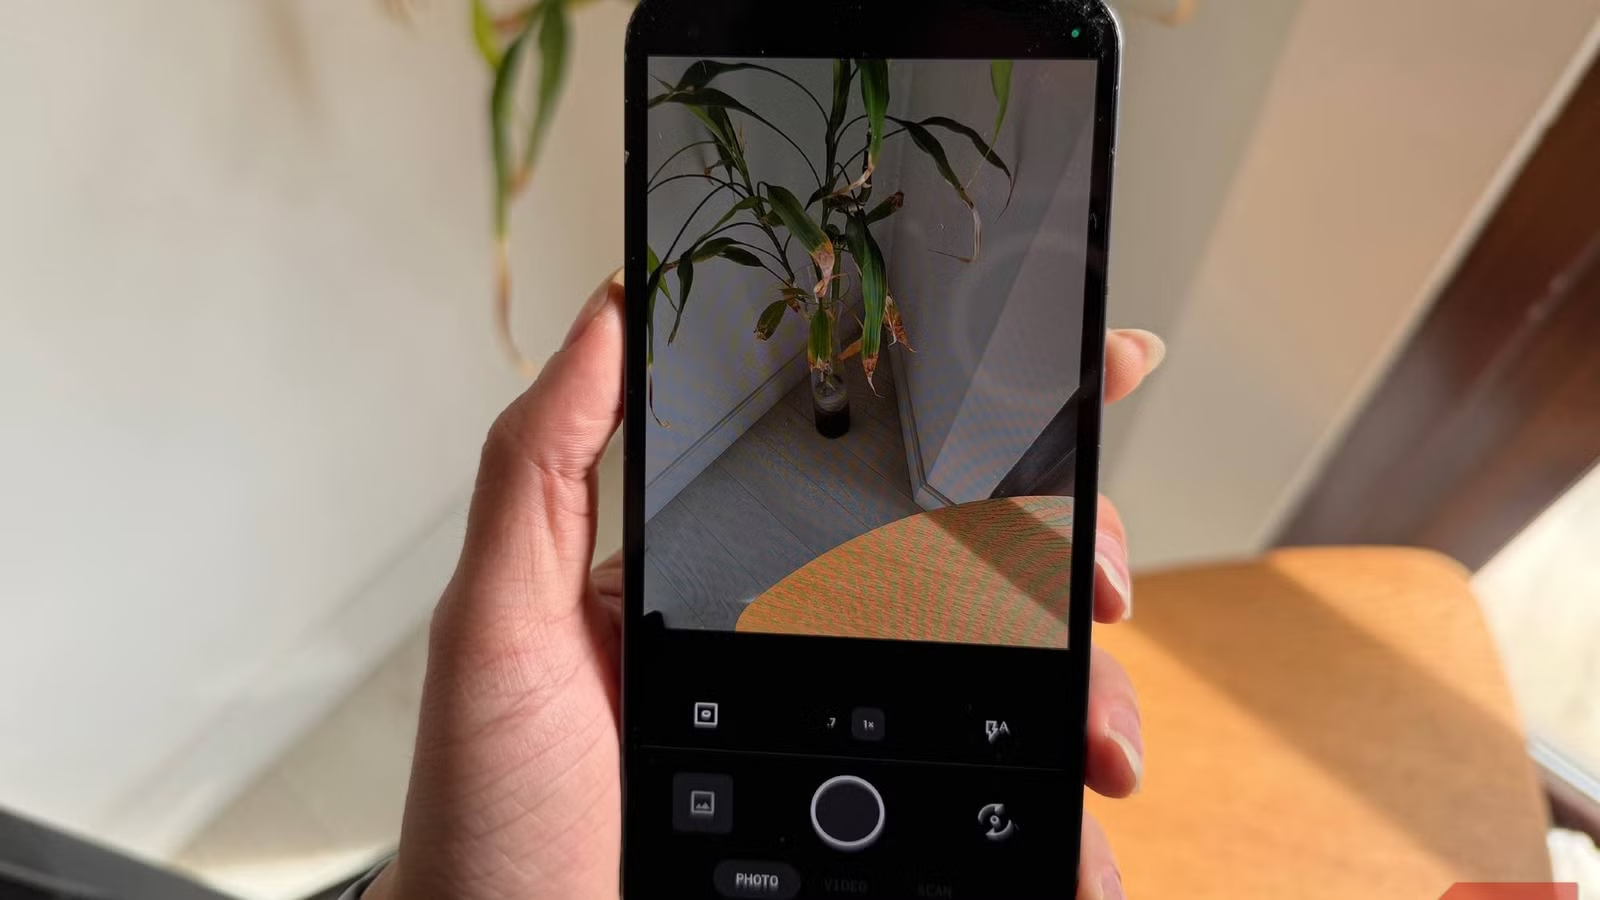
Tracking Auto-Focus sounds ideal for fast-moving kids or pets, but it is one of the most common reasons your phone photos come out blurry. When tracking is enabled, the lens never settles: the camera keeps analyzing the scene, predicting your subject’s motion, compensating for handshake, and shifting focus to chase its target. That constant movement introduces delay; your viewfinder pulses between sharp and soft, and if you press the shutter while the system is mid-adjustment, the camera either hesitates or captures a frame before focus has locked. To make matters worse, when it struggles to keep up with motion, it quietly drops the shutter speed so it can gather more light and detail, which turns what should be frozen action into smeared motion blur instead of cleaner, sharper phone photos.
Disabling tracking auto-focus forces a different, more reliable behavior. You tap once to focus on a fixed point; the lens locks, stops moving, and the camera quits recalculating in the background. From that moment, when you hit the shutter, there is nothing left for the camera to resolve, so it captures immediately, without extra lag. According to the source, “Turning tracking auto-focus off is the best thing I ever did” because the camera shoots the moment you ask and you get better smartphone photos. This change is especially valuable for anything that moves—sports, kids, street scenes—where split-second timing matters far more than fancy subject tracking.
2. Disable Scene Optimizer So Your Camera Stops Lagging and Over-Cooking Color
Scene Optimizer (often called Scene Detection) is sold as smart help: it recognizes food, sunsets, dogs, or landscapes, then boosts color and contrast to match. In practice, it tends to ruin realism and slow your camera down. On one phone, food shots picked up an exaggerated orange cast and sunsets had their softer sky detail crushed under heavy reds and oranges, leaving photos with a processed, artificial look that was baked into the file and could not be removed like a filter later. That is the quality side of the problem; the performance side is worse. Scene Optimizer constantly analyzes your live view, guesses what it sees, then tweaks the image before saving, all while restarting the analysis every time your subject or hand moves.
All of this background work introduces lag, dropped frames in the viewfinder, and a longer gap between pressing the shutter and hearing the click. The result is missed moments and blur when something moves during the delay. Turning off this camera feature disable option stops that live analysis, so your phone has less to process and can fire more quickly. It also keeps colors closer to reality, which means less time pulling down saturation or fixing white balance afterward. On many phones, you will find this under phone camera settings labeled Scene Optimizer, Scene Detection, or Photo enhancer; switching it off is an easy win for both natural-looking and sharper phone photos.
3. Switch Off Auto HDR (and Night Multi-Frame Modes) to Avoid Ghosting
Auto HDR promises balanced exposures: it grabs several frames at different brightness levels and stitches them into one image to protect highlight detail and lift dark shadows. The catch is that merging three or four shots demands that your hand stay perfectly still and your subject remain motionless. Even the tiniest movement between frames leads to ghosting and motion blur, and when the alignment software cannot match edges precisely, you end up with smeared details and soft outlines. That misalignment is the most common way HDR fails and turns what should be a crisp, high-contrast frame into a washed-out blur. Night modes that rely on multiple frames behave the same way: they extend effective exposure time without telling you, so any small shift or subject motion makes the stacked image fuzzy and haunted instead of clean.
Turning Auto HDR off solves this immediately: the phone goes back to capturing a single frame the moment you press the button, with zero shutter lag, no multi-frame merging to fail, no extended hold time, and no ghosting. When you also disable automated night features, the camera can no longer fake longer exposures, so it falls back to faster shutter speeds that are better at freezing motion and reduce blur from hand shake. To be fair, HDR and night stacking can help in very specific situations—static scenes, tripod use, or careful landscape work—but for anything moving, these settings work against sharpness more than they help. If your goal is to stop blurry photos in everyday shooting, auto HDR belongs off by default.
4. Use Higher Resolution and Softer Sharpening as Your Everyday Baseline
While blur mainly comes from lag and multi-frame tricks, detail loss and harsh edges also hurt how sharp your photos feel. Many phones save 12MP images by default even when the main sensor offers 50MP or 200MP, combining pixels to capture more light for indoor and night scenes. That is fine for low light, but in bright daylight you are throwing away useful detail; a higher resolution keeps leaves, brickwork, and distant signage clean even when you crop or zoom in. On one device, 50MP is used for anything that might be cropped later—landscapes, architecture, street scenes—while 200MP mode works best outdoors with strong light and minimal movement. Setting a higher resolution as your default phone camera settings makes every frame a better starting point.
At the same time, dialing back artificial sharpening keeps texture natural. Some cameras apply strong edge enhancement by default, which can make skin look etched and surfaces look crunchy. Switching photo softening to a middle setting reduces the harshest sharpening while keeping images clear enough for everyday use. For most people, a reliable baseline is simple: turn off tracking auto-focus, Scene Optimizer, auto HDR, and multi-frame night modes for regular shooting; choose a mid-to-high resolution (such as 24MP or 50MP where available) in good light; and keep sharpening at a moderate level. Four changes, and many shooters find they barely need to edit their photos afterward because the camera captures what they saw, when they pressed the shutter, with far less blur and far more honest detail.