
Why Beach and Dance Photography Live or Die by Preparation
Beach and dance photography are environment-specific camera techniques that combine deliberate settings, light control, and precise timing to manage harsh or changing conditions while capturing expressive motion and atmosphere in fast-moving scenes. Treat beach photography and dance photography as technical sports, not casual shooting. You are working in hostile light, unpredictable motion, and zero time for trial-and-error. On the beach, harsh midday sun, reflections off water, and flying sand demand that you decide your exposure strategy and support gear before you step onto the sand. On a dance floor, the fluid motion of choreography means you must anticipate key movements and position yourself in advance. The photographers who consistently deliver strong action photography timing are the ones who pre-plan; everyone else is gambling.
Beach Photography Tips: Control Harsh Sun and Use Long Exposures with Intent
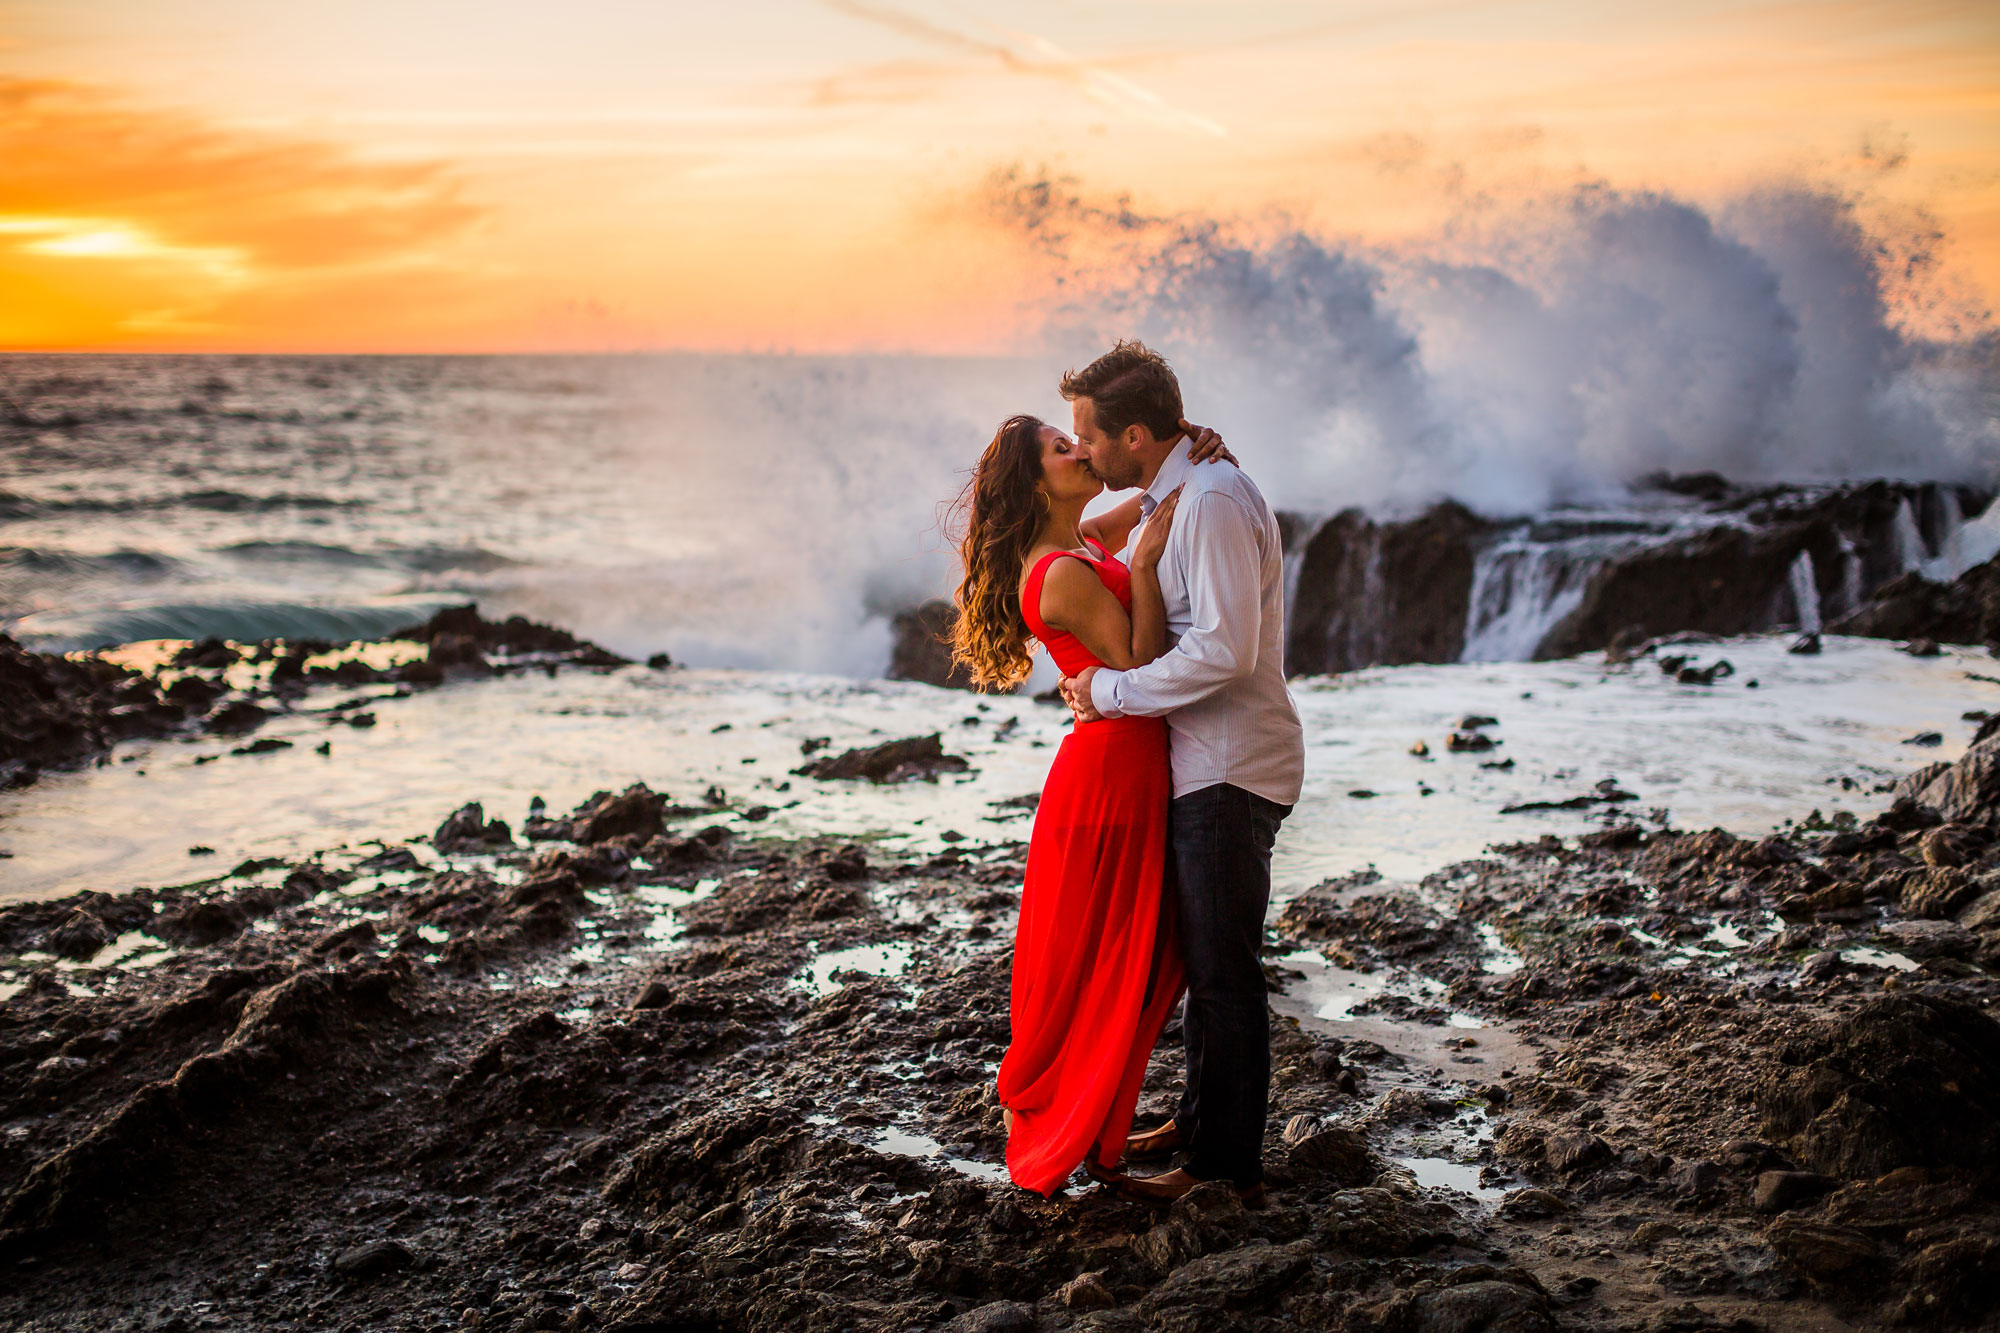
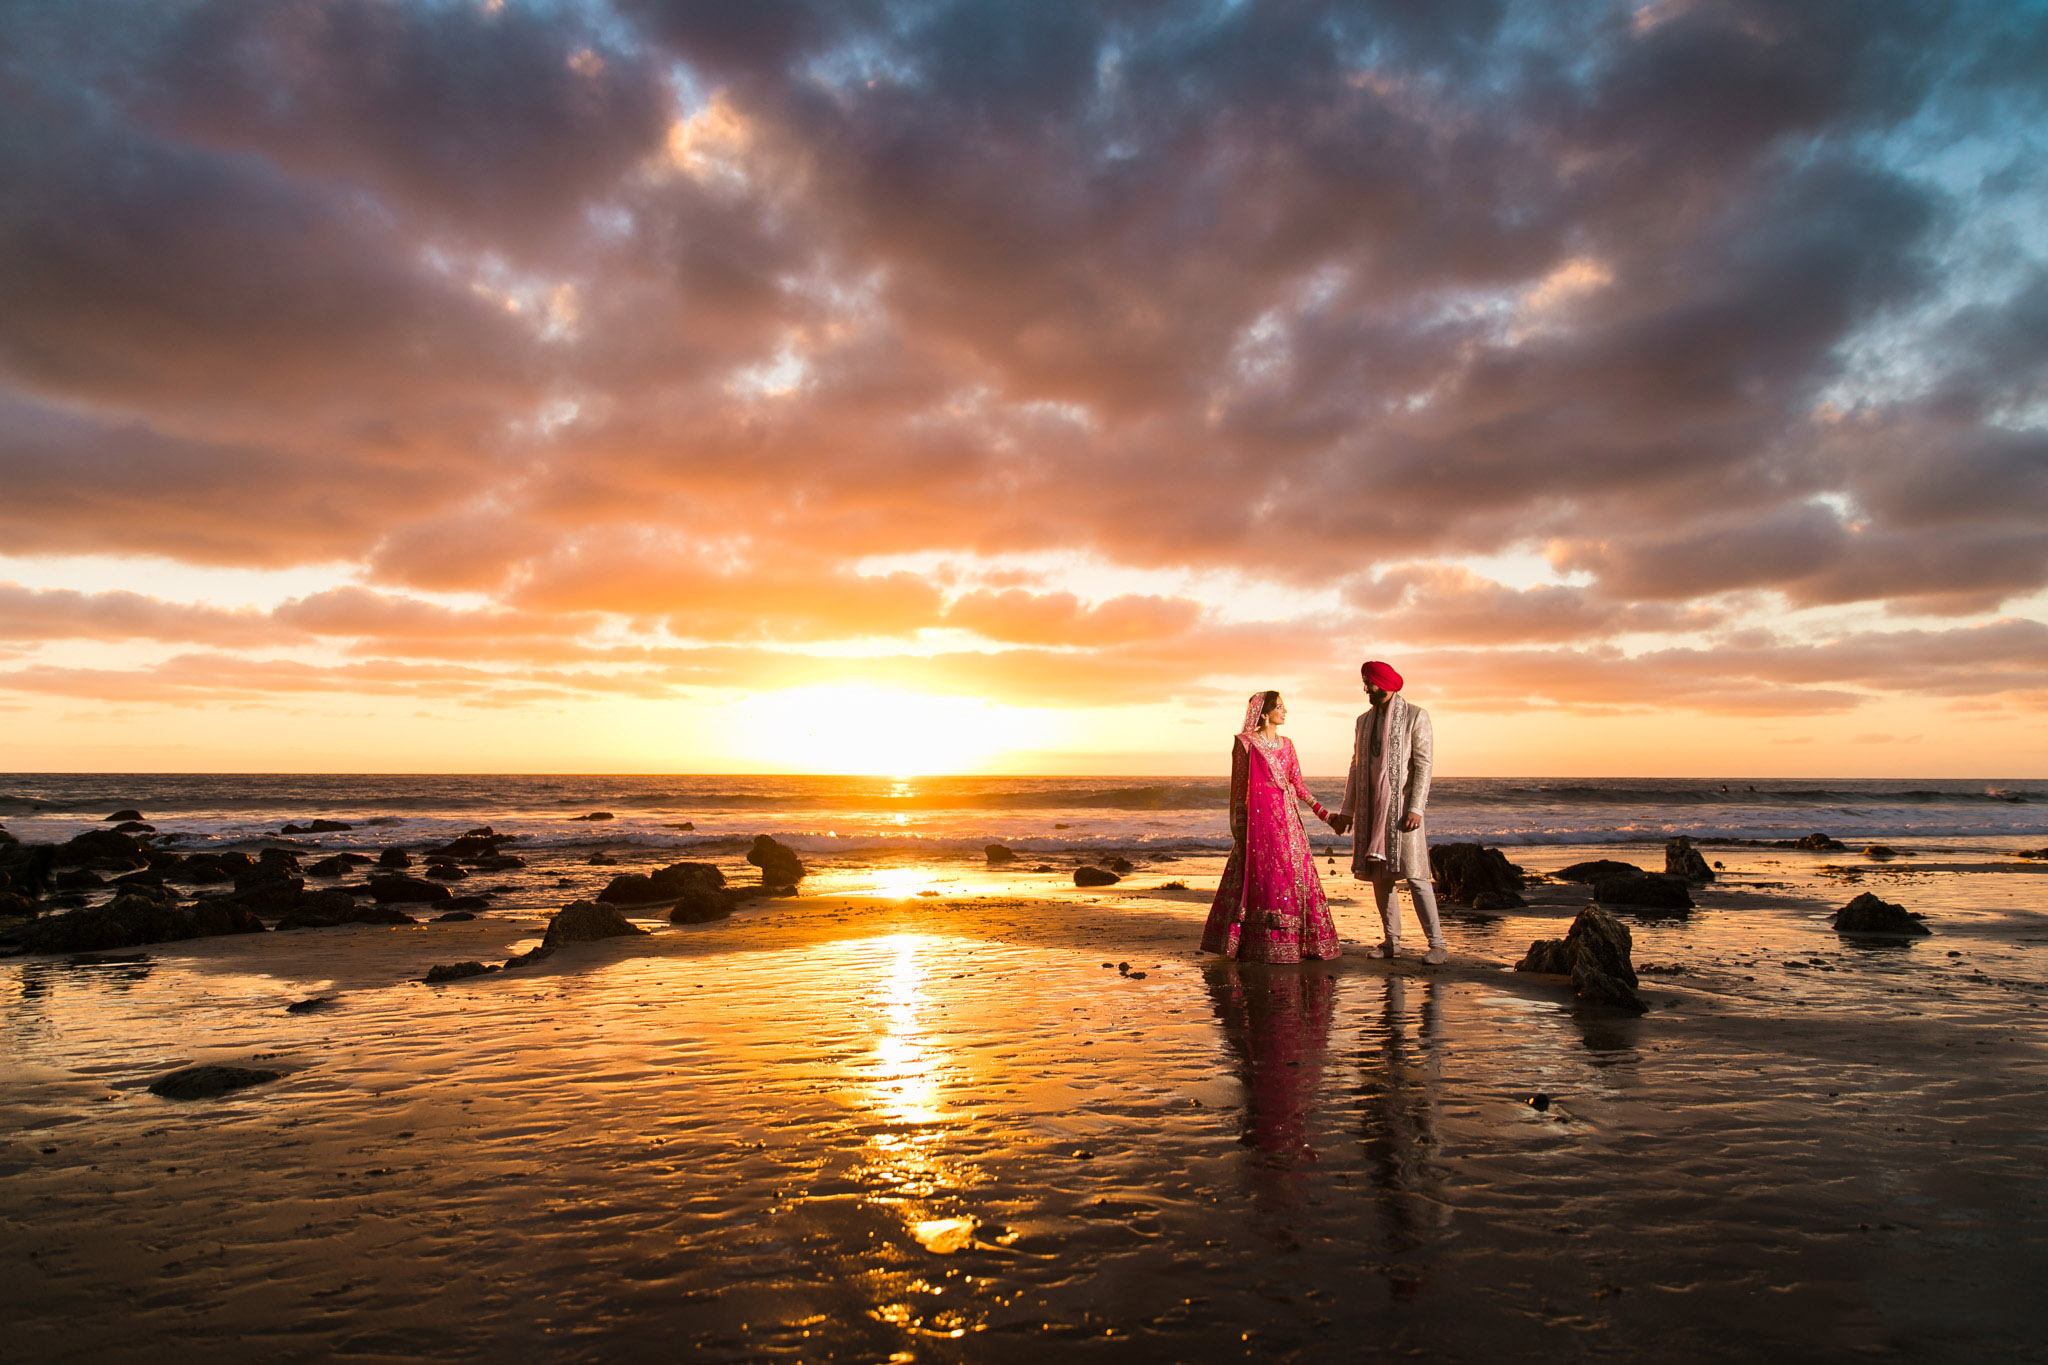
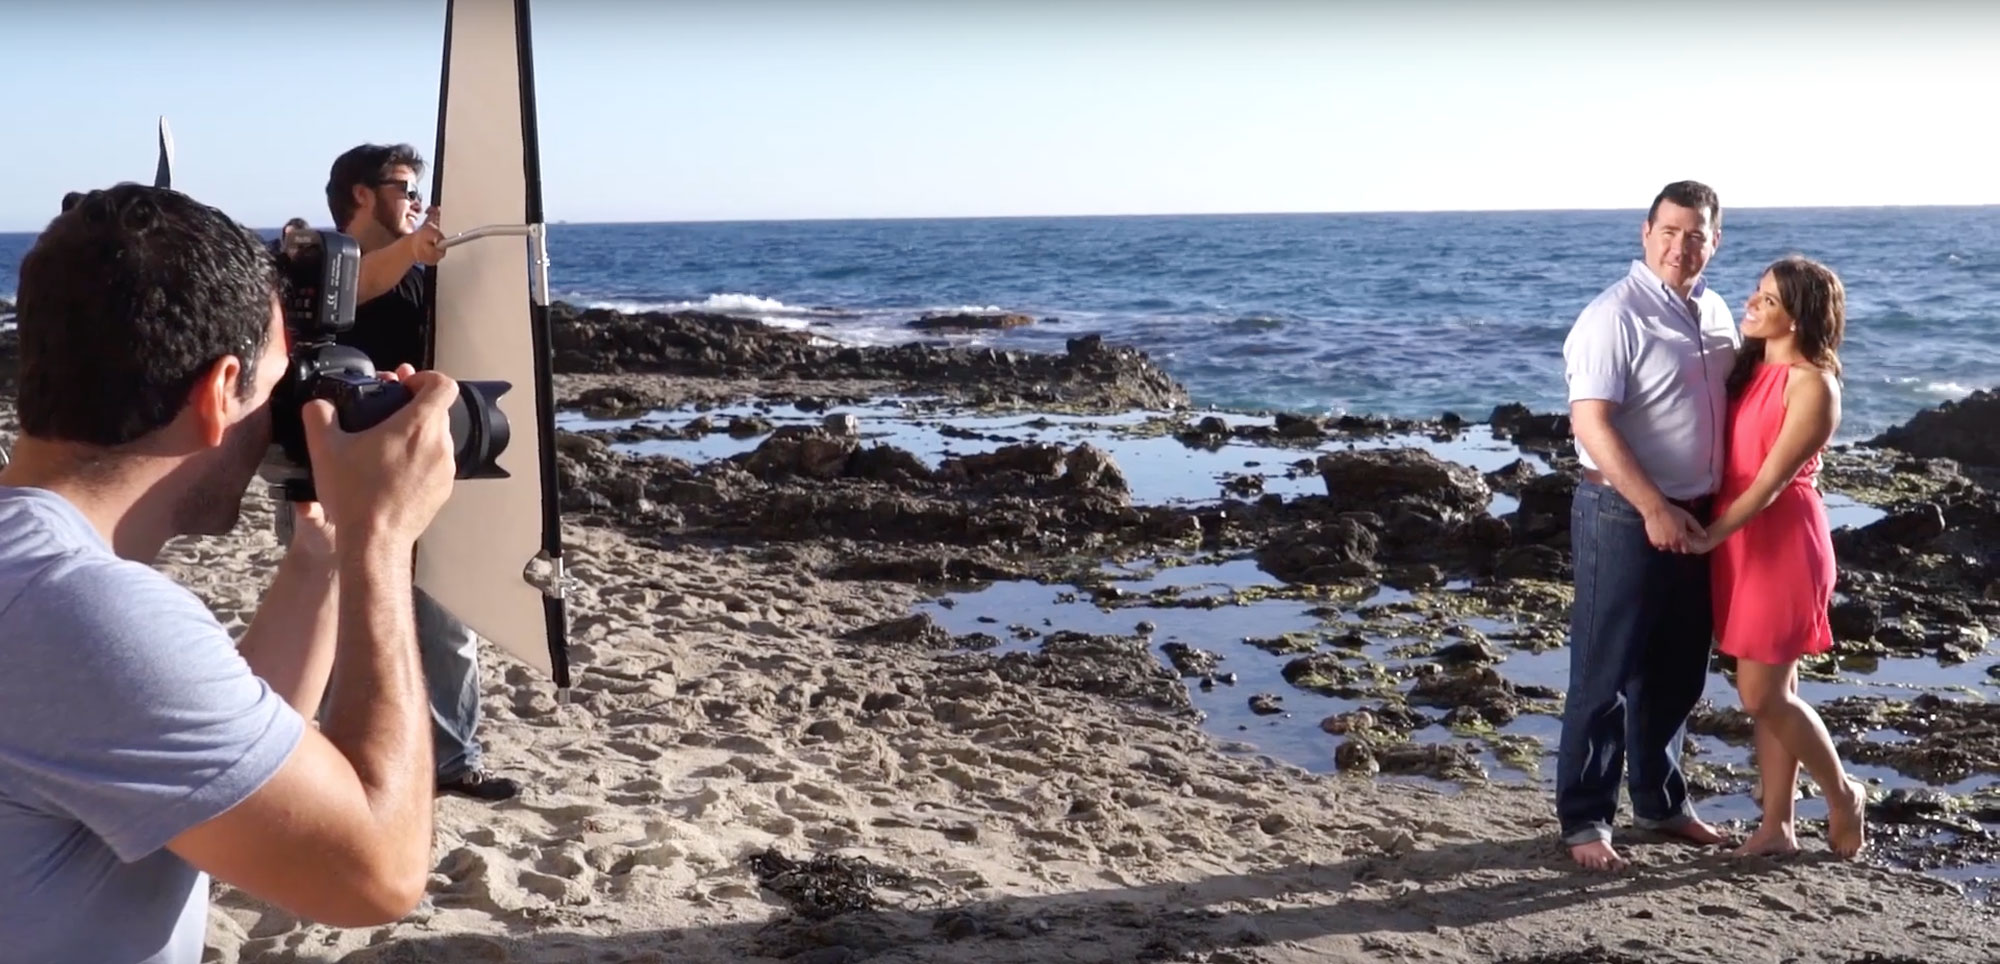
If your beach photos look flat and squinty, the problem is not the location, it is your timing and light control. Stop shooting at noon and treat time of day as your first setting. Golden hour — the 30–60 minutes after sunrise or before sunset — gives low, wrapping light that flatters faces instead of cutting harsh shadows. Blue hour, the 20–30 minutes after the sun drops below the horizon, is even better for creative flash because the sky keeps color without overwhelming your strobe. To avoid harsh shadows, place the sun behind your subjects and fill their faces with a reflector or flash instead of forcing them to stare into direct light. Long exposures at 1/4 second or slower turn surf into a smooth layer that separates subjects from busy water, especially when combined with flash-lit portraits and an aperture around f/8–f/11 at ISO 100.
The beach rewards photographers who accept that they must manage light rather than fight it. According to SLR Lounge, “Golden hour, the 30–60 minutes after sunrise or before sunset, gives you the most flattering light,” and blue hour often proves even more useful for flash work. Use that insight to decide when you shoot, then commit to backlighting and fill. A simple reflector can replace complex lighting in softer conditions, while a portable strobe becomes essential when you want the sun in frame or need rim-lit silhouettes with a flash placed behind the couple. Long exposure techniques are powerful but specific: they work best in lower ambient light or with neutral density filters to keep highlights from blowing out. In short, the beach forces you to think about when and how light hits your sensor; if you ignore that, your images will show it.
Dance Photography Settings: Shutter Speed, Aperture, and Timing for Motion
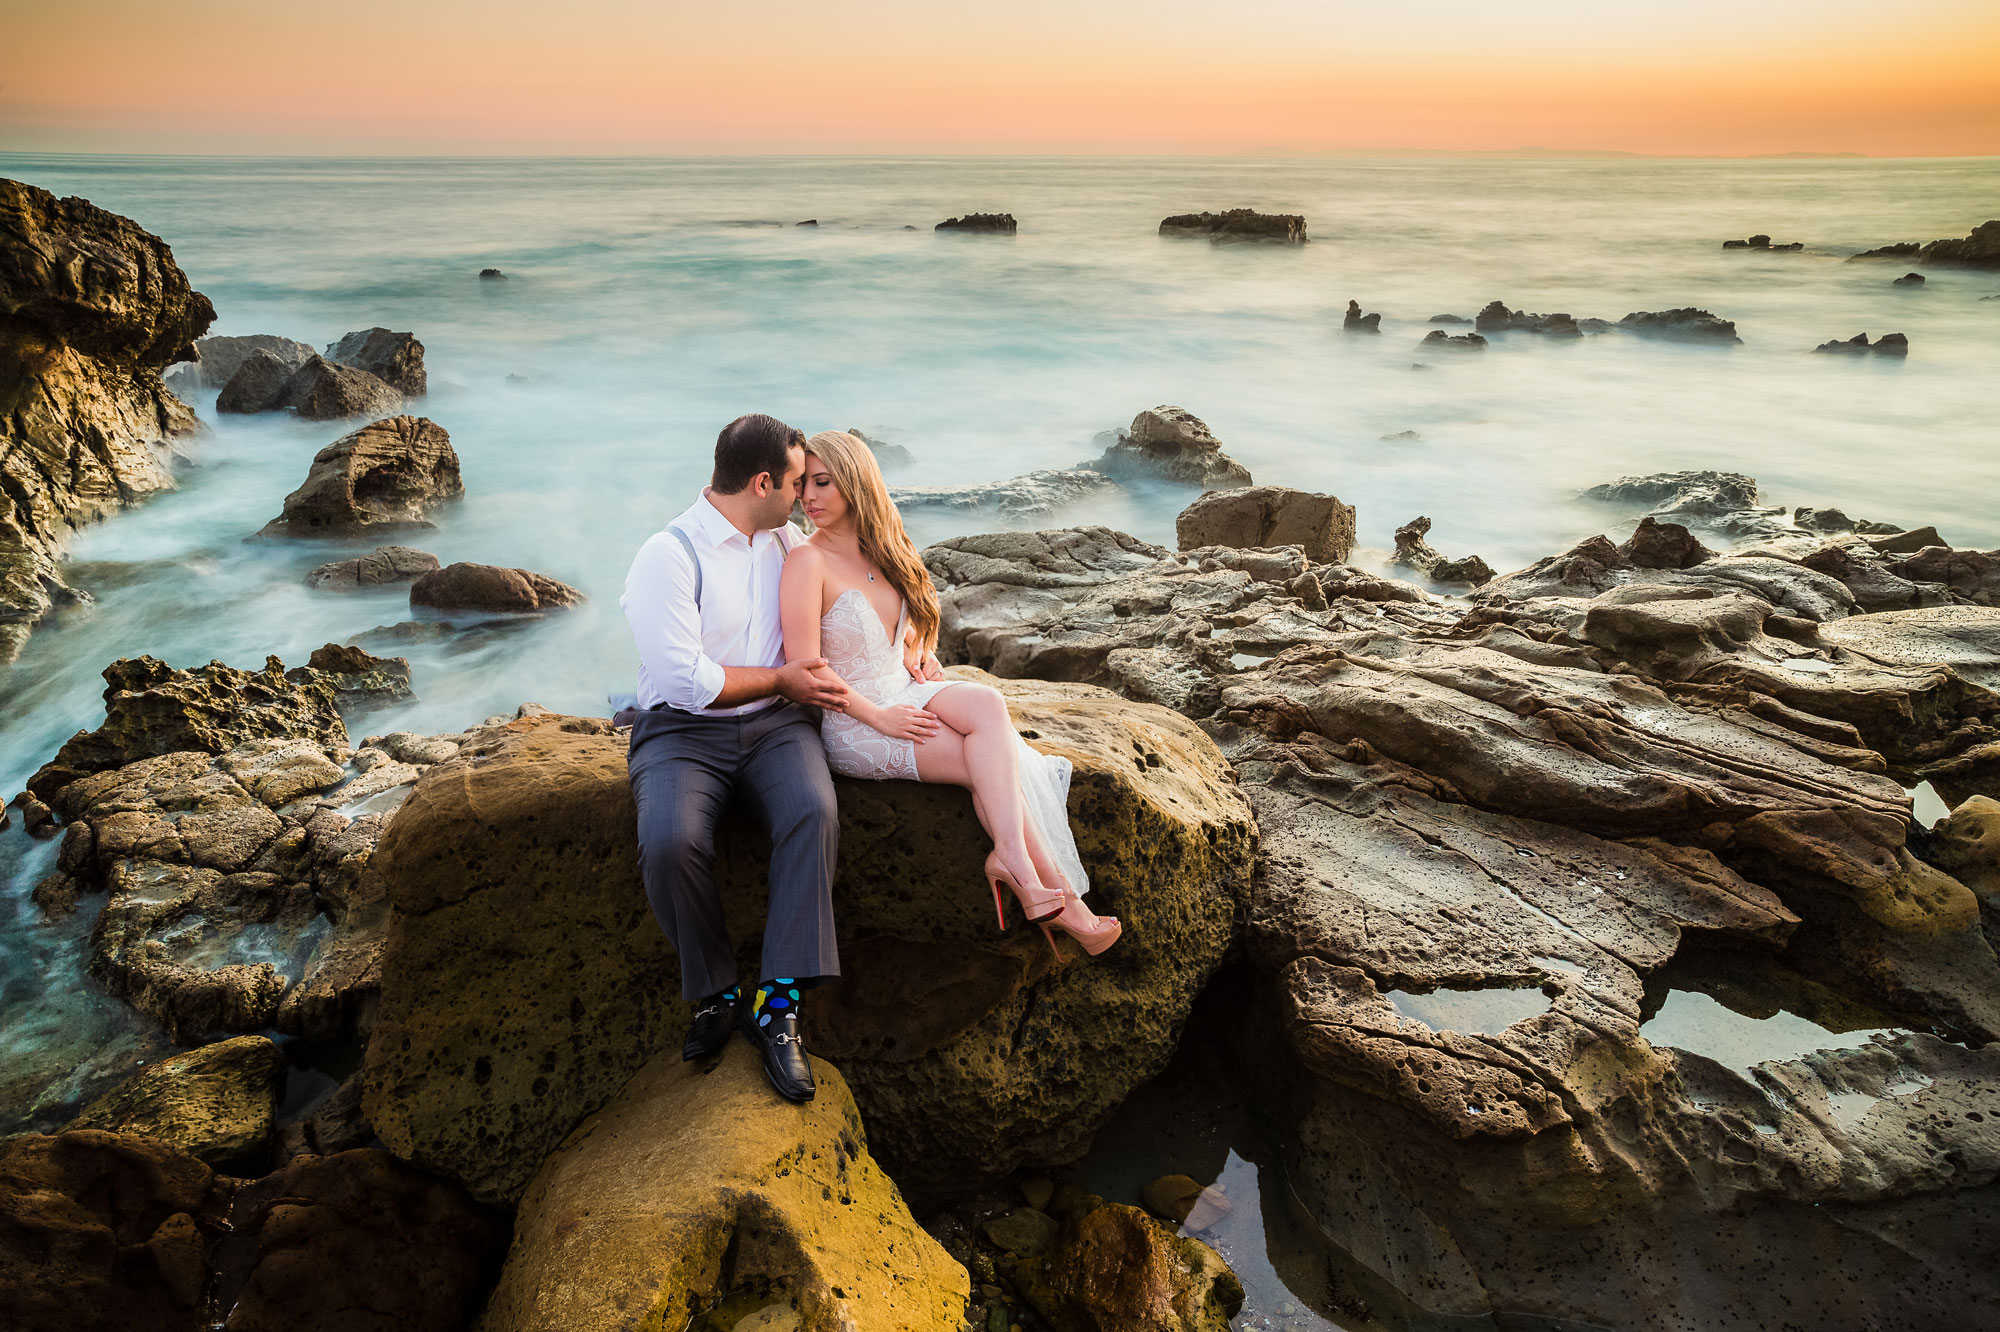
On the dance floor, your camera settings are a timing contract: you choose exactly how motion looks. If you want sharp, detailed action, start with a fast shutter speed of 1/500 second or faster, with 1/200 as the bare minimum to freeze many movements. When you want to show motion instead of stopping it, long exposures around 1/4 to 1/2 second let limbs blur while bodies trace arcs of movement. A wide aperture, f/4 or wider, isolates dancers from cluttered backgrounds and helps in low light by letting in more exposure. These dance photography settings only matter, however, if you respect action photography timing: you must learn the choreography, watch rehearsals when possible, and pre-plan your angles so you are ready at the peak of jumps, turns, or embraces.
Dance photography punishes anyone who treats performances like random events. The fluid motion of dancers elevates the importance of preparation; you need to understand the sequence and decide where each key movement will look best from your viewpoint. Long exposures are not a special effect you sprinkle everywhere, but a deliberate choice to portray movement and energy, often combined with flash to freeze a crisp subject against streaked ambient trails. Fast autofocus and anticipation are non-negotiable: if your camera hunts, you miss the moment. Being close to the action and choosing wide, medium, and tight framings through a performance help you tell a complete story rather than a single lucky frame. The message is simple: in dance, settings and timing are inseparable; if you are late on the moment, no amount of technical perfection can save the shot.
Environment-Specific Camera Techniques: How Light Behaves on Sand vs Dance Floors
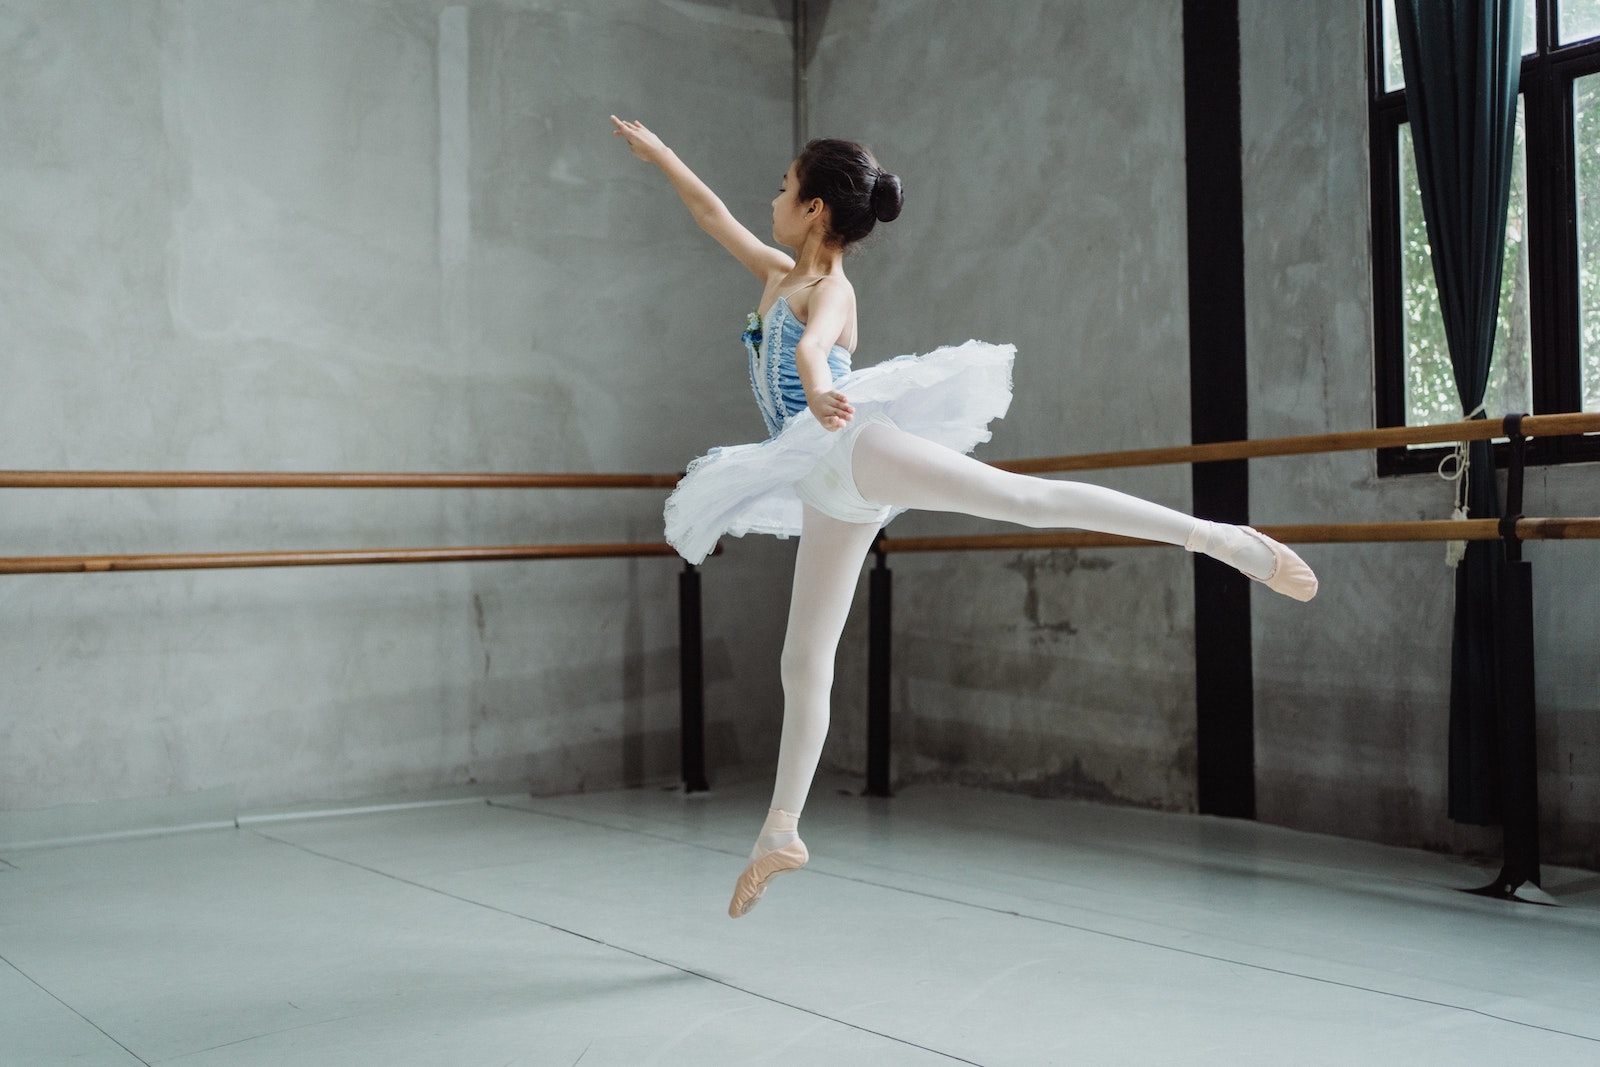
Photographers who treat light the same everywhere will always fight their environments instead of using them. The beach offers harsh midday light, no shade, and strong reflections off water; the dance floor offers constantly changing stage lights, pockets of darkness, and fast movement. On the beach, your main problem is overhead sun that creates deep eye sockets and squinting. The solution is environment-specific: schedule sessions in golden or blue hour, use backlighting, and fill faces with reflectors or flash instead of front lighting in direct sun. Indoors, the challenge is inconsistent light in motion; it can be bright and airy or dramatically contrasty depending on how you use available light or off-camera flash. In both spaces, pre-planning camera settings and understanding how light behaves before people start moving is decisive, not optional.
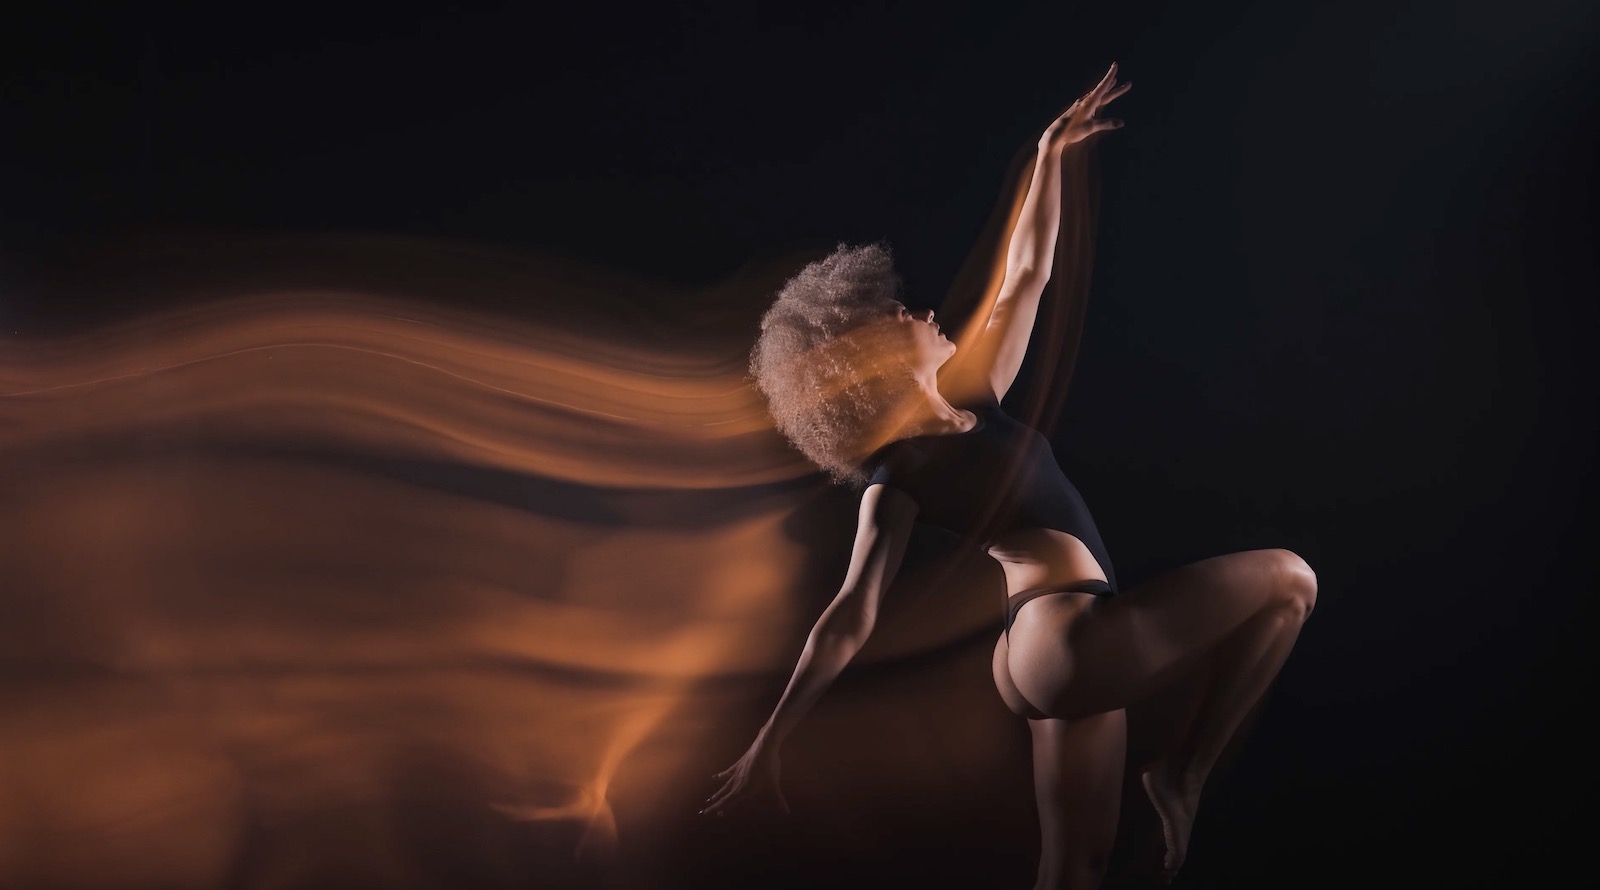
Intentional motion blur and long exposures behave differently in coastal versus performance environments, and you should embrace that difference instead of chasing one universal formula. At the beach, slowing your shutter to 1/4 second or longer turns incoming surf into a smooth, flowing layer that visually separates subjects from chaotic water without cutting them off. At night on a dark coast, long exposures produce star-filled skies and streaked water that are difficult to replicate elsewhere. In dance photography, similar shutter speeds around 1/4 to 1/2 second let you portray the flow of choreography, especially when combined with flash-based techniques that freeze part of the scene while the rest blurs. The mistake is thinking these looks are interchangeable; in reality, the beach gives you motion in elements, while dance floors give you motion in bodies. Your settings must respect that.
Conclusion: Stop Shooting on Auto and Start Designing Your Environments
Both beach photography and dance photography reward photographers who treat every frame as a deliberate design rather than a reaction. Environment-specific camera techniques are not advanced tricks; they are the baseline for working in harsh sun, reflective water, or fast-changing stage light. You control timing with your shutter speed choices, your understanding of movement, and your willingness to plan shots before people step into the scene. You control mood with when you shoot — golden hour versus blue hour on the coast, bright versus dramatic lighting setups on the dance floor. If you keep shooting on auto and hoping the environment behaves, it will not. If you learn how light behaves in each space and set your camera and timing to match, your images will stop looking accidental and start feeling intentional.