
Why Build a DIY Steam Machine Instead of Buying a Console?
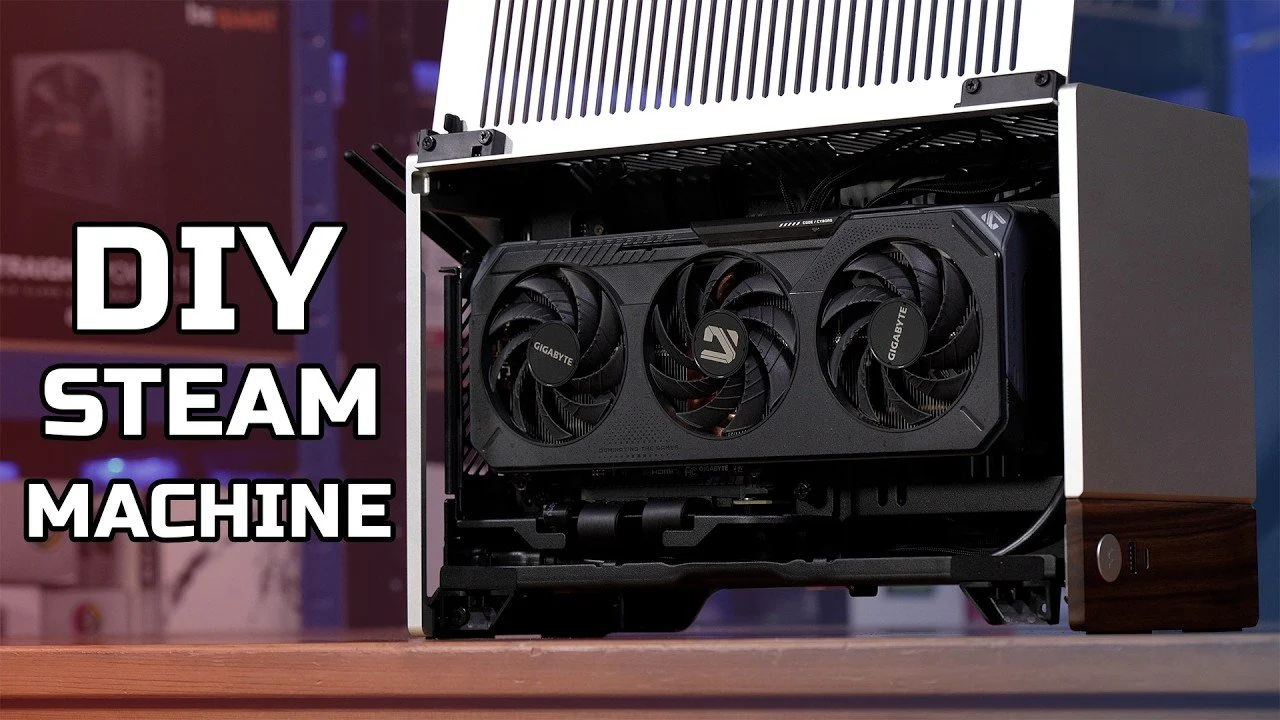
A DIY Steam Machine build is a compact custom living room PC designed to run Steam OS or Windows, deliver 4K gaming performance, and stay easy to upgrade one component at a time instead of being locked to fixed console hardware. If you like the convenience of console-style couch gaming but want PC-level performance and flexibility, this is for you. The real prerequisite is a bit of patience: you need to be willing to follow a build process and handle small problems, like a cable in the wrong place or a driver that needs updating. If that sounds more satisfying than frustrating, you’re the right kind of person to build your own Steam Machine.
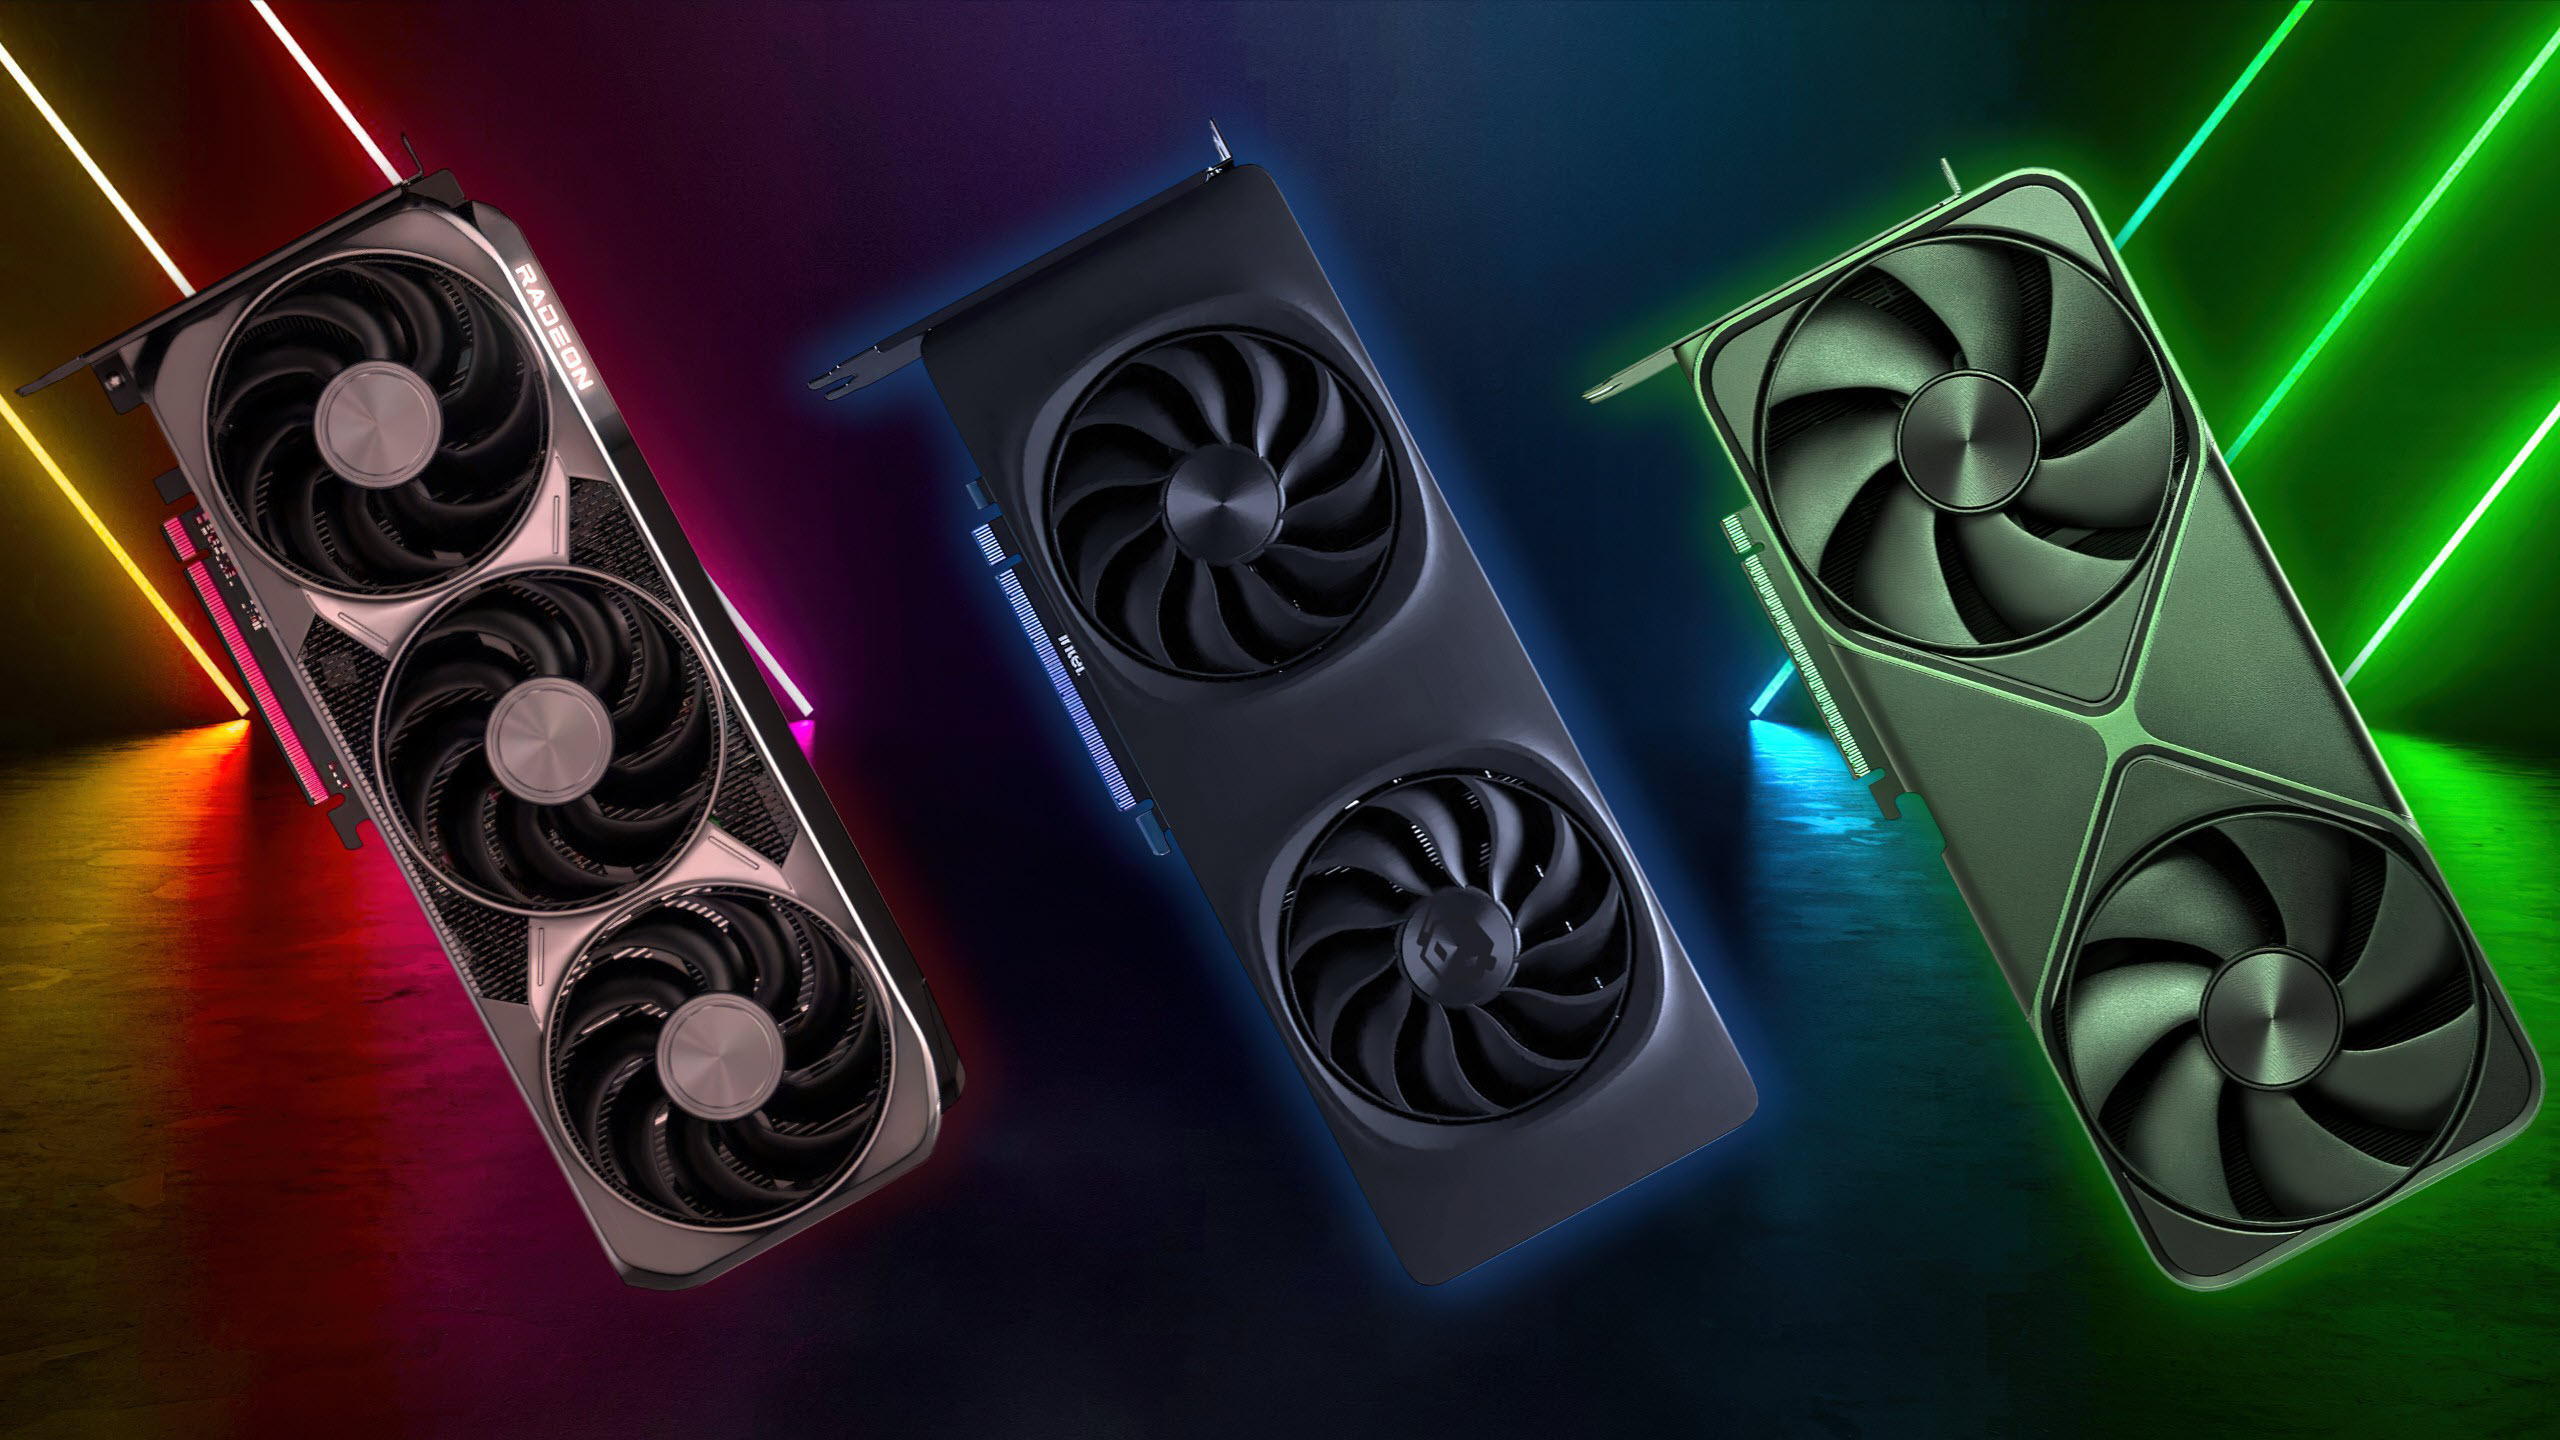
The key advantage over a console is access to modern hardware you choose yourself, such as CPUs like the AMD Ryzen 7600X and GPUs like the AMD RX 6600 XT, which deliver superior gaming performance and 4K capability for most titles. According to one build guide, “the performance of a DIY Steam Machine far exceeds that of the original models, thanks to modern hardware.” Unlike locked console designs, you aren’t stuck with whatever silicon shipped on day one—you can swap out the graphics card, expand RAM, or drop in faster storage as new parts arrive. The trade-off is that you become your own technician, but the payoff is a system that can grow with you instead of being replaced wholesale.
Planning Your 4K Gaming PC Build for the Living Room
Before you touch a screwdriver, planning your DIY Steam Machine build around the living room matters more than people expect. A good plan means you won’t discover halfway through assembly that you’re missing a vital cable, or that your case is too cramped for the GPU you picked. Start by defining your goal: a quiet, console-like box that can sit under the TV, run Steam Big Picture or Steam OS, and handle 4K gaming with high settings. That goal drives every component choice—performance parts that still fit in a compact case, plus enough memory and storage to avoid upgrade pressure in the first year.
| Component | Example Choice | Why It Matters |
|---|---|---|
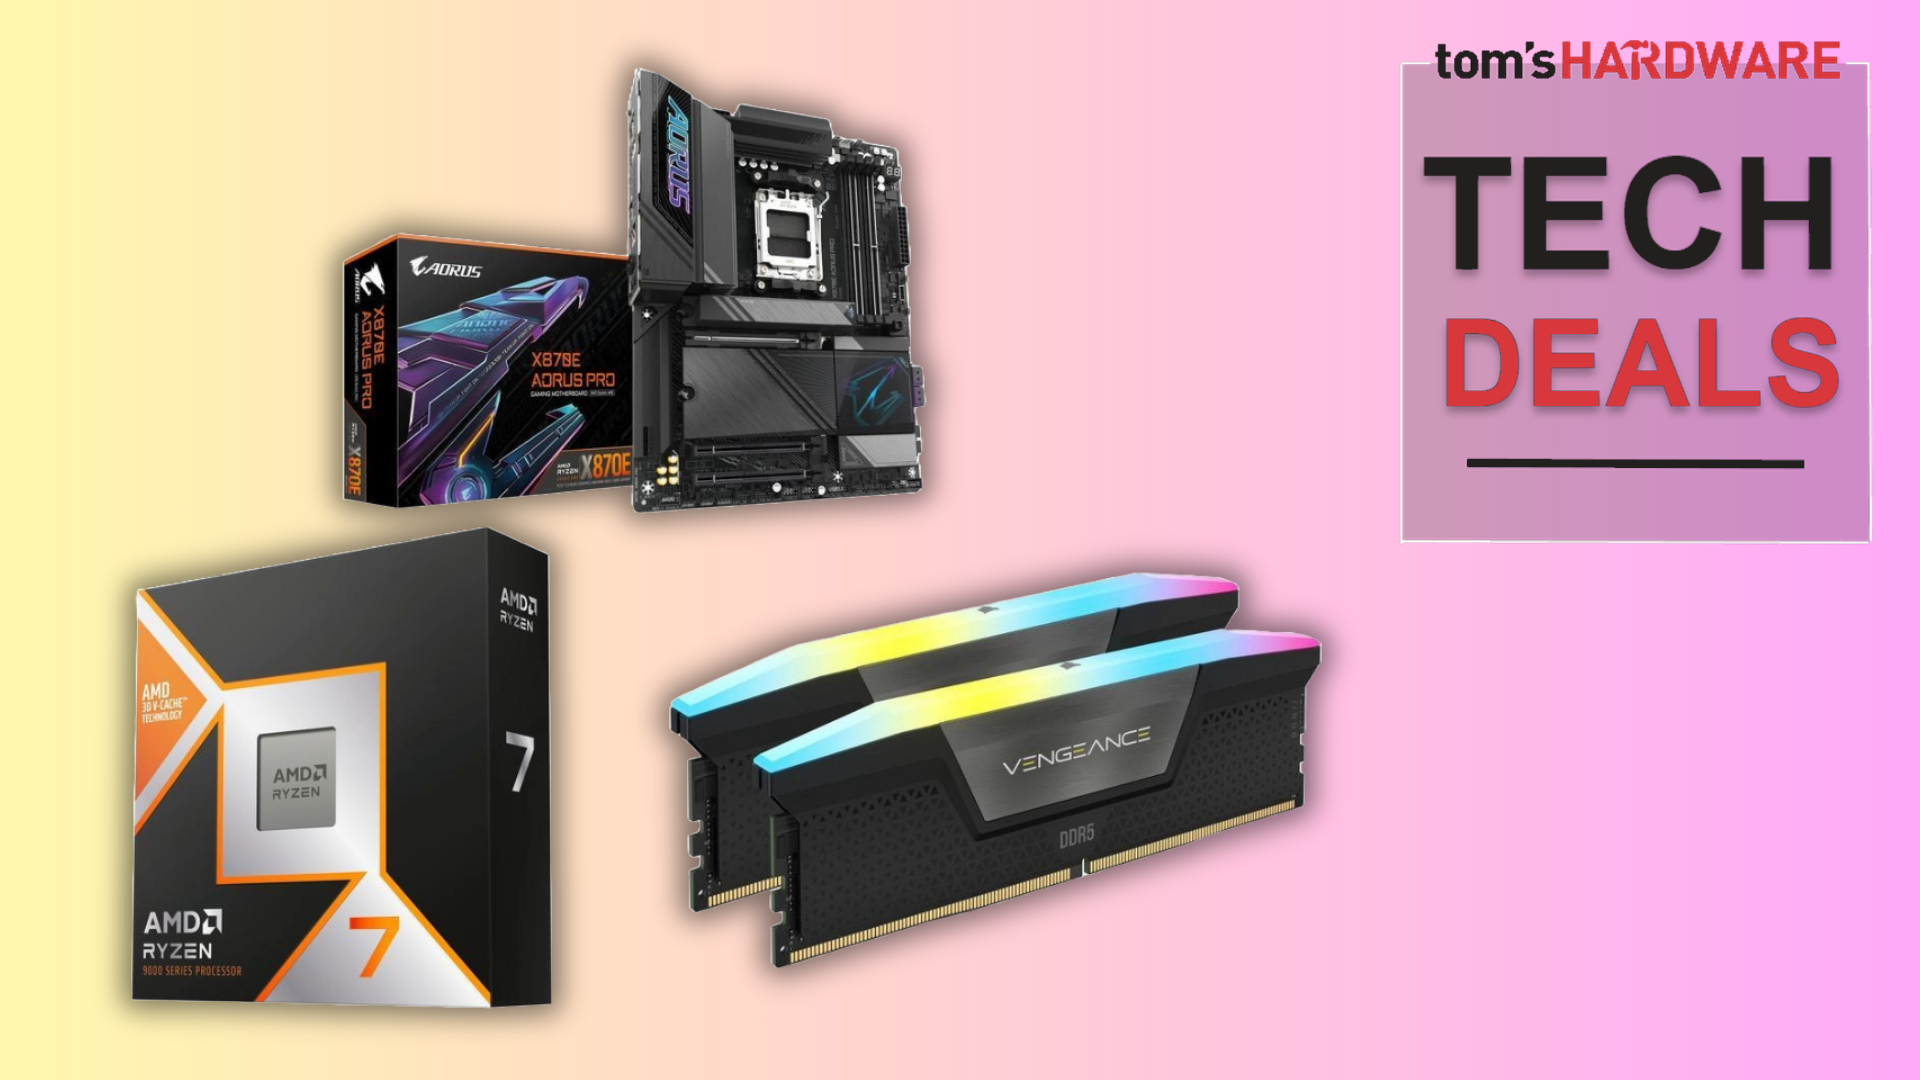
| CPU | AMD Ryzen 7600X | Strong gaming performance and future-proof processing power. |
| GPU | AMD RX 6600 XT 8GB | Solid 4K gaming for most modern titles at 60fps on high settings. |
| RAM | 32GB DDR5-5600 or DDR5-6000 kit | Headroom for games, streaming, and HTPC tasks; improves smoothness. |
| Storage | 2TB Gen4 NVMe SSD | Fast load times and plenty of space for a big Steam library. |
| Case | Mini‑ITX enclosure like Fractal Terra | Compact enough for a TV stand, still supports powerful hardware. |
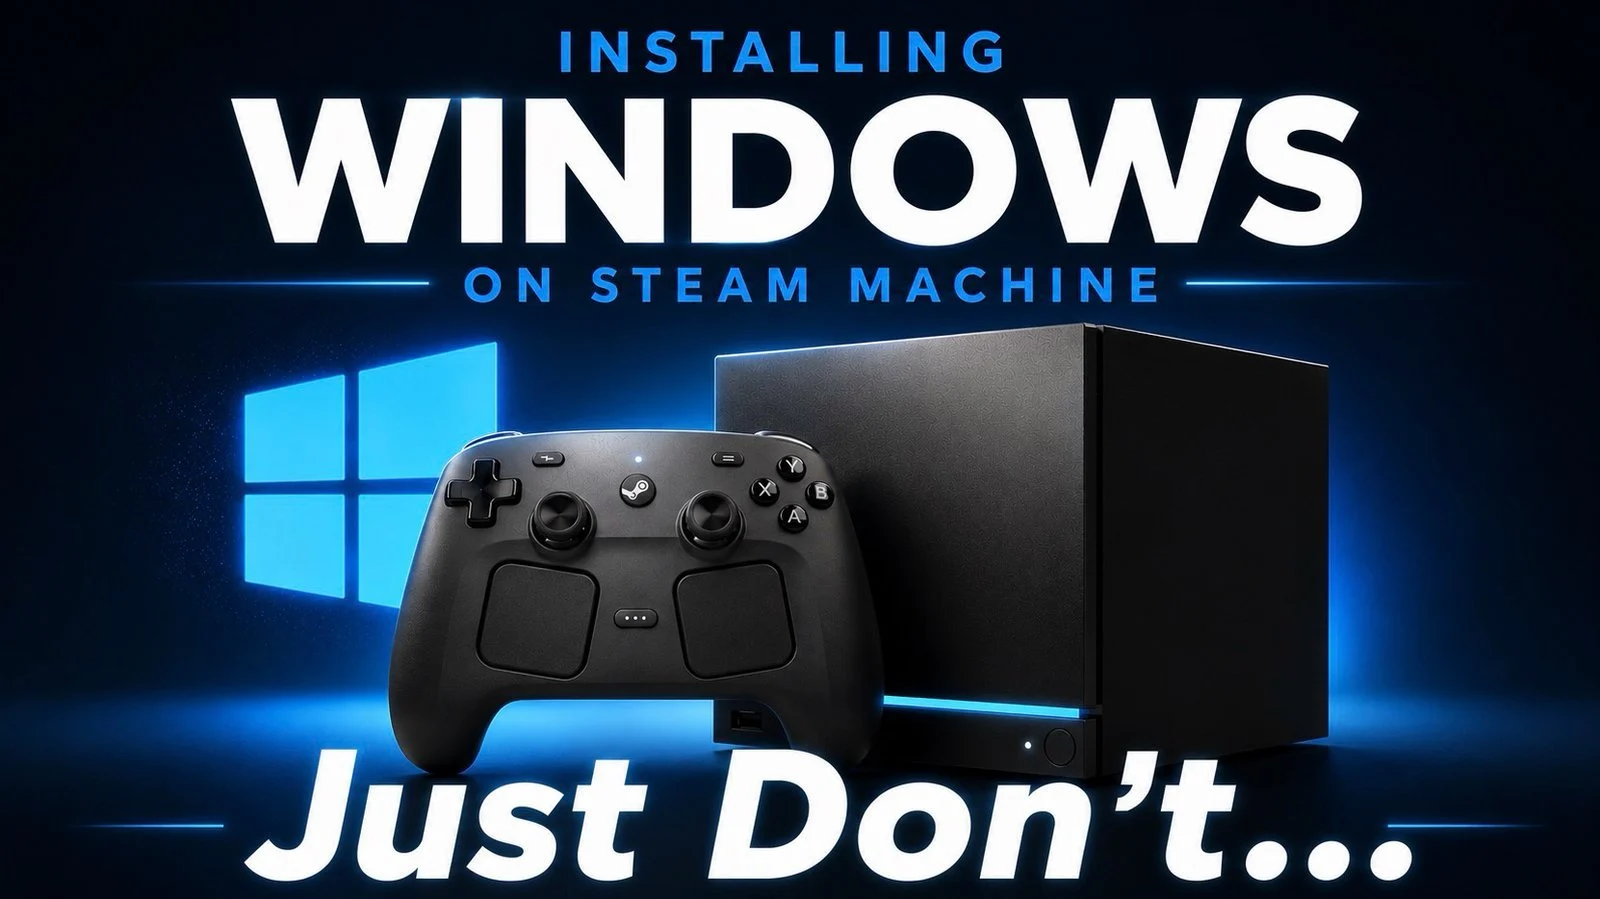
Component selection directly impacts both 4K gaming capability and how future-proof your system feels two or three years from now. A capable CPU and GPU are non-negotiable for high-resolution play, but don’t ignore RAM and storage—32GB of DDR5 and a large NVMe drive keep the machine responsive when you’re juggling games, media playback, and background apps. Also think about the operating system up front. Steam OS is a gaming-focused platform optimized for performance and couch-friendly control, while Windows 11, particularly version 25H2, gives you broader app support and driver coverage at the cost of some extra setup. This OS choice will affect how smooth your experience is with controllers, game libraries, and media in a living room setting.
Step-by-Step Steam Machine Assembly (One Ordered Build Path)
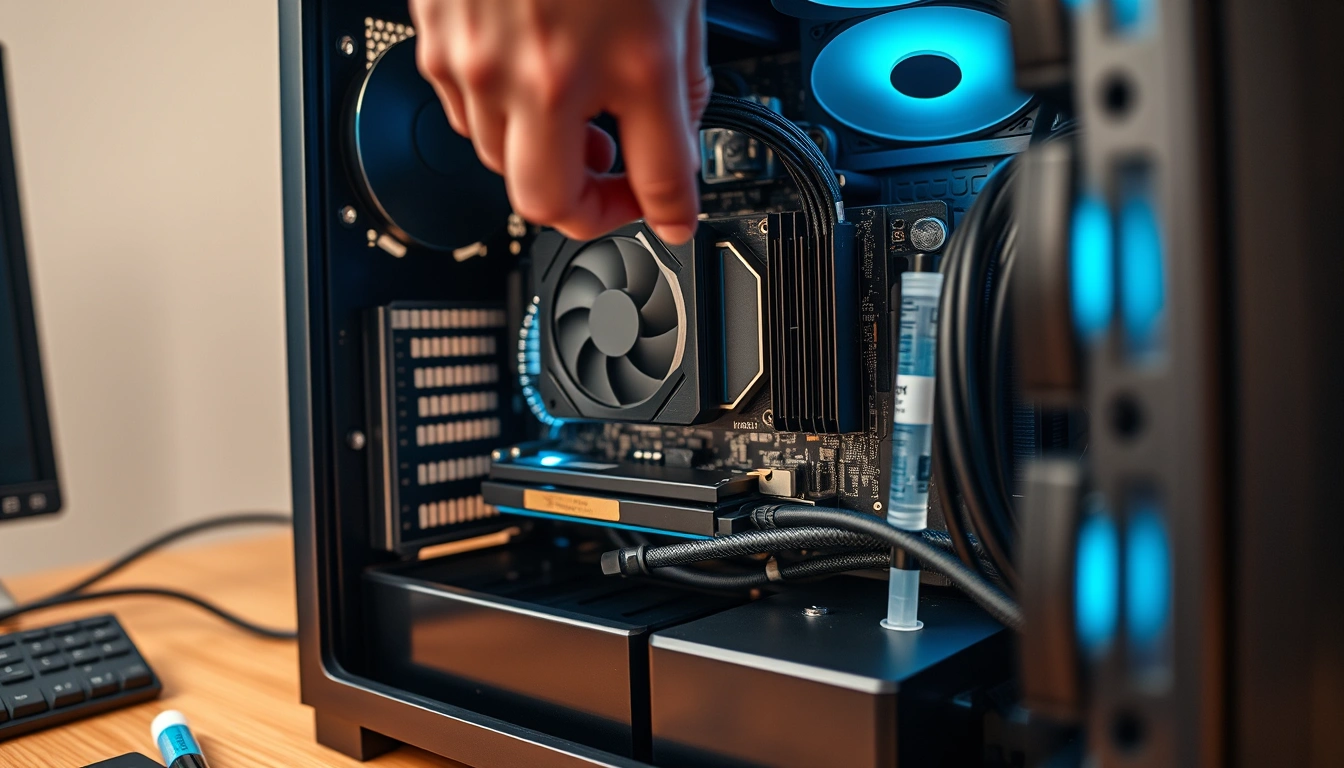
Once your parts and tools are on the table, you move from planning to hands-on Steam Machine assembly. The idea is to go from an empty case to a benchmarked, driver-updated living room gaming PC in a clean sequence, avoiding the usual first-timer mistakes like half-seated RAM or cables that block airflow. Work slowly, double-check each connection, and keep in mind that compact mini‑ITX cases are less forgiving than roomy towers. It’s worth doing the fiddly work carefully now to avoid chasing no‑boot problems later.
- Prep your workspace and case: Clear a large, uncarpeted surface with good lighting, unbox every part, and keep anti‑static bags nearby. Remove both side panels on the case and any drive cages you won’t use, since they block later steps.
- Install the power supply and pre‑route main cables: Slide the PSU into its bay, orient the fan toward a vent or the case interior as appropriate, and secure it with the included screws. Route the 24‑pin and CPU power cables through cutouts now—doing this later is a frequent annoyance.
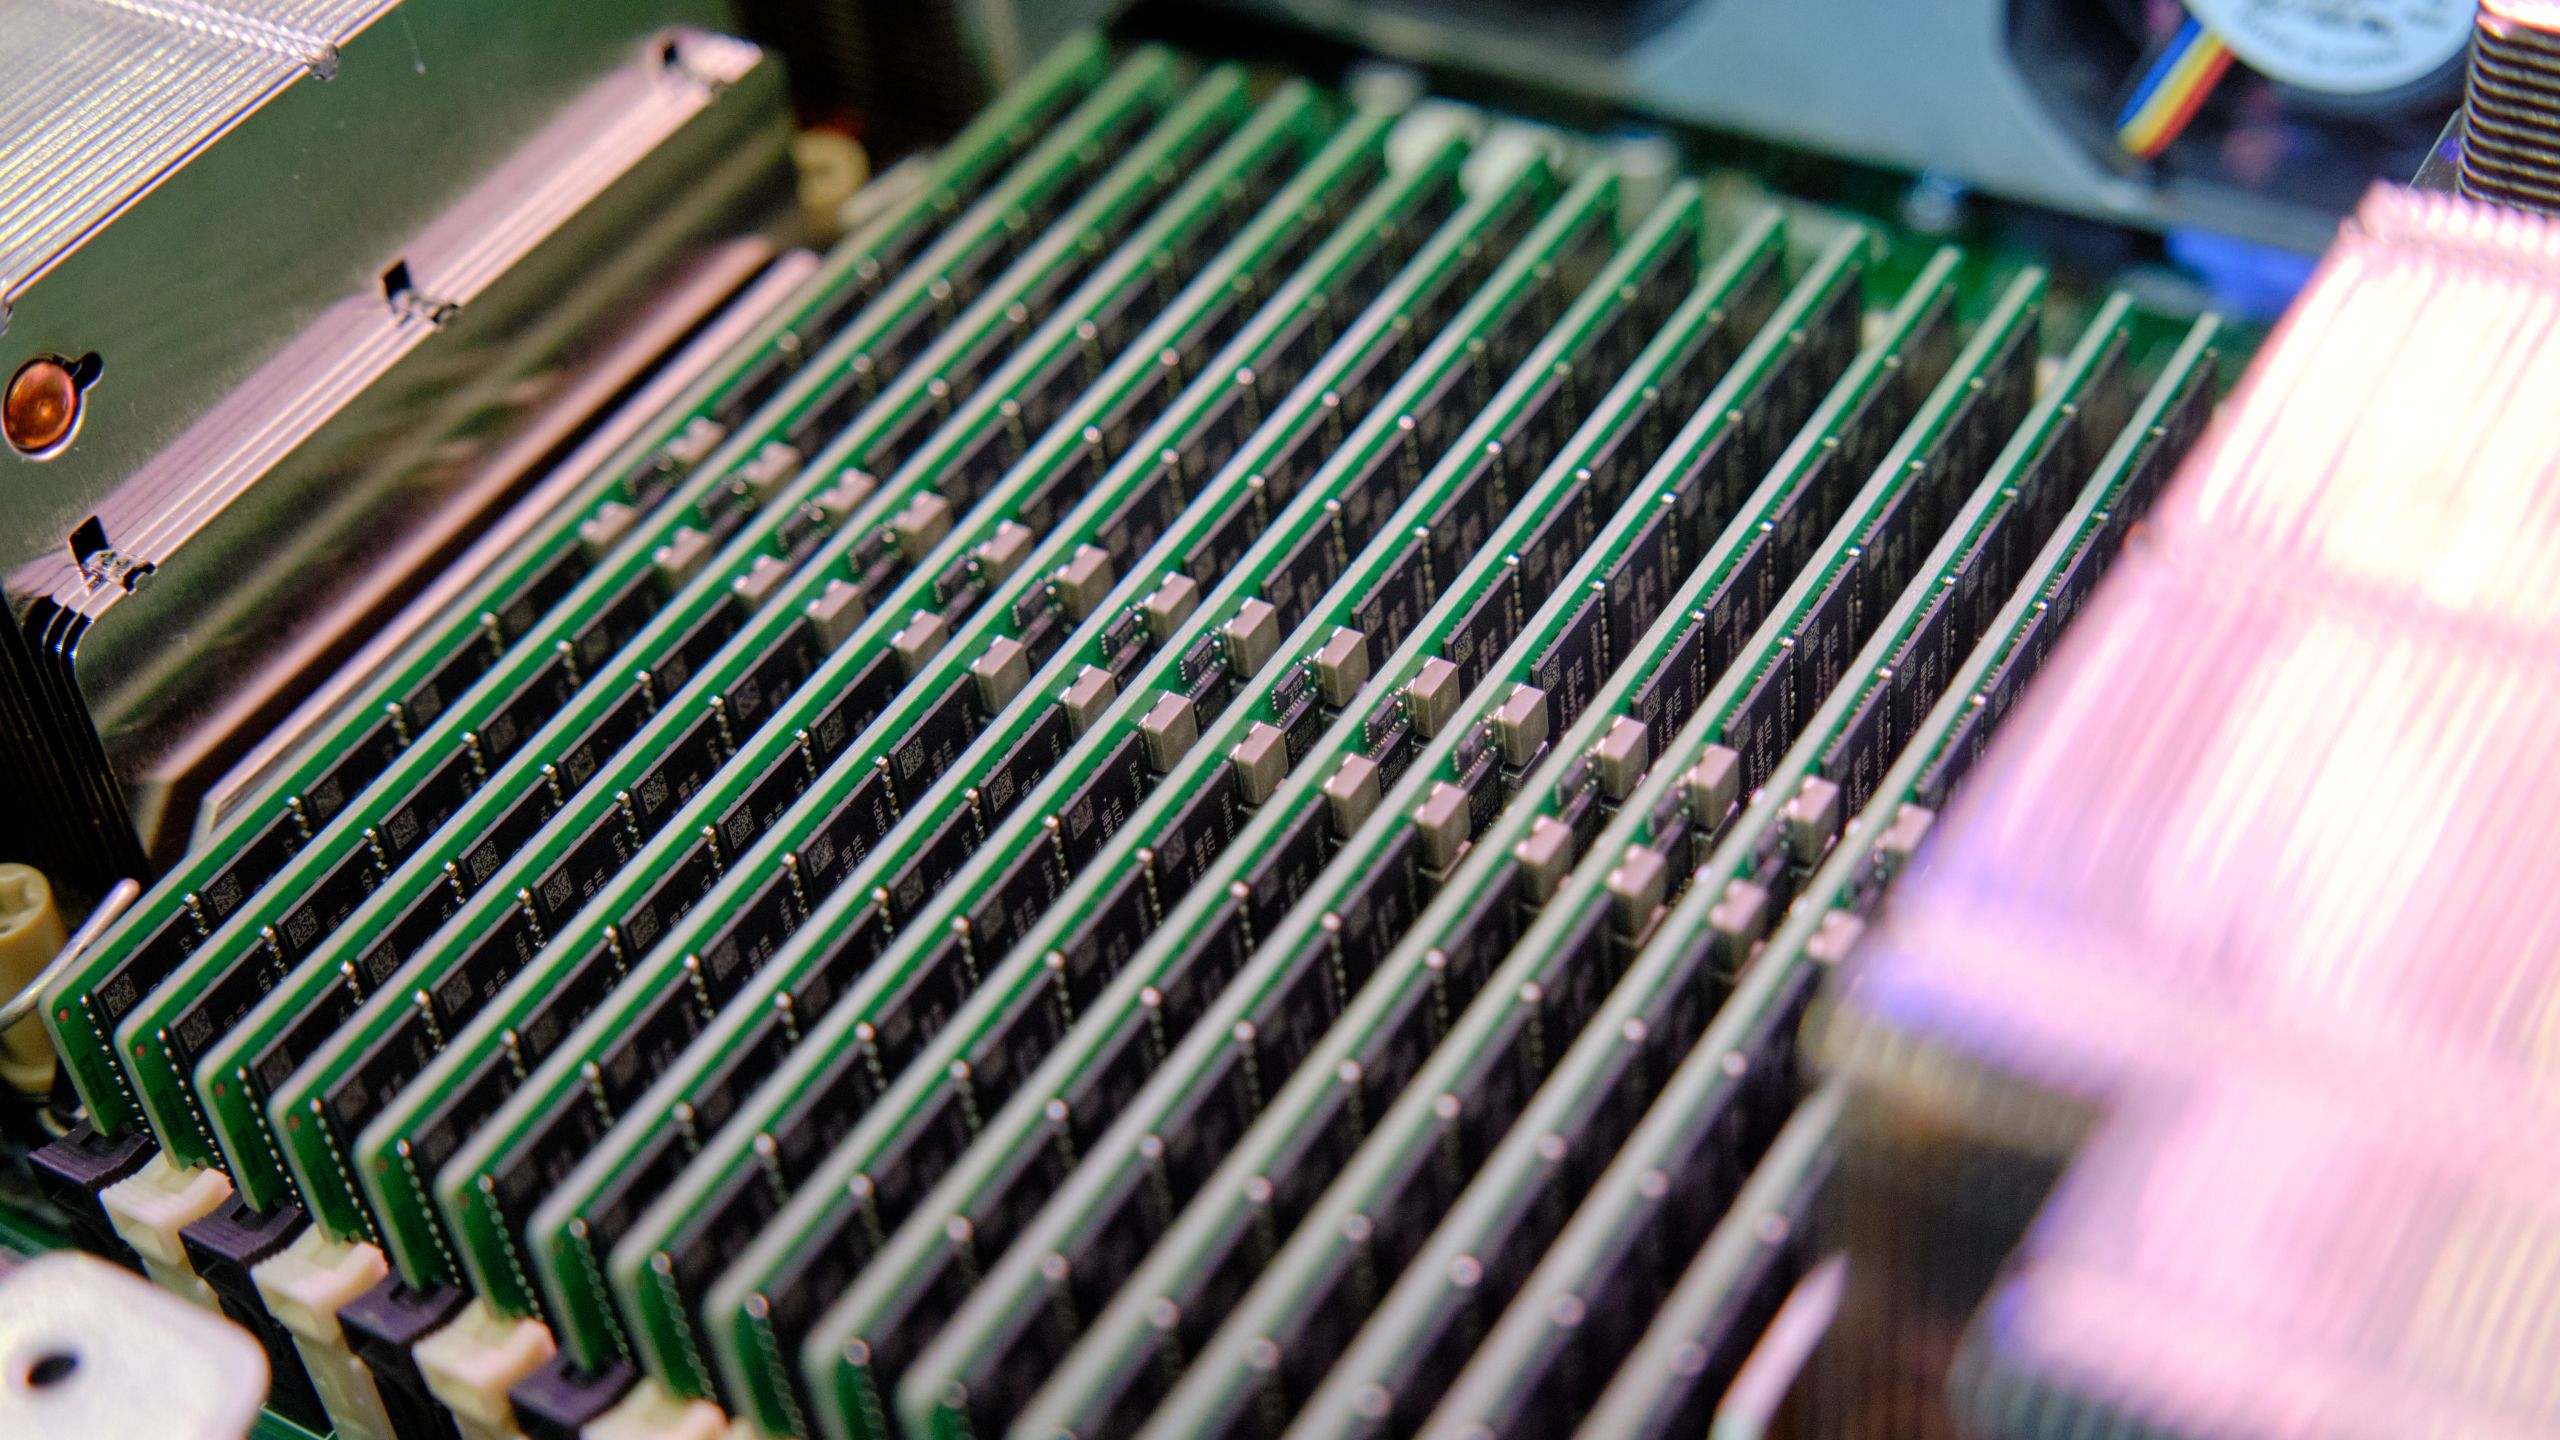
- Prepare the motherboard with CPU, RAM, SSD, and cooler: Outside the case, install the CPU into its socket, then populate the recommended RAM slots for dual‑channel performance. You should feel a distinct click when RAM seats, as incomplete insertion is a common no‑boot cause. Add your NVMe SSD and attach the CPU cooler.
- Mount the motherboard and install the GPU: Place the prepared motherboard into the case and secure it with the correct standoff screws, taking care not to mix screw types, which often leads to stripped threads. Add the GPU—such as an RX 6600 XT—into the PCIe slot and fasten it to the case rear.
- Cable management and final connections: Plug in all power and data cables, including GPU power, front‑panel connectors, and case fans. Carefully route cables to keep air paths open, which is critical in a small mini‑ITX case like the Fractal Terra.
- First boot, OS install, and driver tuning: Power on, enter the firmware to check that CPU, RAM, and storage are detected, then install either Steam OS or Windows 11 version 25H2 using a prepared USB drive. Once the OS is up, add current drivers and gaming tools, then stress-test and benchmark to confirm stable performance.
This ordered path pulls together general PC-building steps with Steam Machine specifics—like choosing a gaming-focused OS and optimizing drivers for real-world 4K play in the living room. Common gotchas include discovering midway that you’re missing installation media, mixing screw types when mounting parts, or forgetting to seat RAM fully. Avoid those by laying out every component and tool beforehand, sorting screws as you unbox, and pressing each RAM stick until the latches snap. With patience and attention to detail, building your custom Steam Machine is manageable even for a first-time builder.
OS Choice, Driver Optimization, and Life After the Build
Once your DIY Steam Machine powers on reliably, the difference between a "works" system and a great living room gaming box comes down to operating system choice and driver tuning. Steam OS serves as the core of many custom Steam Machines, offering a streamlined, gaming-focused interface with good controller support, HTPC features like sleep mode and media playback, and optimization for 4K gaming. Windows 11 version 25H2, on the other hand, is the default target for many new PC builds because of broad driver availability and long-term support for Home and Pro editions. Either way, your day-one experience depends on keeping GPU, chipset, and audio drivers current, then testing games to confirm stable frame rates on your TV.
Real-world performance in the living room is shaped by this software layer. With Steam OS you gain a console-style front end, but can sometimes run into controller pairing quirks or system freezes that you fix through updates and basic troubleshooting. Windows gives you more flexibility with non-Steam apps and media tools, at the cost of a bit more manual tuning. Whichever you choose, take time to adjust power profiles, display scaling, and audio output so the machine behaves like a good HTPC: waking quickly, resuming games smoothly, and handing off sound to your TV or receiver without fuss. That polish is what makes the box feel like part of your living room instead of a desktop jammed under the screen.
Upgrades, Gotchas, and Whether a Custom Steam Machine Is Worth It
The real long-term charm of a DIY Steam Machine is its upgrade flexibility. Instead of treating the system like a disposable console, you can swap one part at a time—dropping in a faster GPU, adding more storage, or upgrading RAM as new games demand it, without replacing the entire box. One guide emphasizes that a self-built PC lets you “upgrade one part at a time instead of replacing the whole system,” which fits Steam Machines perfectly. This incremental path keeps your living room rig feeling current and saves you from big, all-or-nothing hardware transitions.
The main gotchas are front-loaded: missing tools or installation media, confusion over cable routing in tight cases, and small mistakes like mixed screws or half-clicked RAM. Those problems can derail your first night, but they’re avoidable if you take the time to line up every component and tool before starting, sort screws as you unbox, and verify each step as you go. When you finish, you end up with a compact custom living room PC that combines modern hardware, 4K gaming capability, and HTPC functionality in one box. For gamers who want console-style ease with PC performance and future-proofing, building a custom Steam Machine is worth the effort—as long as you’re ready to be the person who keeps it updated and upgraded over time.