
Blurry Photos Aren’t Your Fault—They’re Your Settings
A phone camera blur fix is often less about holding your hands steadier and more about disabling hidden features that slow the shutter, merge multiple frames, and constantly refocus, which quietly add motion blur and softness regardless of how careful you are.
Most people blame themselves for blur and respond by slowing down, bracing harder, and shooting less, but that misdiagnoses the problem. A lot of the blur is not coming from you at all; it is coming from features your phone turned on by default, running in the background and altering how the camera behaves. These “helpful” tools test well in demos because they make scenes brighter and colors punchier, but they can destroy camera settings sharpness in real shooting conditions. The good news: you do not need a new device. These are toggles you can change today, and turning them off can give you sharper phone photos in seconds without any hardware upgrade.
Turn Off Tracking Auto-Focus for Faster, Cleaner Shots
Tracking Auto-Focus sounds like the perfect way to photograph kids, pets, or sports, yet it is one of the most common reasons photos come out blurry. When it is enabled, the camera never stops working: it analyzes the scene, calculates subject movement, compensates for hand shake, and shifts the lens to chase focus. All this motion introduces delay at the exact moment you tap the shutter, so the view flickers between sharp and soft, and if it has not finished hunting, your shot suffers. Worse, when it struggles to lock onto fast movement, it quietly lowers shutter speed so the shutter stays open longer, adding motion blur instead of freezing action.
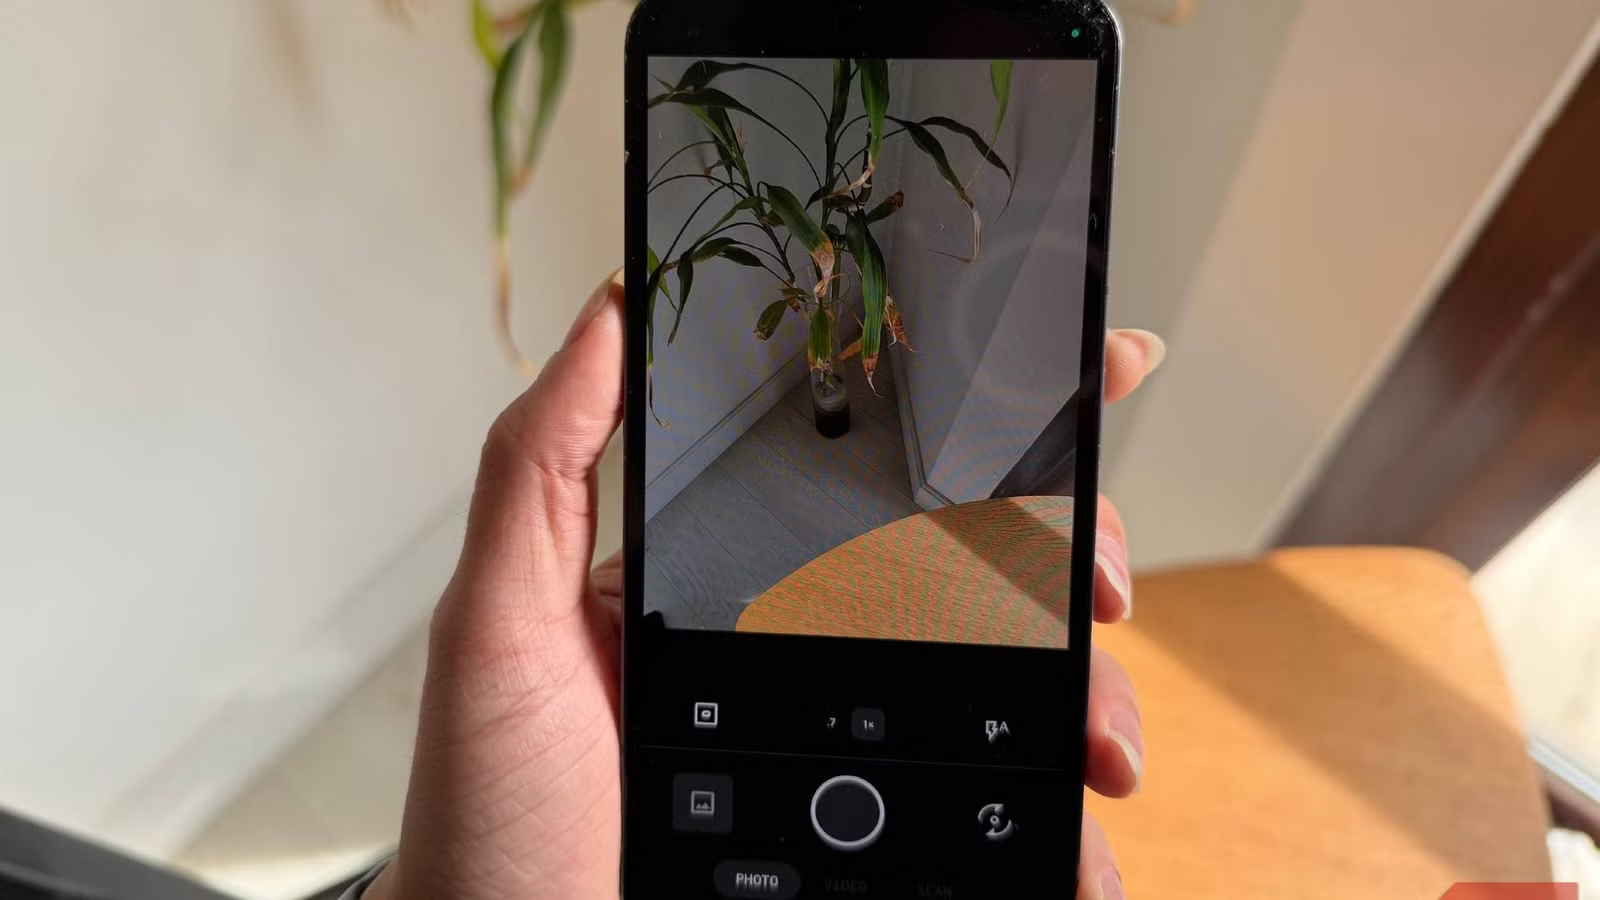
- Open your camera app and go to Settings or the gear icon.
- Look for Tracking Auto-Focus, AF tracking, or Subject tracking.
- Toggle this feature off to disable continuous focus chasing.
- In daily use, tap once on your subject to set focus, then shoot.
Turning tracking auto-focus off lets the lens lock to a fixed point and stop recalculating, so when you press the shutter there is nothing to wait for and the camera fires immediately for better smartphone photos. This phone camera blur fix is especially effective for anything moving, where speed matters more than fancy focusing tricks.
Disable Scene Optimizer: AI That Slows Your Shutter
AI scene detection is sold as magic—recognizing food, sunsets, pets, and landscapes and auto-tuning colors—but it is often not worth the tradeoff. Features like Scene Optimizer work by analyzing the live feed in real time, then tweaking brightness, contrast, and saturation depending on what the algorithm thinks it sees. All this analysis strains your phone and slows down how quickly it can capture a frame, which you feel as lag between pressing the button and hearing the click. If your hand shifts slightly or your subject moves, the analysis restarts from scratch, which means more dropped frames in the viewfinder and more missed moments.
- Open camera Settings from within your camera app.
- Find options labeled Scene Optimizer, Scene Detection, or AI photo enhancement.
- Toggle these options off to stop background analysis.
- Shoot a few test photos of moving subjects to feel the reduced lag.
Turning scene optimization off means fewer dropped frames, less shutter delay, and a higher chance of a sharp photo of movement. This is the quiet, software-based way AI enhancement and computational photography can reduce perceived sharpness: they slow timing and add processing where you need raw responsiveness instead. Disabling these camera features restores more natural detail and edge definition in fast, real-world shooting.
Switch Off Auto HDR to Stop Ghosting and Smudged Edges
Auto HDR promises balanced highlights and shadows by combining multiple exposures, mirroring how HDR balances bright highlights and dark shadows on monitors. In theory, it captures several frames with different exposures, then merges them into one balanced image. The problem is that combining three or four shots opens the door to errors: even the tiniest hand movement between frames produces ghosting and motion blur, and when the camera cannot perfectly align them, you get soft, smeared edges instead of crisp detail. Auto HDR ruins pictures if your hand moves at all because the camera is trying to perform precise multi-frame surgery on a scene that refuses to stay still.
- Open camera Settings and look for HDR or Auto HDR.
- Turn Auto HDR off; if there is a simple HDR toggle, disable it.
- In high-contrast scenes, decide manually when to enable HDR, if at all.
- For moving subjects or when you cannot hold steady, keep HDR off.
Turning Auto HDR off solves this immediately: the phone returns to capturing a single frame the moment you press the button, with zero shutter lag. There is no multi-frame merging to fail, no extended hold time, and no ghosting; the camera captures exactly what it sees when you tell it to, and you get a sharp photo. This single toggle is one of the most effective camera settings sharpness upgrades you can make without new gear.
Know When to Use These Features—and When to Leave Them Off
Shooting in dark places is one of the trickiest situations for any camera, especially smartphones with tiny sensors. To pull in more light, the software often leaves the shutter open longer, which increases the risk of blur. Features like Auto HDR, AI scene modes, and tracking focus can help in very narrow scenarios—static scenes, tripod-mounted shots, or carefully staged food photos. To be fair, some of these features do useful work in very specific situations; if you need them, then use them. But for everything else, especially anything that moves, these four settings are working against you more than they help.
The bigger point is that you do not have to buy anything new for a reliable phone camera blur fix. These are settings already on your device, turned on by default because they look impressive in demos, not because they improve real-world performance. According to the original reviewer, “You don’t have to buy anything new; none of this needs a newer phone or a better camera app.” Flip a few toggles, practice tapping to focus, and you will see sharper phone photos, cleaner edges, and fewer failed shots—all from smarter use of the tools you already own.