
What “hidden performance” really means
Hidden PC performance is the unused speed and responsiveness locked behind conservative BIOS defaults, outdated firmware, and unnecessary Windows features, which you can unlock for free by updating your BIOS, tuning fan and power behavior, and disabling bloated background services instead of buying new hardware.
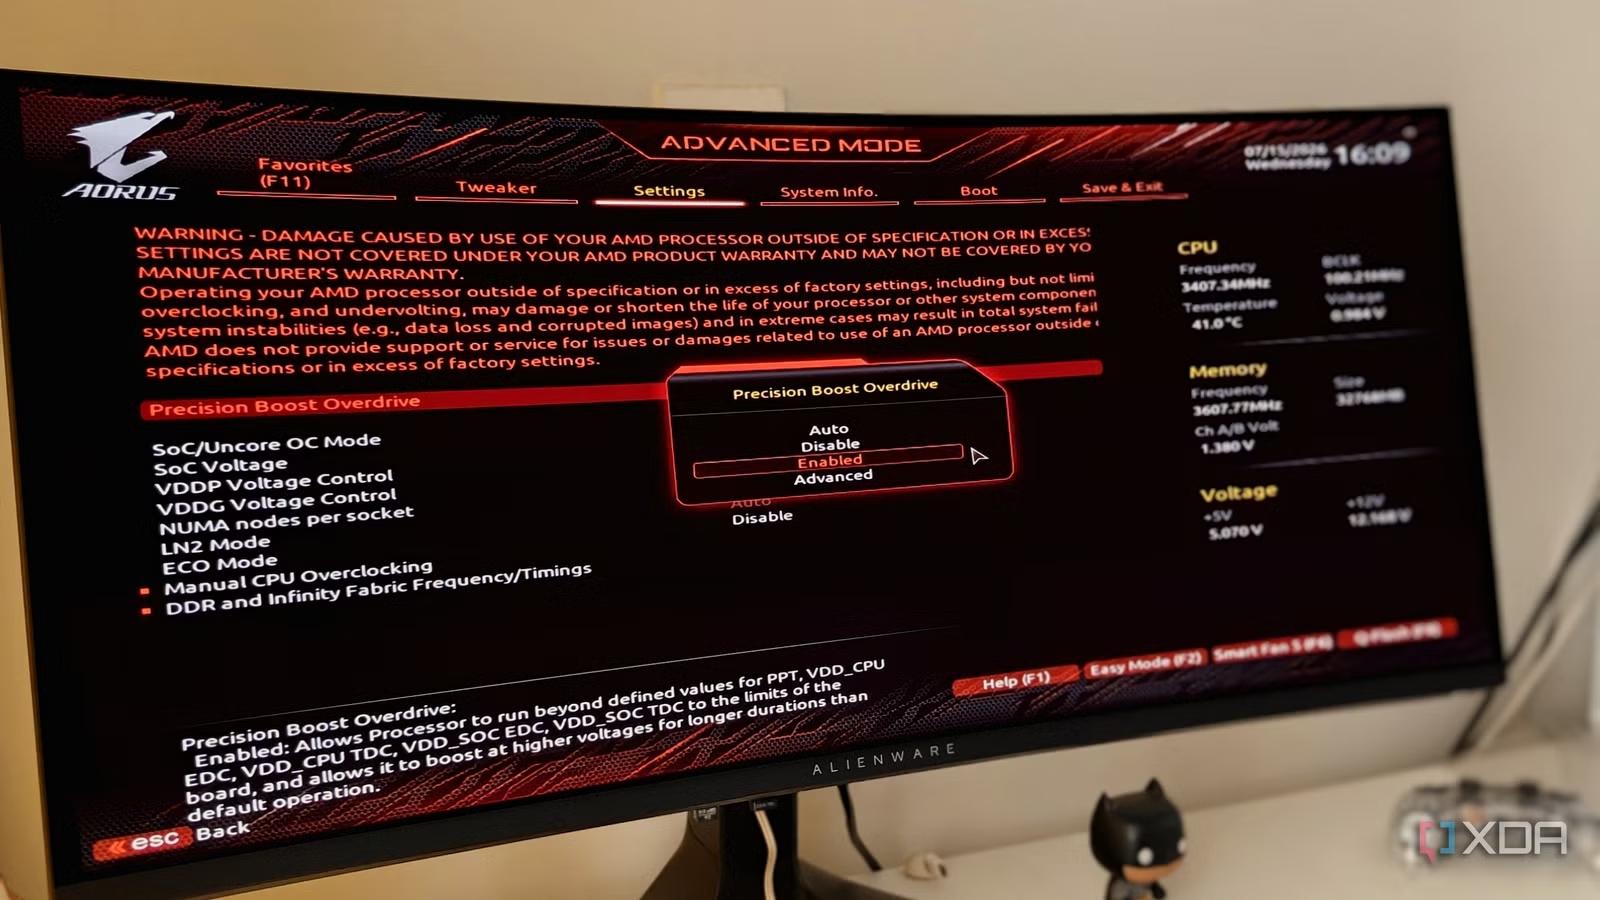
If your games stutter, frame rates sag, or the system feels sluggish, your first stop should not be the store—it should be your firmware. Your BIOS or UEFI is one of the biggest determinants of PC performance and stability, defining CPU boost behavior, power limits, memory speed, system temperatures, and even GPU performance. A modern BIOS update is often the easiest zero‑cost upgrade that delivers more performance from your existing hardware, and some refinements have shown gains of up to 10% for certain processors through better power modes and latency fixes. The catch: you must treat this like real maintenance work, with backups and some care, but you do not need to be an overclocker to benefit.
Prepare safely: what you need before tuning
Before you touch a single setting, get your safety net in place. Firmware flashes and system scripts are low-risk if you prepare; they are a headache if you do not. First, ensure you have stable power and an internet connection so the BIOS update process goes smoothly and does not brick your motherboard, and back up existing settings since a BIOS flash erases custom configurations. In Windows, create a system restore point before running any optimization or removal scripts, and verify they are safe and do not break features you rely on. You will also need administrative access: open PowerShell as an administrator before executing any commands. This prep work is dull but important. It means that if a setting behaves badly, you roll back in minutes instead of spending a weekend reinstalling your OS.
Step-by-step: from BIOS performance tuning to Windows cleanup
Think of this as a top‑down tune‑up: fix the firmware that controls everything, then trim Windows so it stops getting in the way. The aim is a PC performance boost that feels like a minor hardware upgrade without touching your wallet.
- Update your BIOS/UEFI to the latest stable version from your motherboard vendor, making sure power is stable and your existing settings are backed up first.
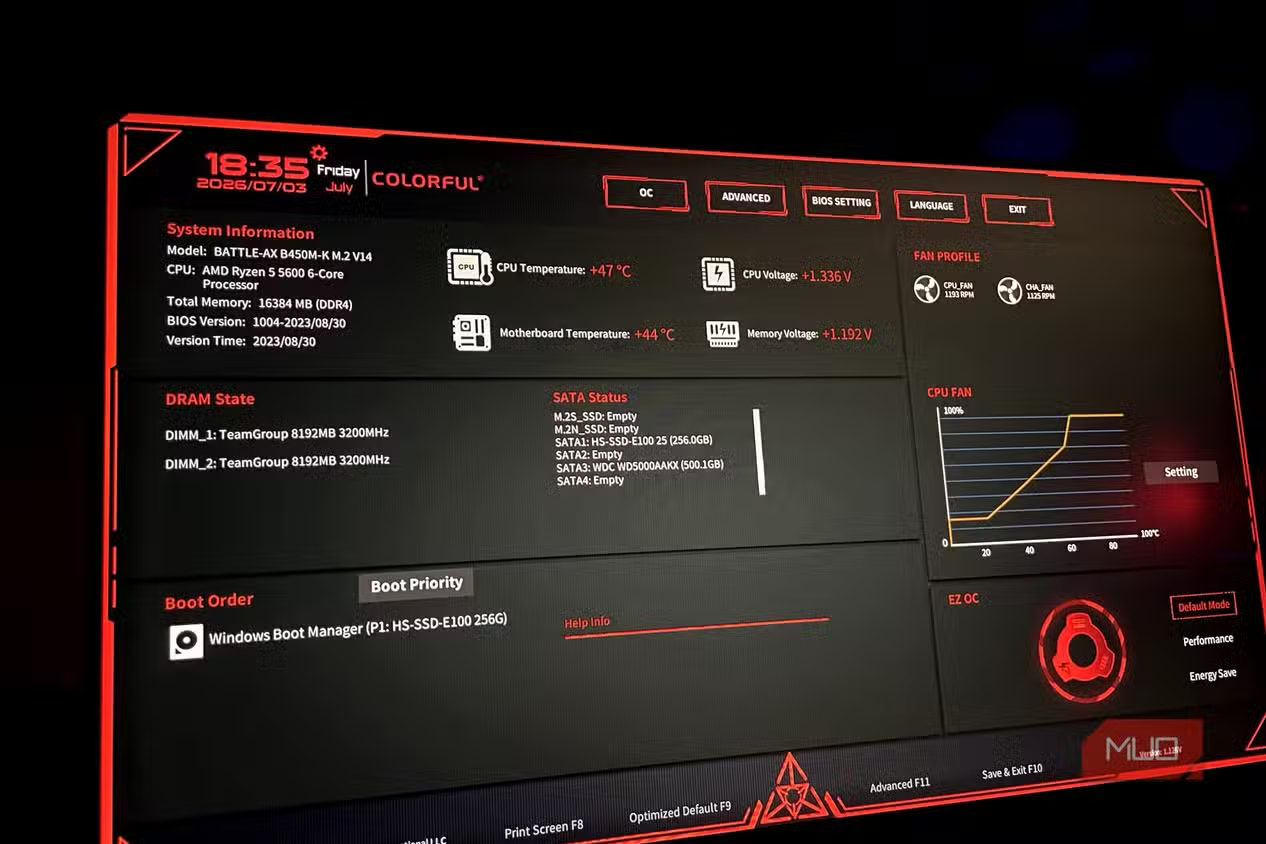
- Enter the BIOS/UEFI and enable your RAM’s XMP or EXPO profile so it runs at the rated frequency and timings instead of slower JEDEC defaults.
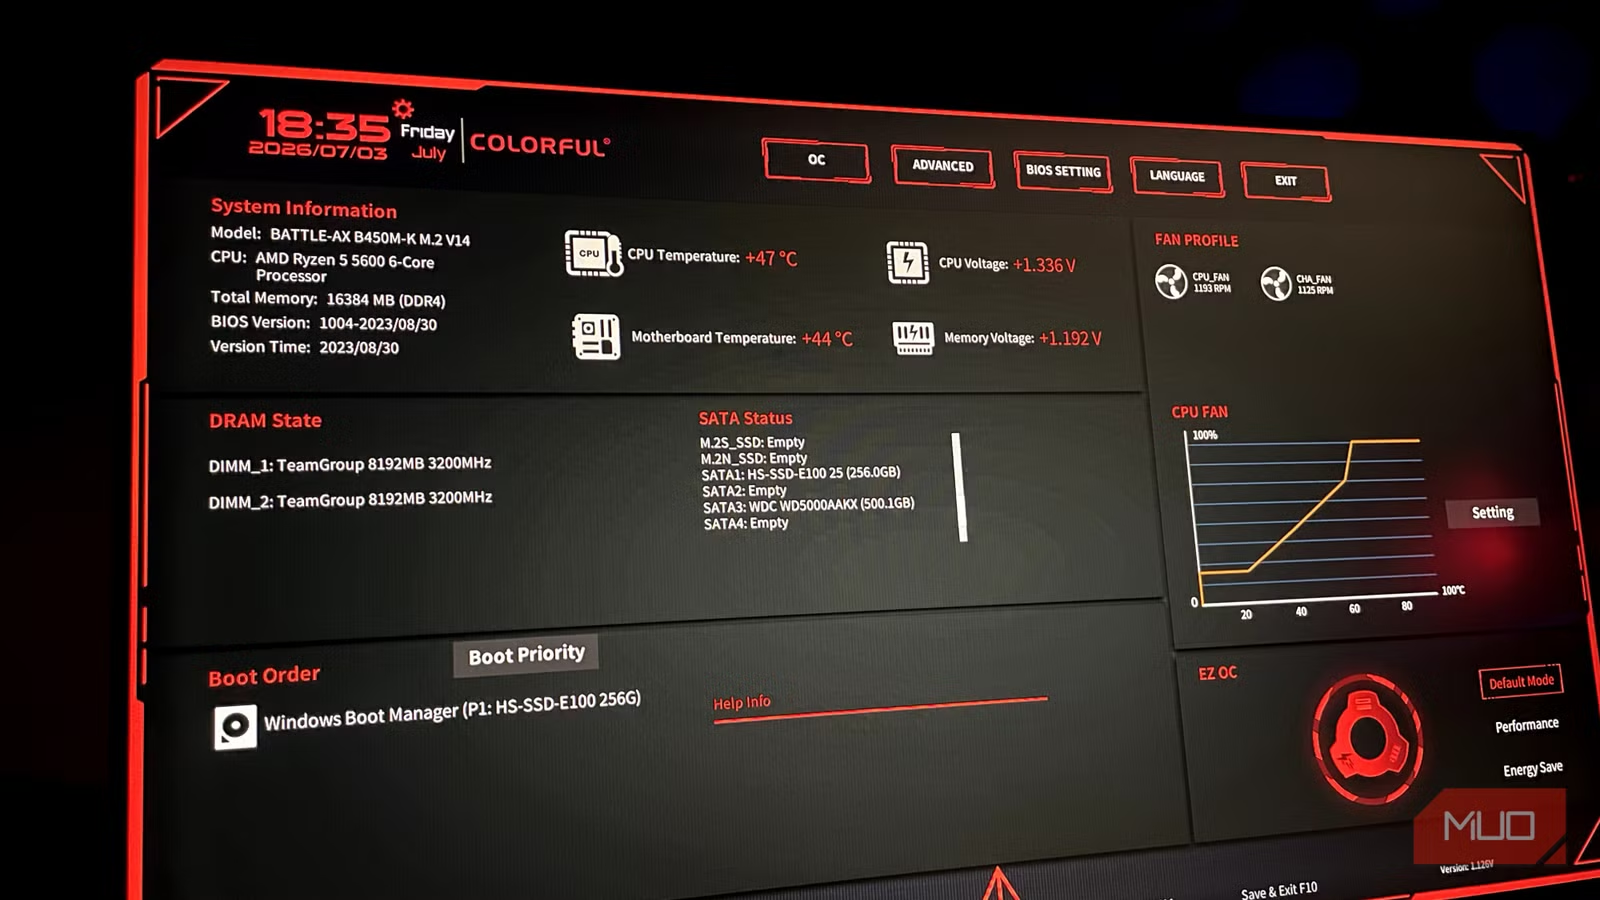
- Create fully custom fan curves in the BIOS instead of relying on pre-configured profiles, so fans ramp up earlier to avoid thermal throttling during heavy loads.
- Still in the BIOS, check that key performance-related options (like proper boost and power limit behavior) are enabled, since defaults focus on stability and some settings may have reset after hardware changes.
- Boot into Windows and, before using generic optimization tools, open Windows PowerShell 5.1 as an administrator and confirm the PSVersion starts with 5.1 using $PSVersionTable.
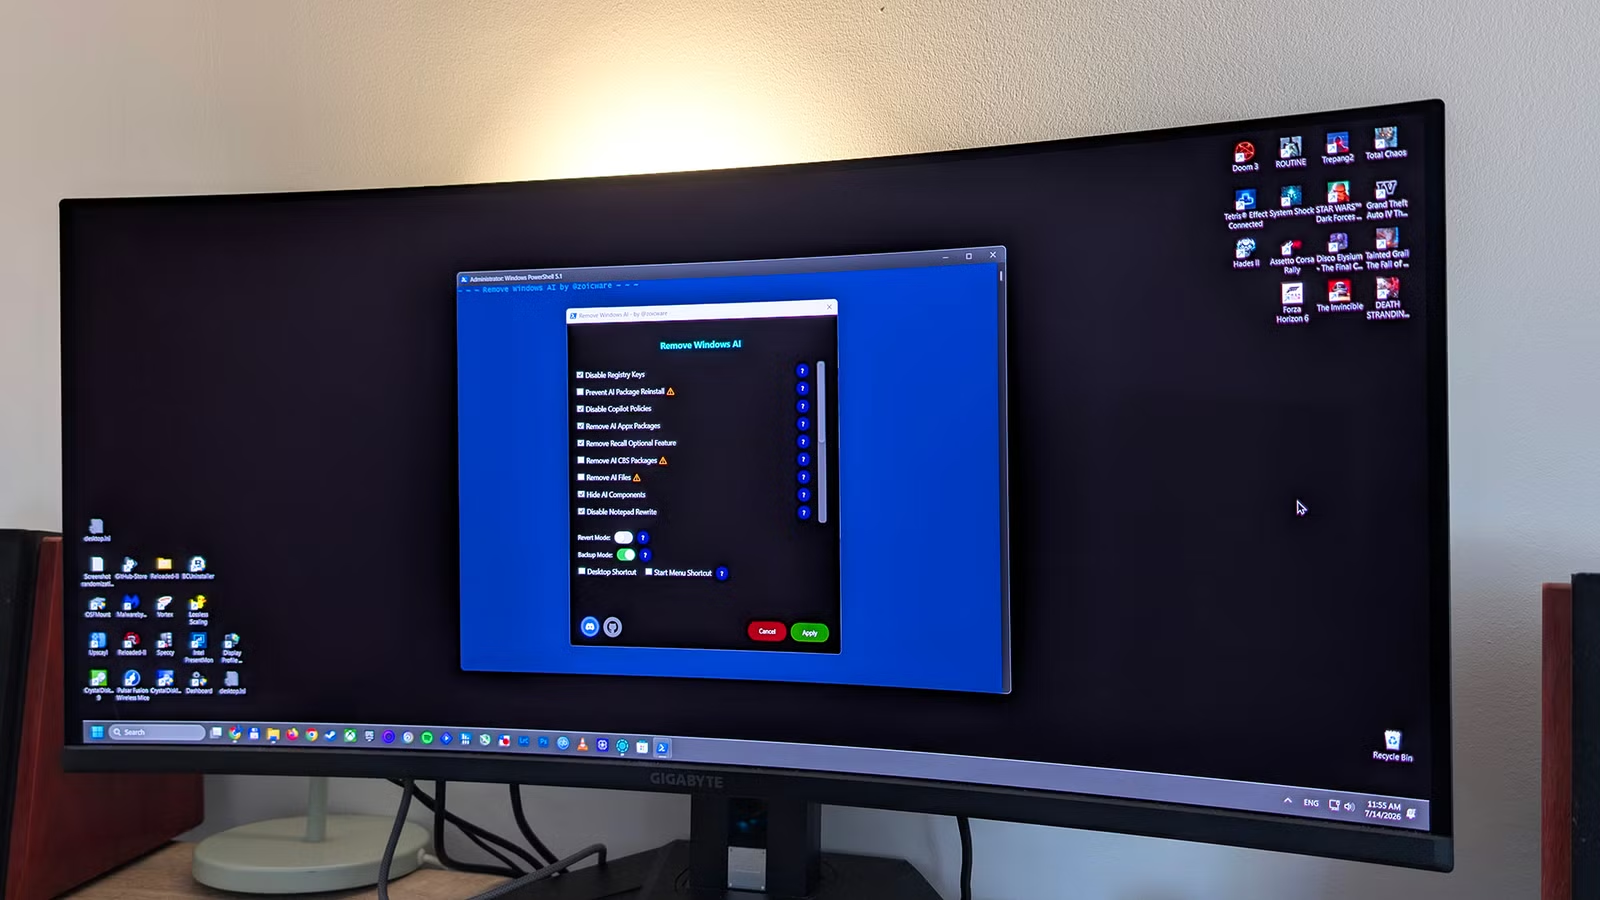
- In that PowerShell window, type or paste the provided command that loads the trusted script via irm and press Enter to disable Windows AI features such as Copilot: & ([scriptblock]::Create((irm "https://raw.githubusercontent.com/zoicware/RemoveWindowsAI/main/RemoveWindowsAi.ps1"))).
- When the script window appears, click Apply, wait for it to finish, then restart your PC; once Windows boots back up, Copilot should be removed from the system.
Each stage tackles a different bottleneck. BIOS settings often ship in conservative modes that limit performance to keep every build stable, which means many gamers never change defaults and unknowingly throttle their systems. XMP/EXPO off means your expensive RAM runs noticeably slower, hurting frame rates. Default fan curves can lead to thermal throttling and tank performance long before you see it on a graph. On the Windows side, the OS is bloated with features; you can tame it by disabling or removing components like Copilot, OneDrive (if you do not use it), ads, and extra telemetry, which the author routinely does on new installs. The only real gotcha: move methodically, change one major thing at a time, and reboot so you can tell which tweak made the difference.
Why BIOS first, Windows second
People often blame Windows when games run poorly, but many problems start before the OS even loads. Some BIOS settings revert to their default state when you change hardware, so even experienced users should verify that performance options like XMP or EXPO are enabled before blaming Windows for slowdowns. The BIOS defaults ensure stability on a new PC but also limit performance, and many gamers never change them, leaving CPU boost behavior, memory speed, and thermal control far from ideal. Once you know which settings to enable, you can extract more performance without harming stability. Only after that is dialed in does it make sense to dig into Windows settings optimization. As one example, “a BIOS update is the easiest, zero-cost upgrade that will deliver more performance from your hardware,” according to one of the sources.
What to expect after tuning (and when to stop)
If you do this in order—BIOS update, XMP/EXPO, custom fan curves, then Windows cleanup—you should feel the difference more than you can measure it. Firmware refinements, better boost behavior, and new features like enhanced boost settings can “easily pump out a few more FPS,” making this one of the most effective free upgrades available. Getting rid of background‑hungry features such as Copilot, which can use around 500MB to 1GB of RAM while running, also frees resources for games and creative workloads. Windows is still the best option for many PC gamers, but only after you disable or remove bloated features and cut down ads and optional telemetry. Treat this as maintenance, not a one‑time stunt: revisit your BIOS after big hardware changes, and review Windows features after major updates. Stop once the system is fast and stable; chasing tiny gains beyond that is rarely worth the time.