
What the “Daylight at Night” Trick Really Is
The long exposure night sky trick is a night photography exposure method that uses extended shutter times under moonlight so the camera sensor gathers enough photons to render full color, detailed landscape night shots that resemble overcast daytime scenes while still being captured in true darkness.
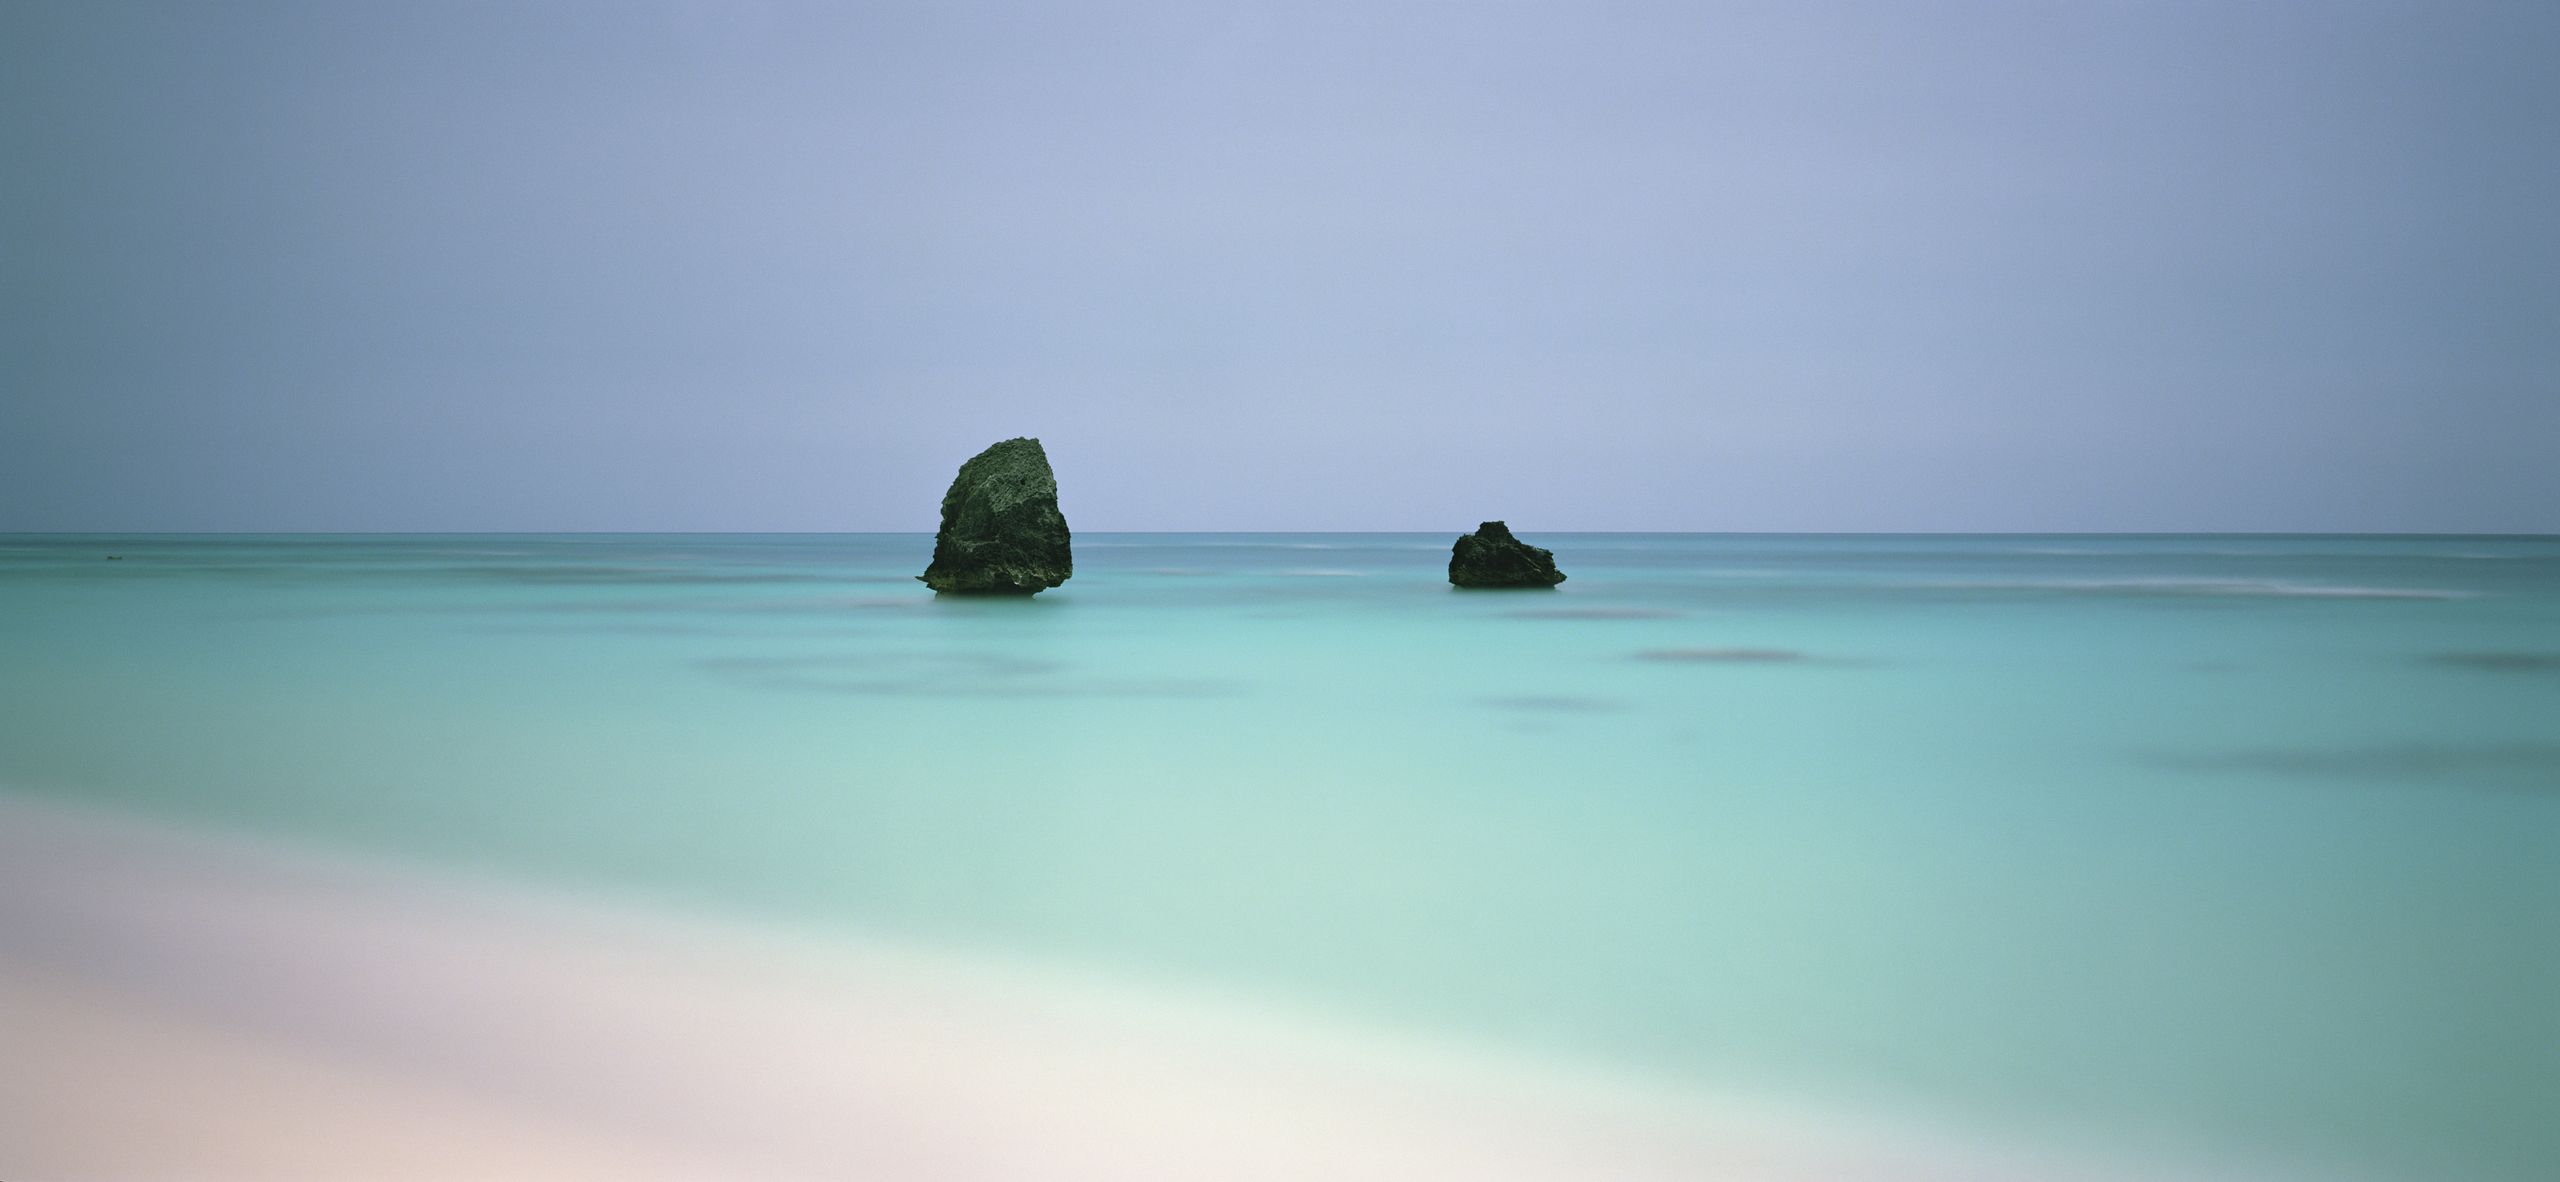
Imagine pointing your camera at a landscape lit only by the moon; by normal rules, you expect a black frame. Darren Almond’s long-running Fullmoon work shows what happens when you refuse that limitation and give your camera far more time than feels reasonable. Over a quarter of a century, he has photographed famous valleys, glaciers, temple gardens, and beaches at night, yet they appear lit as if by soft midday light. The trick is simple in theory: exposure is time, and time is free if you are willing to wait under the sky. This guide walks you through how to adapt that approach in the field, blending those long exposure night sky principles with the careful location scouting used by award-winning astrophotographers.
Gear, Planning, and Why Location Matters First
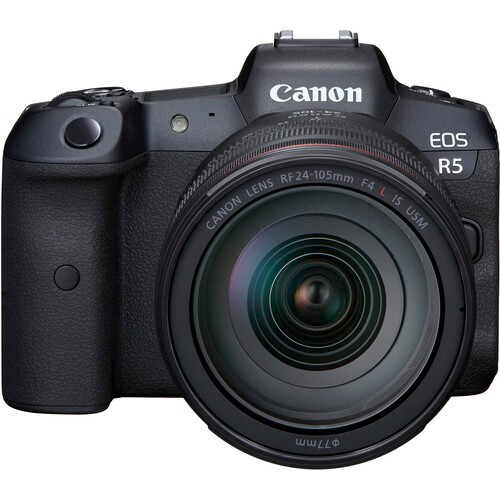
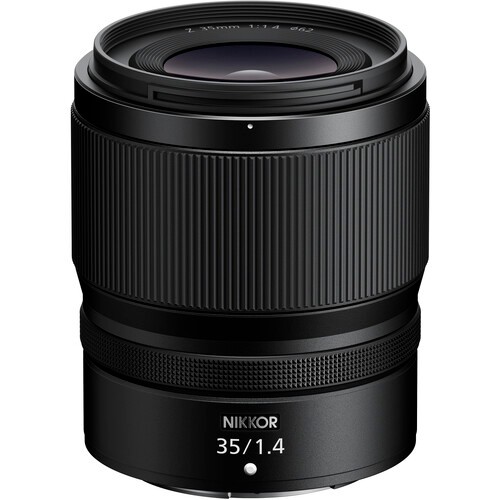
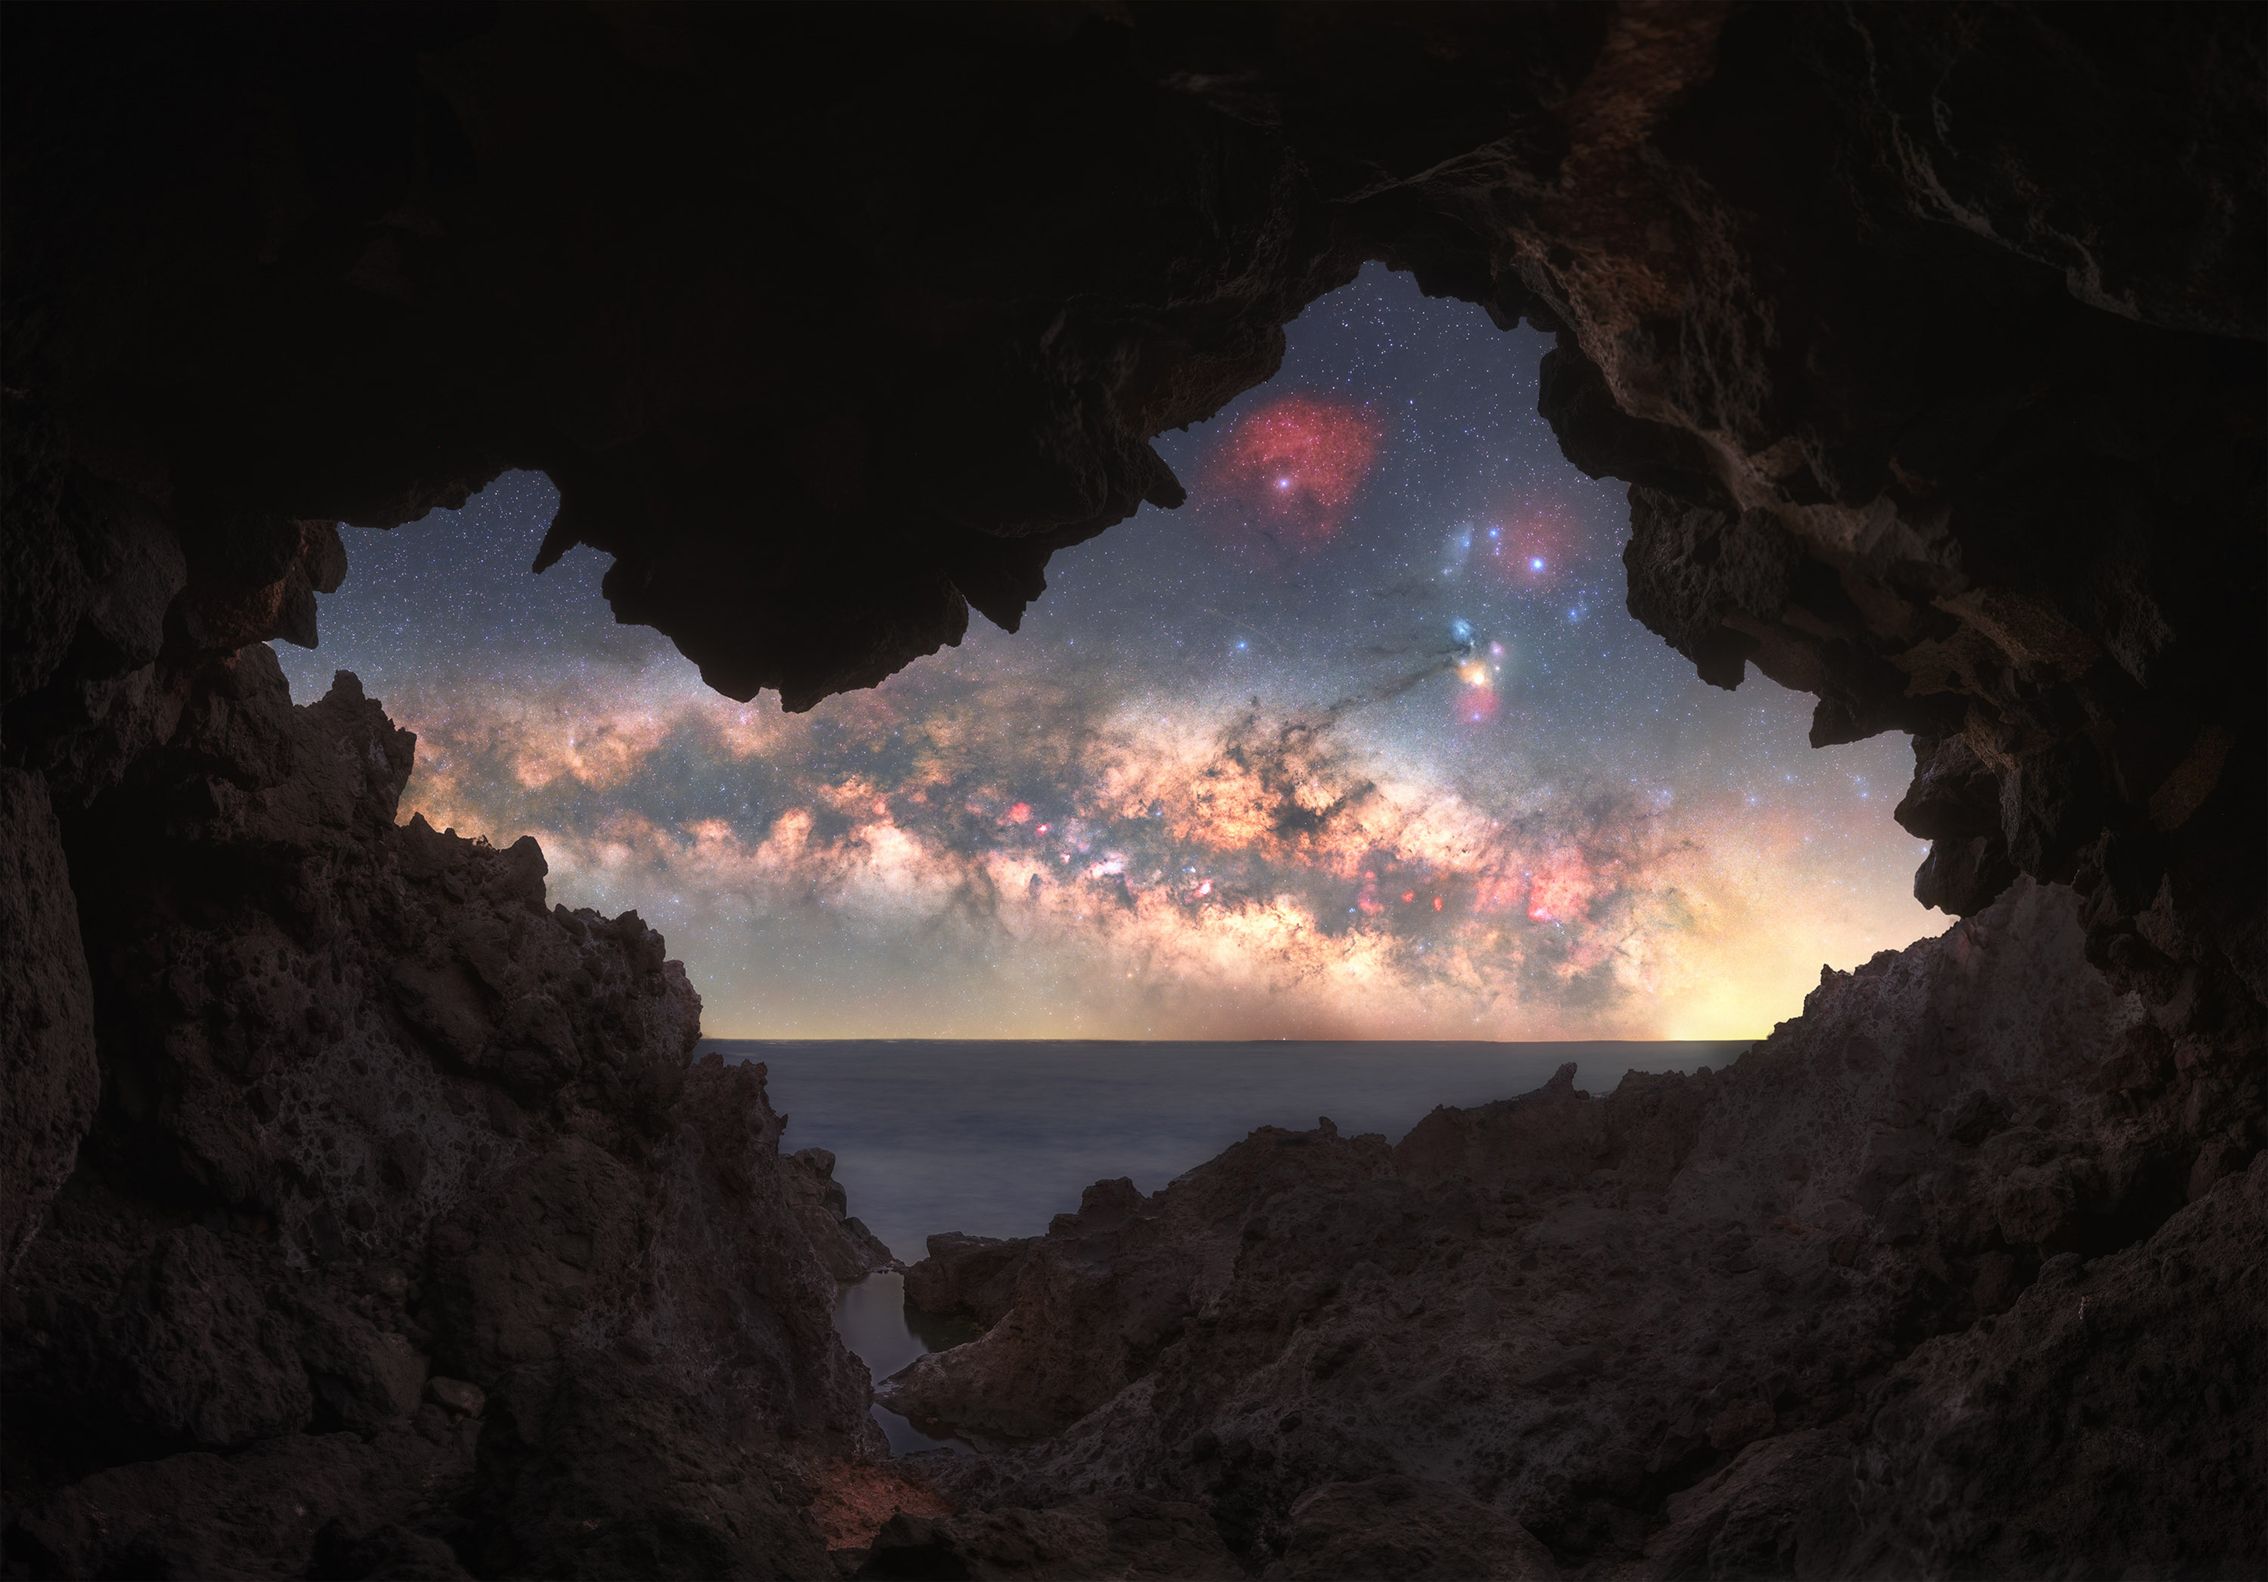
Before worrying about shutter speeds, accept that this technique lives or dies on patience and planning. You need a sturdy tripod, a camera that lets you control exposure manually, and a lens in the wide to standard range. In one award-level Milky Way cave image, the photographer used an astro‑modified Canon EOS RP for the sky, a Canon EOS R5 for the foreground, a 35mm f/1.4 lens, and a 16–35mm f/4 zoom, supported by a solid tripod, a star tracker, and a diffusion filter. You do not need identical gear, but you do need something equally stable and controllable.
Location scouting is the creative half of this method. One astrophotographer spent nearly four hours in intense heat and strong winds to find a hidden cave that felt “unique and relatively undiscovered.” Likewise, Almond’s moonlit work rises above a neat exposure trick because he returns to historically rich sites instead of generic viewpoints. The more personal and distinctive your scene, the more the daylit effect will feel worth the effort and discomfort.
Step-by-Step: From Moonlight to Daylight-Looking Frames
Here is the friend-to-friend version of how to pull this off. The key is to think in layers: sky, landscape, and time. You will combine the long exposure night sky approach Darren Almond uses with the layered astrophotography techniques seen in modern Milky Way work.
- Check the moon phase and weather. Aim for a calculated window around the full moon, and watch forecasts closely for clear skies; a single drifting cloud can ruin a 15‑minute exposure with no repeat of that moonlight, tide, and season combination.
- Scout your composition before full darkness. Like the photographer who spent almost four hours finding a unique cave foreground in difficult heat and wind, explore until you have a distinctive scene that excites you. Mark safe paths and footing while you can still see.
- Set up a rock-solid base. Mount your camera on a stable tripod and lock everything down. Any movement, especially in wind, will blur your landscape night shots. Shield your setup from gusts that could push you or the tripod, as powerful winds have been known to slam photographers against rocks.
- Dial in a long exposure for the sky. Start with a test exposure of about 60 seconds at a wide aperture (around f/1.8) and moderate ISO (around 800) to see how the sky builds up. Remember that Almond’s film exposures often run a quarter of an hour or more, so be ready to extend time until the sky shows full tonal range and color.
- Build a detailed sky panorama if needed. If your scene is wide, shoot a one-row panorama: for example, 6 panels, each with multiple 60‑second frames at 35mm, f/1.8, ISO 800. Overlap each frame generously to make stitching easier later.
- Expose the foreground under moonlight. Switch to a wider lens if needed and shoot another one-row panorama of the landscape: for instance, 6 panels at 60 seconds, 16mm, f/4, ISO 100. These settings keep the foreground clean while the long exposure night sky frames handle the stars.
- Use focus stacking to keep everything sharp. In near-total darkness, take separate focused shots for the near foreground, middle distance, horizon, and any upper edges such as cave ceilings. This ensures that when you blend the frames, the scene looks sharp from front to back in that daylight style.
- Guard against stray light and interruptions. Stay alert for car headlights, distant torches, or sudden clouds; Almond accepts that a single unexpected light or cloud can spoil a 15‑minute frame with no chance to replay that exact moment. If something intrudes, stop and restart the exposure rather than hoping it will vanish in post.
- Process with patience. Combine your sky and foreground panoramas, apply your focus stacks, and then balance color and contrast so the scene feels like soft daytime. Expect extra effort to pull out Milky Way color and detail when it sits low on the horizon; careful capture and processing are both required.
The science behind this sequence is simple: given enough time, your sensor keeps collecting photons until the scene gains full color and tonal range, much like daylight gathered slowly. The art is in how you divide that time between sky and land, and in how calmly you restart when nature or human light intrudes.
Common Mistakes and What the Final Image Should Look Like
Two problems show up again and again. The first is underestimating conditions. Intense heat and powerful winds can make movement difficult and even shove you against sharp rocks while you work. If you are fighting for balance or freezing, you will rush exposures, skip focus stacking, or forget panorama overlaps. The second mistake is ignoring stray light and cloud. A single unplanned car headlight or passing cloud can ruin a 15‑minute exposure, with no way to recreate that mix of moonlight, tide, and season.
When everything comes together, the result is peculiar and satisfying. Moonlit valleys, glaciers, temple gardens, and even pink sand beaches can appear lit by an overcast midday sun while being shot in deep night. Likewise, a Milky Way cave image can carry both fine sky color and intricate foreground detail that reflect persistence as much as the scene itself. The takeaway: this method is worth the patience, but it demands respect for weather, light, and your own safety.