
What Star Trail Photography Is and Who It’s For
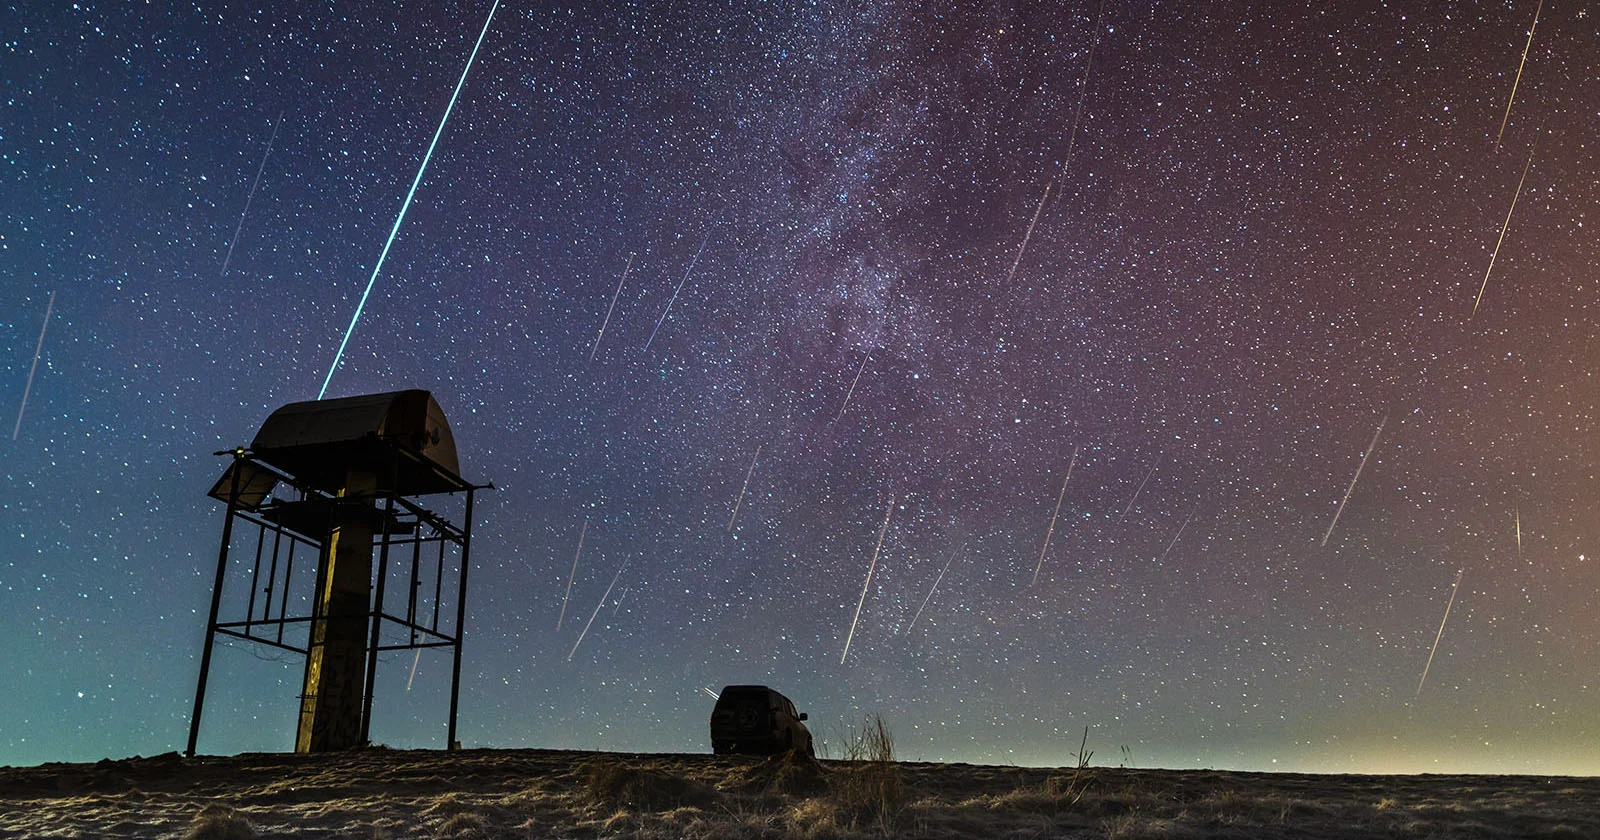
Star trail photography is a night sky technique where you use long exposure settings or stacked sequential images to record the apparent motion of stars as curved or circular streaks across the frame, turning the rotation of Earth into a single, dramatic picture that blends astrophotography methods with creative landscape composition to highlight both sky and foreground in one image.
If you enjoy being outside at night and already know how to use manual mode, star trail photography is a natural next step. It rewards patience more than fancy gear, but there is one real prerequisite: dark, clear skies. The ideal location for night sky photography should be far away from light pollution so artificial lights do not wash out the stars and cause bright smog in your images. You also need a reliable tripod, because any vibration during a long exposure will turn trails into mush. Think of this as a slow, meditative kind of shooting—perfect for beginners who want to learn exposure and for intermediate photographers looking for more creative control.
Plan Your Location, Gear, and Composition
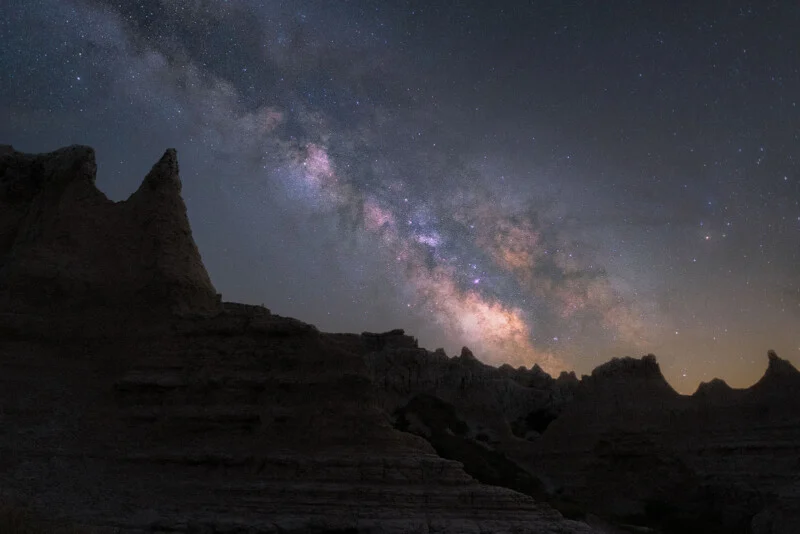
Before touching the shutter, your planning will decide whether the final image looks magical or flat. First rule: find a location far away from light pollution so nearby towns or roadside lamps do not wash out star detail. Aim for a moonless, cloudless night to keep the sky dark and contrast high. Checking moon phases in advance helps you avoid bright moonlight that can overpower trails and add glare.
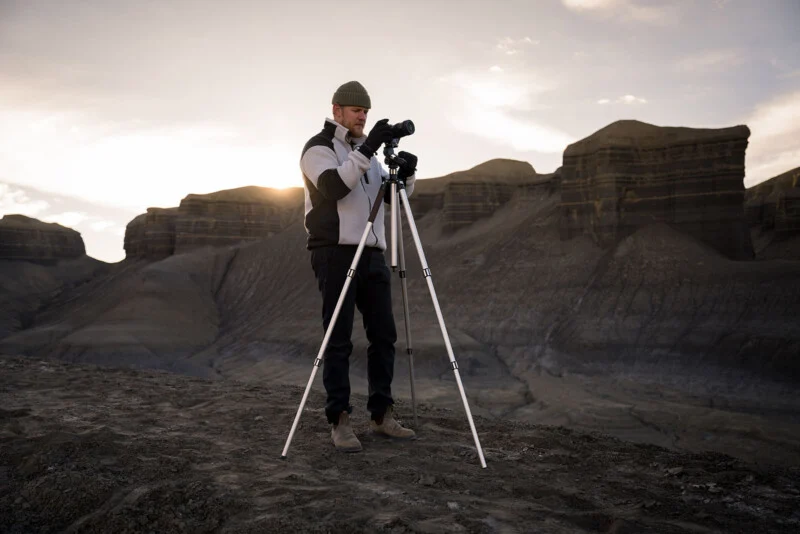
Next comes composition. Look for foreground elements—mountain ridges, rock formations, water, or interesting buildings—that add depth and context so the trails don’t float in an empty frame. A tripod or weighted-down setup is essential to keep the camera absolutely still for the duration of the shoot. Turn off image stabilization, switch to manual focus, and focus on a bright star or the moon so your lens is locked at infinity without hunting. Set manual white balance around 4000 Kelvin to balance cool sky tones with warmer ambient light on the foreground. With this foundation, both star trail methods will give you much cleaner results.
Step‑by‑Step: Shooting Star Trails Two Different Ways
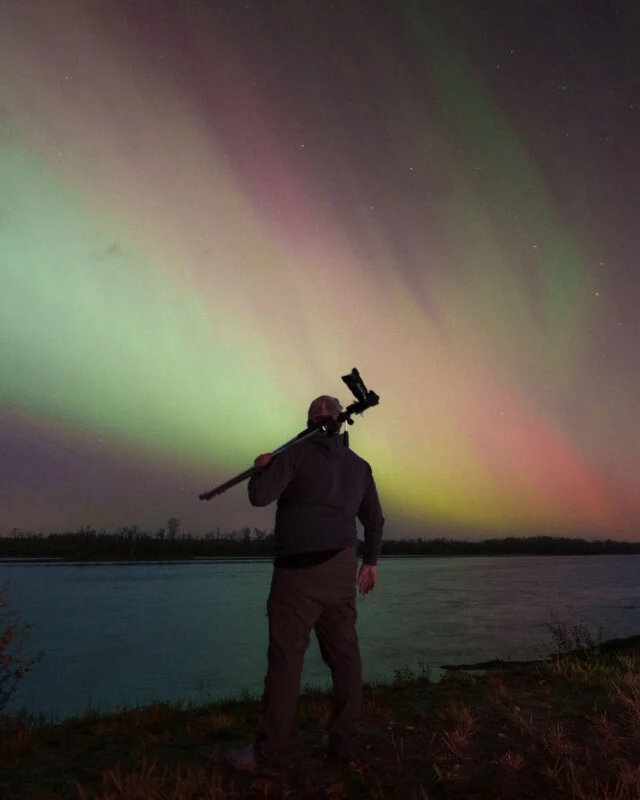
There are two core astrophotography methods for star trail photography: a single long exposure and a sequence of shorter exposures that you stack later. The physics are the same—the stars move while your camera stays fixed—but the workflow, risks, and creative options differ. Long single exposures demand more from your camera battery and tripod but keep file handling simple. Sequential images give you flexibility and can reduce noise, at the cost of more post‑processing. Here’s a clear sequence to follow so you can try both in one night without confusion.
- Set your camera to manual mode, manual focus, and manual white balance around 4000K; mount it on a sturdy tripod and frame an interesting foreground while avoiding direct artificial lights.
- Dial in base long exposure settings for sequential images: use a wide‑open aperture, a 30‑second shutter speed, and an ISO around 800 as a starting point for star trail photography.
- Attach and configure an intervalometer to shoot multiple sequential frames, each 30 seconds long, with minimal gaps so the trails remain continuous across the final stacked image.
- For the single long exposure method, keep the camera in manual mode, use a high‑quality fast lens, set the lowest possible ISO, and adjust shutter speed with test shots until you see clear trail length without severe overexposure.
- Use the intervalometer again, this time to program one long exposure that can run anywhere from 15 minutes to an hour depending on how long you want the star trails to appear.
The main gotcha with the sequential image method is gaps: if your intervalometer leaves even a few seconds between shots, you’ll see breaks in the trails after stacking. Method two’s single long exposure avoids this but increases the chance of battery failure or wind ruining the entire frame. Staying near the camera during the long shot and shielding the tripod from gusts reduces that risk. Both methods rely on careful exposure testing—use shorter test frames, check for blown highlights in the foreground, and only then commit to the long runs.
Processing Stacked Images and Shaping Trail Patterns
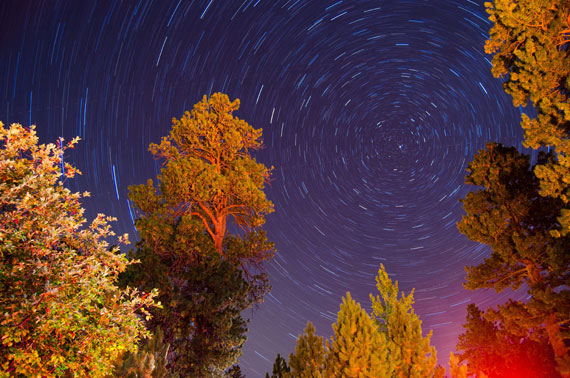
Once the camera work is done, the sequential method turns into a simple digital stacking exercise. Import your series of images into software such as Adobe Photoshop, StarStaX, or ImageStacker, then blend them into one frame. Use gap‑filling or similar options to smooth minor breaks and create continuous star trails from edge to edge. The expected result is a single image where each short exposure contributes a small arc, merging into long, fluid streaks instead of individual points.
Trail shape depends on where you point the camera. If you aim at Polaris, the North Star, you’ll get circular star trails that spin around that central point thanks to Earth’s rotation. According to the star trail stacking guide, “framing [Polaris] in your image can result in captivating circular star trails.” Pointing elsewhere gives diagonal or sweeping arcs across the sky, which can work better with certain foregrounds. Whichever pattern you choose, keep experimenting with different locations, compositions, and exposure times to find a style that feels like your own.
Is Star Trail Photography Worth the Effort?
Star trail photography takes time—often an hour or more from setup to last exposure—but the payoff is seeing the quiet motion of the night sky turned into visible lines. By following these guidelines, you will be well‑equipped to delve into this “magical realm of star trail photography” and build your own approach. For beginners, the sequential stacking method feels forgiving because you can stop early or discard bad frames. More experienced shooters may enjoy the challenge and simplicity of a single long exposure once they trust their gear and technique.
Worth it? Absolutely, as long as you accept that not every attempt will work. Watch for light pollution, wind, and battery life—those are the things most likely to ruin a session. The key is preparation: scout locations in daylight, set up your tripod carefully, and give yourself more time than you think you need. With each outing, your confidence in both night sky techniques and long exposure settings will grow, and the trails will look better and more intentional.