
Blurry Photos Are a Software Problem, Not a You Problem
Phone camera settings are built-in options that control how your camera focuses, processes colors, merges exposures, and handles low light, and many default features quietly slow the camera, soften detail, and introduce blur, so disabling four of the most aggressive ones can immediately fix blurry photos and produce better phone photos without any editing apps.
Most people blame shaky hands when their shots look soft, so they hold the phone tighter and wait longer. The irony is that those careful extra seconds give your camera’s background software more time to interfere. A lot of the blur isn’t coming from you at all; it’s coming from features your phone turned on by default, running constantly in the background. These options exist because they look impressive in demos, not because they help in real shooting conditions. If your photos look processed, smeared, or ghosted even in good light, it’s almost certainly one of these “helpful” camera features. Turning them off is not a niche tweak; it’s the fastest blurry photos fix most phone owners never discover.
Disable Tracking Auto-Focus: Stop the Lens from Hunting
Tracking Auto-Focus sounds like the perfect answer for kids, pets, and sports, but in practice it makes the camera work too hard. When enabled, the lens never stops moving: it keeps analyzing the scene, chasing your subject, and compensating for handshake. That constant micro-adjustment adds a delay right when you need responsiveness, so your view flickers between sharp and blurry, and the camera may still be mid-hunt when you tap the shutter. To help itself, it quietly lowers the shutter speed, which keeps the shutter open longer and turns motion into smear instead of freezing it. Turning tracking auto-focus off is the best thing many shooters have done, because once you tap to focus on a fixed point, the lens locks, stops recalculating, and fires as soon as you press the button, so you get better smartphone photos.
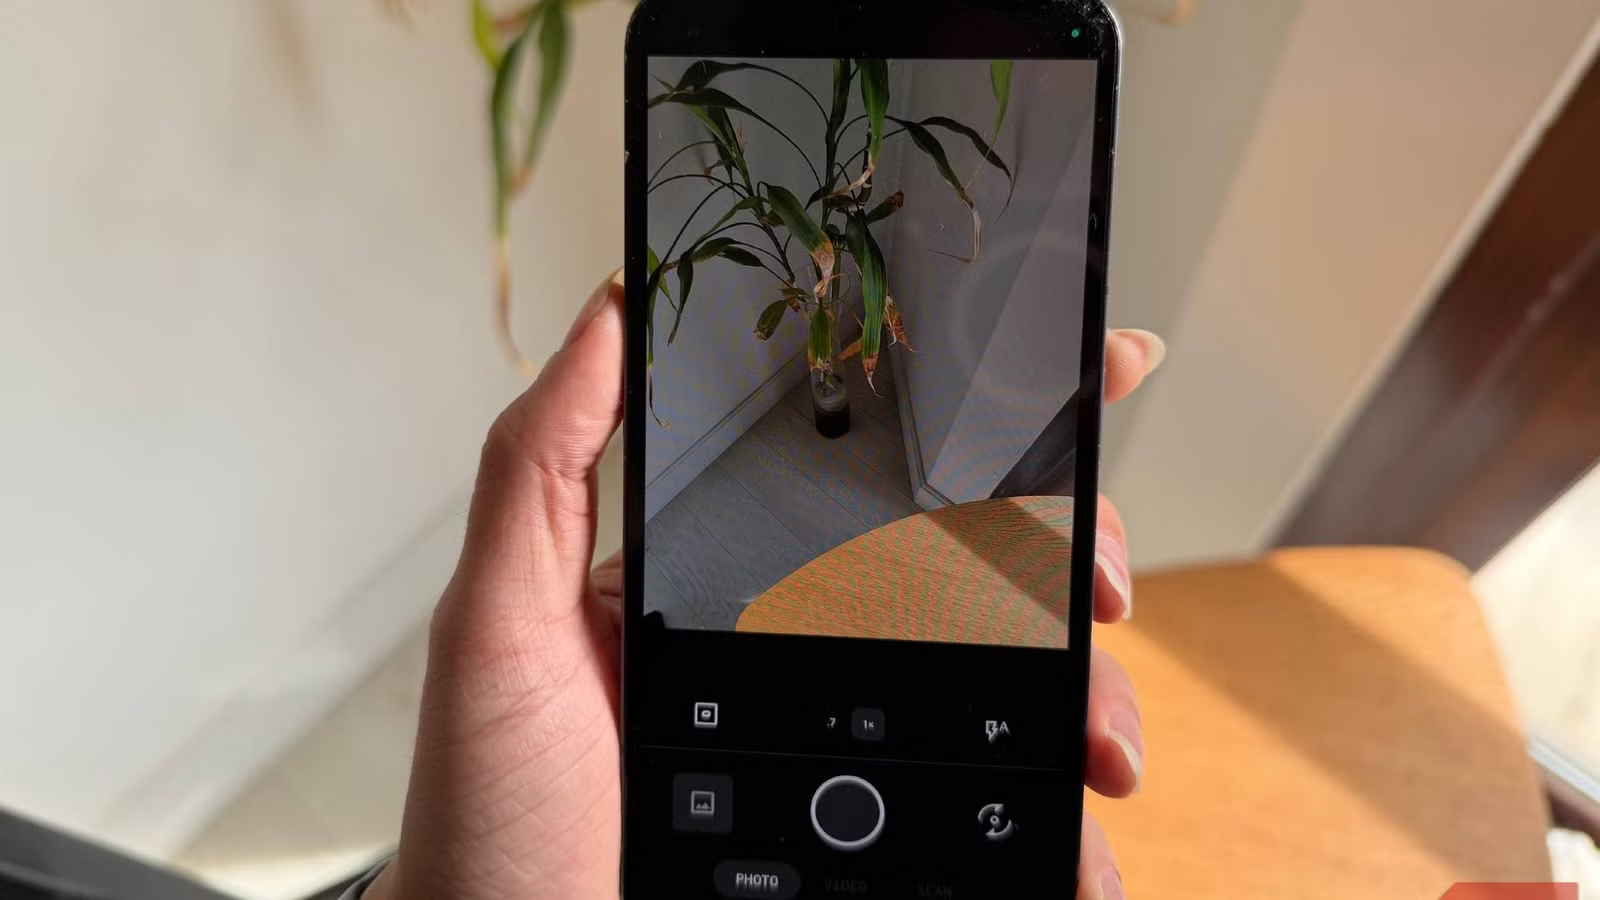
- Open your Camera app and tap the settings gear.
- Look for Tracking Auto-Focus or similar focus-tracking options.
- Toggle it off so the camera uses single-point focus instead.
- Tap to focus before shooting; then shoot confidently without waiting for the lens to chase movement.
Turn Off Scene Optimizer: Cut Lag and Overprocessed Color
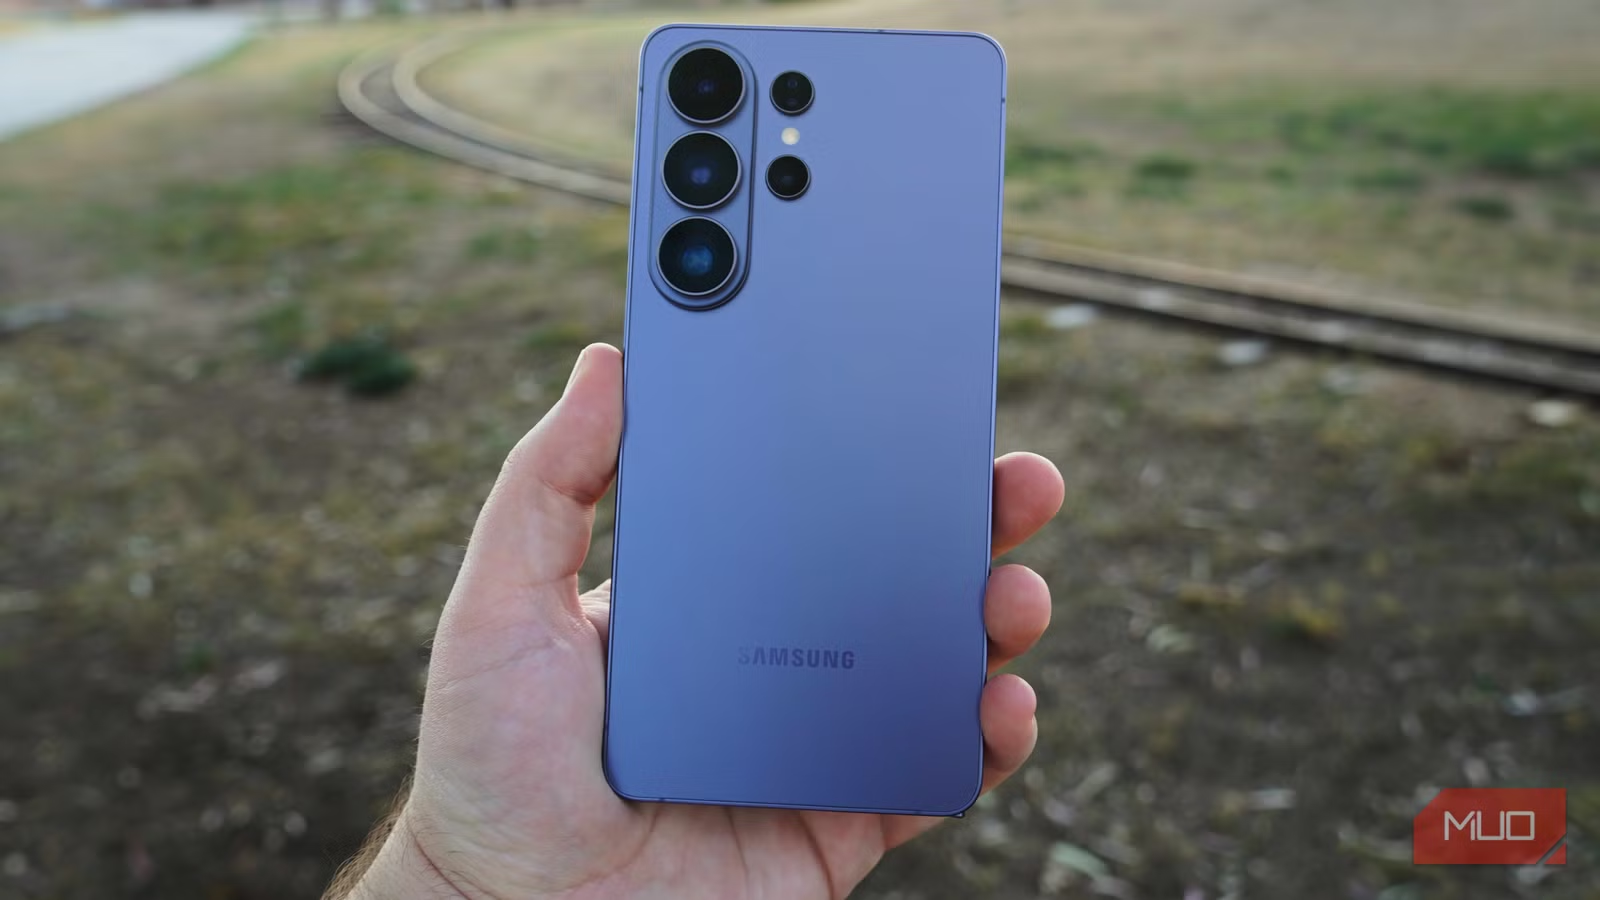
Scene Optimizer (or Scene Detection) is marketed as smart assistance: it recognizes what’s in your frame and boosts color and contrast to match. In reality, it often makes photos look less like real life and more like a filter you can’t undo. Food gets an unnatural orange cast, sunsets lose subtle detail as reds and oranges are cranked up, and skin takes on that over-sharpened, processed look. Worse, this AI runs in real time, constantly analyzing the live feed to decide whether it’s seeing food, a dog, or a landscape, then tweaking the image before saving it. That background strain slows the camera down, increases lag between pressing the button and hearing the click, and forces the analysis to restart every time your subject or hand moves. According to one user, “Samsung’s camera app rewrites the photo before it’s saved to your gallery,” and four changes made them barely edit photos anymore.
- Open the Camera app and tap the settings gear icon.
- Go to Photo enhancer and find Scene detection (or Scene Optimizer on older phones).
- Turn this camera feature off so the phone stops auto-adjusting every frame.
- Use normal Photo mode; colors will stay closer to reality and your shutter response will feel snappier.
Switch Off Auto HDR: Avoid Multi-Frame Ghosting
Auto HDR promises balanced highlights and shadows, but the way it works is the main reason edges in your photos look smeared. HDR typically grabs multiple frames at different exposure levels and stitches them into a single image when you tap the shutter. That is fine if nothing moves and your hand is rock steady, but the moment your subject shifts or you wobble, the merge can fail. You end up with ghosting, double edges, or stretched details instead of a crisp shot. Multi-frame capture also adds shutter lag: the phone is busy grabbing and combining images when it should be freezing the moment. Turning Auto HDR off solves this immediately; the camera goes back to capturing a single frame the instant you press the button, with zero multi-frame merging to fail, no extended hold time, and no ghosting, so you get a sharp photo.
- Open the Camera app and enter the settings menu.
- Find Auto HDR and toggle it off.
- Shoot fast-moving subjects, street scenes, and handheld shots with HDR disabled to reduce blur.
- If a high-contrast scene truly needs HDR, turn it on for that shot, then disable it again.
Re-think Night and Resolution Modes: Use Detail Where It Helps
Night shooting is where phone software pushes hardest. Small sensors struggle in the dark, so the camera leaves the shutter open longer to pull in more light. Add features such as automated night modes, and exposure time quietly stretches even further. While this can brighten dim scenes, it makes any movement smear—and that includes your subtle hand shake. Turning off those automated night features forces the camera to work differently; without them, it can’t artificially extend exposure time, so it falls back on much faster shutter speeds, which makes motion blur far less likely. In good light, go the opposite direction: increase resolution. Standard Photo mode often saves 12MP images even on 50MP or 200MP cameras, combining pixels for better low-light performance. That works indoors and at night, but in bright daylight, switching to 50MP or 200MP preserves far more detail, so crops and zooms stay sharp.
- For dark scenes, disable automated night or long-exposure modes when motion blur is a bigger concern than brightness.
- For bright daylight, tap the resolution control in the Camera app and select 50MP or 200MP to save more detail.
- Open Camera settings, scroll to Settings to keep, and save your chosen resolution so it doesn’t reset to 12MP.
- Use higher resolution for landscapes, architecture, and street photography where you may crop later, and lower resolution for low-light indoor shots.