
Why These Hidden Samsung Tools Are Worth Your Time
Samsung camera settings and the Audio Eraser feature are built-in tools that reduce phone photo editing and clean video sound by changing how your Galaxy captures and processes images and audio before you ever open a third-party app.
If you’ve ever taken a photo that looked perfect on the preview but oddly processed later—oversaturated food, neon sunsets, or harsh skin texture—you’re seeing the default processing at work. The same thing happens with video: a great clip ruined by crowd chatter, construction noise, or wind, leaving you digging through editing apps for a fix. The good news is that your Galaxy already has quiet switches for both problems. With four quick camera adjustments and one smart audio tool, you can cut out most of your editing and get more natural results straight from the phone. The only real prerequisite is a Samsung Galaxy device, and for Audio Eraser you need Android 14 with One UI 6.1 or higher so the feature shows up in your editor.
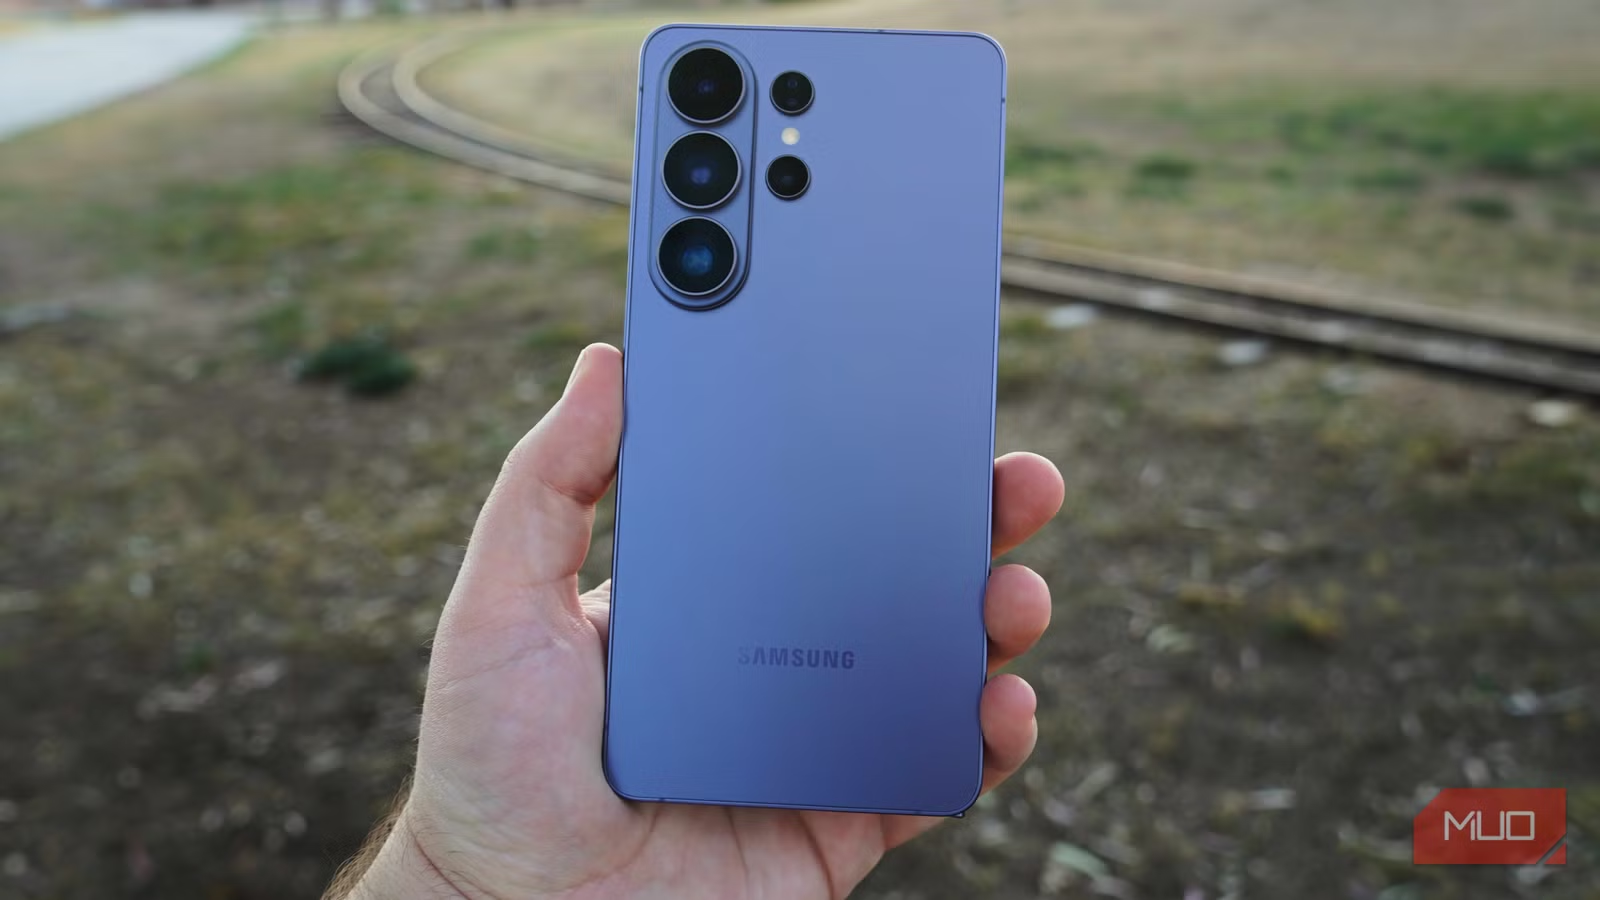
Four Samsung Camera Settings That Save You From Endless Editing
Think of the camera app as your first editing pass. By fixing its behavior, you stop fighting baked-in color and sharpening later. According to one long-term user, “Four changes, and I barely touch my photos after I take them”. The key is to tone down the auto processing and keep more detail when it matters.
- Turn off Scene Detection/Scene Optimizer: Open the Camera app, tap the settings gear, go to Photo enhancer, find Scene detection (or Scene Optimizer on older phones) and turn it off.
- Increase resolution when you need detail: In Photo mode, tap the resolution control at the top, select 50MP or 200MP, then open Camera settings, scroll to Settings to keep, and save your resolution so it doesn’t reset.
- Enable High efficiency pictures: Open the Camera app, tap the settings gear, go to Photo format, and enable High efficiency pictures so the camera saves in HEIF from that point on.
- Soften Samsung’s sharpening: Install and open the Camera Assistant app, find Photo softening, and set it to Medium so portraits keep more natural skin texture instead of harsh edges.
These tweaks handle the biggest complaints about Samsung camera settings: boosted color that makes photos look less like real life, default 12MP shots on high-resolution sensors, and strong sharpening that exaggerates skin and hair. The main gotchas? Forgetting to lock in your resolution, which silently drops you back to 12MP, and leaving Photo softening disabled, which means the phone keeps applying its full sharpening to every shot by default. Once you fix those, you’ll spend more time framing the moment and less time fixing halos and color casts.
Clean Up Messy Video Sound With Audio Eraser
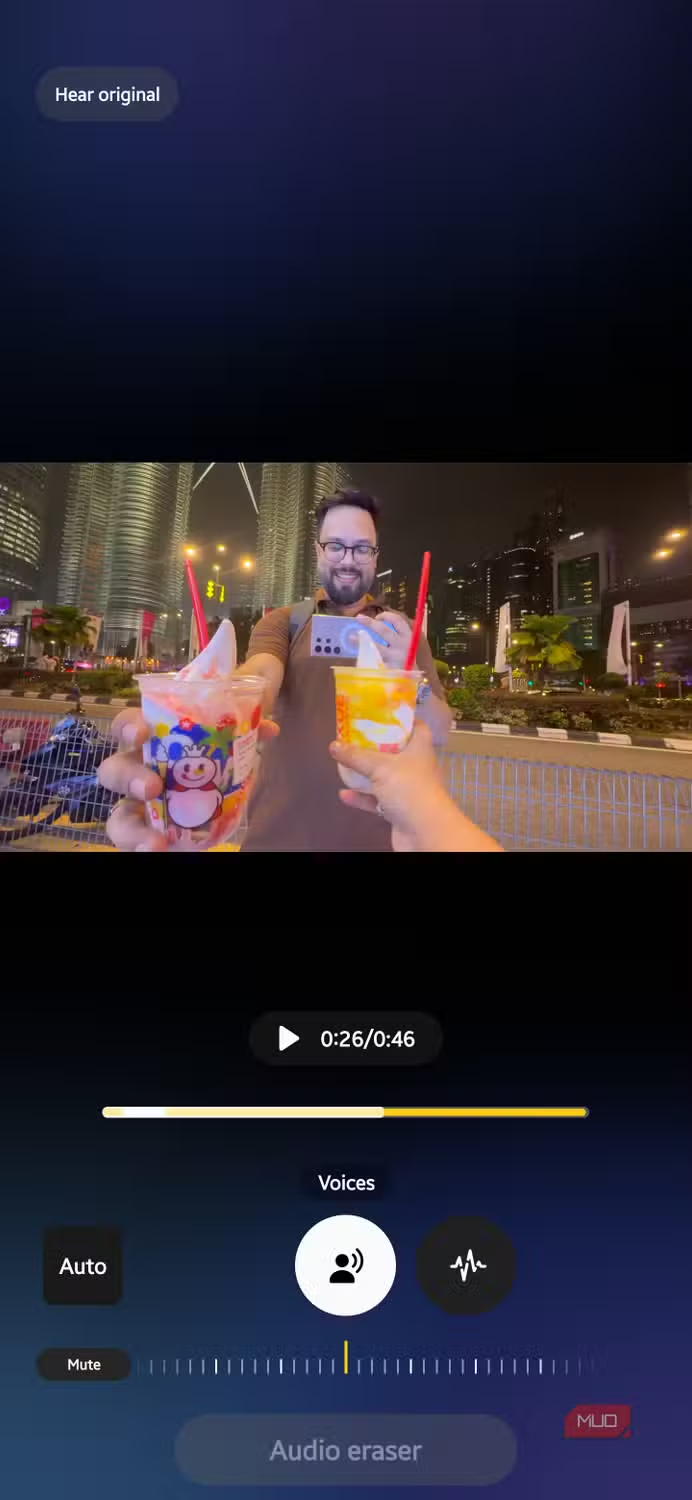
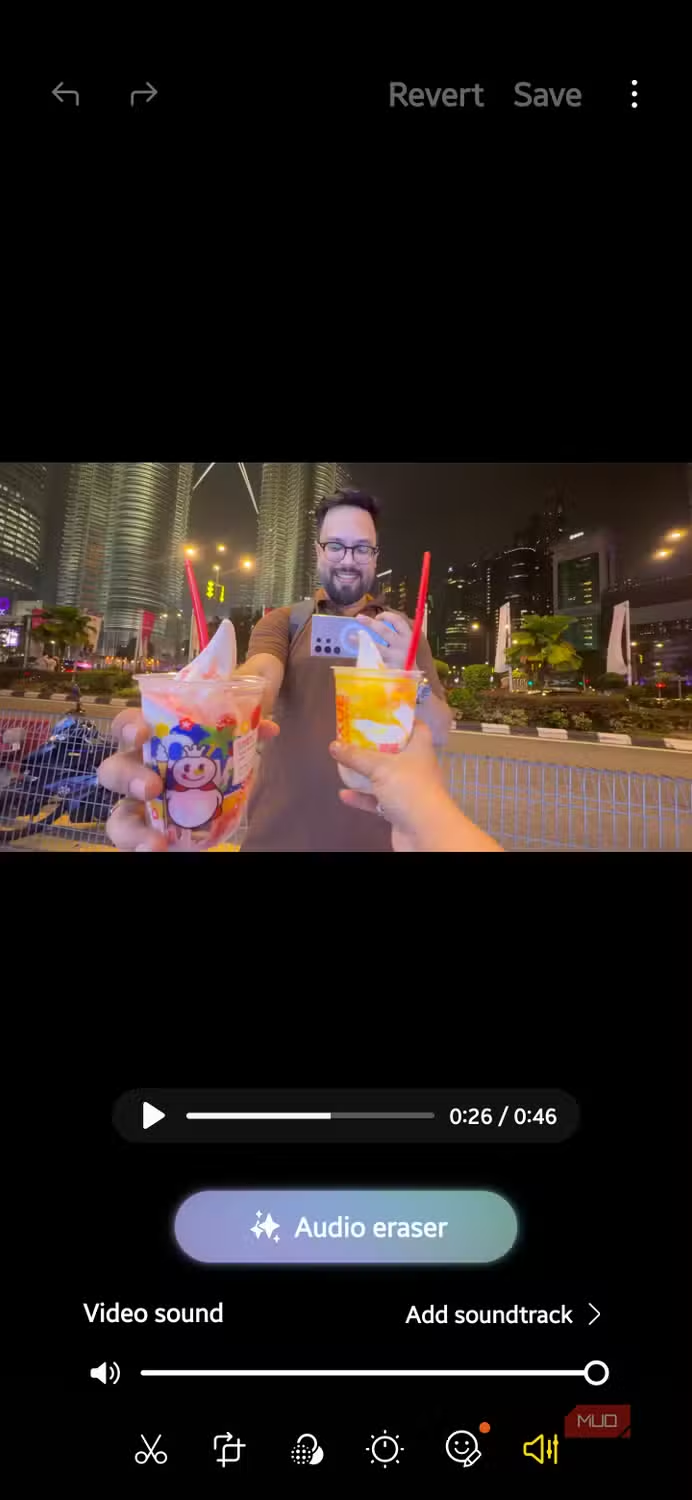
On the video side, the hidden Galaxy feature that changes everything is Audio Eraser. It lives inside your phone’s built-in editing tools and uses on‑device AI to analyze the audio track, split it into types—voices, music, crowd noise, nature sounds, and general background noise—and let you decide what stays and what goes. Want to keep your voice but mute traffic? Or cut wind while leaving ambience? That’s exactly what it’s designed for.
- Open the Gallery app on your Samsung phone.
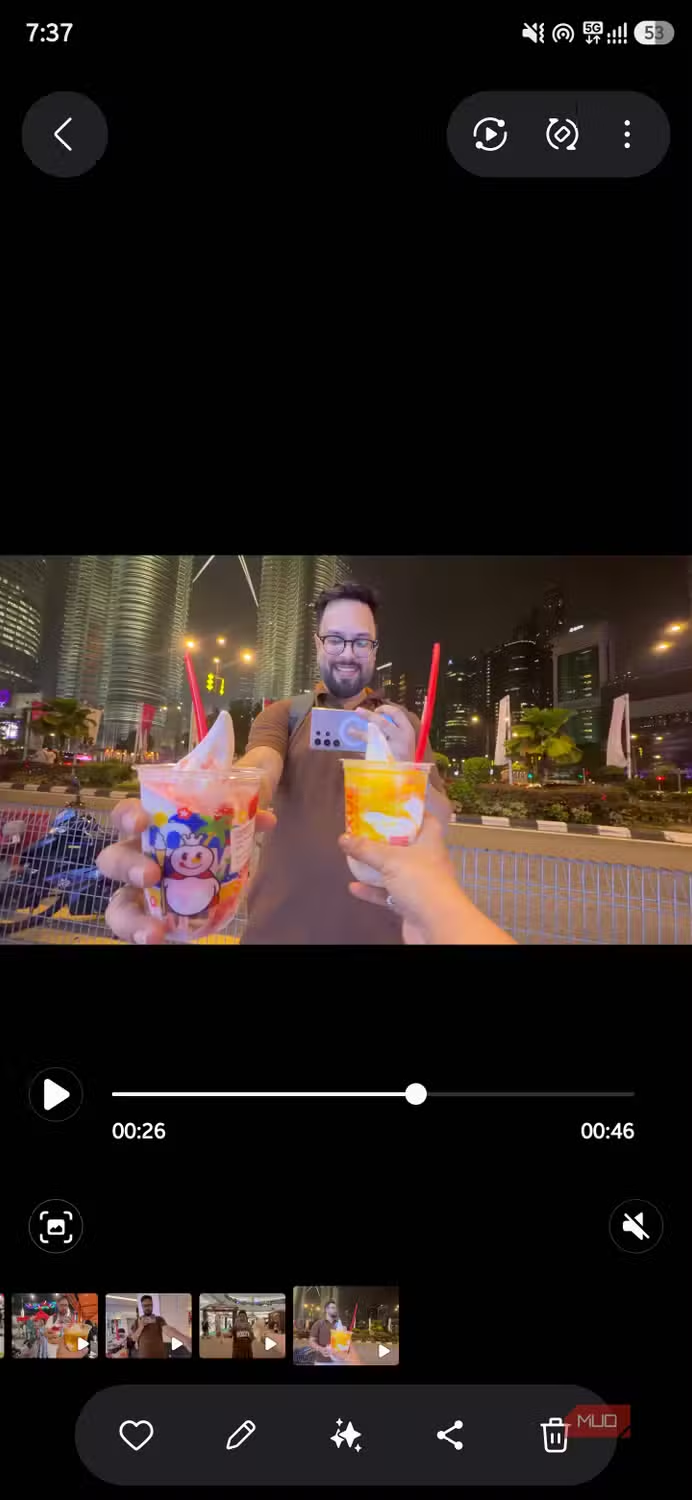
- Select your video, then tap Edit (pencil icon) on the bottom bar.
- Choose Audio from the editing options that appear.
- Tap Audio Eraser, then pick what you want to reduce: Voice, Music, Noise, Wind, or Crowd.
- Adjust the slider for that sound type to remove it completely or only lower it.
- Hit the play icon to preview the changes, and tap Hear original to compare before and after.
- When you’re happy, tap Apply Edits and then Save copy so you keep both the original and the cleaned-up version.
If your phone is on Android 14 with One UI 6.1 or higher, Audio Eraser should be available and takes about 10 seconds to locate and use. It’s more than a simple noise gate or volume slider; it categorizes sounds so you can target only the parts you dislike. The main gotcha is that it isn’t flawless: very short sounds might be missed, and similar noises can be misidentified. Sometimes muting a noisy background can make your own voice sound slightly muffled, which is why that Hear original button matters—use it to avoid over-cleaning your clip. The bonus is that Audio Eraser also works beyond Gallery, including the video player, Voice Recorder, Samsung Notes, and even call recordings in the Phone app.
One Native Workflow: From Shot to Share Without Extra Apps
When you put these Galaxy hidden features together, you get a simple workflow that lives entirely in your phone’s native tools. The camera changes fix most of what many people dislike about Samsung’s Photo mode, so your pictures look closer to reality and hold up when you zoom or crop. With Scene detection off and Photo softening set to Medium, portraits look more natural and less processed, which directly cuts down on retouching.
Then, when a good video suffers from bad sound, Audio Eraser handles the cleanup without exporting the file to another app or service. You tap into the built-in editor, let the AI separate sound types, and quickly dial down what’s distracting—whether that’s wind, crowd, or general background noise. The biggest mistake people make is ignoring these options and assuming they need third-party apps for basic fixes. In practice, these native tools are faster because they’re already where your media lives. Use camera settings to capture cleaner photos up front, and Audio Eraser to repair sound later when life throws extra noise into the frame.
Takeaway: Less Editing, More Shooting
If you treat your Samsung phone like a serious camera and recorder, these built-in tools are worth mastering. Four camera tweaks can remove most of the artificial look that prompts endless phone photo editing, while Audio Eraser gives you quick control over background noise without leaving the Gallery. The main things to watch for are forgetting to save your preferred resolution so it doesn’t reset, leaving sharpening at full strength, and overdoing audio removal until speech sounds flat. Once you’re past those, you can take photos and videos that are closer to finished the moment you hit the shutter or stop recording—and spend more time capturing moments instead of rescuing them later.