
Why Your Samsung Photos Look Over-Processed (and How to Fix It)
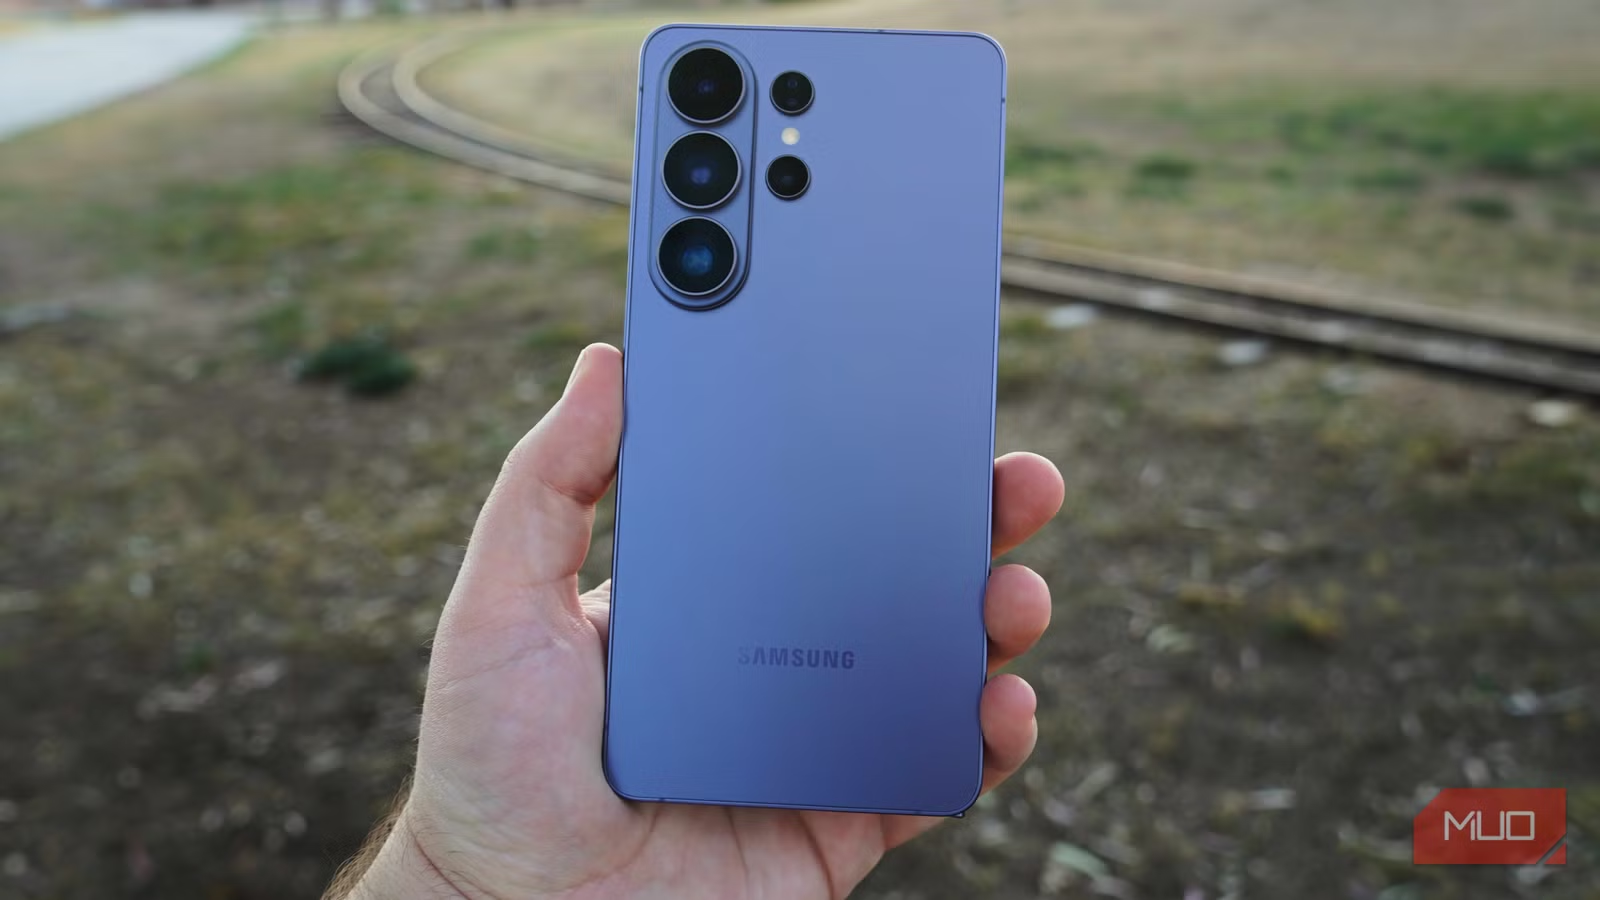
Samsung camera settings optimization means adjusting a few default options in the Galaxy camera app so your photos look more natural, less processed, and closer to real life without needing extra editing later. If you often take a shot that looks great at first and slightly fake when you revisit it, you are the person this guide is for. The main prerequisite is simple: you need access to your phone’s Camera settings and, for one tweak, Samsung’s Camera Assistant app from the Galaxy Store or via Good Lock.
Many Galaxy users spend months blaming their angles and lighting, when the default camera settings are the real problem. Samsung’s camera app does a lot of processing before saving the photo, which is why skin can look over-sharpened and colors drift from what you saw. The good news is that four small changes lead to a big payoff: “Four changes, and I barely touch my photos after I take them”. If your goal is to improve phone photos and reduce photo editing, these tweaks are the fastest win.
The 4 Key Tweaks: One Walkthrough, Start to Finish
Let’s walk through the four changes as a single, clean setup. Do this once, then forget about it. The only “gotcha” is that the camera sometimes resets certain options unless you explicitly tell it to remember them, so pay attention to those “Settings to keep” steps.
- Turn off Scene Detection/Scene Optimizer: Open the Camera app, tap the settings gear, go to Photo enhancer, find Scene detection (or Scene Optimizer on older phones) and turn it off. This stops the camera from auto-boosting color and contrast in ways you cannot undo later, which often made food and sunsets look too warm or exaggerated.
- Raise your resolution for detailed shots: Back in the main Camera screen, tap the resolution control at the top and select 50MP or 200MP for scenes you might crop later. Then open Camera settings, scroll to Settings to keep, and enable the option that saves your chosen resolution so it does not revert to 12MP every time.
- Enable 24MP if your phone supports it: Install Samsung’s Camera Assistant app from the Galaxy Store or via Good Lock, open it, and turn on 24MP in Advanced resolution options so it appears as a selectable resolution inside your regular Camera app. This gives you a balanced option between low-noise 12MP and ultra-detailed high megapixel modes.
- Soften Samsung’s aggressive sharpening: In Camera Assistant, look for Photo softening and set it to Medium. Samsung turns this feature off by default, so it applies its full sharpening to every shot; Medium pulls back the harshest edge enhancement while keeping photos clear. With Scene Detection off and Photo softening set to Medium, portraits look more natural.
The most common mistake is assuming you can “fix it later.” When Scene Optimizer is on, the camera bakes that heavy color boost into the file, so you cannot remove it like a filter. You end up dragging saturation and white balance around in an editor, which is exactly what we are trying to avoid. Set things up once here, and your out-of-camera files will be much easier to live with.
What These Changes Do to Your Photos in Real Life
Turning off Scene Detection keeps colors closer to reality instead of pushing food toward an orange cast or blowing out sunsets with overcooked reds and oranges. You still get vivid images, but they match the scene in front of you much better, which means you no longer have to fight weird color shifts later. This is a big part of Galaxy camera optimization: trusting the sensor more and letting the software do less heavy-handed “magic.”
Bumping resolution to 50MP or 200MP in good light saves more detail in textures like leaves, bricks, and distant signs, so crops and zooms remain sharp instead of mushy. In practice, it means you can frame a bit wider and recompose after the fact without needing dedicated editing sessions. According to the user who tried these changes, “These four settings fix most of what I dislike about Samsung's Photo mode” and they now barely edit their photos.
Sharpening, Skin, and the Trap of Over-Editing
Samsung’s default sharpening is great for making small text and fine details look crisp, but it can be harsh on faces. Skin starts to look rough, hair strands develop hard, unnatural outlines, and the photo takes on that “processed” phone-camera look that is hard to unsee. When you then try to soften it in an editor, you often end up over-smoothing or blurring details, so you swing from one extreme to the other.
That is why dialing in Photo softening to Medium is such an important step. Camera Assistant gives you a direct way to rein in Samsung’s sharpening. With Scene Detection off and Photo softening set to Medium, portraits look more natural, and skin texture stays believable instead of exaggerated. You still have enough detail, but you rarely feel the need to run everything through a beauty filter or skin-smoothing app afterward. This is where you feel the biggest reduction in day-to-day photo editing.
Is It Worth Changing These Samsung Camera Settings?
These four tweaks will not turn your phone into a full manual camera, and the automatic mode still does a lot behind the scenes. But “these four settings fix most of what I dislike about Samsung's Photo mode”. In day-to-day use, they improve phone photos enough that many users stop opening an editor for every single shot and keep more images as they are straight from the camera.
The main things to watch for: remember that high-resolution modes are best in bright light, keep an eye on storage if you shoot everything at 50MP or 200MP, and check your Settings to keep so your preferred resolution does not quietly reset. If you handle those small details, you get more honest colors, kinder portraits, and less time spent correcting problems that the default processing created in the first place.