
Why Leave Cloud Storage for a Self-Hosted NAS?
Migrating from commercial cloud storage to a self-hosted storage solution means moving your files from subscription-based online drives onto hardware you own and control at home, so you manage your own server, access, backups, and costs instead of relying on a third-party provider’s systems and policies.
If you have years of documents, photos, and media living on an online drive and you’re tired of worrying about account lockouts, policy changes, or rising subscription fees, running your own NAS starts to make sense. A self-hosted storage solution built around software like Nextcloud gives you full control of your data with no ongoing storage subscriptions, because your files live on your own private server instead of a company’s cloud. The catch: you trade monthly payments and vendor convenience for upfront hardware costs and some maintenance responsibility. This guide is for someone comfortable following step-by-step instructions, who wants an alternative to Google Drive but doesn’t necessarily identify as a systems administrator.
Benefits of self-hosted NAS
- No recurring cloud storage subscription fees once hardware is purchased
- Greater control over access and privacy for your files
- Expandable storage using drives you choose and own
Trade-offs to consider
- You are responsible for setup, updates, and troubleshooting
- Hardware failures can cause data loss if you do not keep separate backups
- Performance depends on your network and device choice, not a big provider’s infrastructure
Choosing Between Nextcloud, Raspberry Pi NAS, and Dedicated Hardware
Before you migrate from cloud storage, you need to pick your home base. Think of this like choosing whether your new "drive" lives on an old laptop, a tiny single-board computer, or a full-blown NAS box. Each path can run a self-hosted storage solution, but they feel different day to day and carry different costs and risks.
| Option | What it is | Best for |
|---|---|---|
| Nextcloud on existing PC or drive | Free, open-source server software that you host on an old laptop or external hard drive, giving you Google Drive–style access on your own private server. | Anyone who wants an alternative to Google Drive with familiar web and mobile apps and already owns a spare machine. |
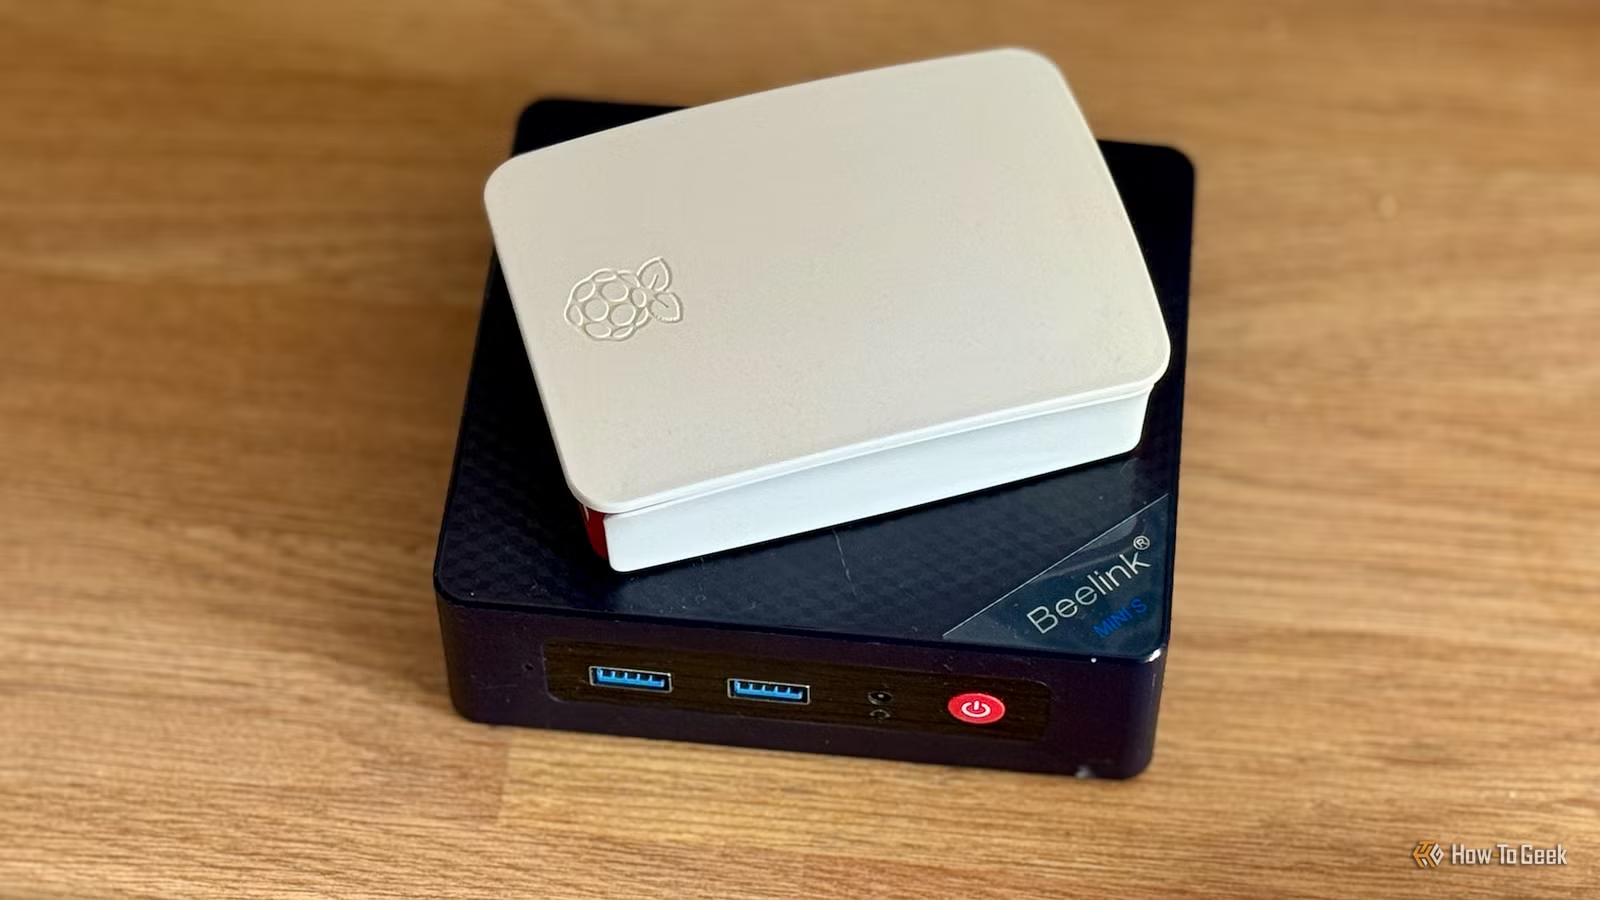
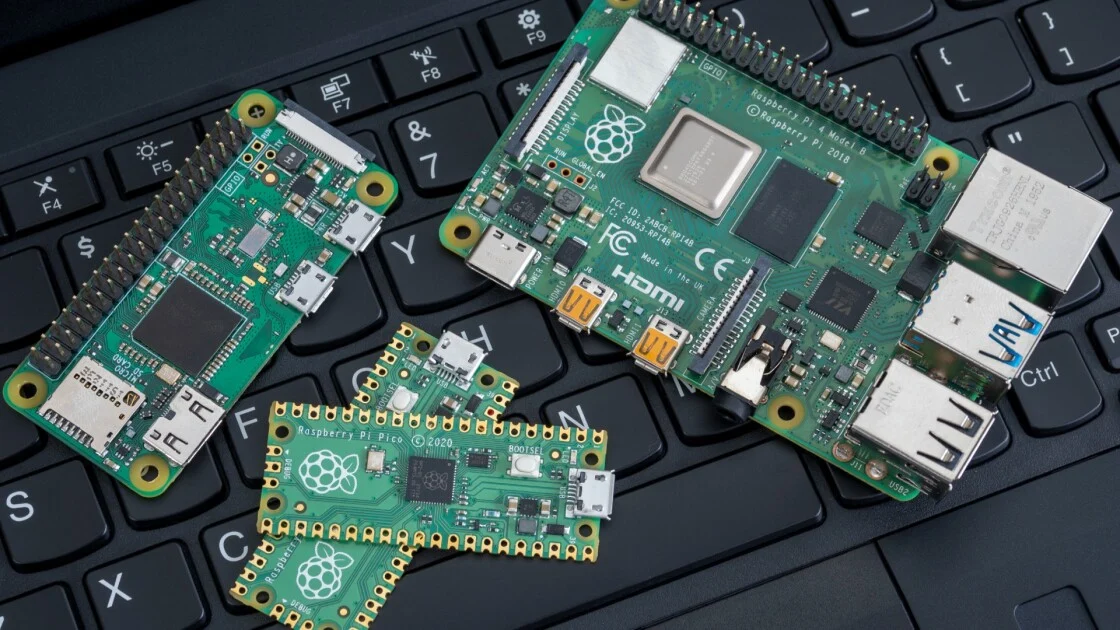
| Raspberry Pi NAS | An inexpensive Raspberry Pi board runs a light operating system (for example, Raspbian) and shares files over your network as a low-power, always-on mini server. | Users curious about NAS life who want a cheap, flexible trial setup that can be repurposed later. |
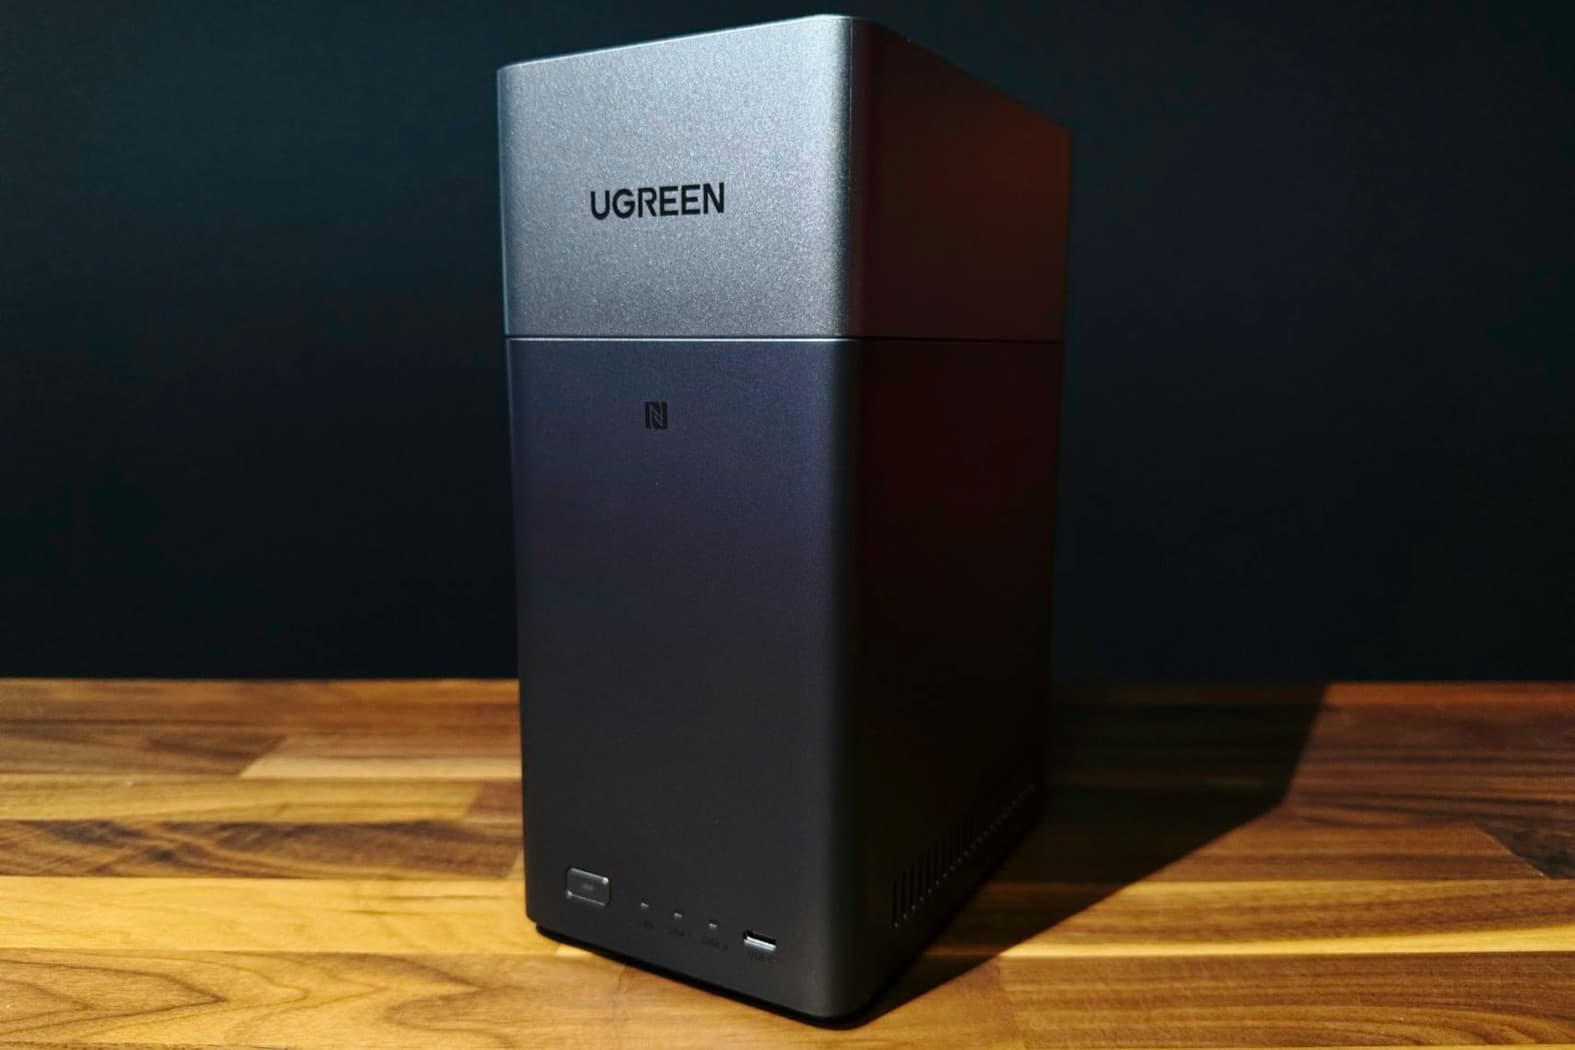
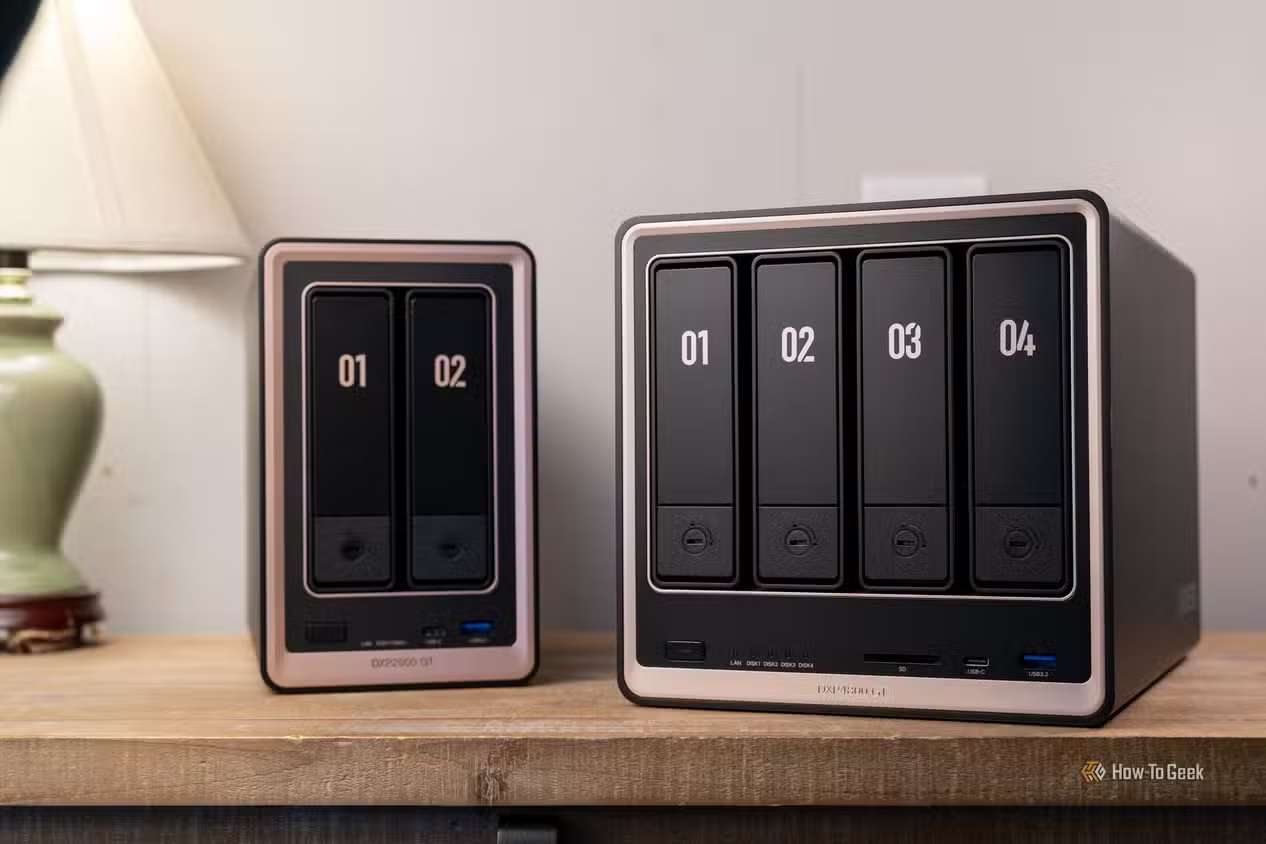
| Dedicated NAS appliance | Purpose-built boxes from NAS vendors, designed to run day and night and provide higher reliability and better RAID support than a Pi. | Those ready to invest more upfront for performance, redundancy, and polish. |
The real gotcha is reliability. A Raspberry Pi NAS is great for learning, but it "isn't as rock-solid as, say, a Synology NAS unit" and RAID for data redundancy does not work particularly well on the Pi. Nextcloud on a consumer laptop or external drive depends on consumer hardware too. In all cases, you should not make your home server your only backup because physical storage can fail over time. If you’re nervous, start with a Raspberry Pi NAS to see how it fits into your life, then upgrade to dedicated hardware after you understand your needs.
Step-by-Step: Building a Raspberry Pi NAS and Adding Nextcloud
Here’s the practical sequence I’d walk you through on a weekend afternoon. The goal is to end up with a Raspberry Pi NAS on your network, then layer Nextcloud on top as your alternative to Google Drive. Some details will vary by exact hardware and operating system, but the order of operations matters.
- Gather your hardware and drives. You need a Raspberry Pi board (a Raspberry Pi 4 or similar works), a compatible power supply, a microSD card, and basic accessories such as a mouse, keyboard, and monitor for initial setup. Add at least one external hard drive; because the Pi may not supply enough power, choose a drive that plugs into the wall or use a powered USB hub.
- Install the operating system on the Pi. Use the Pi imaging tools to install a beginner-friendly OS such as Raspbian with recommended software, since it is flexible, easy to use, and good enough for sharing files over the network. Connect the Pi to your router with Ethernet for faster transfer speeds, even though Wi-Fi can work too.
- Connect and prepare your storage drive. Once Raspbian is running and updated, plug your external drive into the Pi’s USB port. From a Terminal window, list disks with the appropriate command (for example, sudo fdisk -l) to identify the drive you plan to use. Before continuing, unmount and erase this drive, making sure you have copied any important files somewhere else first, since the setup will wipe it.
- Configure file sharing over the network. Create a mount point for your drive and set up a sharing service (such as Samba) so other devices on your network can read and write files. When that’s done, your NAS behaves like a small home server that any PC, phone, or media box can reach, and "you can now access your media from the network".
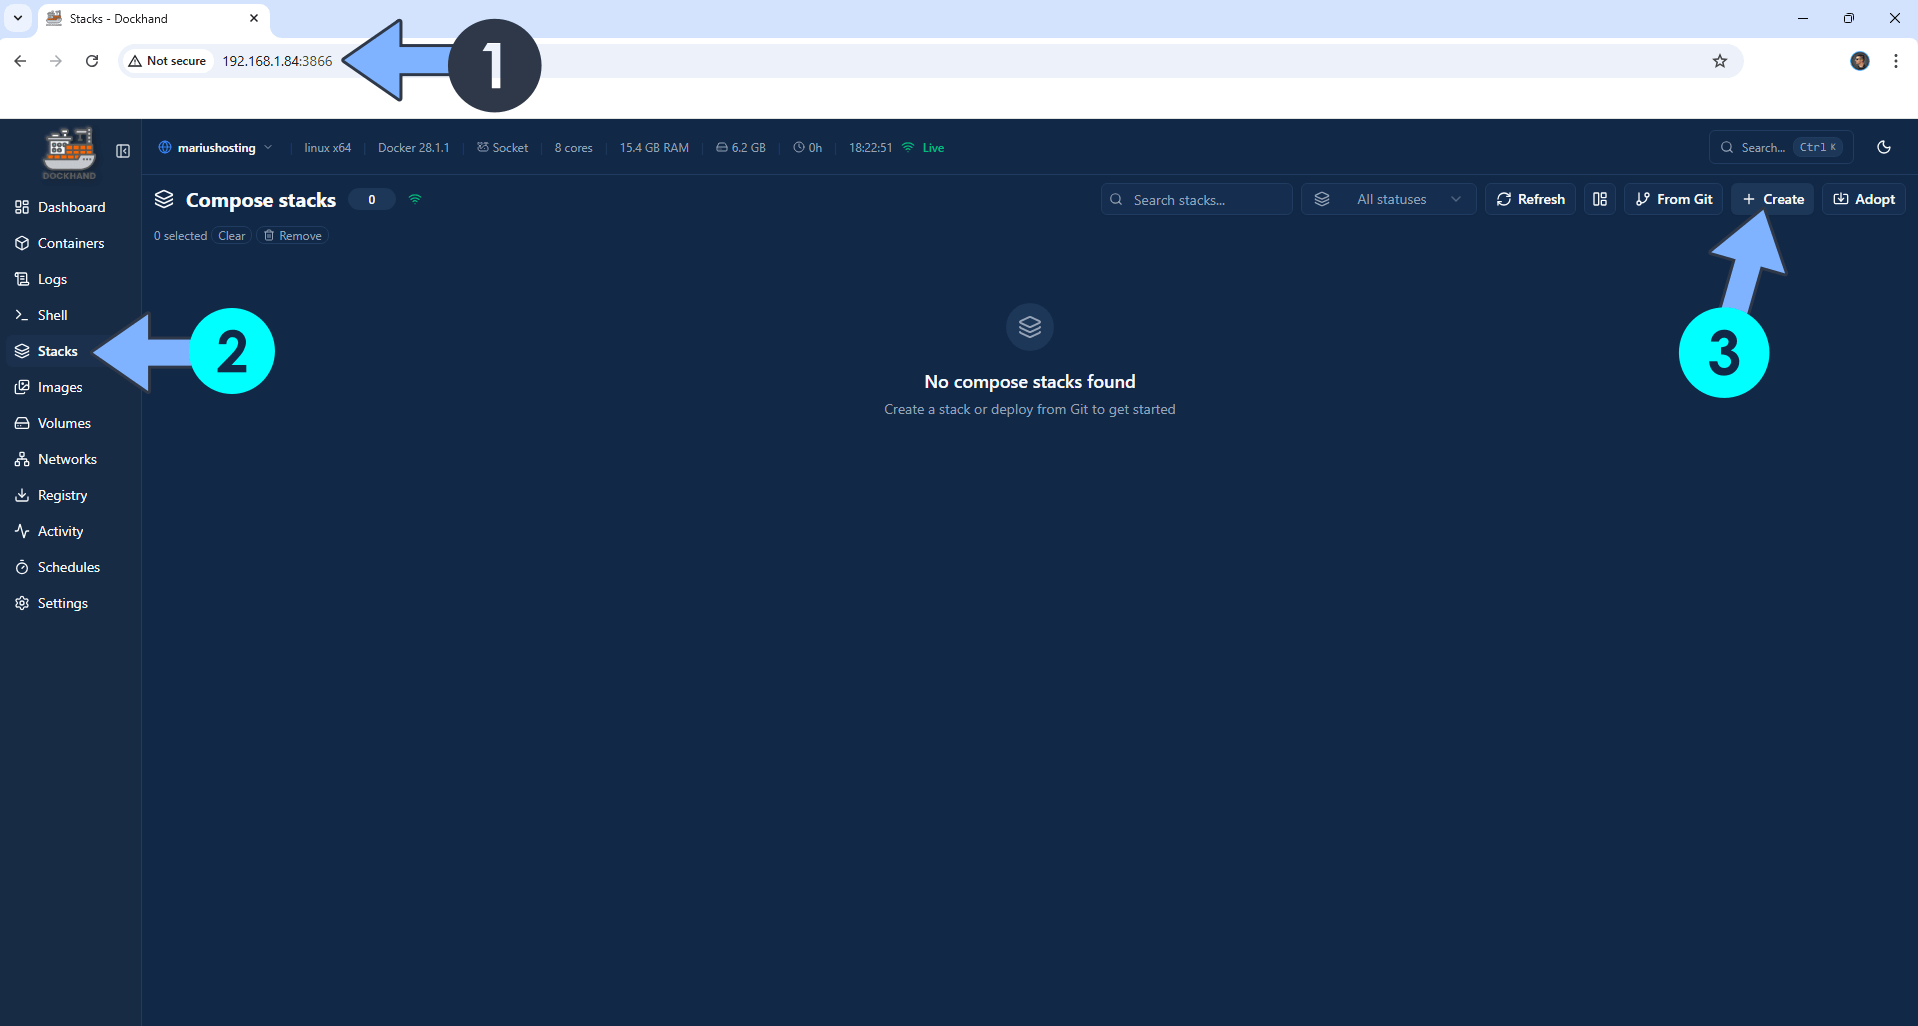
- Install and configure Nextcloud on your server. On the Pi or another always-on machine with an old laptop or external hard drive attached, install Nextcloud. Follow the project’s step-by-step instructions; despite looking intimidating, they’re quite manageable if you can follow guides. Point Nextcloud at your NAS storage and set up user accounts so you can log in from iOS, Android, Windows, or Linux devices.
Two mistakes can really sting here. First, do not forget that preparing your NAS drive will erase it; always move anything important elsewhere before you unmount and format. Second, do not treat your new setup as the only copy of your data. Whether you’re using a Raspberry Pi NAS or an old laptop with Nextcloud, physical drives can fail and RAID on the Pi is not strong enough for full redundancy. It is safer to keep a second backup on another drive or service, even though your goal is to reduce reliance on big cloud providers.
Cost, Performance, and Everyday Experience
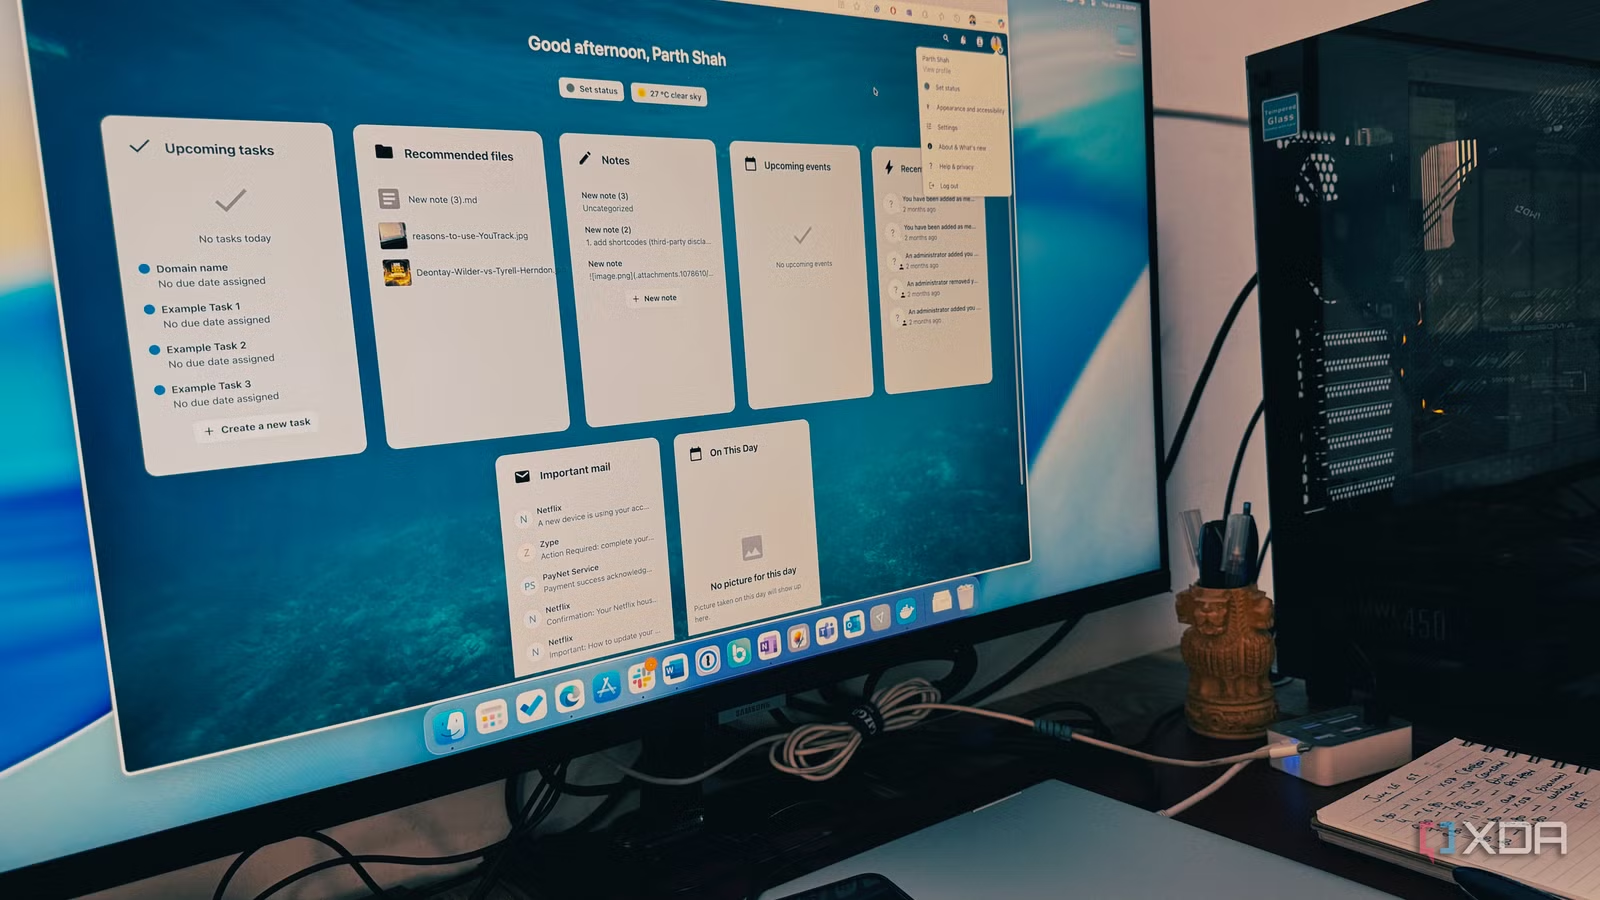
Once you’ve built your setup, the day-to-day experience should feel familiar. Nextcloud is designed to look and work like the storage systems you are used to, with folders, subfolders, and client apps that resemble popular cloud drives. According to one technology reviewer, the biggest advantage is being "entirely in control" of personal data without worrying about a tech company locking you out or scanning your files. A Raspberry Pi NAS makes those files available on any device on your home network while using low power.
On the money side, cloud storage upgrades can lock you into never-ending monthly payments. With self-hosted storage, your main cost is hardware. For example, you can get a 2TB drive for under USD 150 (approx. ₱8,400), and "once you buy that, you're buying it for good rather than paying Google a monthly rental". Performance and reliability depend on your choices: a Raspberry Pi is a cheap trial NAS that can be repurposed later but "isn't as rock-solid" as purpose-built units, and an old laptop plus an external drive will only be as reliable as those components. Your comfort with basic networking, operating systems, and updates will shape how smooth the experience feels.
Is Migrating Off Cloud Storage Worth It?
If you’re the kind of person who values control, dislikes recurring fees, and doesn’t mind following technical instructions, a self-hosted NAS is usually worth the effort. Nextcloud gives you a free, open-source alternative to Google Drive with familiar interfaces and extra tools like tasks and calendars, all running on your own server. A Raspberry Pi NAS lets you test the waters cheaply, so you can see how it feels to have always-on storage in your home before investing in bigger hardware.
The main things to watch for are backups and expectations. Do not rely on a single physical device for irreplaceable data. Keep at least one other copy elsewhere, and accept that your home network and equipment set the limits on speed and uptime. If those trade-offs sound acceptable, migrating from cloud storage to your own self-hosted storage solution can replace subscription anxiety with the quiet satisfaction of knowing your files live under your roof, on hardware you understand and control.