
What This NAS App Setup Guide Helps You Do
Essential NAS applications install refers to setting up Docker, Portainer, and key productivity and monitoring tools like NoteDiscovery, OmniSight, CTRoadmap, and WordPress on devices such as Synology and UGREEN NAS so they work as a private cloud, knowledge base, infrastructure dashboard, and website host from your home or small office network. If you already use your NAS for storage and backups, this guide shows how to turn it into your central hub for notes, metrics, and websites without drowning in configuration screens. You should bother with this if you want more control over your data than third‑party cloud services, but you are not keen on maintaining full Linux servers. The real prerequisite: you need a NAS that supports Docker NAS containers and basic web access to its management interface.
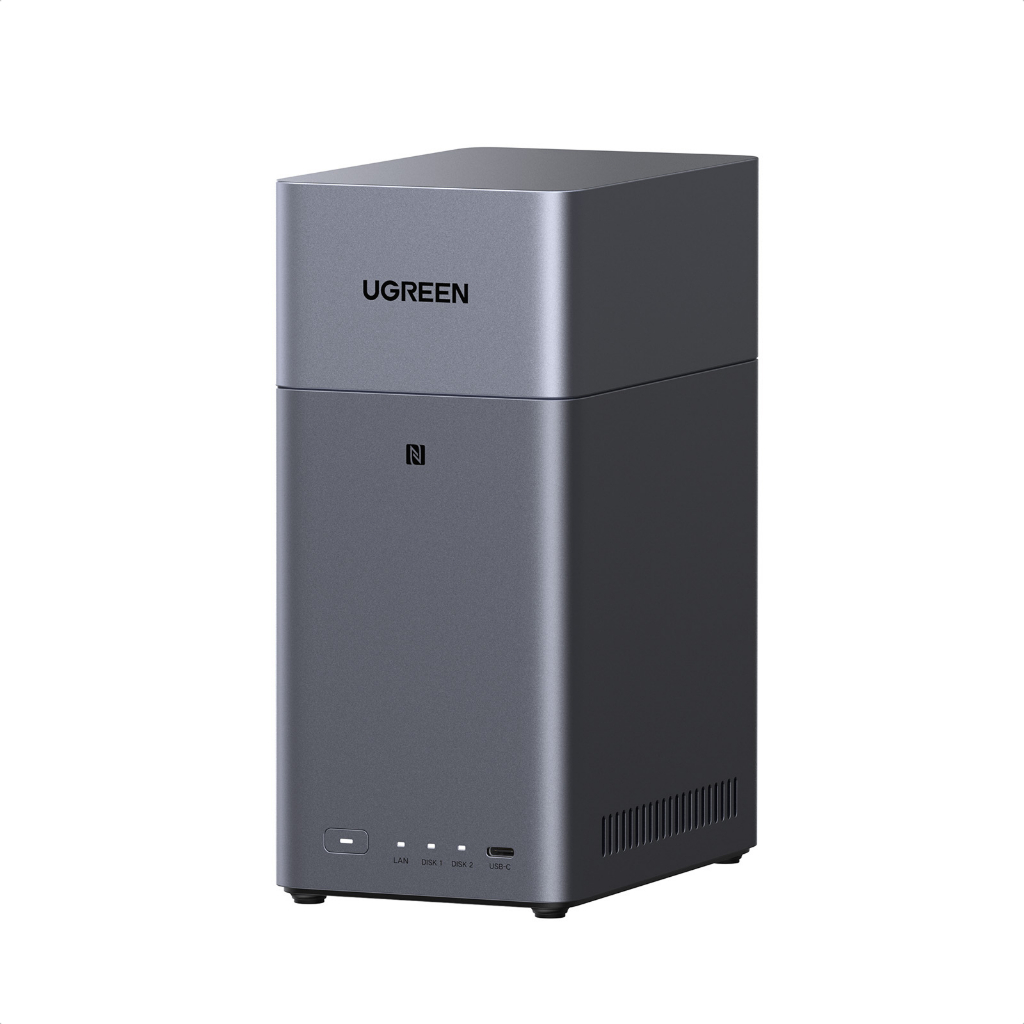
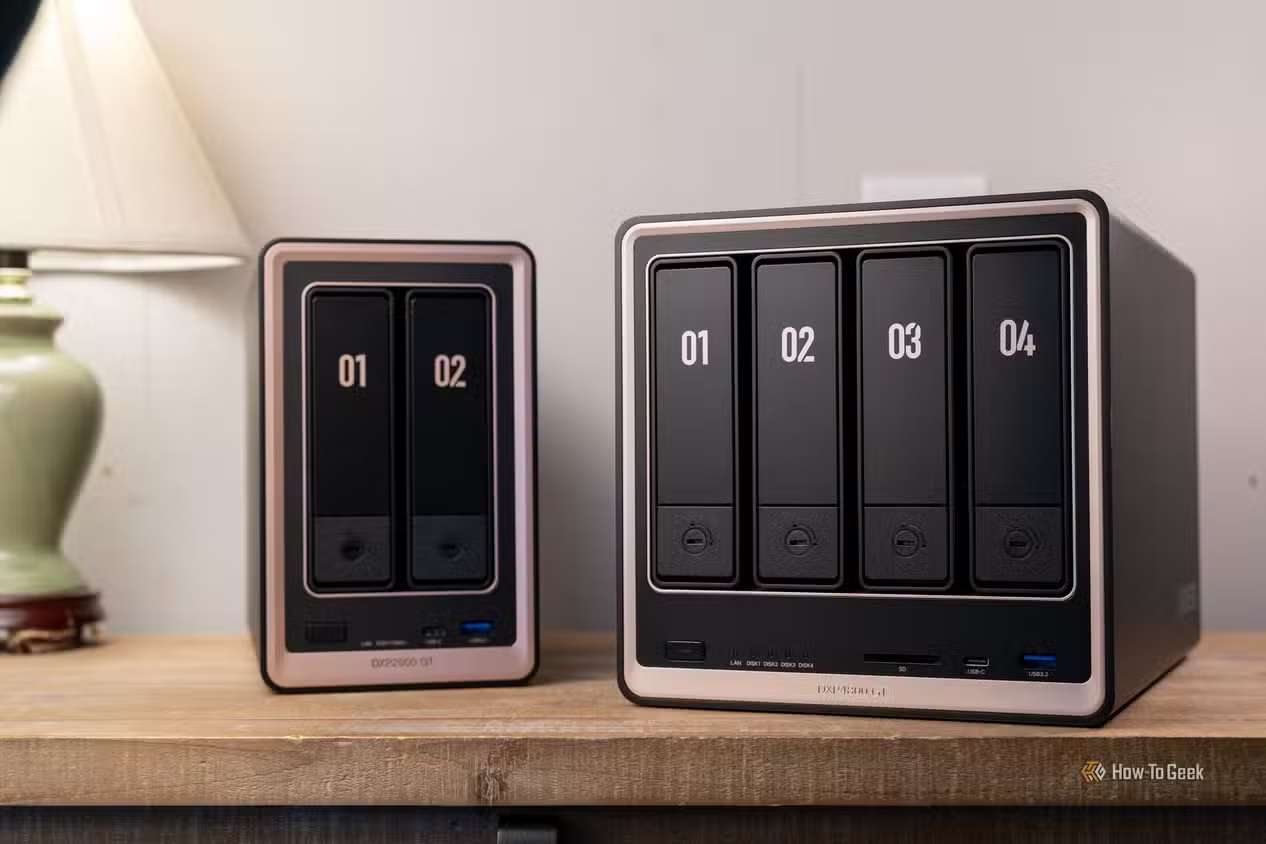
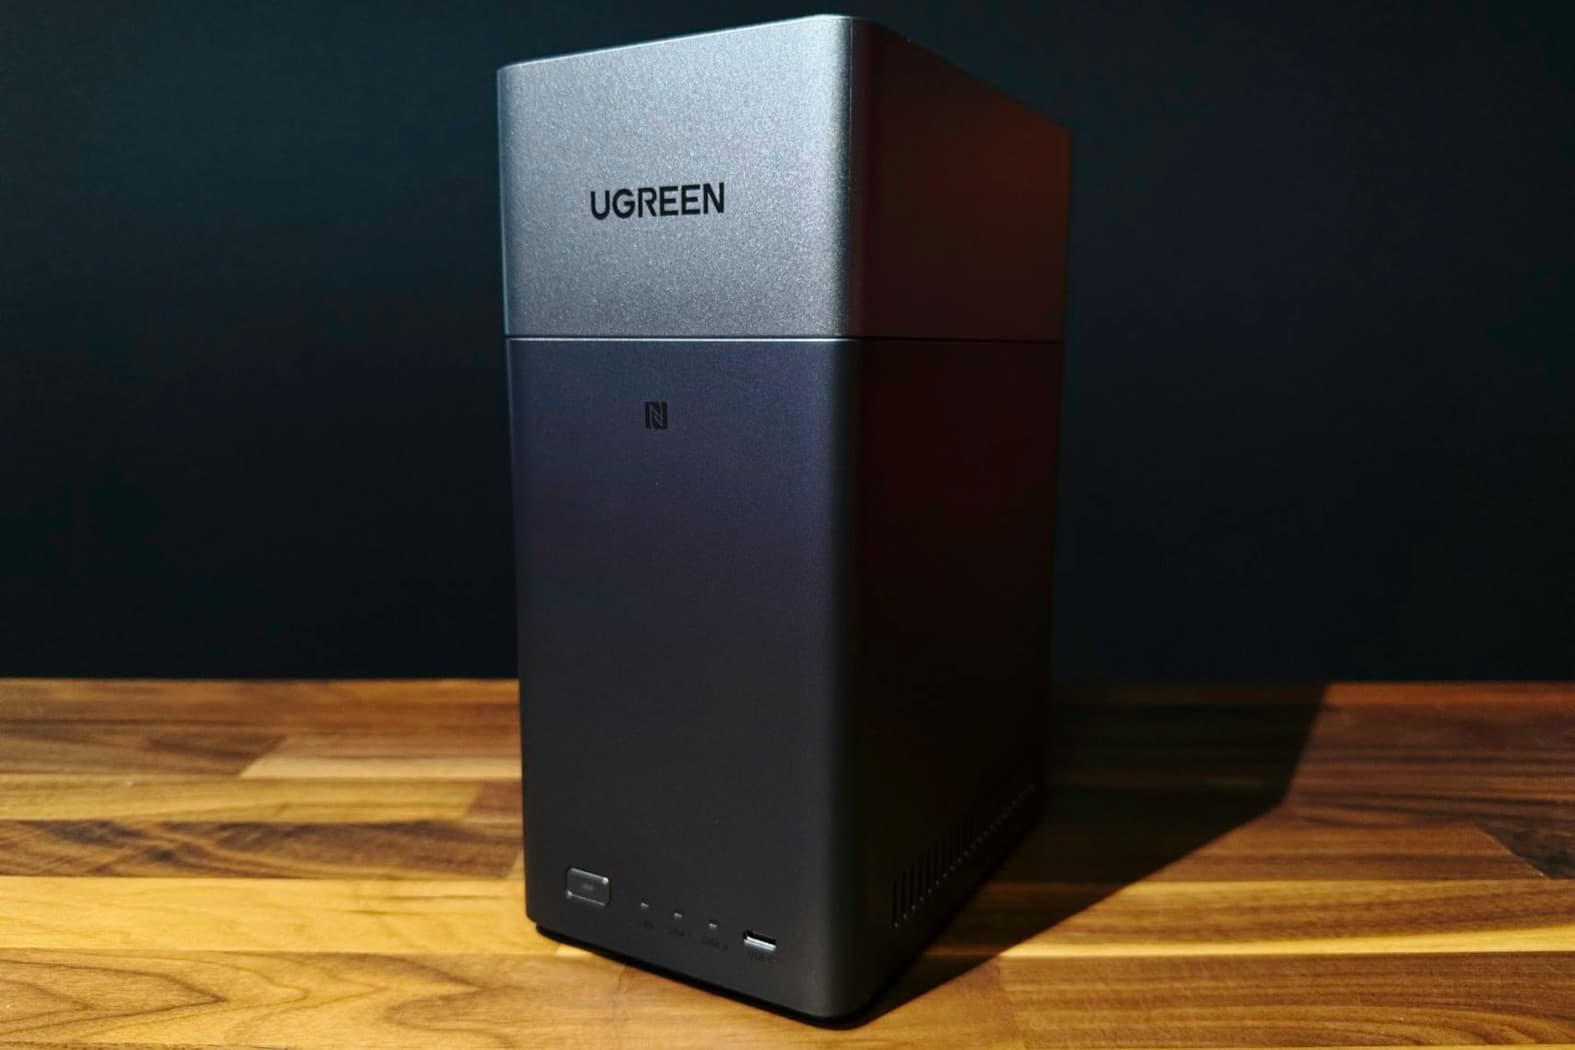
On UGREEN’s NASync DH2300, for example, the UGOS Pro interface is designed to keep setup approachable for home users while still supporting Docker-based apps and personal cloud workflows. According to one long‑term home NAS host, using the latest Docker and WordPress guides keeps a NAS‑hosted website fast, secure, and modern in 2026. The good news: Synology app setup and UGREEN NAS software follow almost identical steps when you’re installing applications through Docker and Portainer. Once you understand the pattern for one app, the rest feel familiar.
Core Building Blocks: Docker, Portainer, and Permissions
Before you start adding note‑taking tools or dashboards, you need the base layer: Docker plus a simple way to manage it. Docker lets your NAS run containerized applications such as NoteDiscovery, OmniSight, CTRoadmap, and WordPress in isolated environments that are easy to update and remove. Portainer adds a web UI on top of Docker so you can deploy and control these containers without memorizing command‑line syntax. Portainer is described as a lightweight management UI that makes different Docker environments easy to handle through a user‑friendly interface. This combination is what unlocks advanced customization without forcing you into deep sysadmin territory.
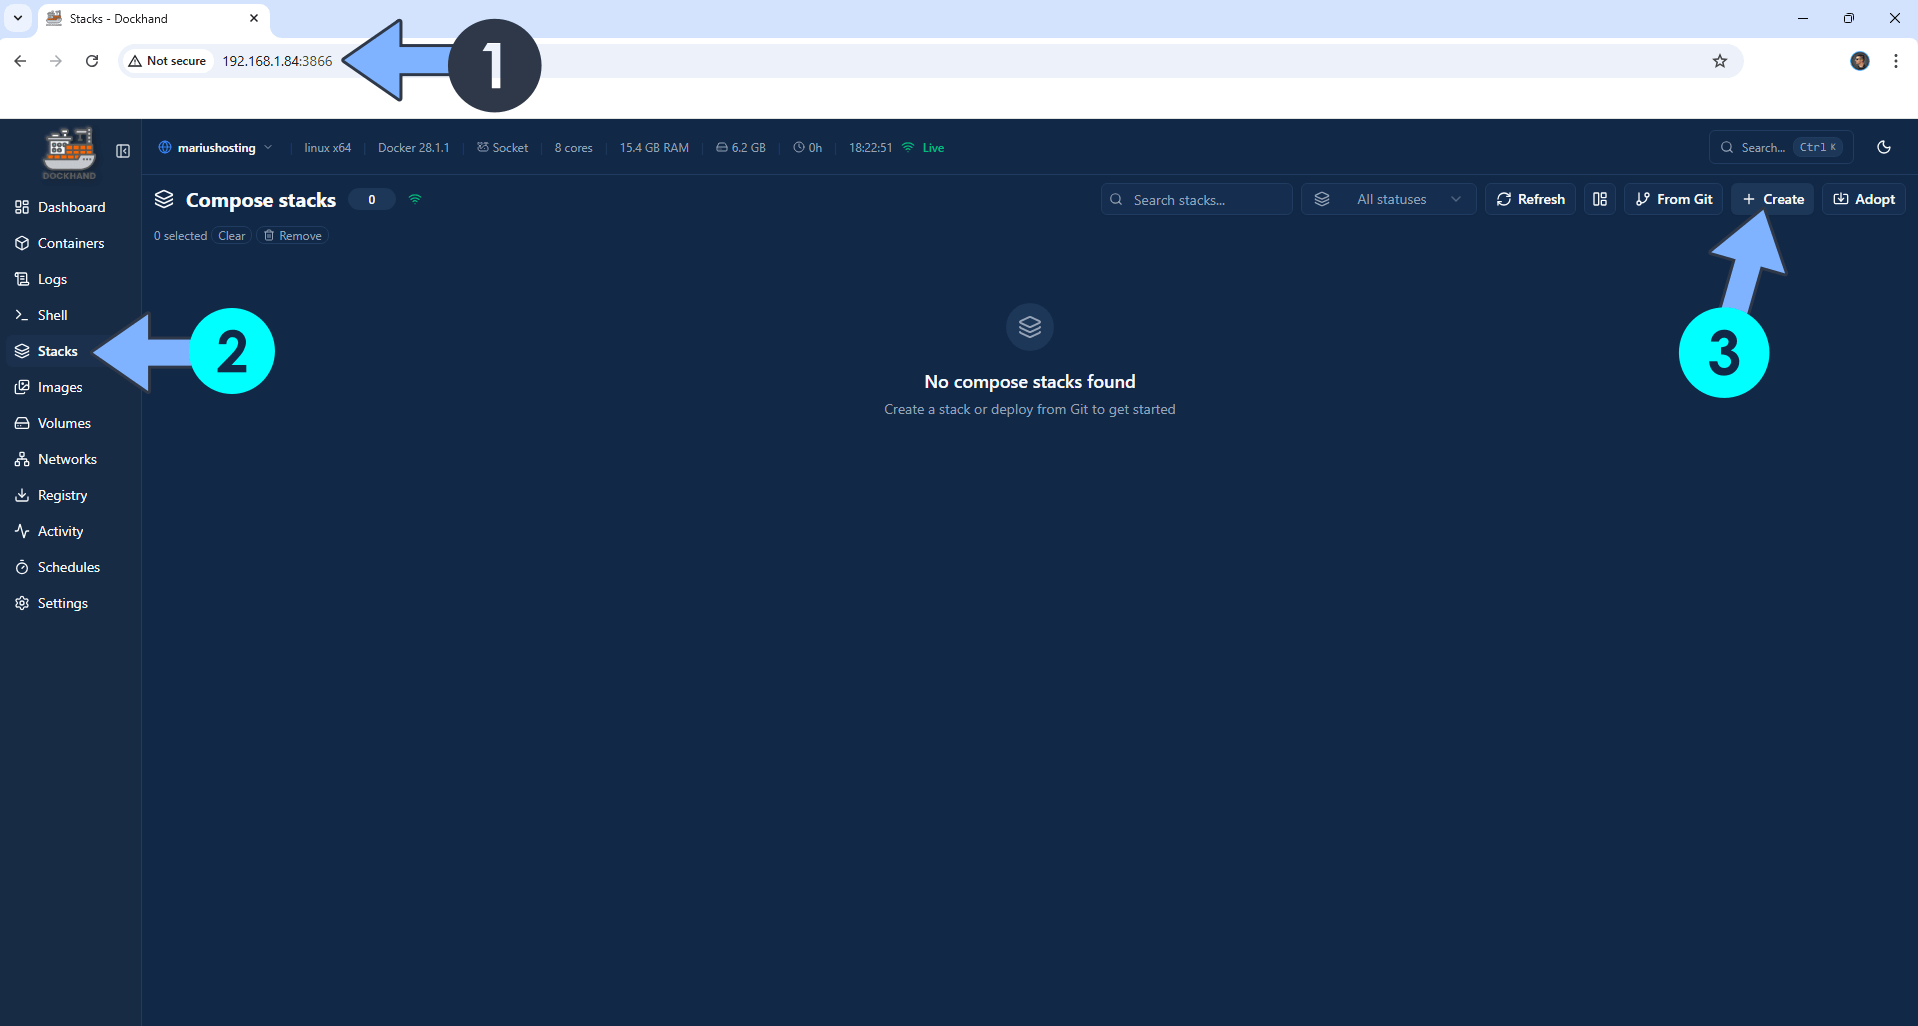
On Synology, OmniSight and CTRoadmap are both installed using Docker and Portainer, with clear step‑by‑step guidance that starts from "Install Portainer" and moves into creating folders and stacks. On UGREEN NAS, NoteDiscovery also uses Docker & Portainer, and you are explicitly told to install Portainer via a guide, ensure it is the latest version, and add read and write permissions to the Docker folder as a mandatory prerequisite. Similar advice appears for Asustor users, where Dockhand plays the role of the Docker management helper and you are reminded to use the latest Dockhand version. The main gotcha here: container apps expect specific folders and names, and guides repeatedly warn that those folder names must be typed entirely in lowercase letters or the install can fail.
Step-by-Step: Installing Core NAS Applications
Here is a practical sequence you can follow on both Synology and UGREEN to get your core NAS applications install done with minimal confusion. The exact screens will differ, but the logic is the same whether you are deploying NoteDiscovery, OmniSight, CTRoadmap, or WordPress with Docker NAS containers.
- Install and update your Docker management tool: use Portainer on Synology and UGREEN or Dockhand on Asustor, following the NAS‑specific guide and making sure you are on the latest version.
- Prepare your Docker folder structure from the NAS file manager: create a dedicated subfolder for each app (for example, notediscovery, omnisight, ctroadmap), always in lowercase, and add any required subfolders like data and exports.
- Ensure correct permissions: on UGREEN, explicitly grant read and write permissions to the Docker folder so Portainer can write configuration and app data; on other NAS devices, follow the guide’s advice for access rights.
- Log into Portainer or Dockhand via your browser, go to the Stacks section, and create a new stack using a lowercase name matching the folder you prepared for the application.
- Copy and paste the Docker Compose code provided in the app’s guide into the stack editor, then adjust environment values such as time zone, secrets, and ports to match your location and security preferences before clicking Create.
- Wait for the stack to deploy; the container’s healthcheck and restart policies will help keep it running, and after a short period you should be able to access the application at the specified NAS IP and port and see your note app, metrics dashboard, or infrastructure atlas at a glance.
Each of these steps has a reason behind it. Installing Portainer or Dockhand first gives you a central place to manage everything and makes future updates straightforward. Creating a dedicated folder per app keeps data organized and avoids accidental overwrites; several guides stress that names must be in lowercase to match compose definitions and avoid subtle path errors. On UGREEN NAS, adding read and write permissions to the Docker folder is marked as mandatory because otherwise Portainer cannot store configuration or app data correctly. When you adjust environment variables, one common pitfall is copying sample secrets or leaving the default time zone: OmniSight, for example, expects you to set OMNISIGHT_SECRET and your local TZ before deploying. Once the containers are running, you reach the expected "at a glance" result: your notes interface, Synology metrics, or CTRoadmap canvas available through a browser.
Extend Your NAS: Notes, Monitoring, Roadmaps, and WordPress
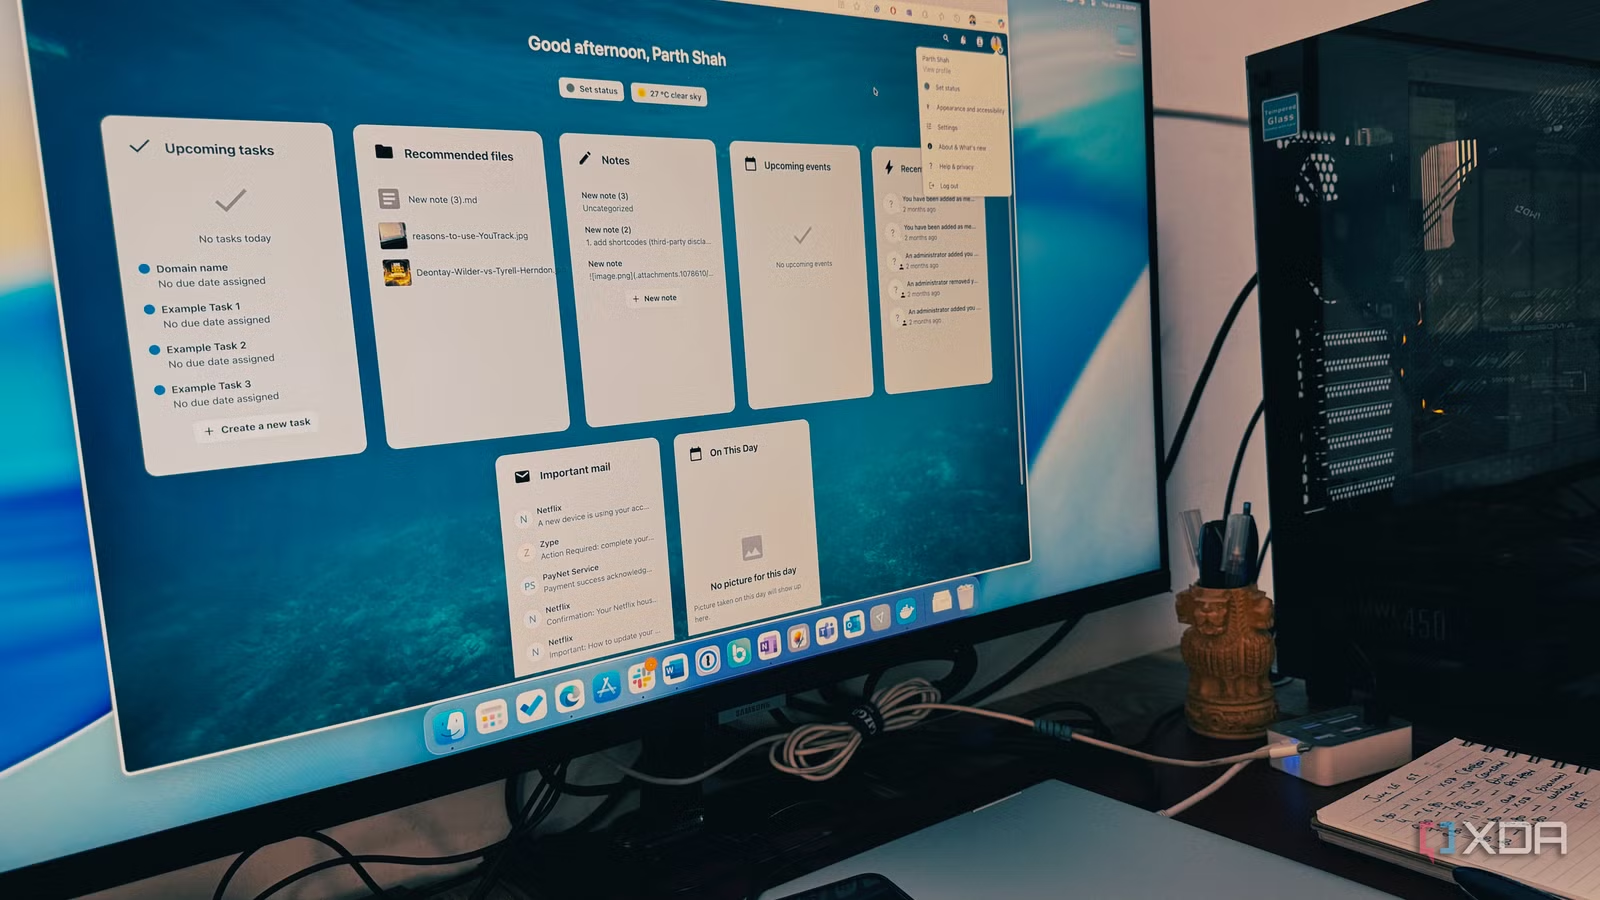
With Docker and Portainer in place, you can start layering useful applications that push your NAS beyond plain storage and backup. NoteDiscovery is a self‑hosted knowledge base and note‑taking app that uses Markdown files, instant search, graph view, backlinks, favorites, drawing support, MathJax, themes, plugins, and optional authentication to build a personal wiki or "second brain" that lives fully on your NAS. OmniSight gives you a lightweight monitoring dashboard that shows metrics from Proxmox, Linux and Windows servers, Kubernetes, Docker, SNMP devices, firewalls, databases, storage systems, and services such as Uptime Kuma, Prometheus, and Healthchecks in one responsive interface. CTRoadmap adds an infrastructure atlas: you can map servers, nodes, services, storage, containers, configs, URLs, and relationships on a canvas, then export documentation in Markdown, YAML, or Mermaid, all preserved in human‑readable JSON and protected with an optional passcode.
For web publishing, deploying WordPress on a NAS turns it into a full website host. The latest WordPress 7.0.1 release is available from wordpress.org and can be installed on Synology via a manual update guide or a Docker‑based install, while UGREEN users can follow a dedicated guide for their platform. These WordPress guides are kept up to date for 2026 and use modern technologies to keep your site healthy, performant, and protected, with emphasis on security and speed rather than superficial setups. Because the installation process is similar across Synology, UGREEN, and even Asustor—start with Docker, management UI, folders, stacks, then compose definitions—home and small office users can build a consistent app stack on different NAS brands without relearning everything from scratch. The main thing to watch for is keeping your Docker and Portainer versions current, and following each app’s notes on secrets and folder names closely.
Is It Worth It? Final Takeaways and Gotchas
If you already own a Synology or UGREEN NAS, turning it into a multi‑app platform is worth the effort. On hardware like the UGREEN NASync DH2300, which is aimed at home users who want simplicity, reliability, and ease of use, Docker‑based apps fit neatly into its role as a personal cloud that avoids recurring subscription fees while keeping your data under your control. Application options like NoteDiscovery, OmniSight, CTRoadmap, and WordPress mean your NAS can become your notes hub, monitoring cockpit, documentation atlas, and website host, all in one box. Because the Synology app setup and UGREEN NAS software follow highly similar installation patterns through Docker NAS containers and Portainer or equivalent tools, the learning curve is flatter than it looks at first glance.
There are, however, a few gotchas to respect. First, always install or update your Docker management tool (Portainer or Dockhand) to the latest stable version before deploying new apps. Second, treat folder names and stack names carefully—multiple guides warn you to use lowercase only, because mismatches can break data paths and container mounts. Third, do not reuse sample secrets: apps like OmniSight expect you to supply your own OMNISIGHT_SECRET to keep alerts and API endpoints protected. Finally, on UGREEN NAS, remember to grant read and write permissions to the Docker folder, or Portainer will silently fail to save data. Once you keep these in mind, the result is clear: your notes at a glance, your Synology metrics at a glance, your CTRoadmap app at a glance—and a NAS that feels more like an integrated platform than a simple file box.