
What “hidden” Android storage really is and why it matters
Hidden Android storage savings come from unused carrier apps, silent Google Photos backups, and separate secure spaces that waste space or clutter your phone until you turn the right settings off yourself. Learning how to free up Android storage through these built‑in options gives you more room, less chaos, and better control without buying a new phone or a bigger cloud plan.
If your phone is nagging you about low space, photos take too long to back up, or your home screen is full of sensitive apps, this guide is for you. You will walk through Android storage management that removes bloatware, tightens Google Photos settings, and hides your most sensitive apps in a secure area. One caveat: the Private Space feature only exists on Android 15 or newer, so very old phones will not get that specific upgrade.
Clear out carrier bloatware and hidden junk apps
Bloatware is the low‑effort way your storage disappears. Carrier‑locked phones often arrive stuffed with games, promo tools, and “helper” services that you never asked for. In one test, removing pre‑installed carrier apps and games on a single device reclaimed over 5GB of app storage alone, without touching any core Google or manufacturer apps. That is space you could use for photos, downloads, or offline media instead.
- Open Settings → Apps, then change the sort order to “By size” so the worst offenders rise to the top.
- Scroll through the list and look for large, unfamiliar apps or games that you do not remember installing; these are likely bloatware from your carrier or phone maker.
- Tap each suspect app to review its details, then choose Uninstall if the button is available; confirm to remove it and free storage.
- If uninstall is not available, tap Disable to turn off the app so it stops taking updates and using background resources; this still helps free up Android storage.
- For recurring “service” apps, such as app download managers, open their entry (for example, Settings → Apps → AppCloud → Disable) and turn them off so they stop reinstalling junk after updates.
The gotcha here is that some system entries are required for your phone to work; avoid anything that clearly mentions core services, the launcher, or system UI. Focus on big games and carrier‑branded tools first. According to one detailed test, “removing and disabling every bloatware app you can will free up gigabytes of precious storage on your Android phone.”
Tighten Google Photos settings before you pay for more storage
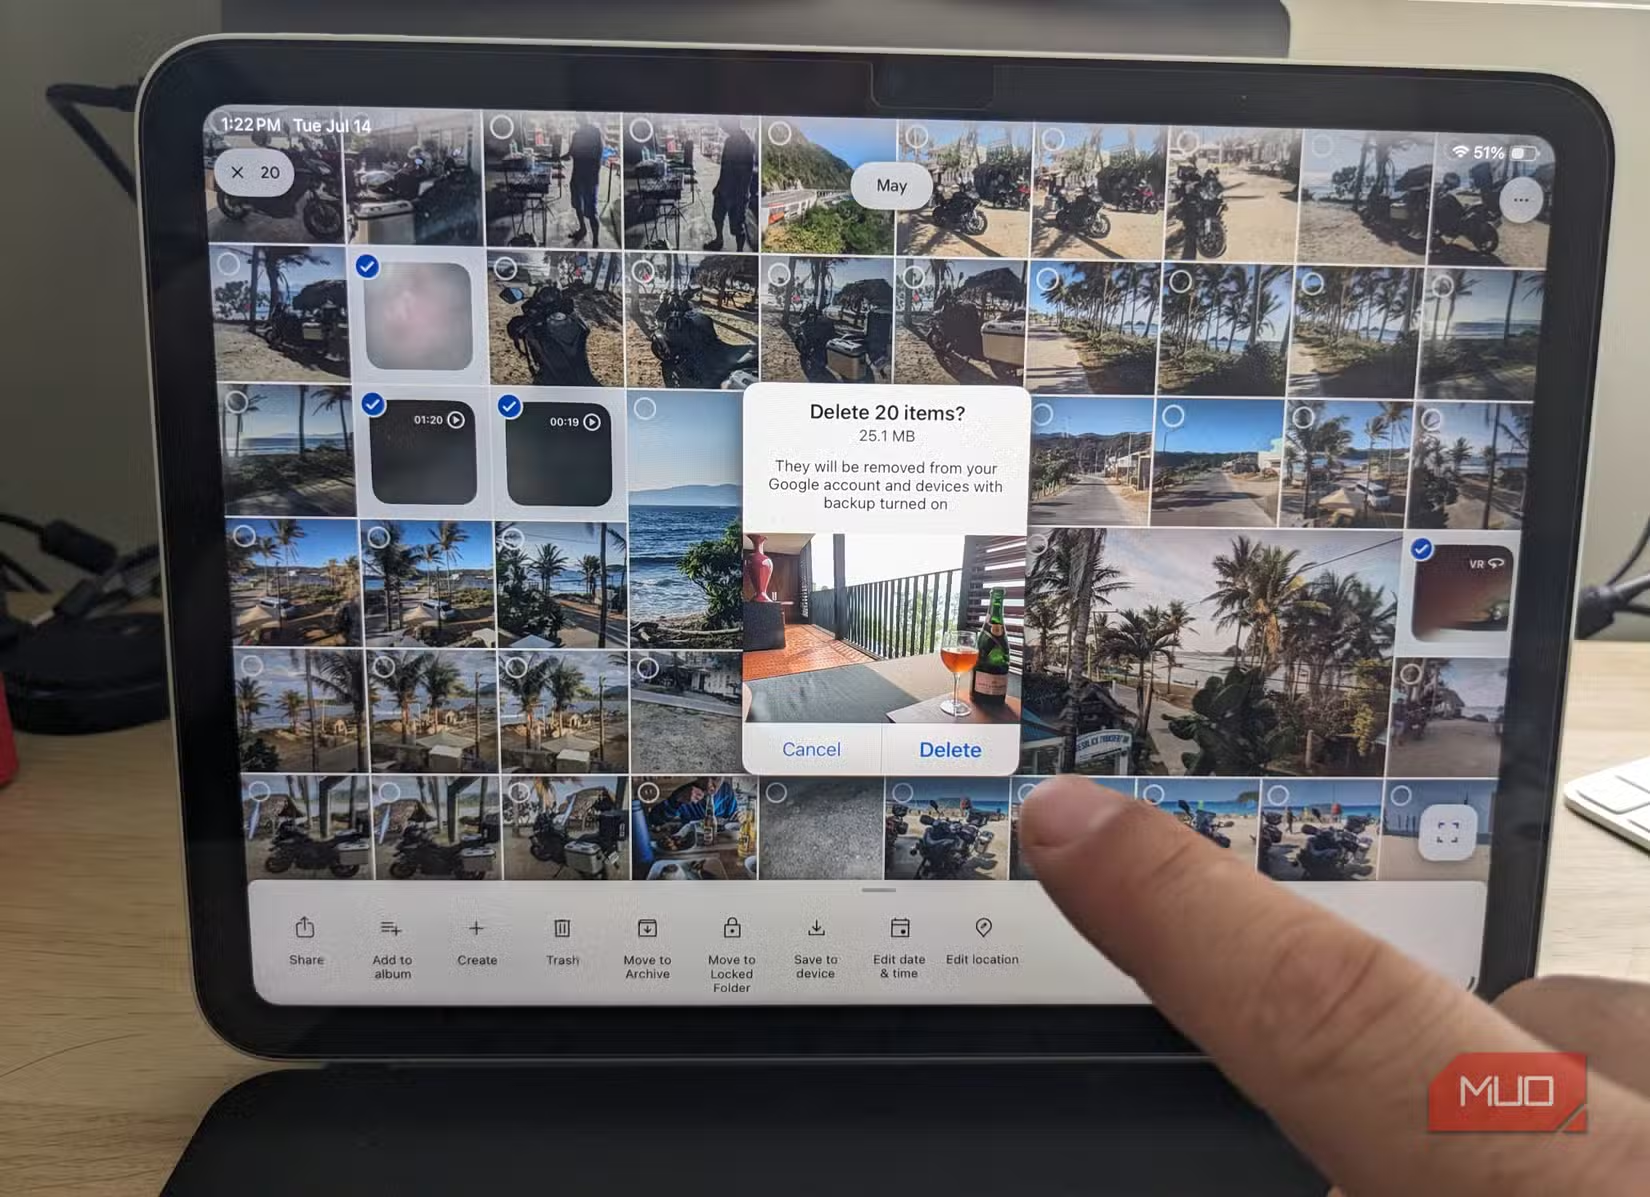
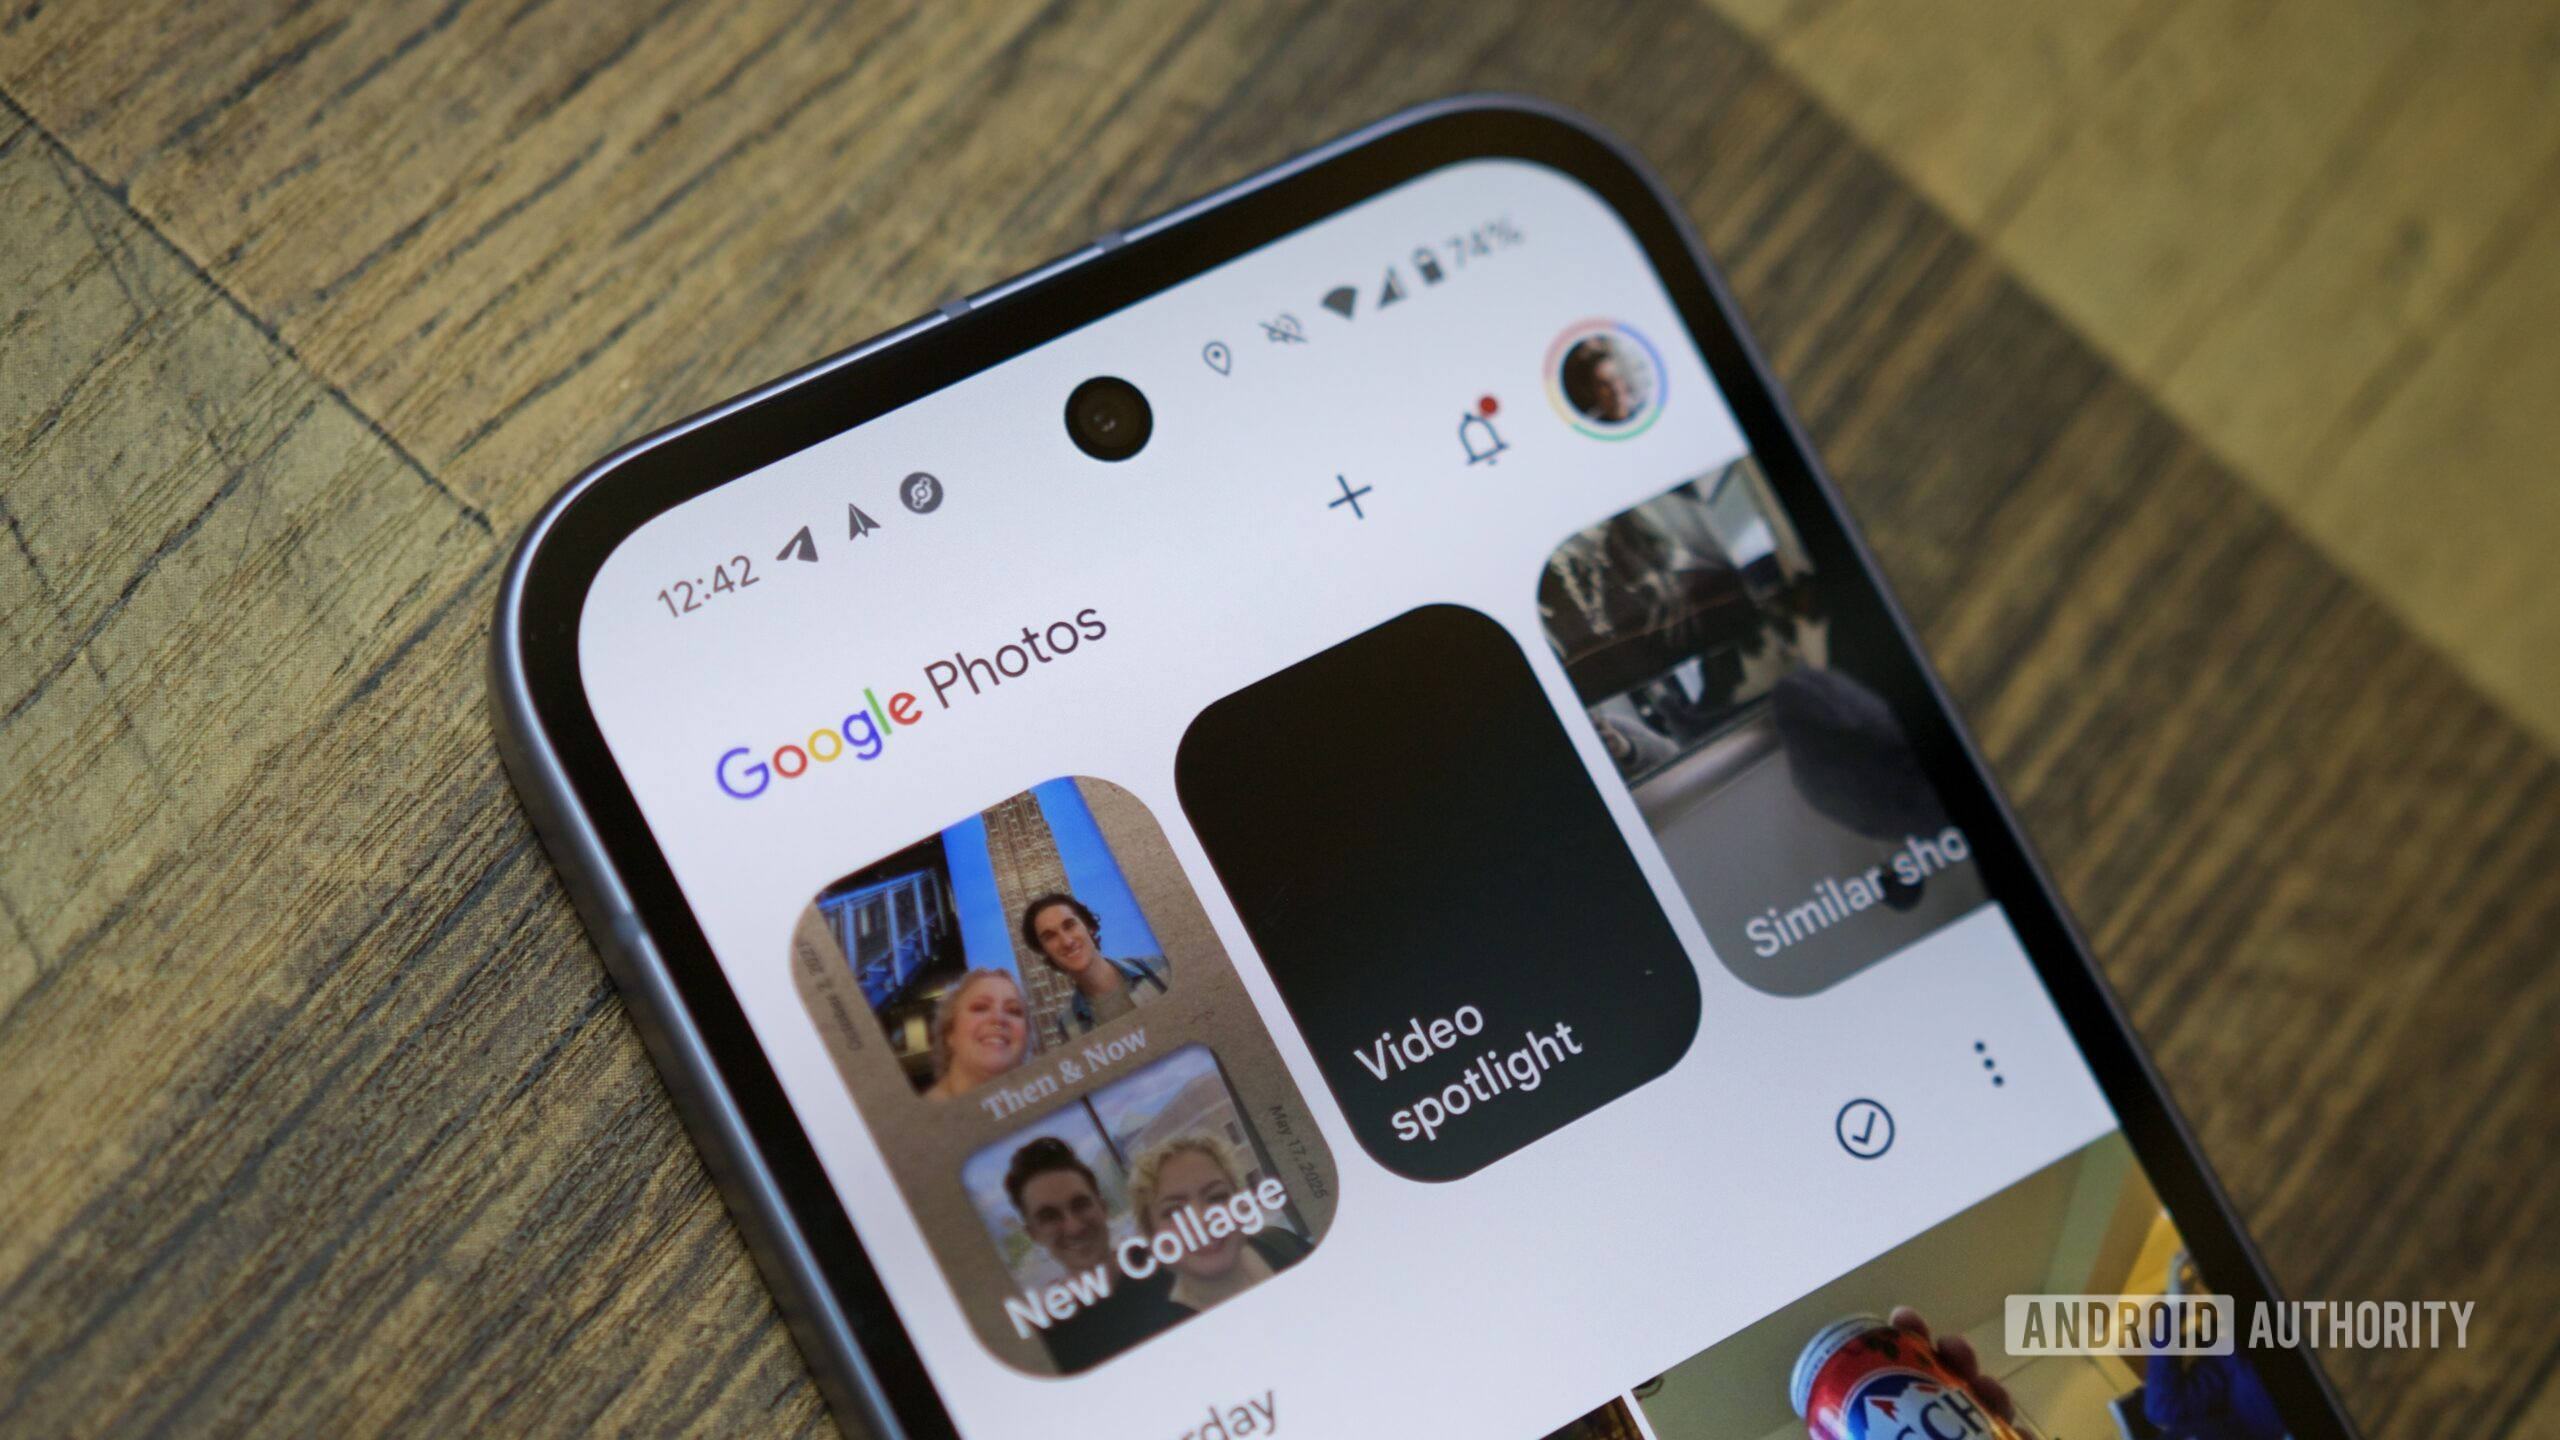
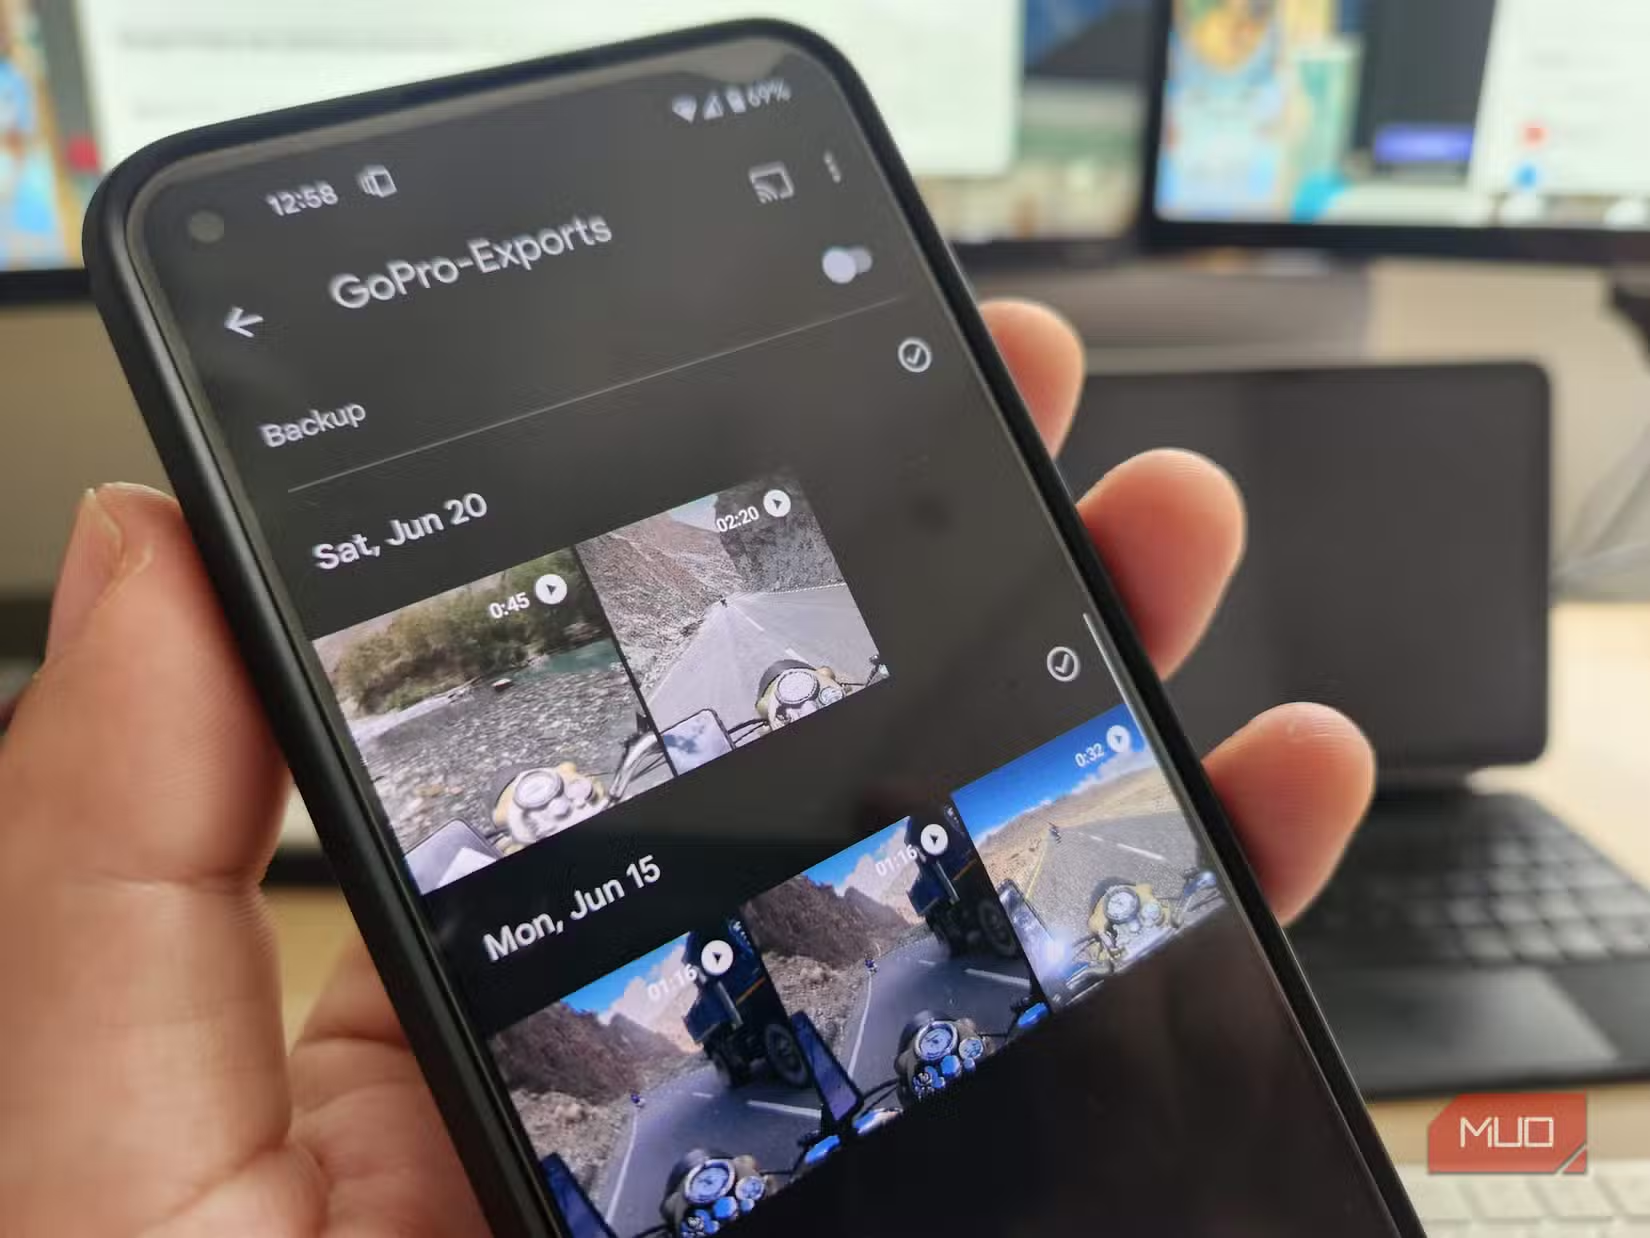
Google Photos is excellent at hoarding, which is the opposite of what you want when you are running out of space. By default, it tries to back up almost everything: screenshots, messaging app folders, downloads, and social media scraps. Over time, this flood quietly eats your 15GB of free cloud space and any paid plans after that. Turning off a few backup options and changing a couple of habits can dramatically improve Android storage management inside your photo library.
A powerful first fix is to stop backing up screenshots. One user found that disabling screenshot backups instantly decluttered their library and made searches more accurate. To do something similar, open Google Photos, tap your profile icon → Photos settings → Backup → Back up device folders, then uncheck folders like Screenshots, social apps, or Downloads that you do not need to keep forever. Now that backup is off for junk folders, your cloud gallery becomes a better reflection of your actual photography, and you slow down the rush toward the storage limit.
Use Private Space to tuck away sensitive apps
Storage is not only about gigabytes; it is also about mental space. Banking, government, or ID apps sitting on your main home screen are magnets for worry. Your phone passcode or fingerprint is a good start, but it does nothing to hide which apps you use. With Android 15 or newer, you can create a Private Space, a separate home screen environment that is isolated from the rest of your phone, then hide that entire space from view.
- Confirm your phone is on Android 15 or newer, since Private Space requires that version.
- Open Settings and look for the Private Space option (usually under Security or similar privacy sections).
- Create your Private Space, set a secure lock method, and follow the prompts to finish setup so it becomes a separate home screen.
- Move sensitive apps, like banking or government apps, into this Private Space so they are separated from your main profile.
- Unlock Private Space, tap its Settings gear, select “Hide private space when it’s locked,” and flip the toggle so the entire space disappears next time you lock your phone.
When you are done, Private Space does more than hide icons: it acts like a digital safe that exists separately from the rest of your Android phone, so sensitive apps are both locked and invisible. That isolation gives you peace of mind without cluttering your normal home screens or app drawer.
Tame AI features and finish with a quick storage checkup
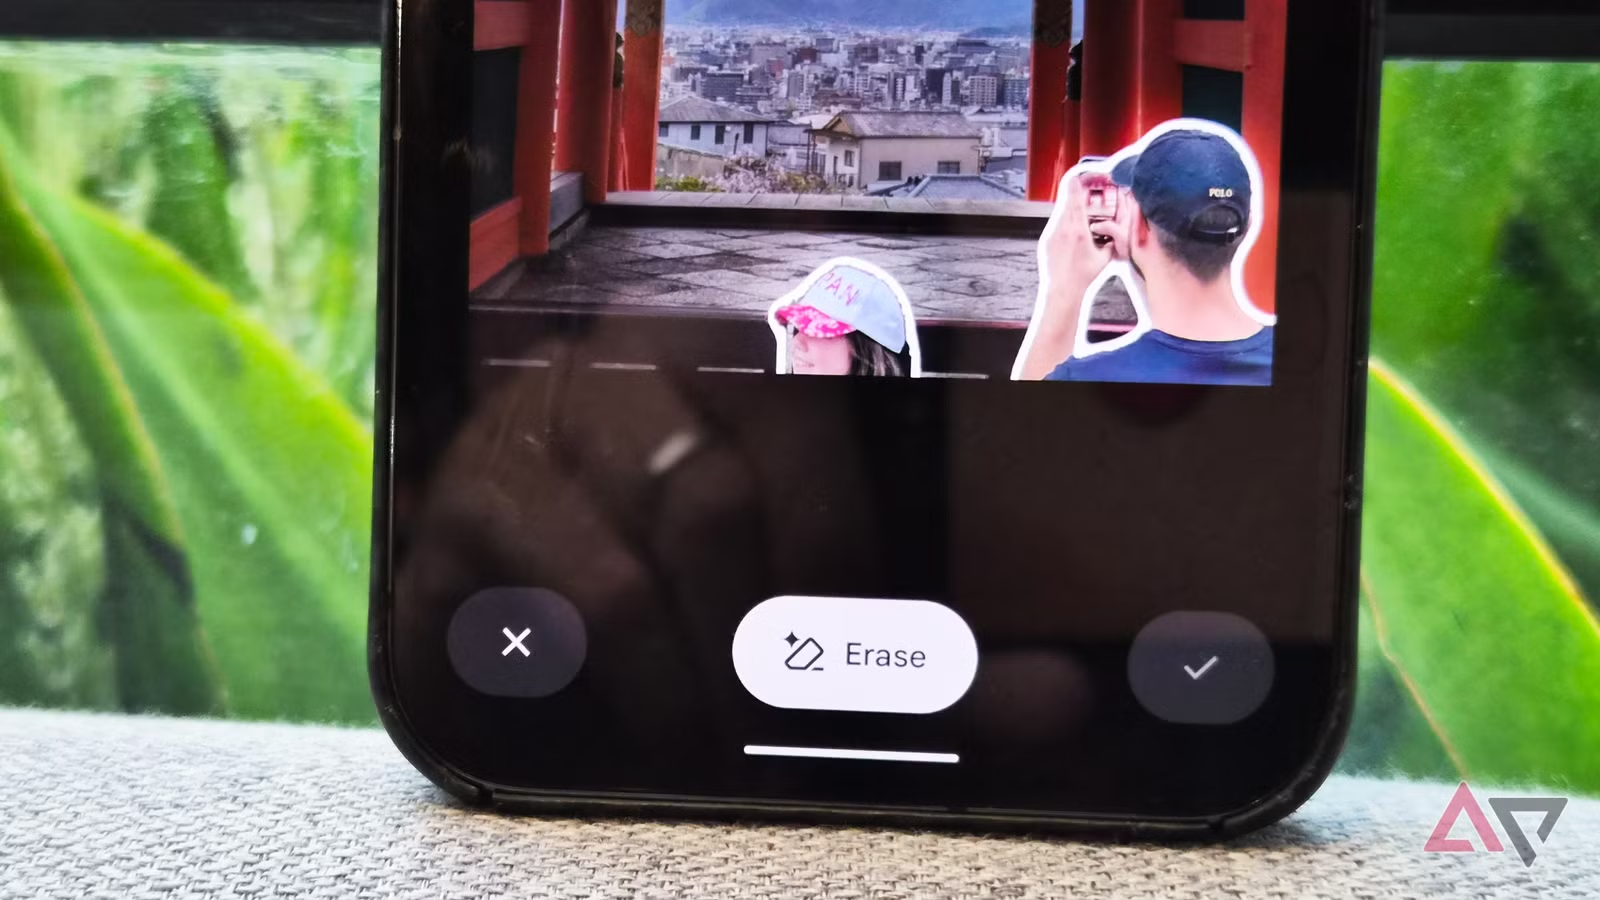
The last piece is controlling how Google Photos processes your images so features do not behave in ways you dislike. Magic Eraser, for example, can use cloud processing or on‑device processing, and the cloud mode has drawn complaints for messy generative edits. One practical workaround is to use Airplane mode when you want old‑style, local processing, which bypasses newer cloud quirks while you edit. This does not change how much space the app takes, but it does keep your editing behavior and expectations under your control.
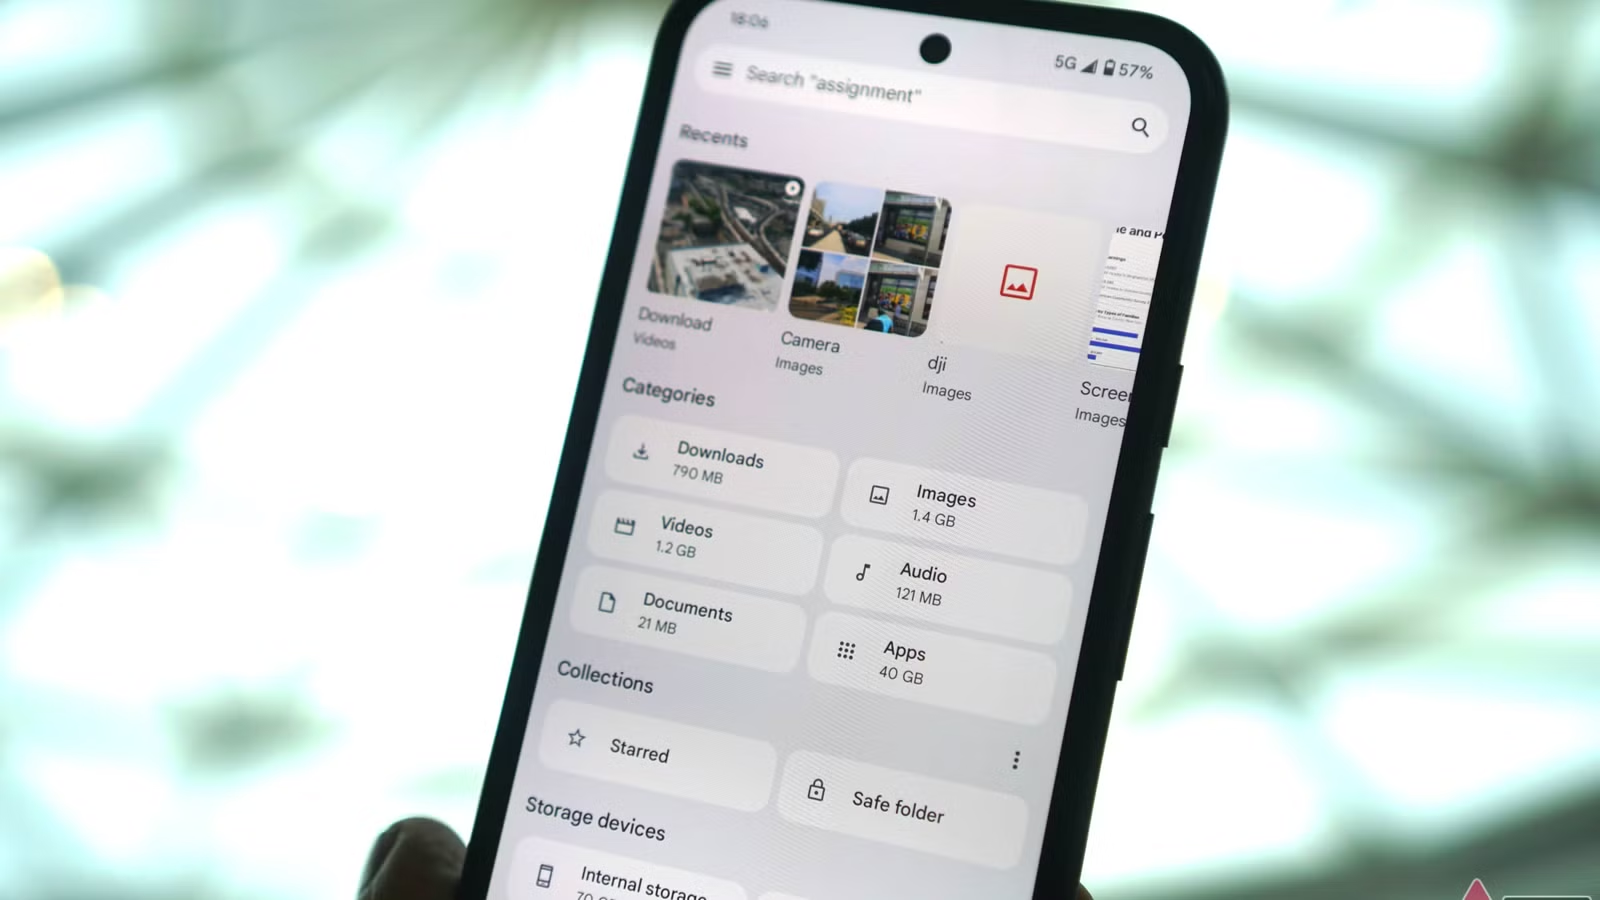
Once you have removed bloatware, pruned Google Photos backups, and set up Private Space, give your phone a final pass: revisit Settings → Storage to see your newly freed capacity and keep an eye on which categories grow fastest. Turning off a few default behaviors and being more selective about what you keep is often easier than paying for more storage or a new device. Over time, you will spend less energy fighting low‑storage warnings and more time using your phone how you want.